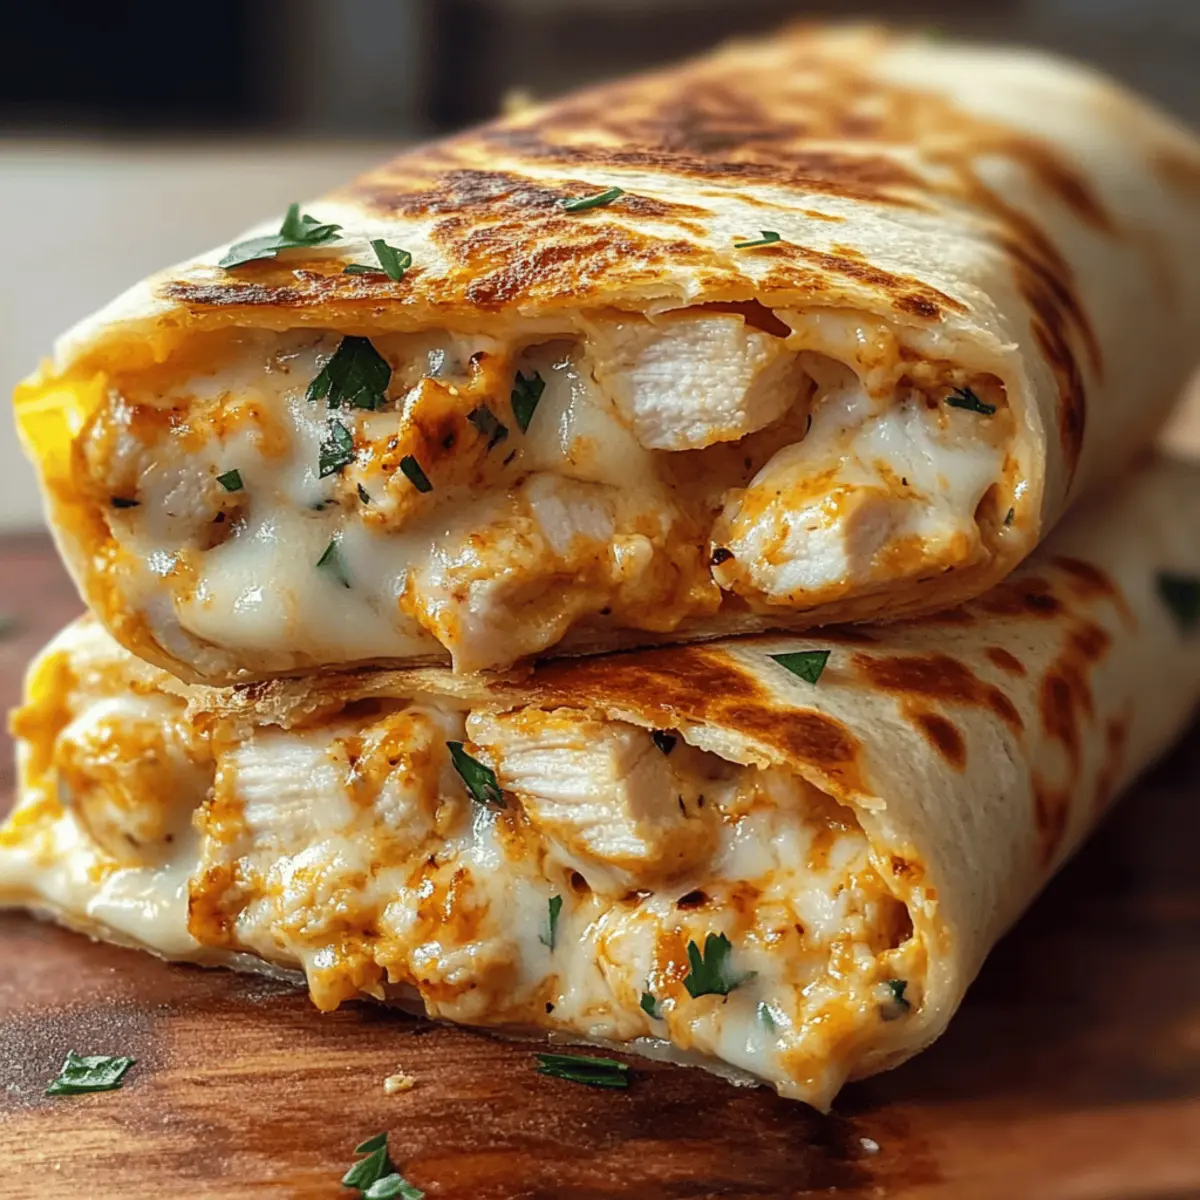
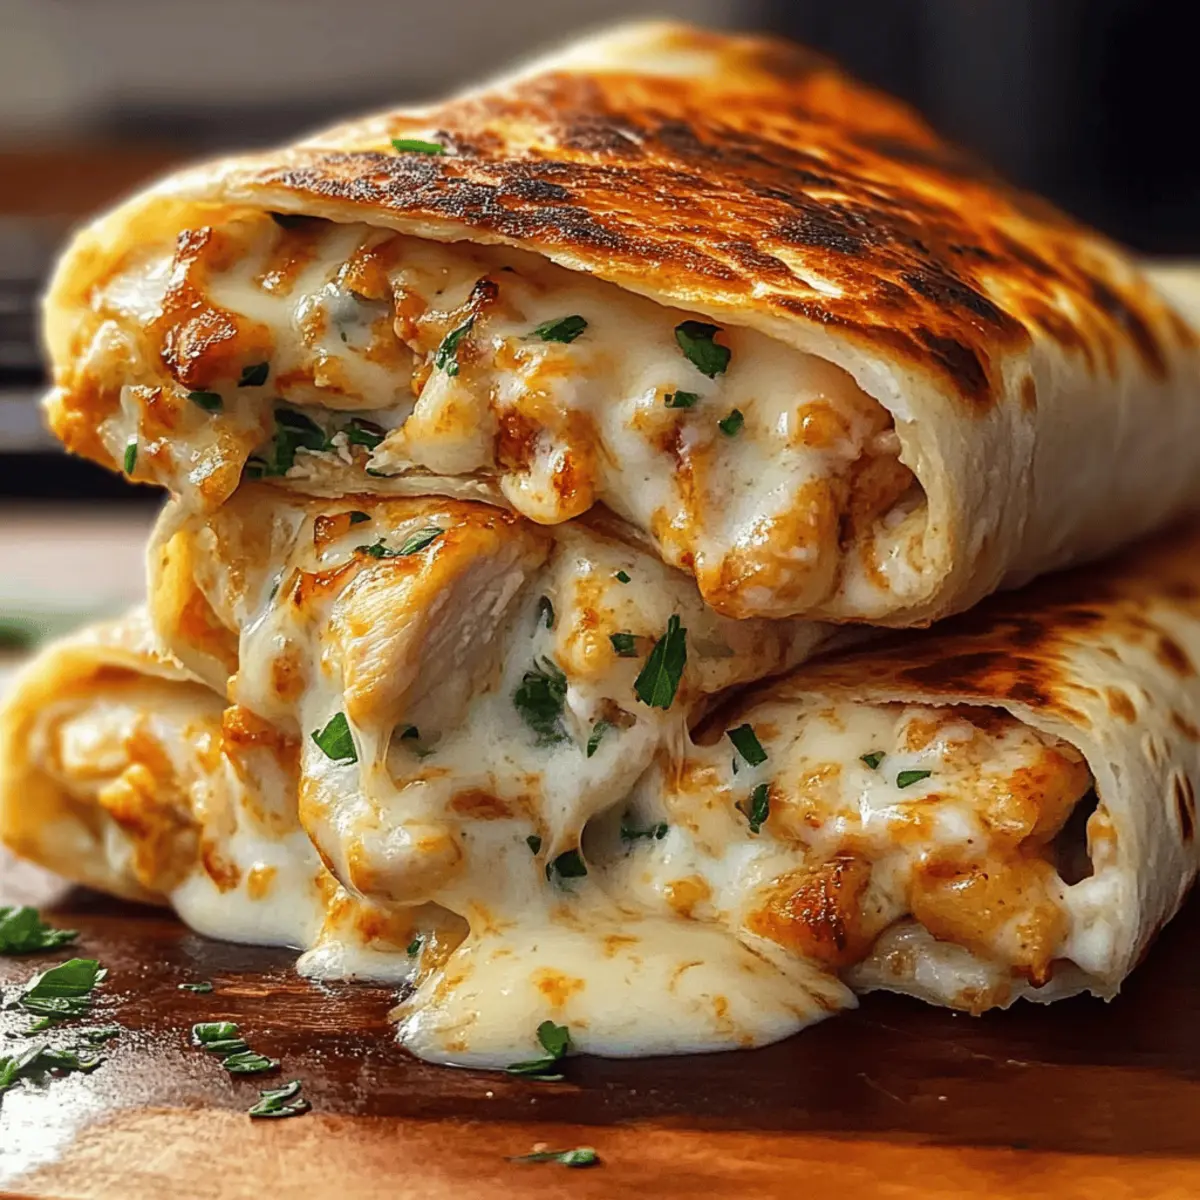
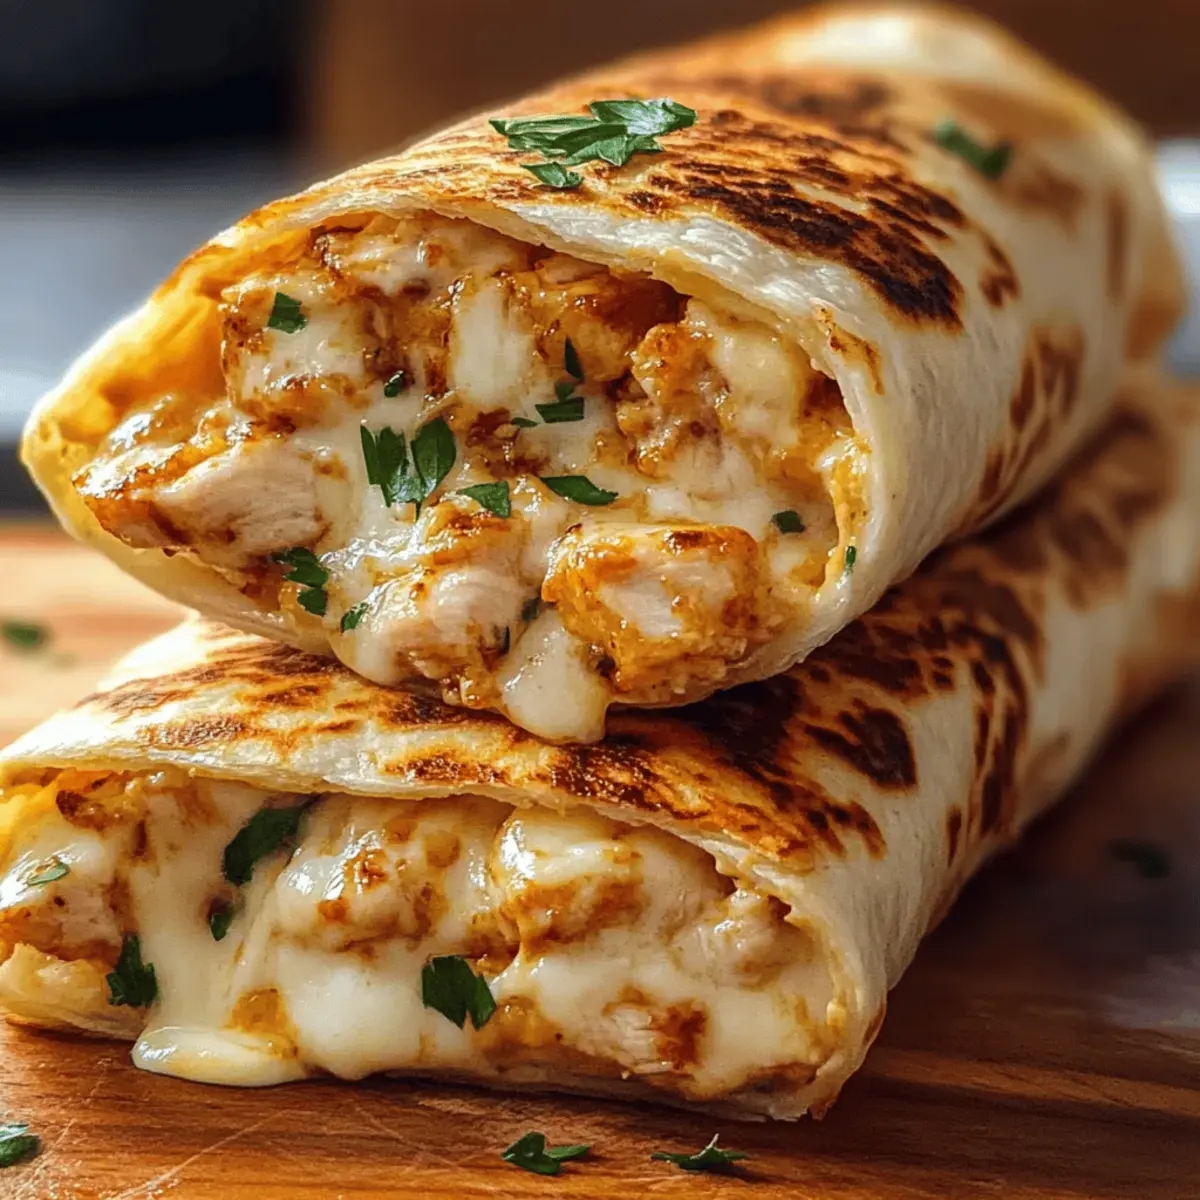
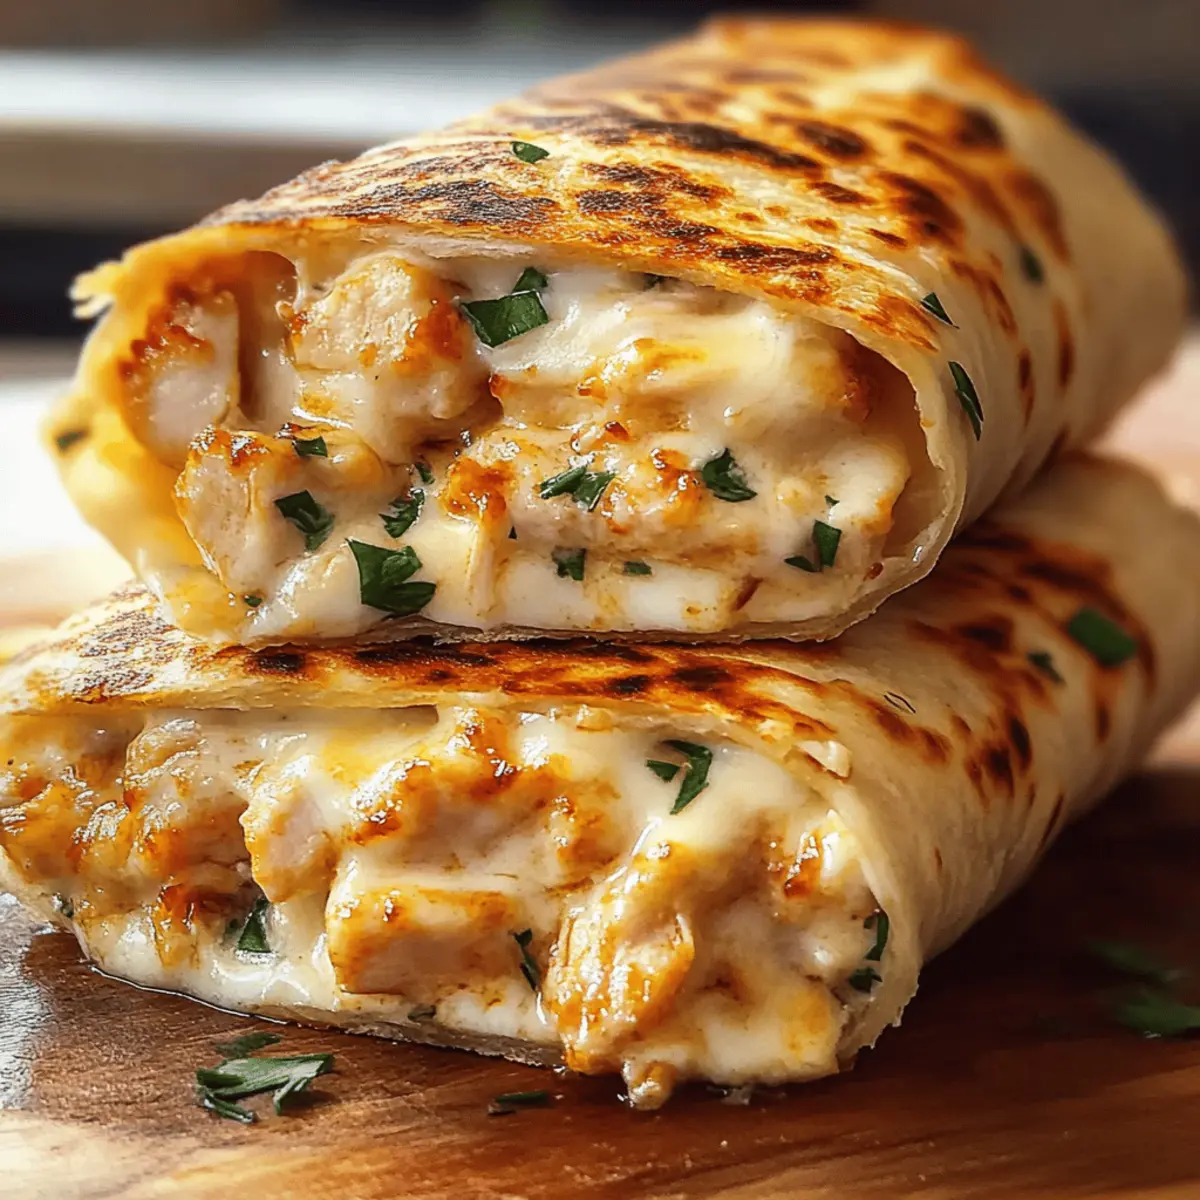
As I stood in the kitchen, the irresistible aroma of sizzling garlic began to fill the air, drawing everyone in. That’s when I knew it was time to whip up my Ooey-Gooey Cheesy Garlic Chicken Wraps. This quick weeknight dinner is not only a crowd-pleaser, but it also shines with customizable options to suit any palate. Imagine tender pieces of chicken mingling with your favorite cheeses, all wrapped snugly in a soft tortilla. With a crispy exterior and gooey filling, it’s the ultimate comfort food that delivers satisfaction in every bite. Plus, these wraps are perfect for meal prep; make them ahead of time to warm up for a fuss-free, delicious lunch or dinner. Are you ready to embark on a cheesy adventure that you can tailor just for you?

Why Are Cheesy Garlic Chicken Wraps a Must-Try?
Irresistible Flavor: The combination of succulent chicken, melty cheese, and aromatic garlic creates a mouthwatering experience that’s hard to resist.
Quick to Prepare: This recipe is a fantastic option for busy weeknights, taking just about 30 minutes from start to finish.
Customizable Delight: Whether you prefer spicy pepper jack or creamy gouda, you can easily adapt the cheese to suit your taste.
Fun for Everyone: Gather the family and let everyone create their own wraps, making dinner a delightful interactive experience! For sides, consider pairing with a light green salad or even some savory seasoned potato wedges for a complete meal.
Cheesy Garlic Chicken Wraps Ingredients
For the Filling
- Chicken – Use rotisserie chicken for convenience and delicious flavor.
- Olive Oil – Essential for sautéing garlic and adds a touch of richness.
- Garlic – Sauté until golden to infuse a robust aroma and deeper flavor.
- Cheese (e.g., mozzarella, cheddar) – Melts beautifully; substitute with pepper jack for added spice or gouda for creaminess.
For the Wrap
- Tortillas – Choose soft tortillas to envelop the filling; opt for gluten-free if needed.
- Butter – Adds richness and helps achieve that irresistible golden-brown finish.
These key ingredients come together to create the tastiest Cheesy Garlic Chicken Wraps, perfect for a delightful weeknight dinner!
Step‑by‑Step Instructions for Cheesy Garlic Chicken Wraps
Step 1: Cook Chicken
Preheat your oven to 375°F (190°C) or heat a skillet over medium-high heat. Season your chicken with salt and pepper, then bake, sauté, or grill it until fully cooked, about 15-20 minutes. Once done, let it rest for a few minutes before dicing it into bite-sized pieces, ensuring it’s juicy for your Cheesy Garlic Chicken Wraps.
Step 2: Sauté Garlic
In a medium skillet, heat 2 tablespoons of olive oil over medium heat. Add minced garlic and sauté for about 30 seconds to 1 minute, stirring constantly until the garlic turns golden and fragrant. This step enhances the flavor profile and infuses the oil, creating a perfect base for the wraps.
Step 3: Combine Chicken and Cheese
Add the diced chicken to the skillet with the garlic oil, stirring well to coat the chicken with that delicious garlic flavor. Remove the skillet from heat, then mix in your choice of cheese, like mozzarella or cheddar, while still warm. The heat from the chicken will melt the cheese, creating that ooey-gooey texture that defines these Cheesy Garlic Chicken Wraps.
Step 4: Prepare Tortillas
Lay your tortillas flat on a clean surface. Spoon a generous amount of the cheesy garlic chicken mixture onto the center of each tortilla, ensuring not to overfill. Roll them tightly like a burrito, tucking in the sides as you go to secure the filling. This step sets the stage for crispy, delicious wraps.
Step 5: Cook Wraps
In the same skillet, melt 1 tablespoon of butter over medium heat. Place the wraps seam-side down in the skillet, cooking each side for about 2-3 minutes until they turn golden brown and crispy. Keep an eye on them to ensure they don’t burn; a perfect crisp adds a delightful texture to your Cheesy Garlic Chicken Wraps.
Step 6: Rest and Serve
After cooking, let the wraps rest for 1-2 minutes to allow the filling to settle. Slice each wrap in half, presenting the gooey interior and crisp exterior. Optionally, garnish with chopped parsley for a burst of color and freshness. These Cheesy Garlic Chicken Wraps are now ready to be enjoyed!

Make Ahead Options
These Cheesy Garlic Chicken Wraps are perfect for meal prep enthusiasts! You can prepare the filling (chicken, garlic, and cheese mixture) up to 3 days in advance and store it in an airtight container in the refrigerator, ensuring all those wonderful flavors meld together. To prevent the tortillas from becoming soggy, wrap them tightly only shortly before cooking, or store them separately. When you’re ready to serve, simply fill the tortillas, roll them up, and cook them in a skillet for about 2-3 minutes per side until golden brown. This way, you can enjoy restaurant-quality Cheesy Garlic Chicken Wraps with minimal effort during busy weeknights!
Expert Tips for Cheesy Garlic Chicken Wraps
-
Choose Quality Chicken: Opt for rotisserie chicken for convenience and flavor; it saves time and ensures juicy meat in your Cheesy Garlic Chicken Wraps.
-
Don’t Overcook Garlic: Sauté garlic until just golden; overcooking can turn it bitter, ruining the delicious garlic flavor in your wraps.
-
Perfectly Melted Cheese: Mix cheese into the hot chicken mixture to achieve that ooey-gooey texture. Let the heat do the melting before rolling up the wraps.
-
Tortilla Sealing: Roll tortillas tightly to keep the filling intact. Tucking in the sides helps prevent leakage while cooking, ensuring you enjoy every bite.
-
Crispy Exterior: Use medium heat when cooking wraps in butter; too high could burn the outside while leaving the inside cool. Aim for that golden brown perfection!
Cheesy Garlic Chicken Wraps Variations
Feel free to get creative with your Cheesy Garlic Chicken Wraps! Each swap or addition offers a delightful twist to suit your tastes.
-
Spicy Kick: Swap mozzarella with pepper jack cheese for a fiery flavor that enhances the dish.
-
Veggie Boost: Add spinach, mushrooms, or sautéed onions for an extra layer of nutrition and texture that complements the cheese beautifully.
-
Texture Variation: Use ground chicken instead of diced chicken for a unique mouthfeel, perfect for those seeking a fun twist.
-
Tortilla Freedom: Opt for low-carb or whole wheat tortillas for a healthier option that doesn’t skimp on satisfaction.
-
Herb Infusion: Include fresh herbs like ** cilantro** or basil in your filling for a refreshing, aromatic burst of flavor.
-
Nutty Goodness: Toss in some toasted pine nuts or sliced almonds for a crunchy texture that contrasts with the gooey cheese.
-
Garlic Lover’s Dream: Add extra sautéed garlic or even a sprinkle of garlic powder into the chicken and cheese mixture for a punch of rich flavor.
-
Creamy Addition: Fold in some cream cheese alongside your preferred cheese for an ultra-creamy filling that elevates the wraps to a whole new level.
Feel inspired? You can also personalize these wraps further by serving them with options like seasoned potato wedges or a light green salad for a complete meal! Don’t forget – mixing flavors and ingredients not only ticks all the boxes for satisfaction but also keeps meals exciting for you and your family!
What to Serve with Cheesy Garlic Chicken Wraps
These delightful wraps offer a wonderful starting point for creating a full meal that feels both comforting and satisfying.
- Crispy Green Salad: A fresh salad with mixed greens adds a crunchy texture and balances the richness of the wraps.
- Savory Seasoned Potato Wedges: These perfectly seasoned potato wedges complement the chicken wraps with a heartiness that feels indulgent.
- Roasted Vegetables: A medley of roasted veggies brings vibrant colors and flavors, providing a deliciously nutritious contrast to the wraps.
- Creamy Tomato Soup: This classic pairing enhances the cozy feeling, creating a comforting, nostalgic meal perfect for chilly evenings.
- Coleslaw: The crunchy, tangy coleslaw cuts through the richness of the wraps, adding a refreshing element to each bite.
- Garlic Butter Noodles: For garlic lovers, these noodles complement your Cheesy Garlic Chicken Wraps with even more of that savory goodness.
- Chilled Lemonade: A glass of chilled lemonade brightens up the meal, adding a citrusy zing that refreshes and uplifts.
- Chocolate Chip Cookies: End on a sweet note with chewy chocolate chip cookies, completing your meal with a beloved dessert that brings smiles all around.
How to Store and Freeze Cheesy Garlic Chicken Wraps
Refrigerator: Store leftover wraps in an airtight container for up to 3 days. Reheat in a skillet or toaster oven for best texture and flavor.
Freezer: Wrap individual Cheesy Garlic Chicken Wraps tightly in plastic wrap or aluminum foil, then place in a zip-top freezer bag. They can be frozen for up to 3 months.
Reheating: For frozen wraps, the best method is to thaw in the fridge overnight before reheating in a skillet or toaster oven. This preserves the crispy exterior while warming the filling.

Cheesy Garlic Chicken Wraps Recipe FAQs
How do I choose the right chicken for my wraps?
Absolutely! For the best flavor and convenience, I recommend using store-bought rotisserie chicken. It’s already seasoned and saves you cooking time. Just pick some up from your local grocery store, and you’ll have juicy, flavorful chicken ready to go!
How should I store my Cheesy Garlic Chicken Wraps?
Very easy! Store leftover wraps in an airtight container in the refrigerator for up to 3 days. When you’re ready to enjoy them again, simply reheat in a skillet or toaster oven for the best texture. Avoid the microwave, as it may make the wraps soggy.
Can I freeze myCheesy Garlic Chicken Wraps?
Yes, you can! To freeze, tightly wrap each individual wrap in plastic wrap or aluminum foil, then place them in a zip-top freezer bag. They will be good for up to 3 months. When you’re ready to eat, thaw overnight in the fridge and then reheat following the same method mentioned for leftovers.
What should I do if my wraps are soggy after reheating?
To recapture the crispy exterior, use a skillet or toaster oven to reheat your Cheesy Garlic Chicken Wraps. Preheat the skillet at medium heat, add a touch of butter if you like, then heat the wraps seam-side down for about 2-3 minutes on each side. This method will help crisp them up nicely, making them feel like they were just made!
Are there any dietary considerations for these wraps?
Absolutely! You can customize the recipe for different allergies or preferences. For gluten-free options, look for gluten-free tortillas. If you’re concerned about dairy, try using a dairy-free cheese substitute. Just make sure to check the ingredient labels to avoid any potential allergens.
What if I want to add more veggies to my wraps?
The more, the merrier! You can easily incorporate your favorite vegetables into the filling. Consider adding sautéed spinach, mushrooms, or bell peppers. Just be sure to cook them a bit before mixing with the chicken to enhance their flavors and prevent excess moisture in the wraps.

Cheesy Garlic Chicken Wraps for Irresistible Weeknight Comfort
Ingredients
Equipment
Method
- Preheat your oven to 375°F (190°C) or heat a skillet over medium-high heat. Season the chicken with salt and pepper, then cook until fully cooked, about 15-20 minutes. Let it rest before dicing.
- In a medium skillet, heat olive oil over medium heat. Add minced garlic and sauté for about 30 seconds to 1 minute until golden and fragrant.
- Add the diced chicken to the skillet with the garlic oil and mix well. Remove from heat and stir in your choice of cheese while still warm.
- Lay tortillas flat and spoon a generous amount of the mixture onto the center of each. Roll tightly, tucking in the sides.
- Melt butter in the skillet over medium heat. Place wraps seam-side down and cook for 2-3 minutes on each side until golden brown.
- Let the wraps rest for 1-2 minutes. Slice in half and garnish if desired. Enjoy!

Leave a Reply