
As I stood in my kitchen, a craving hit—one that only a milkshake could satisfy. That’s when I decided to whip up an Easy Chocolate Oreo Milkshake, a treat so simple yet utterly delightful, it can be ready in just five minutes. Imagine the creamy blend of rich chocolate and scrumptious Oreo cookies, creating a thick shake that takes you back to childhood summer days. Not only is this recipe quick and easy, but it’s also incredibly versatile; you can easily make it vegan by swapping out a few ingredients. Whether you’re treating yourself after a long day or entertaining friends, this milkshake is sure to impress and satisfy even the sweetest of cravings. Ready to dive into a recipe that’s both fun and indulgent? Let’s get blending!
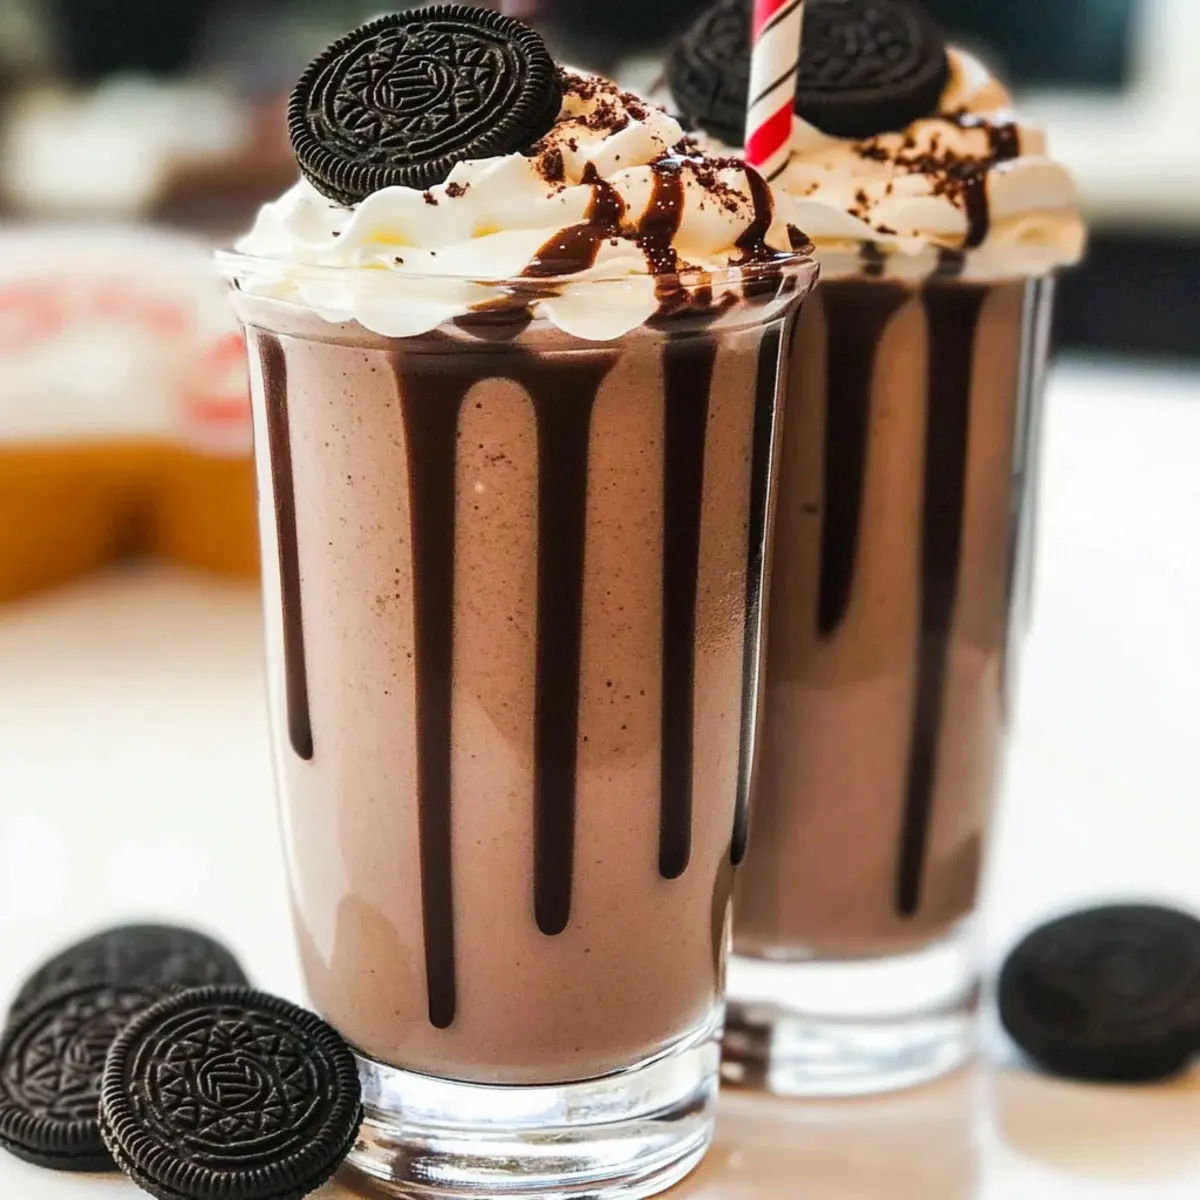
Why is this milkshake a must-try?
Quick and Easy: This Easy Chocolate Oreo Milkshake can be made in just five minutes, making it perfect for those spontaneous sweet cravings.
Rich Flavor: The irresistible combination of Oreo cookies and creamy chocolate ice cream creates a delightful explosion of taste that will leave you wanting more.
Versatile Options: Not in the mood for dairy? No problem! Simply swap in dairy-free ice cream and plant-based milk for a delicious vegan version that everyone can enjoy.
Crowd-Pleasing Treat: Whether it’s a birthday party or a simple gathering with friends, this milkshake is guaranteed to be a hit! Want to try something else? Check out our mouthwatering Butterscotch Chocolate Chip or Chocolate Chip Cookies for more crowd favorites.
Perfect for Any Occasion: Ideal for hot summer days, movie nights, or a sweet treat after dinner, this milkshake is versatile enough to fit any occasion!
Easy Chocolate Oreo Milkshake Ingredients
For the Milkshake
• Oreos – Provides the rich chocolate cookie flavor; use fresh ones for the best texture.
• Ice Cream – Adds creamy richness; high-quality vanilla is best, or use dairy-free ice cream for a vegan version.
• Milk – Blends the ingredients smoothly; can be substituted with any plant-based milk for a vegan option.
For the Toppings
• Whipped Cream – Adds a sweet, fluffy texture on top, making your milkshake even more indulgent.
• Chocolate Sauce – Drizzle for a beautiful presentation and an extra burst of chocolate flavor; opt for dairy-free chocolate sauce for a vegan treat.
Indulge in this Easy Chocolate Oreo Milkshake, and let your taste buds experience the delightful combination of flavors!
Step‑by‑Step Instructions for Easy Chocolate Oreo Milkshake
Step 1: Blend the Base
In a powerful blender, combine 8 Oreos, 2 cups of high-quality vanilla ice cream, and 1 cup of milk. Blend on high for about 30 seconds until the mixture is smooth and creamy, ensuring no Oreo chunks remain. You’ll know it’s ready when the milkshake achieves a thick and luxurious texture, perfect for your Easy Chocolate Oreo Milkshake.
Step 2: Prepare the Glasses
Before pouring, drizzle chocolate sauce around the inside rim of your serving glasses. This step not only adds visual appeal but also enhances the chocolate flavor as you sip your delicious milkshake. Make sure to leave enough space at the top to accommodate the toppings you will add later.
Step 3: Pour the Milkshake
Carefully pour the blended milkshake into your prepared glasses, filling them about three-quarters full to allow room for whipped cream and any extra toppings. The creamy, rich texture of the Easy Chocolate Oreo Milkshake should pour smoothly, creating a delightful layering effect that will have everyone eager to dig in.
Step 4: Add the Toppings
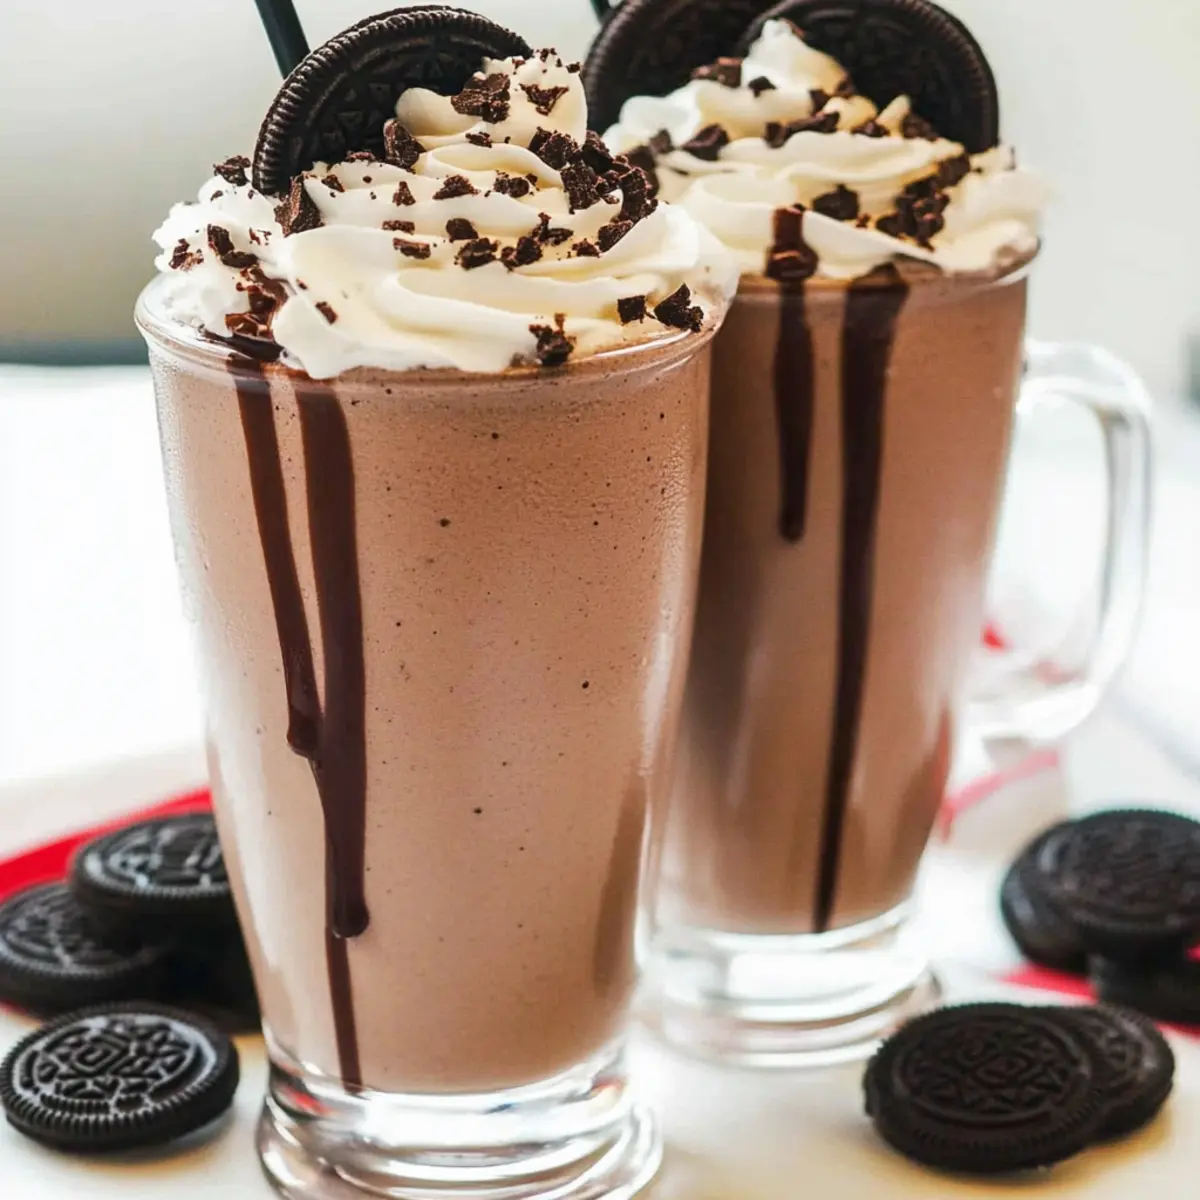
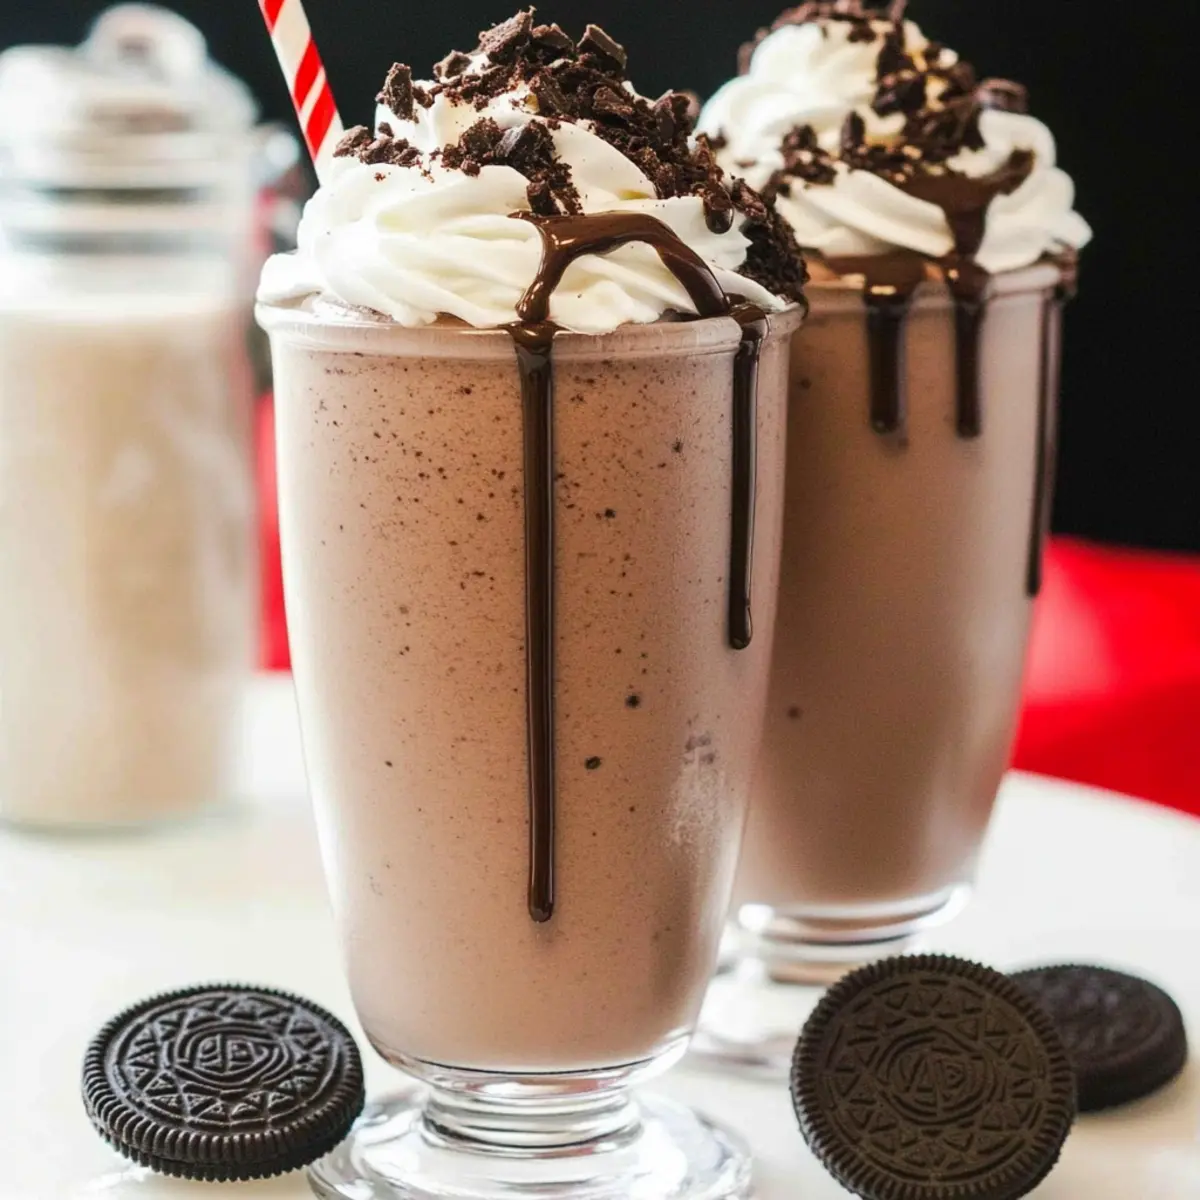
Generously top each milkshake with a dollop of whipped cream, allowing it to cascade over the sides for that indulgent look. Sprinkle crushed Oreo crumbs on top of the whipped cream and finish with a drizzle of chocolate sauce for a stunning presentation. This combination not only makes your Easy Chocolate Oreo Milkshake visually appealing but also enhances the taste.
Step 5: Serve Immediately
For the best experience, serve the milkshakes immediately with straws and spoons handy. This delightful treat is best enjoyed fresh while the whipped cream is fluffy and the milkshake is cold. Gather your friends and family around to indulge in this quick and easy chocolatey bliss that’s sure to bring smiles all around.
Make Ahead Options
These Easy Chocolate Oreo Milkshakes are perfect for meal prep enthusiasts! You can blend the milkshake base (8 crushed Oreos, 2 cups of ice cream, and 1 cup of milk) up to 24 hours in advance and store it in the refrigerator in an airtight container. This way, the flavors meld beautifully together. To maintain the creamy texture, avoid freezing the blended mixture; instead, give it a quick stir before serving. When you’re ready to enjoy, simply pour the mixture into glasses, add your chocolate sauce and toppings, and you’ll have a delightful dessert ready in minutes without the last-minute rush. This makes it an excellent option for busy weeknights or impromptu gatherings!
Easy Chocolate Oreo Milkshake Variations
Feel free to unleash your creativity and customize this delightful milkshake to suit your tastes!
- Vegan Delight: Substitute dairy ice cream with your favorite dairy-free ice cream and use almond or oat milk for a luscious vegan treat.
- Nutty Chocolate: Add a tablespoon of peanut butter or almond butter for a rich, nutty twist that will enhance the chocolate flavor. Go ahead and indulge!
- Coffee Kick: Looking for a boost? Blend in a shot of espresso or cold brew coffee for a mocha version that coffee lovers will adore.
- Flavorful Cookies: Swap Oreos for other cookie varieties like chocolate chip, or even a funfetti cookie, to switch up the flavor profile entirely. Just imagine the new taste sensation!
- Minty Freshness: Introduce a refreshing minty flavor by adding a few drops of peppermint extract or a generous handful of mint chocolate chip ice cream. Perfect for the adventurous spirit!
- Fruity Addition: Throw in a ripe banana for extra creaminess and a fruity touch, or mix with strawberries for a berry-infused milkshake experience. Think of it as dessert meets smoothie!
- Extra Crunch: Fold in crushed nuts or chocolate chips after blending for an additional crunchy texture that will satisfy any craving. Trust me, it’s worth it!
For more delightful inspirations, don’t miss our recipes for Chocolate Banana Bread and White Chocolate Cupcakes. Whether you want the classic or are ready to innovate, there’s a version waiting just for you!
How to Store and Freeze Easy Chocolate Oreo Milkshake
- Room Temperature: Milkshakes are best enjoyed fresh; avoid keeping them at room temperature for more than 2 hours to ensure food safety.
- Fridge: You can store any leftovers in the refrigerator in an airtight container for up to 2 days, but the texture may change slightly.
- Freezer: For longer storage, freeze the Easy Chocolate Oreo Milkshake in an airtight container for up to 1 month. Just remember to reblend after thawing for the best texture.
- Reheating: Since this is a milkshake, it’s best served cold. If it thickens in the freezer, let it sit for a few minutes at room temperature before reblending to restore its creamy consistency.
What to Serve with Easy Chocolate Oreo Milkshake
Imagine a delightful spread that makes your milkshake indulgence even sweeter and more enjoyable.
-
Chocolate Chip Cookies: Warm, gooey cookies complement the chocolatey flavors in the milkshake, offering a delightful chewy contrast. Perfect for dunking and sharing alongside your treat!
-
Fresh Fruit Skewers: Bright, juicy fruits like strawberries and bananas add freshness and balance out the sweetness of the milkshake, creating a colorful and healthy addition to your dessert.
-
Creamy Cheesecake Bites: Bite-sized cheesecake provides a rich, creamy texture that pairs beautifully with the smoothness of the milkshake, making your dessert experience even more luxurious.
-
Peanut Butter Brownies: Rich, fudgy brownies with a hint of peanut butter deepen the flavor profile, creating a decadent treat that complements the milkshake’s sweetness.
-
Homemade Strawberry Shortcake: This classic dessert brings a light and airy element to your feast, perfect for those who love a mix of textures and flavors.
-
Cold Brew Coffee: The subtle bitterness of cold brew contrasts nicely with the sweet milkshake, perfect for coffee lovers wanting to elevate their treat with a caffeine kick.
-
Chocolate-Covered Pretzels: The salty crunch of pretzels beautifully contrasts the sweetness of the milkshake while adding a satisfying crunch to every bite!
-
Vanilla Cupcakes: Light and fluffy cupcakes with creamy frosting offer a playful and sweet contrast to your milkshake, perfect for celebrating any occasion.
Expert Tips for Easy Chocolate Oreo Milkshake
-
Quality Ingredients: Start with high-quality Oreos and ice cream. The freshness of your ingredients is key to achieving a rich, indulgent flavor in your Easy Chocolate Oreo Milkshake.
-
Blender Choice: Use a powerful blender to ensure a smooth, lump-free texture. A lower-quality blender may leave bits of Oreo, affecting your milkshake’s overall experience.
-
Vegan Variants: For a delicious vegan option, use dairy-free ice cream and plant-based milk. Make sure to check the labels to avoid any hidden dairy products in toppings.
-
Topping Control: Be cautious not to overfill your glasses with whipped cream and toppings, as this can lead to messy overflow. Keep the toppings generous but manageable!
-
Chill Glasses: For an extra frosty experience, chill your serving glasses in the freezer for a few minutes before adding the milkshake. This little tip keeps your treat cold longer.
Easy Chocolate Oreo Milkshake Recipe FAQs
How do I choose the best Oreos for my milkshake?
Absolutely! For the richest flavor and best texture, opt for fresh Oreos that don’t have dark spots or signs of spoilage. The crispiness of the cookie contributes to that satisfying crunch in your milkshake.
How should I store any leftover milkshake?
Leftovers should be placed in an airtight container and stored in the refrigerator for up to 2 days. However, keep in mind that the texture may become less creamy. If you really want to preserve it longer, freezing is the way to go!
Can I freeze the Easy Chocolate Oreo Milkshake?
Very! To freeze your Easy Chocolate Oreo Milkshake, pour it into an airtight container and store for up to 1 month. When you’re ready to enjoy it again, simply thaw it in the refrigerator for a few hours, then reblend until smooth for that luscious, creamy texture.
What if my milkshake is too thick or too thin?
Don’t worry; it happens! If your milkshake is too thick, add a little more milk, blending again until you reach your desired consistency. If it’s too thin, consider adding a bit more ice cream or crushed Oreos to thicken it up. Just blend until it’s perfectly smooth.
Are there any dietary considerations I should be aware of?
Yes! For those with dairy allergies or following a vegan diet, swap out the ice cream and milk for dairy-free alternatives. Always check ingredient labels for hidden dairy in toppings like whipped cream and chocolate sauce to ensure they align with your dietary needs.
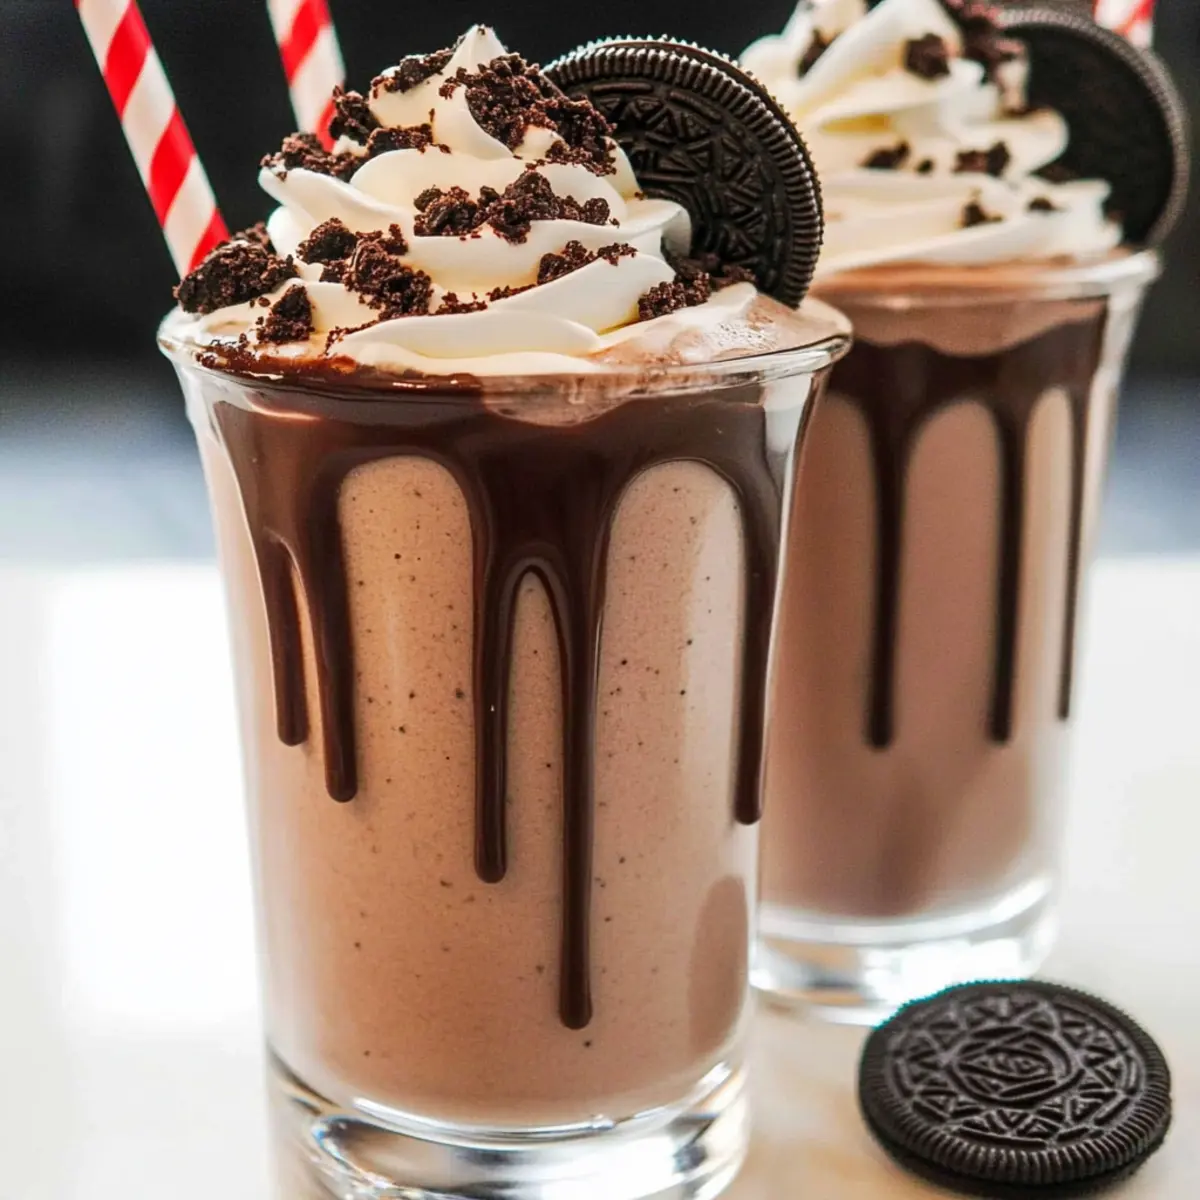
Easy Chocolate Oreo Milkshake for Instant Sweet Bliss
Ingredients
Equipment
Method
- In a powerful blender, combine 8 Oreos, 2 cups of high-quality vanilla ice cream, and 1 cup of milk. Blend on high for about 30 seconds until the mixture is smooth and creamy.
- Drizzle chocolate sauce around the inside rim of your serving glasses before pouring the milkshake.
- Carefully pour the blended milkshake into your prepared glasses, filling them about three-quarters full.
- Generously top each milkshake with a dollop of whipped cream, sprinkle crushed Oreo crumbs, and finish with a drizzle of chocolate sauce.
- Serve the milkshakes immediately with straws and spoons handy.
Leave a Reply