
“Did you catch the aroma of frying rice the last time you cooked? That enticing smell has a way of pulling me right into the kitchen, and today I’m thrilled to share my recipe for Crispy Rice Bites. These little treasures are not just quick to whip up but also a fantastic way to repurpose leftover sushi rice, transforming it into a crunchy delight that’s perfect for any gathering or cozy movie night. The best part? Each bite is a canvas for your creativity, featuring customizable toppings that cater to every palate, from flavorful fish to creamy avocado. Ready to embark on a culinary adventure with me? Let’s dive into making these irresistible snacks together!”
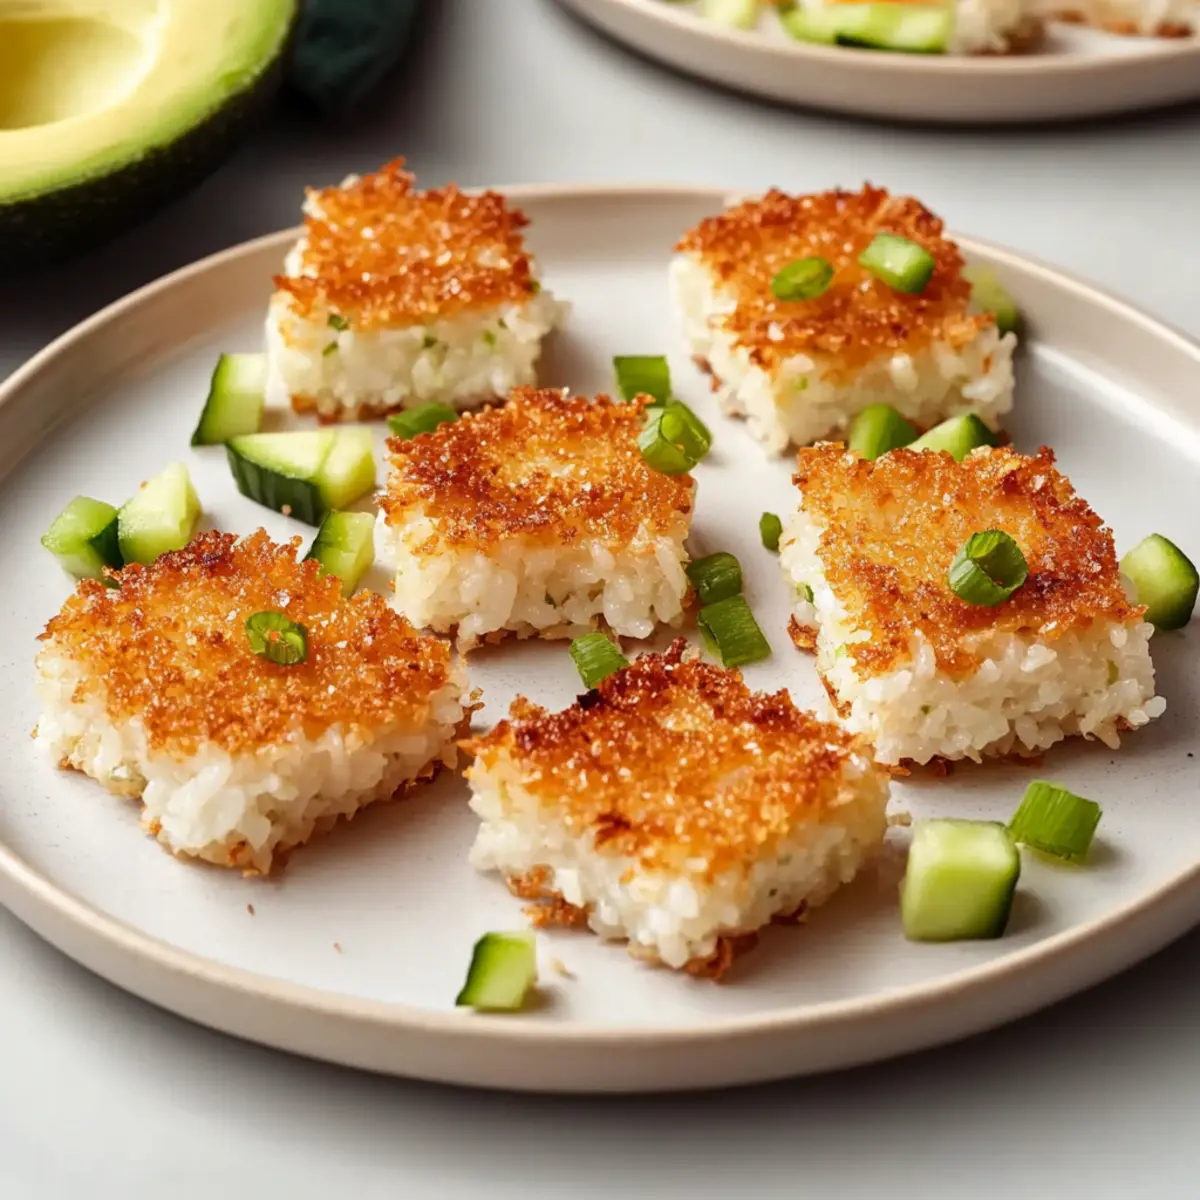
Why are Crispy Rice Bites a Must-Try?
Customizable: The beauty of these rice bites lies in their versatility. You can experiment with various toppings, from crispy veggies to fresh fish or even a drizzle of savory eel sauce!
Crowd-Pleasing: Perfect for parties, they’ll impress everyone! Pair them with a side of spicy mayo or a fresh cucumber salad for a delightful crunch.
Zero Waste: What better way to use leftover sushi rice than with this recipe? It’s not only budget-friendly but also a resourceful culinary solution!
Quick & Easy: With simple steps, these can be on your table in no time! Ideal for those last-minute snack cravings.
Family-Friendly: Kids and adults alike will love the crunchy texture and fun toppings, making them a fantastic addition to family dinners or movie nights!
Crispy Rice Bites Ingredients
• Use these delightful ingredients to create your Crispy Rice Bites that everyone will love!
For the Rice Mixture
- Sushi Rice – Provides ideal texture and stickiness for crispy bites.
Substitution/Prep Note: Short-grain rice is crucial; avoid long-grain varieties. - Water – Essential for cooking the rice to the correct texture.
Note: Follow the recommended ratio for perfect results. - Salt – Enhances the flavor of the rice.
Note: A simple yet crucial ingredient to balance the taste. - Rice Vinegar – Adds a tangy flavor profile.
Substitution: Apple cider vinegar can be used if needed. - Granulated Sugar – Helps to balance the flavors.
Substitution: Honey can also be used for a natural sweetener. - Toasted Sesame Oil – Infuses a nutty aroma into the bites.
Substitution: Olive oil for a more neutral flavor.
For Frying
- Cooking Oil – Neutral oil like canola is ideal for frying.
Note: Ensures a crispy finish when frying the rice bites.
For Toppings (Optional)
- Fresh Sushi-Grade Fish – Topping ingredient that can elevate the dish.
Recommendation: Use fresh salmon or tuna. - Diced Avocado – Adds creaminess that pairs well with the crunch.
- Cucumber Slices – Provide refreshing texture and complement savory flavors.
- Spicy Mayo or Eel Sauce – Optional drizzles to enhance flavor.
- Furikake – A Japanese seasoning that adds umami flavor.
Step‑by‑Step Instructions for Crispy Rice Bites
Step 1: Prepare the Rice
Begin by rinsing 2 cups of sushi rice under cold water until the water runs clear, which removes excess starch. Then, combine the rinsed rice and water in a rice cooker, using the recommended ratio for perfect texture. Cook the rice according to the cooker instructions, ensuring it is tender and fluffy when finished.
Step 2: Season the Rice
Once the rice is cooked, transfer it to a large mixing bowl and allow it to cool slightly. In a separate bowl, mix together 1 teaspoon of salt, 2 tablespoons of rice vinegar, 1 tablespoon of sugar, and 1 teaspoon of toasted sesame oil. Gently fold this seasoning mixture into the warm rice, ensuring it is evenly distributed for a flavorful base for your Crispy Rice Bites.
Step 3: Shape and Chill
Next, line a baking tray with parchment paper and transfer the seasoned rice onto it. Using your hands or a spatula, press the rice into a compact block about ½ inch thick. Cover the tray with plastic wrap or aluminum foil and refrigerate for at least 3 hours, or up to overnight, to firm up the rice, making it easier to cut and fry later.
Step 4: Cut and Dry
After chilling, remove the rice from the refrigerator and carefully slice it into bite-sized pieces, approximately 2 inches square. Lay the pieces on a clean kitchen towel or paper towels, gently patting them dry to remove excess moisture. This step is crucial for achieving that desired crispy texture when frying your Crispy Rice Bites.
Step 5: Fry the Rice
In a skillet, heat enough cooking oil to cover the base over medium heat. When the oil is hot (a test is a single grain of rice should sizzle), carefully place the rice pieces in the skillet, ensuring not to overcrowd the pan. Fry for 1-2 minutes on each side until they are golden brown and crispy. Use a slotted spoon to remove and drain the fried rice bites on a wire rack for optimal crispness.
Step 6: Add Toppings and Serve
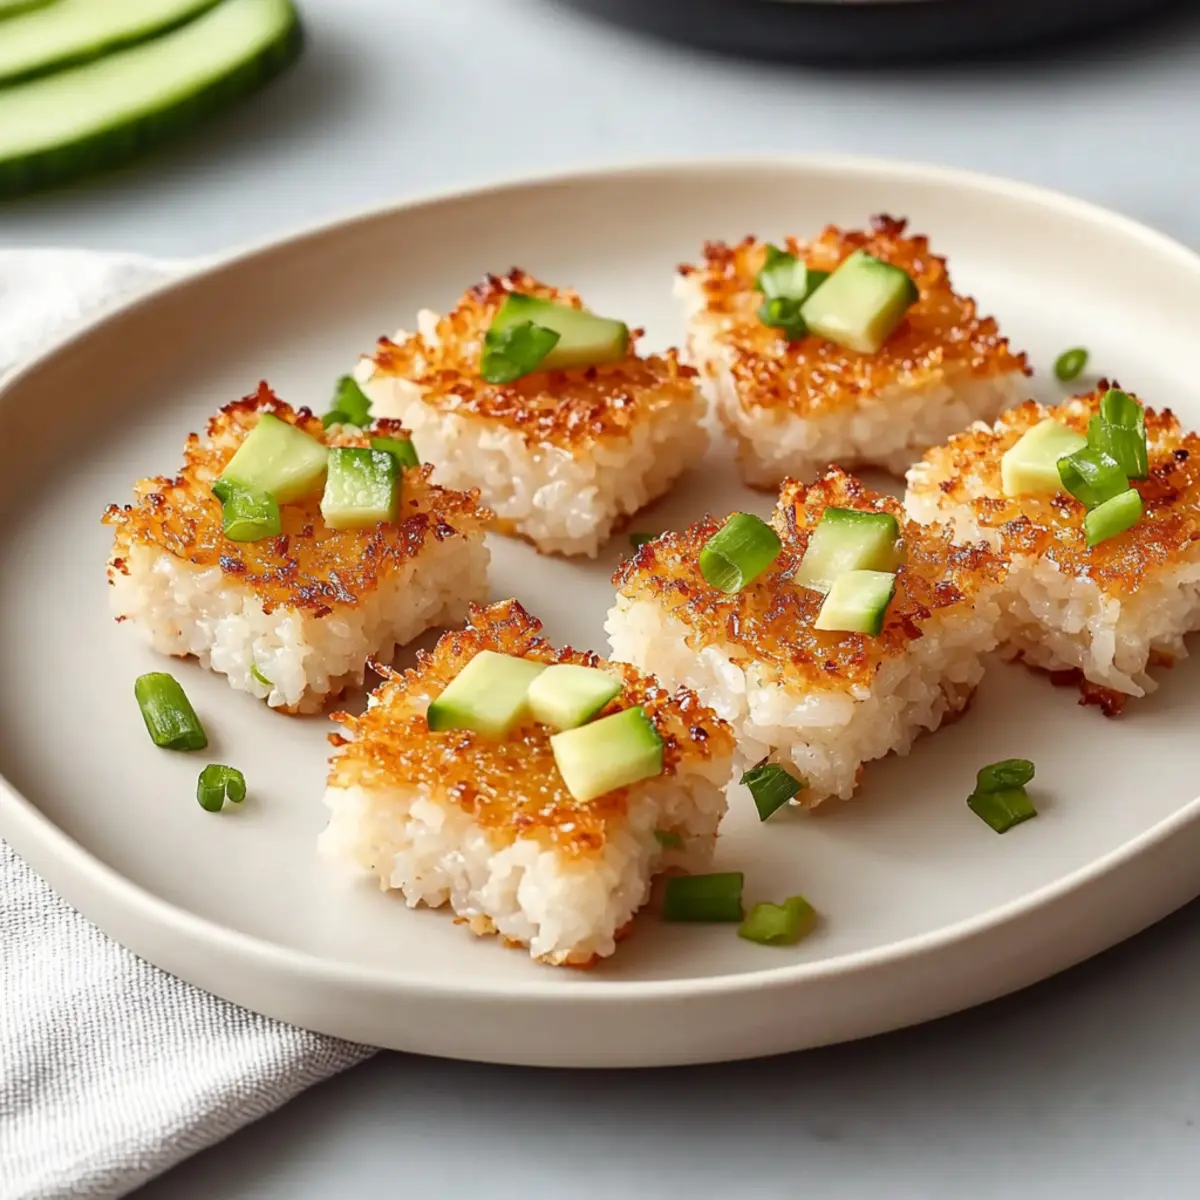
While the Crispy Rice Bites are still warm, consider adding your favorite toppings. Fresh sushi-grade fish, diced avocado, or cucumber slices work beautifully. You can also drizzle with spicy mayo or eel sauce for added flavor. Serve immediately and enjoy these versatile and crunchy morsels with your loved ones!
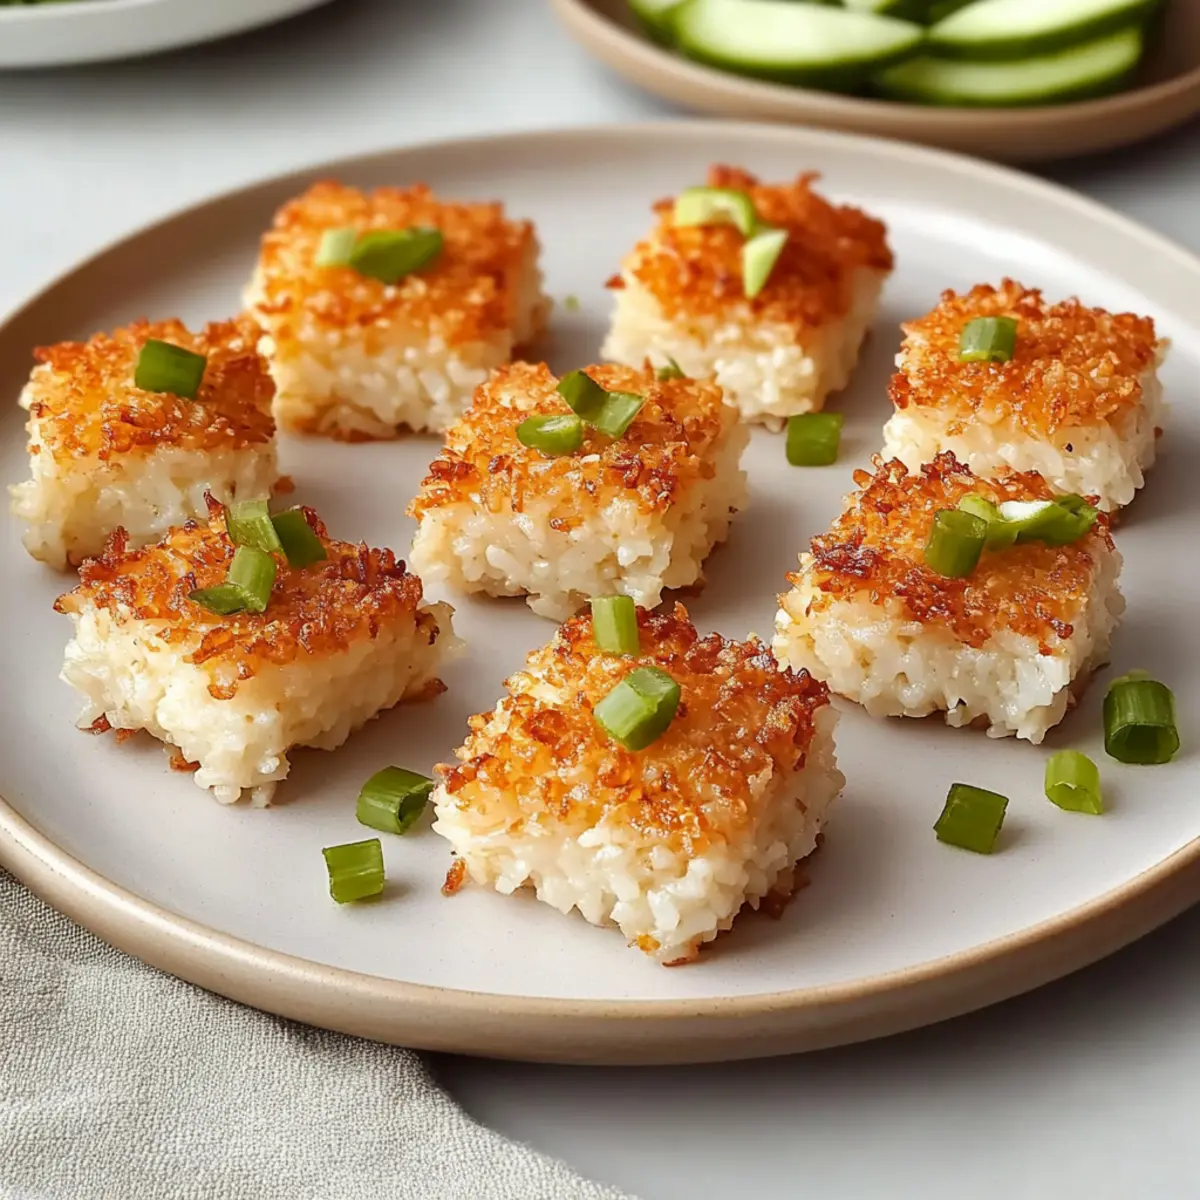
What to Serve with Crispy Rice Bites
Elevate your meal experience with perfect pairings that will complement the delightful crunch of these rice bites.
-
Spicy Mayo: A creamy, zesty sauce that enhances the flavor and adds a lovely kick to each crunchy bite.
-
Cucumber Salad: Refreshing and crisp, this salad adds a cooling contrast to the crispy texture of the bites. Toss with a light vinaigrette for extra zing.
-
Seaweed Salad: The umami flavors and slight chew of seaweed balance the bites beautifully, creating a fun combination of textures.
-
Chilled Sake: This Japanese rice wine accentuates the rice flavors while providing a smooth sip that’s perfect for pairing with savory snacks.
-
Quick Pickles: Tangy, pickled vegetables add an exciting crunch and brightness, cutting through the richness of toppings like avocado.
-
Mango Salsa: Sweet, tangy, and vibrant, it gives a tropical twist that complements the savory rice bites wonderfully.
-
Vegetable Spring Rolls: These light and crispy rolls provide freshness and a delightful crunch, perfect alongside your rice bites.
Let these pairings take your Crispy Rice Bites from tasty nibbles to a full-fledged feast.
Make Ahead Options
These Crispy Rice Bites are a fantastic choice for meal prep! You can prepare and shape the rice bites up to 24 hours in advance by following the initial steps, then refrigerate them tightly covered. This allows the flavors to meld while ensuring they firm up for easy frying later. Simply slice the refrigerated rice and pat it dry before frying just before serving for that perfect crispy texture. Additionally, any leftover bites can be stored in the refrigerator for 3-5 days or frozen for up to 2 months. For the best quality, reheat in a hot skillet, ensuring each bite becomes just as delicious as when first made!
How to Store and Freeze Crispy Rice Bites
Fridge: Store leftover Crispy Rice Bites in an airtight container in the refrigerator for up to 3-5 days. Reheat them in a skillet to regain their crispy texture.
Freezer: For longer storage, freeze individual rice bites on a baking sheet to avoid sticking, then transfer to a freezer bag. They can last up to 2 months in the freezer.
Reheating: To reheat, bake frozen Crispy Rice Bites at 375°F (190°C) for about 10-15 minutes, or until warmed through and crispy.
Make-Ahead: You can prepare and shape the rice bites up to 24 hours in advance; simply store them in the refrigerator until you’re ready to fry.
Crispy Rice Bites: Customize Your Crunchy Snack Adventure
Did you catch the aroma of frying rice the last time you cooked? That enticing smell has a way of pulling me right into the kitchen, and today I’m thrilled to share my recipe for Crispy Rice Bites. These little treasures are not just quick to whip up but also a fantastic way to repurpose leftover sushi rice, transforming it into a crunchy delight that’s perfect for any gathering or cozy movie night. The best part? Each bite is a canvas for your creativity, featuring customizable toppings that cater to every palate, from flavorful fish to creamy avocado. Ready to embark on a culinary adventure with me? Let’s dive into making these irresistible snacks together!
- Swap Toppings: Experiment with fresh herbs or roasted veggies for extra flavor and crunch.
- Make it Vegan: Replace fresh sushi-grade fish with marinated tofu or tempura vegetables; they’ll add delightful textures to your bites.
- Flavor Infusion: Mix spices like garlic powder or paprika into the rice mixture for an extra flavor boost.
- Nutty Delight: Use flavor-infused oils such as chili or garlic oil instead of neutral oils to give a kick to the fried bites.
- Creamy Alternatives: Swap diced avocado with a dollop of hummus or your favorite bean dip for an unexpected twist.
- Endless Heat Levels: Drizzle with sriracha, or top with jalapeño slices for those who crave heat.
- Expand Your Palate: Try a sweet twist by topping these bites with a drizzle of honey and sesame seeds for a delightful contrast.
- Mix and Match: Combine toppings like crispy seaweed and spicy mayo for a fusion appetizer that’s sure to impress.
As you explore these variations, consider pairing your Crispy Rice Bites with sides like a refreshing cucumber salad or a zesty spicy mayo dip, which truly elevate the experience! Enjoy this delicious journey and let your taste buds run wild!
Expert Tips for Crispy Rice Bites
-
Rinse Thoroughly: Always rinse sushi rice until the water runs clear to remove excess starch. This prevents your bites from becoming mushy during frying.
-
Chill the Rice: Allowing the seasoned rice to chill for at least 3 hours makes it easier to cut and helps achieve that perfect crispy texture when fried.
-
Don’t Overcrowd the Pan: Fry rice pieces in small batches to ensure they cook evenly. Overcrowding can lead to soggy bites, so give them space to crisp up beautifully.
-
Oil Temperature Check: Always test the oil temperature before frying; it should be hot enough that a small piece of rice sizzles immediately when added. This ensures a golden, crispy finish.
-
Use a Wire Rack: After frying, place your Crispy Rice Bites on a wire rack instead of paper towels, allowing excess oil to drain and keeping them crispy longer.
Crispy Rice Bites Recipe FAQs
How do I choose the best sushi rice?
Absolutely! When selecting sushi rice, look for short-grain varieties, as they provide the ideal texture and stickiness for making Crispy Rice Bites. Avoid long-grain rice, as it doesn’t hold together well for frying. The grains should be pearl-like and have a glossy appearance.
How can I store leftover Crispy Rice Bites?
Very! Store leftover Crispy Rice Bites in an airtight container in the refrigerator for up to 3-5 days. To maintain their crunchiness, I recommend reheating them in a skillet over medium heat for a few minutes until warmed through.
Can you freeze Crispy Rice Bites?
Definitely! To freeze, arrange your cooled Crispy Rice Bites on a baking sheet in a single layer, ensuring they do not touch each other. Freeze them for about 1-2 hours, then transfer them to a freezer bag. They can be stored for up to 2 months. When you’re ready to enjoy them, bake them at 375°F (190°C) for 10-15 minutes for the best texture.
What should I do if my rice bites fall apart while frying?
If your Crispy Rice Bites are falling apart, it may be that the rice wasn’t compacted enough before chilling. For next time, make sure to press the seasoned rice firmly into a compact block before refrigerating. Also, ensure that you are using enough oil and frying them at the correct temperature; the oil should be hot enough for them to sizzle when placed in the skillet.
Are there any dietary considerations for making Crispy Rice Bites?
Certainly! If you’re concerned about allergies, it’s important to note that the recipe can be easily modified. For those with fish allergies, you can simply omit the sushi-grade fish or substitute with tofu for a vegetarian option. Also, feel free to check that all sauces used, such as spicy mayo or eel sauce, are free from allergens if serving guests with dietary restrictions.
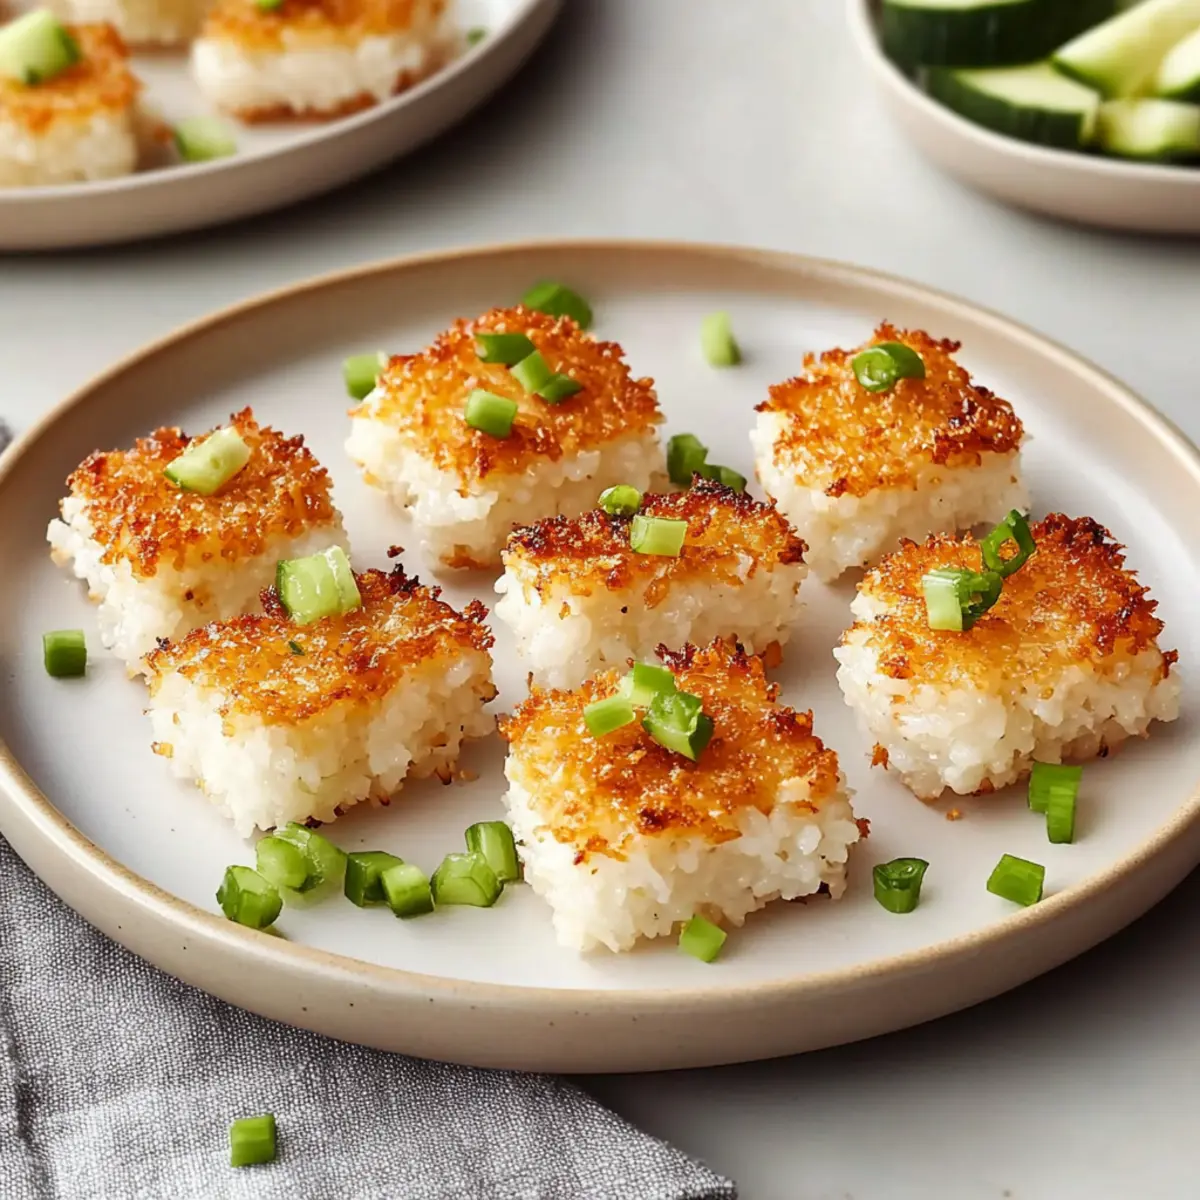
Crispy Rice Bites: Customize Your Crunchy Snack Adventure
Ingredients
Equipment
Method
- Begin by rinsing sushi rice under cold water until the water runs clear. Combine the rinsed rice and water in a rice cooker and cook according to the instructions.
- Once cooked, transfer the rice to a mixing bowl and mix together salt, rice vinegar, sugar, and toasted sesame oil. Fold into the rice evenly.
- Line a baking tray with parchment, transfer seasoned rice onto it and press into a compact block about ½ inch thick. Cover and refrigerate for at least 3 hours.
- Carefully slice the chilled rice into bite-sized pieces and pat dry to remove excess moisture.
- Heat enough cooking oil in a skillet over medium heat. When hot, fry rice pieces until golden brown and crispy, about 1-2 minutes on each side.
- Add toppings while warm, such as sushi-grade fish, avocado, or cucumber. Drizzle with spicy mayo or eel sauce if desired, and serve immediately.
Leave a Reply