
As I stood in my kitchen, the fragrant aroma of fresh cherries wafted through the air, instantly transporting me to sun-soaked summer days. This easy Homemade Cherry Crisp is not just a dessert; it’s a celebration of the season, combining juicy dark sweet cherries with a delightfully crunchy oat topping. The balance of sweet and tart makes it a crowd-pleaser, perfect for gatherings or quiet evenings at home. Plus, the beauty of this recipe lies in its flexibility—you can easily swap cherries for whichever fruits you have on hand, or even reach for frozen cherries for a quick treat any time of year. Curious about how to whip up this delightful dessert? Let’s dive in!
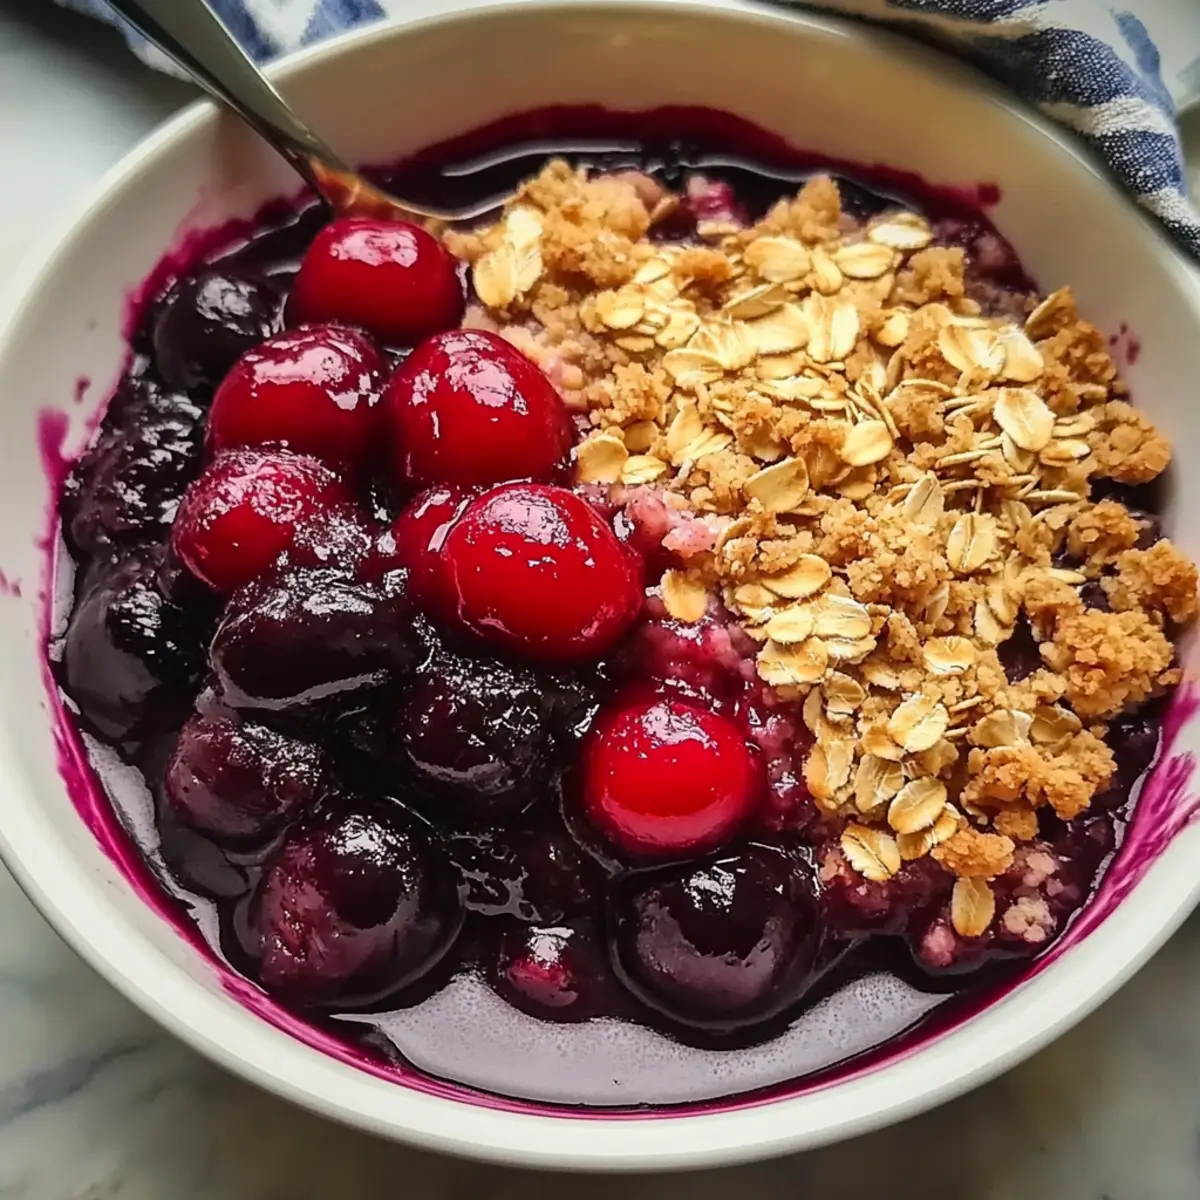
Why is Homemade Cherry Crisp a Must-Try?
Irresistible Flavor: This cherry crisp harmonizes the sweet and tart cherries with a crunchy oat topping to create an unforgettable dessert experience.
Effortless Preparation: It takes just a few simple steps to layer flavors, making it a breeze even for cooking novices.
Seasonal Flexibility: Feel free to switch up the fruit—peaches or blueberries would be delicious alternatives that keep it exciting!
Crowd-Pleasing Delight: Whether it’s a summer barbecue or a cozy family evening, this dessert is sure to impress!
Dairy-Free Options: Easily adapt this recipe using coconut oil for those with dietary restrictions, ensuring everyone can enjoy a slice of bliss.
For a refreshing drink alongside, consider pairing it with our Cherry Limeade Refreshing or a light Cherry Tomato Salad.
Homemade Cherry Crisp Ingredients
Here’s everything you need to create your luscious Homemade Cherry Crisp!
For the Cherry Filling
• Fresh dark sweet cherries – The star of the dessert, providing that juicy sweetness; frozen cherries work too!
• Brown sugar – Sweetens and enhances the flavor of the cherries; swap for coconut sugar for a healthier twist.
• Cinnamon – Adds a warm, aromatic spice to the filling; gives depth to the entire dish.
For the Oat Topping
• Unsalted butter – Adding richness and texture; remember, cold butter works best for a perfect crumble.
• Oats – Essential for that crunch; go for old-fashioned oats for the ideal texture.
• All-purpose flour – Binds the topping together; substitute with a gluten-free blend if you desire a gluten-free version.
Feel free to gather these ingredients to embark on your cherry-crisp-making adventure!
Step‑by‑Step Instructions for Homemade Cherry Crisp
Step 1: Preheat the Oven
Start by preheating your oven to 350°F (177°C). This ensures that as you prepare your homemade cherry crisp, the oven will be hot enough to create a perfectly bubbly and golden topping. Grab a baking dish, ideally 9×13 inches, to hold all those juicy cherries once you’re ready to assemble.
Step 2: Prepare the Cherries
Wash about 4 cups of fresh dark sweet cherries under cool water, then pit and slice them in half. Once prepped, spread the cherries evenly in your baking dish. You’ll want them to glisten, showcasing their vibrant color—we’re creating a beautiful base for our cherry crisp that’s about to shine!
Step 3: Mix the Topping
In a mixing bowl, combine oats, all-purpose flour, brown sugar, and a sprinkle of cinnamon. Use a pastry cutter or your fingers to cut in cold unsalted butter until the mixture becomes crumbly and resembles coarse sand. This topping is key to your homemade cherry crisp’s delightful crunch—so don’t skip this step!
Step 4: Assemble the Crisp
Evenly sprinkle the crumbly oat topping over the prepared cherries in your baking dish. Make sure to cover all the cherries so they’re well hidden beneath the crispy layer. This step helps create contrast between the juicy fruit filling and the crunchy topping, ensuring every bite is a rewarding experience.
Step 5: Bake the Crisp
Place your assembled cherry crisp in the preheated oven and bake for approximately 45 minutes. As it bakes, keep an eye on the topping, which should turn a lovely golden brown while the cherries bubble enthusiastically at the edges. This visual cue indicates that your dessert is nearing perfection!
Step 6: Cool and Serve
Once baked, remove the cherry crisp from the oven and allow it to cool for at least 10 minutes on a wire rack. This cooling period helps the filling set up slightly, making it easier to serve. Enjoy your homemade cherry crisp warm, perhaps topped with a scoop of vanilla ice cream or a dollop of whipped cream to enhance the indulgence!
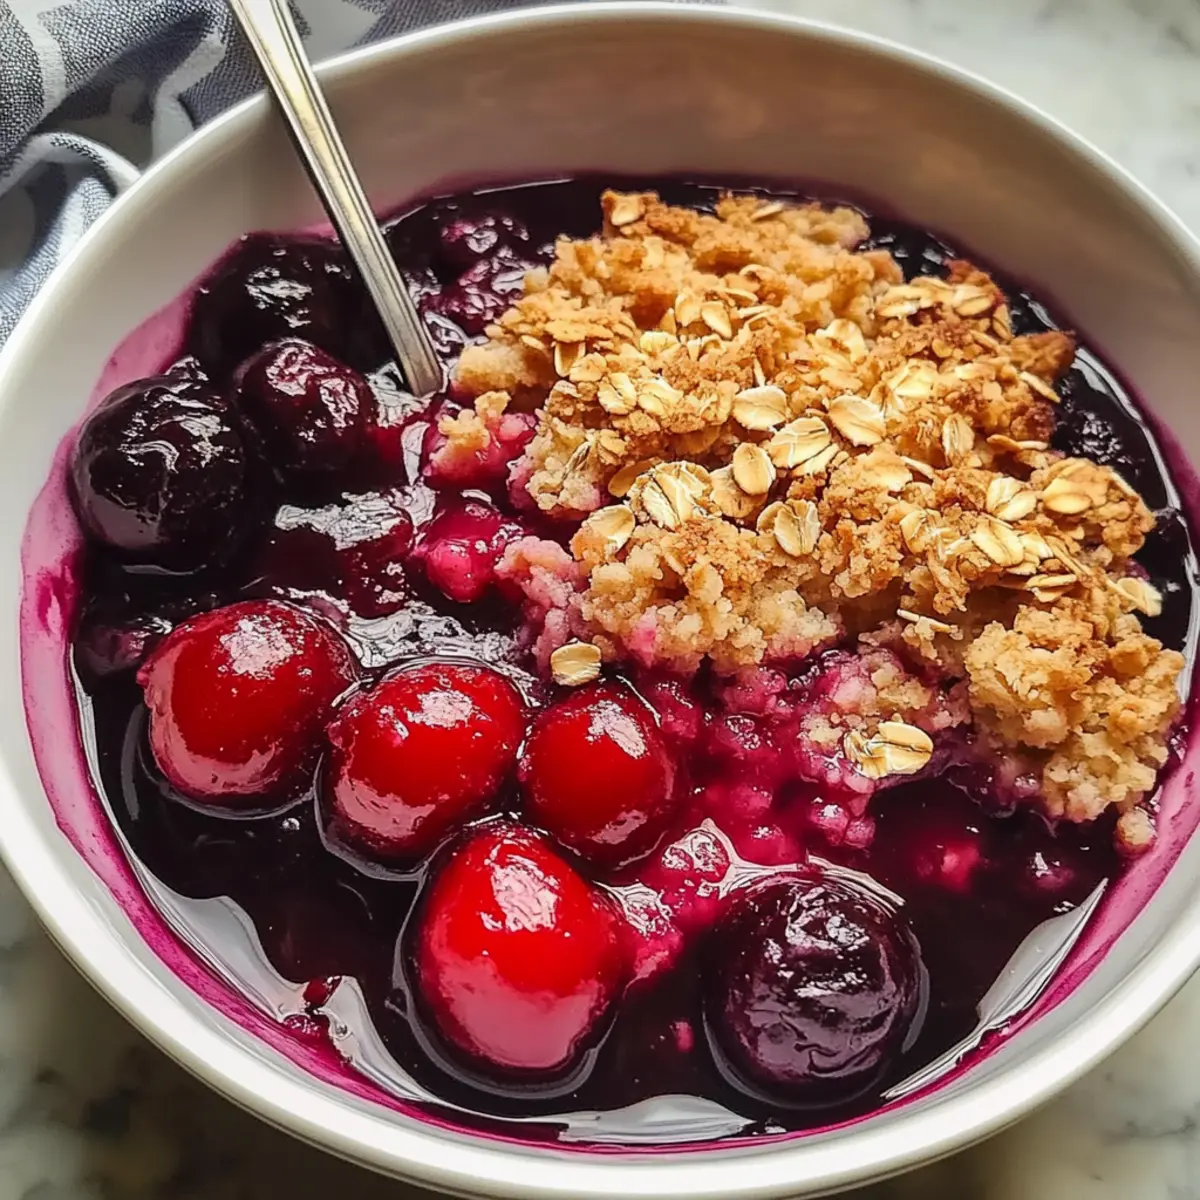
How to Store and Freeze Homemade Cherry Crisp
Fridge: Store any leftover homemade cherry crisp in an airtight container in the fridge for up to 3 days to keep it fresh.
Freezer: For longer storage, freeze the crisp for up to 3 months. Wrap it tightly in plastic wrap and then in aluminum foil to prevent freezer burn.
Reheating: To reheat, bake from frozen at 350°F (177°C) for about 30-40 minutes until warmed through. This will help restore the crisp topping’s glorious crunch!
Cooling: Always let the cherry crisp cool completely before storing to keep the topping from getting soggy. Enjoy it warm whenever you’re ready for a sweet treat!
Make Ahead Options
These Homemade Cherry Crisp preparations are perfect for busy home cooks looking to save time during the week! You can prepare the cherry filling (just mix the pitted, sliced cherries with sugar and cinnamon) and store it in the refrigerator for up to 24 hours. Likewise, the oat topping can be made ahead; simply mix the dry ingredients and cut in the cold butter, then refrigerate it separately. This not only keeps the topping crunchy but also saves you precious time. When you’re ready to serve, just assemble the crisp and bake until golden, ensuring that the flavor and texture remain just as delightful as if made fresh!
What to Serve with Easy Homemade Cherry Crisp?
Indulge in a delightful meal paired with flavors that elevate this comforting dessert experience to a whole new level.
-
Vanilla Ice Cream: The creamy sweetness melts beautifully into the warm cherry crisp, creating a blissful contrast that brings joy to every spoonful. It’s a classic pairing that enhances the rich flavors of the dessert.
-
Coconut Cream: For a dairy-free twist, serve your cherry crisp with a dollop of airy coconut cream. This adds a tropical flair and keeps your dessert light and refreshing.
-
Whipped Cream: Light and fluffy, a generous layer of whipped cream adds an airiness that softens the rich, fruity notes of the cherry filling. Perfect for those who love a bit of indulgent creaminess!
-
Lemon Sorbet: A tangy sorbet serves as a delightful palate cleanser, balancing the sweetness of the cherry crisp while providing a refreshing burst of citrus.
-
Sweet White Wine: Pair with a chilled glass of Riesling or Moscato; the fruity notes in these wines compliment the cherry flavors beautifully. A match made in dessert heaven!
-
Chopped Nuts: Sprinkle some toasted almonds or pecans on top before serving. Their crunch adds texture that contrasts nicely with the softness of the cherries and provides a nutty richness.
-
Cherry Limeade: Offering a bright and zesty flavor, this refreshing drink enhances the tartness of the cherries, making your dessert experience even more enjoyable.
-
Warm Crusty Bread: For an unexpected treat, serve with slices of warm, crusty bread. It isn’t traditional, but dipping the bread into the cherry filling is a glorious way to savor every bit.
Expert Tips for Homemade Cherry Crisp
• Use Cold Butter: Keeping the butter cold is essential to achieve that desired crumbly texture in the topping. Warm butter can lead to a dense topping.
• Avoid Overmixing: When mixing the topping, be gentle. Overmixing can create a tough texture instead of a light, crunchy topping for your homemade cherry crisp.
• Frozen Cherries Guidance: If using frozen cherries, increase baking time by about 10-15 minutes to ensure all moisture evaporates and the topping crisps up beautifully.
• Citrus Zest Boost: Adding a bit of lemon or orange zest to the cherry filling enhances flavor depth and brightens the overall taste of your dessert.
• Storage Tips: To keep the topping crisp, store leftovers uncovered in the fridge. If covered, the steam can make it soggy. Let it cool completely before storing.
Homemade Cherry Crisp Variations
Feel free to personalize your dessert and embrace unique flavors that excite your taste buds!
-
Peachy Twist: Substitute cherries with fresh peaches for a sweet, juicy combination that brings summer to your table. Peaches add a delightful fragrance and sweetness that complements the oats beautifully.
-
Berry Medley: Try a mix of blueberries and raspberries for a vibrant, colorful twist. The tartness of the berries gives an invigorating punch, making each bite a delightful surprise.
-
Nut-Free: Swap the butter for coconut oil or a dairy-free butter alternative to make this dessert suitable for nut allergies. This variation ensures everyone can dive in and enjoy!
-
Gluten-Free: Use a gluten-free flour blend for the topping, ensuring those with gluten sensitivities can savor this dessert without worry. The flavor will remain just as delicious!
-
Spiced Up: Add a pinch of nutmeg along with the cinnamon for an extra layer of warmth and depth. This subtle change elevates the flavors into a cozy, comforting dessert experience.
-
Crispy Edge Lovers: For a delightful crunch, sprinkle some chopped nuts like almonds or pecans on top of the oat mixture before baking. This adds texture and enhances the nutty flavor profile beautifully.
-
Chilled Delight: Serve your cherry crisp with a scoop of coconut or dairy-free ice cream for a refreshing contrast. The creamy chill will complement the warm, gooey cherry filling perfectly.
For even more fruity goodness, try pairing this cherry crisp with a refreshing drink like Cherry Pie Iced Tea or indulge in some Cherry Cinnamon Rolls for breakfast the next day!
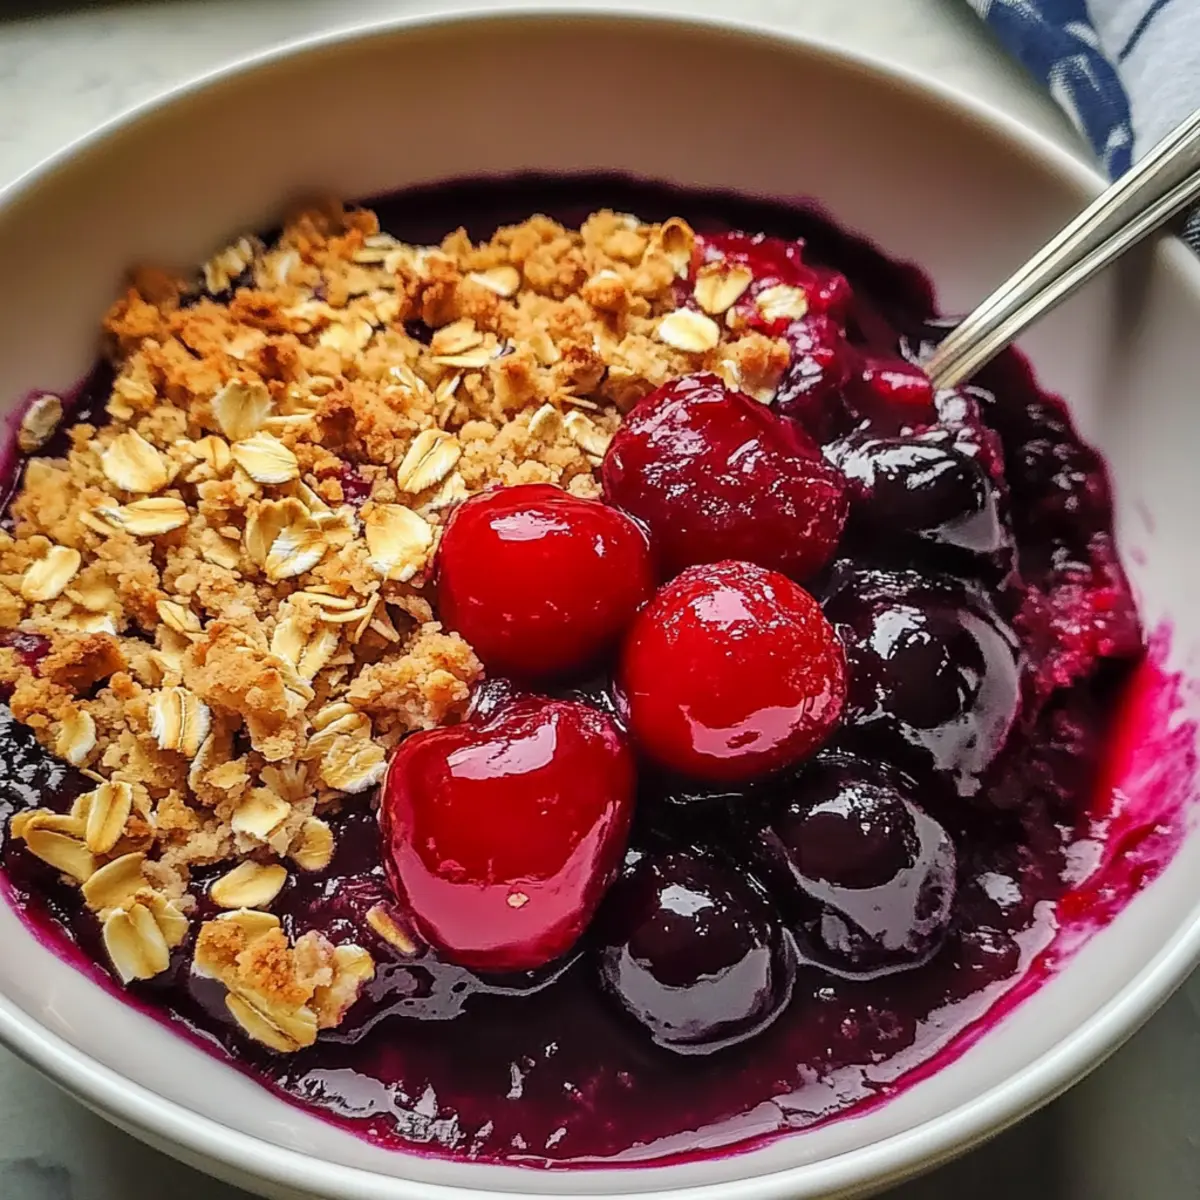
Homemade Cherry Crisp Recipe FAQs
How do I select the freshest cherries for my homemade cherry crisp?
When choosing cherries, look for plump, firm, and shiny ones. The ideal cherries should be deep in color, with no dark spots all over. If you can, taste a few to ensure they’re sweet and juicy!
What’s the best way to store leftover cherry crisp?
To store leftover homemade cherry crisp, allow it to cool completely before transferring it to an airtight container. It can stay fresh in the fridge for up to 3 days. To maintain the crispiness of the topping, store it uncovered or loosely covered.
Can I freeze homemade cherry crisp?
Absolutely! You can freeze your cherry crisp for up to 3 months. First, let it cool completely, then wrap it tightly in plastic wrap followed by aluminum foil. When you’re ready to enjoy it, bake from frozen at 350°F (177°C) for about 30-40 minutes until warmed through and crispy.
What should I do if my topping is too dense?
If your topping turns out dense, ensure that you’re using cold butter and not overmixing the ingredients. When mixing the topping, combine just until crumbly. For a light, airy topping, remember to use a gentle hand!
Are there any dietary considerations for this recipe?
Yes, this homemade cherry crisp can easily accommodate various diets. For dairy-free options, you can substitute cold butter with coconut oil or a plant-based margarine. Additionally, if you’re gluten-sensitive, using a gluten-free flour blend in place of all-purpose flour works wonderfully!
How can I enhance the flavor of my cherry filling?
A great way to boost the flavor of your cherry filling is by adding a touch of lemon or orange zest. This not only brightens the flavor but also adds a delightful aromatic note that harmonizes beautifully with the cherries. Enjoy your baking adventure!
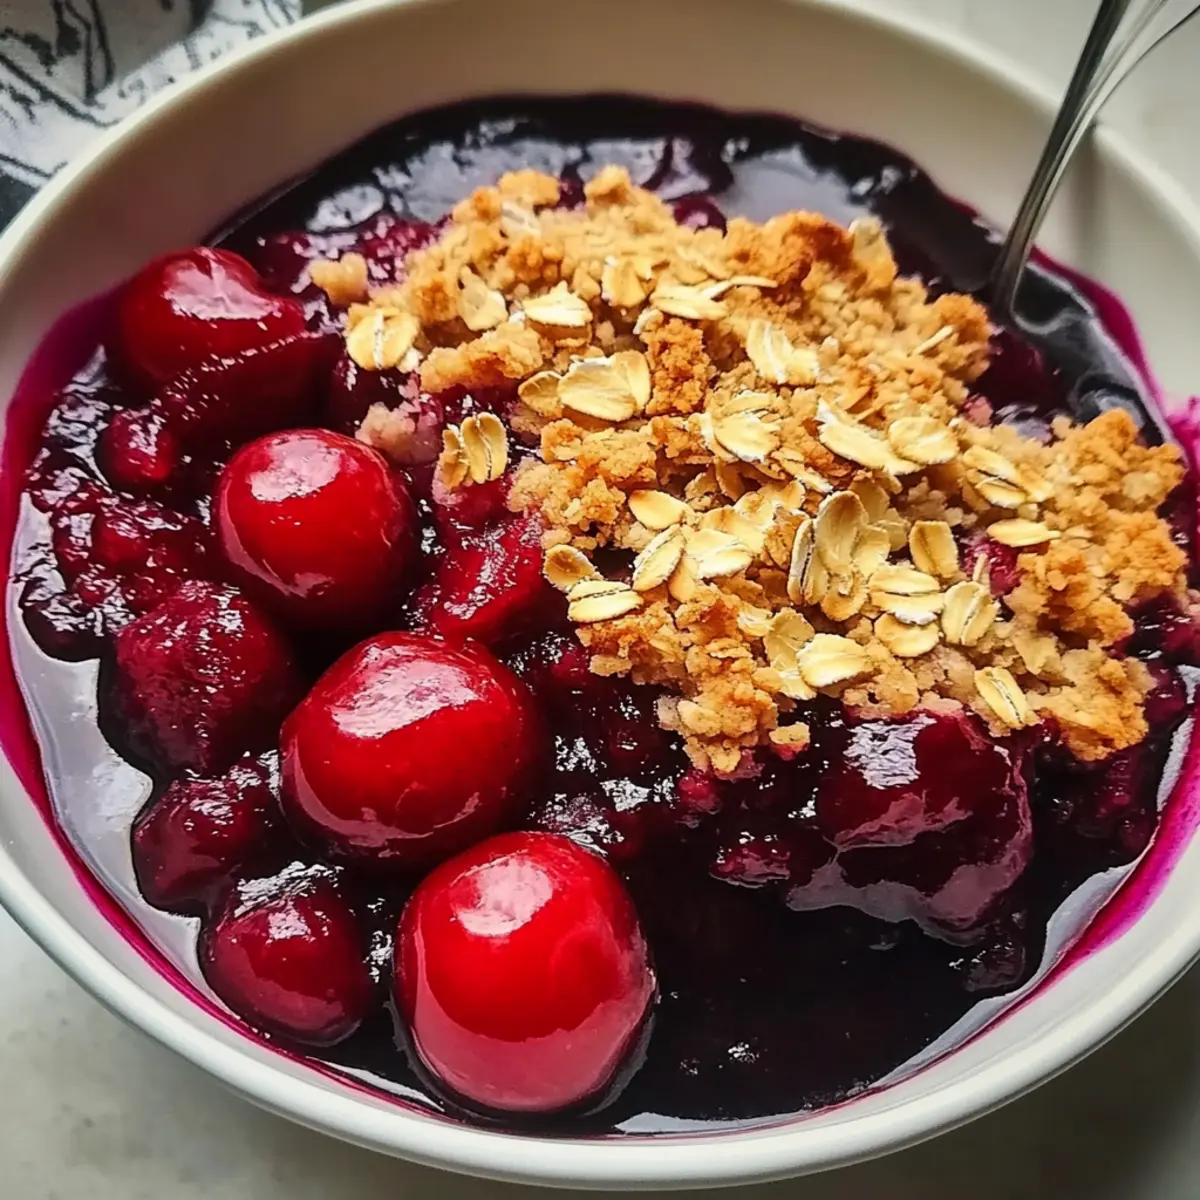
Irresistible Homemade Cherry Crisp with Oat Topping Bliss
Ingredients
Equipment
Method
- Preheat your oven to 350°F (177°C). Prepare a 9x13 inch baking dish.
- Wash and pit the cherries, then slice them in half. Spread them evenly in the baking dish.
- In a mixing bowl, combine oats, flour, brown sugar, and cinnamon. Cut in the cold butter until crumbly.
- Sprinkle the oat topping evenly over the cherries in the baking dish.
- Bake in the preheated oven for approximately 45 minutes until golden brown.
- Remove from the oven, let cool for at least 10 minutes, and serve warm.
Leave a Reply