
There’s a certain magic that happens when you combine just four simple ingredients into something truly extraordinary. Authentic Irish Potato Farls take you on a delightful culinary journey, evoking the charm of cozy mornings and warm, inviting kitchens. These crispy and fluffy cakes are not only a nod to Irish heritage, but they’re also incredibly quick and easy to make—ready in just 30 minutes! Perfect as a side for a hearty breakfast or enjoyed as a savory snack, everyone will be asking for seconds. Plus, with gluten-free adaptations, these farls are accessible to all. Are you ready to discover how simple and satisfying homemade breakfasts can be?
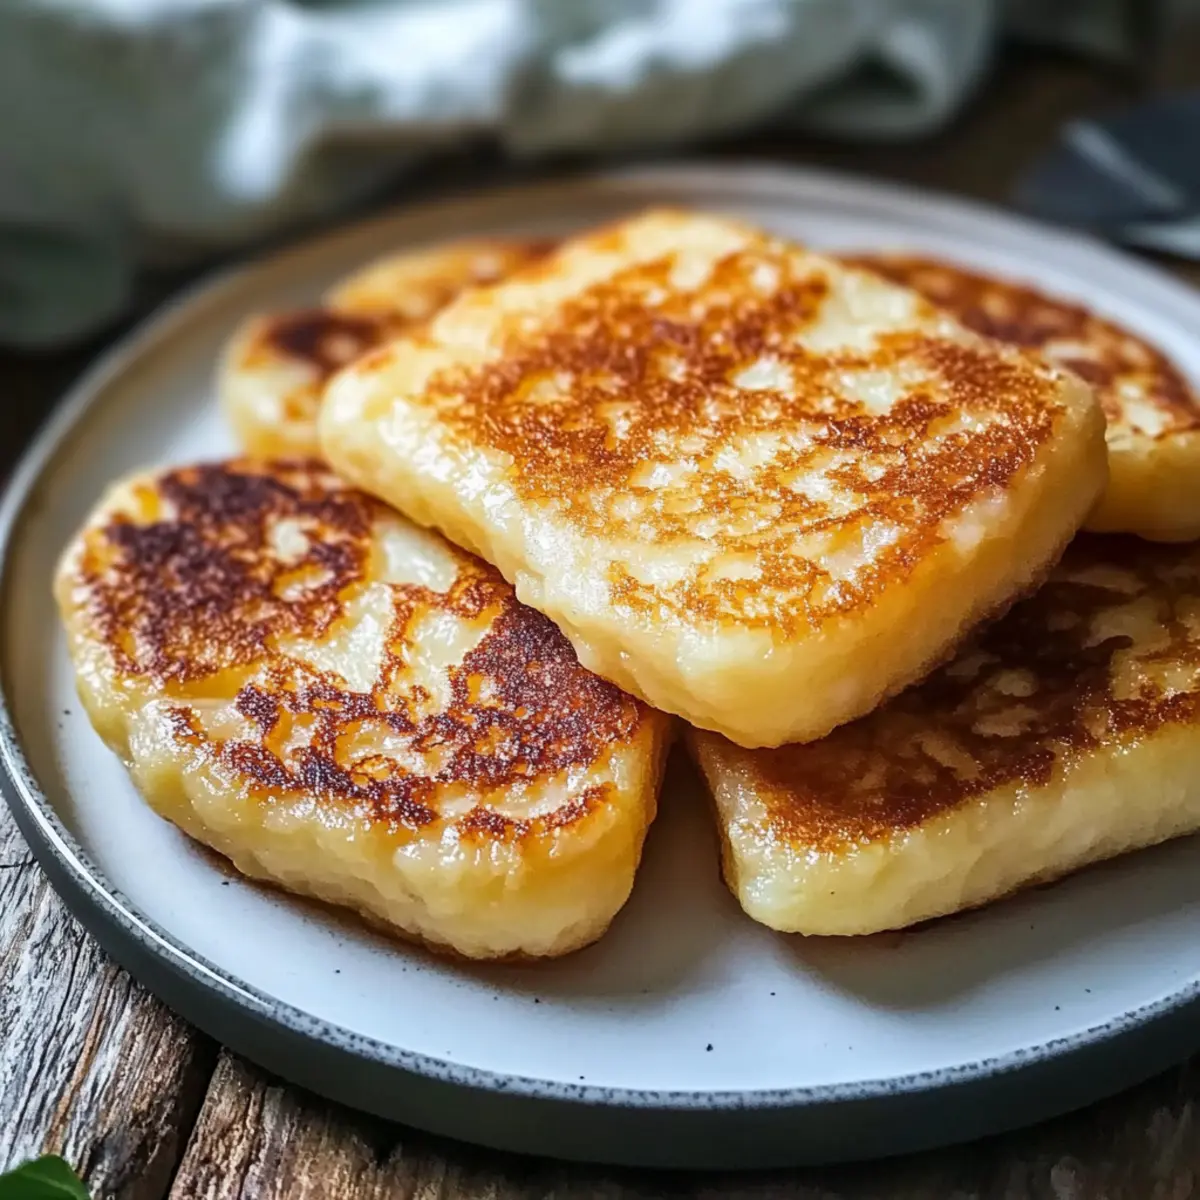
Why Are Irish Potato Farls So Special?
Simplicity shines through this recipe, using just four easy-to-find ingredients. Quick preparation means you can whip up these potato farls in under 30 minutes—perfect for busy mornings. Versatile as both a breakfast side or savory snack, they cater to every meal. Gluten-free adaptations ensure that everyone at the table can enjoy these treats. Plus, comfort is guaranteed with every crispy bite, reminiscent of warm mornings in cozy Irish kitchens. Serve them with some scrambled eggs or alongside a mouthwatering Greek Potato Salad to elevate your breakfast even further!
Irish Potato Farls Ingredients
• Dive into this comforting recipe with just four simple ingredients.
For the Dough
- Potatoes – Use fluffy varieties like Russet or Maris Piper for the best texture; avoid waxy potatoes to keep the farls light.
- All-Purpose Flour – Essential for binding; substitute with gluten-free flour if necessary.
- Sea Salt – Enhances the flavor of the farls; adjust to your preference for seasoning.
- Black Pepper – Adds a gentle spice; feel free to omit if you prefer a milder taste.
- Butter – Adds richness during frying; swap it for cooking oil for a dairy-free option.
Now that you’re equipped with the essential ingredients, it’s time to embrace the delightful process of creating your own Irish Potato Farls!
Step‑by‑Step Instructions for Irish Potato Farls
Step 1: Prepare Potatoes
Begin by peeling and chopping your fluffy potatoes, such as Russet or Maris Piper, into evenly-sized chunks. In a large pot, bring salted water to a boil, then add the potatoes. Steam or boil the potatoes for 20-25 minutes, or until tender enough to easily pierce with a fork. Drain them well to ensure you have light and fluffy Irish Potato Farls.
Step 2: Drain
After boiling, transfer the cooked potatoes to a sieve to drain any excess moisture. Let them sit for about 5 minutes to cool and dry, which prevents your farls from becoming too soggy during frying. This step is crucial for achieving the perfect crispy texture on your Irish Potato Farls.
Step 3: Mash
Next, return the potatoes to the pot or a mixing bowl and mash them using a potato masher or fork until they are completely smooth and fluffy. Avoid leaving any lumps, as this will affect the texture of your Irish Potato Farls. The goal is to create a light, airy base for your dough.
Step 4: Mix Dough
In the same bowl, combine the mashed potatoes with all-purpose flour, sea salt, black pepper, and melted butter. Gently mix until a soft, cohesive dough forms, being careful not to overwork it. If the dough feels sticky, gradually add a touch more flour as needed, ensuring you’ve got a workable dough for shaping your farls.
Step 5: Shape
Lightly flour a clean surface and turn out the dough onto it. Flatten the dough into an 8-inch round disc using your hands or a rolling pin. With a knife or pizza cutter, slice the disc into 6 wedges, creating triangle shapes. This shaping technique is traditional for Irish Potato Farls and will help them cook evenly.
Step 6: Fry
Heat a non-stick frying pan over medium heat and add a tablespoon of butter. Once melted and bubbling, carefully place the potato farls in the pan. Fry them for about 5 minutes on each side, or until they turn golden brown and develop a crispy exterior. You can adjust the heat as necessary to prevent burning.
Step 7: Serve
Once all the Irish Potato Farls are cooked, transfer them onto a paper towel-lined plate to absorb any excess butter. Serve hot, either as a delightful breakfast side alongside eggs and bacon or as a savory snack on their own. The crispy exterior and fluffy interior make these farls a comforting treat!
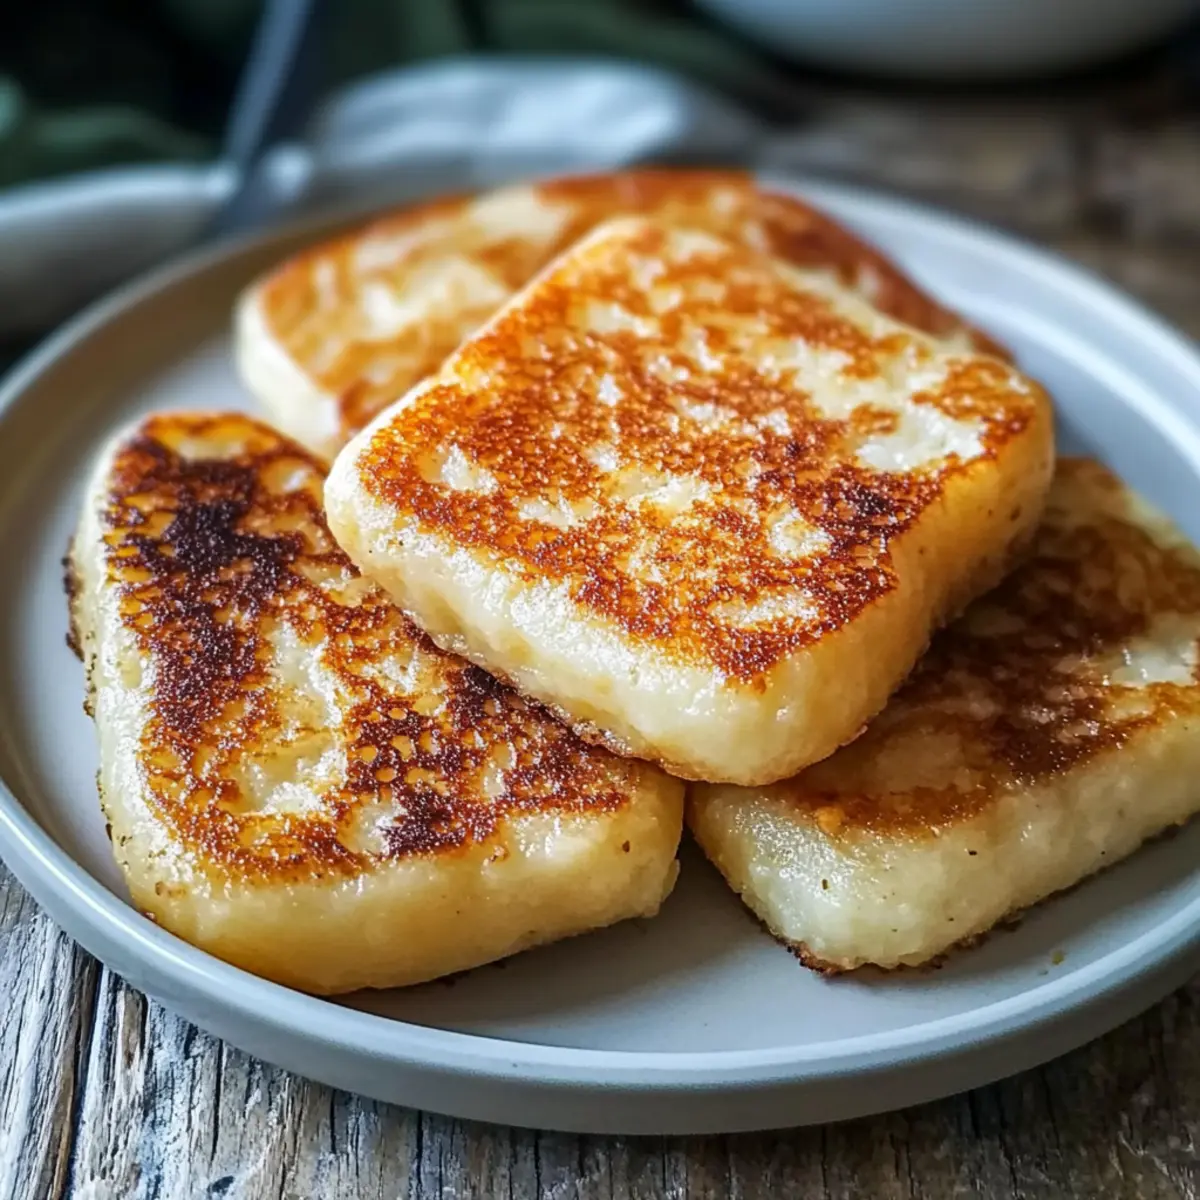
Expert Tips for Perfect Irish Potato Farls
-
Hot Potatoes: Use freshly mashed, hot potatoes to achieve the fluffiest texture. Cold potatoes can result in denser farls.
-
Moisture Control: Allow cooked potatoes to drain thoroughly before mashing. Excess moisture will lead to soggy farls during frying.
-
Frying Temperature: Maintain medium heat when frying to ensure even cooking and prevent burning. Adjust the heat as needed throughout the process.
-
Dough Stickiness: If your dough is too sticky, simply sprinkle in a bit more flour until it’s manageable. Avoid overworking the dough to keep the farls light.
-
Serving Fresh: Serve Irish Potato Farls immediately after cooking for the best crispy texture. They lose their crunch when left sitting too long.
Make Ahead Options
These Irish Potato Farls are perfect for busy cooks looking to save time during hectic mornings! You can prepare the dough up to 24 hours in advance; simply follow the first four steps and store the shaped wedges in an airtight container in the fridge. This method keeps the farls fresh while making them incredibly easy to fry when you’re ready to serve. For even longer storage, freeze the uncooked farls layered with parchment paper for up to 3 months. When it’s time to enjoy, fry them directly from frozen, just adding a few extra minutes to the cooking time for perfectly crispy results. By prepping ahead, you’ll have delicious farls ready with minimal effort, bringing the taste of homemade comfort to your table!
How to Store and Freeze Irish Potato Farls
- Room Temperature: Store leftover Irish Potato Farls in an airtight container at room temperature for up to 1 day. They’re best enjoyed fresh but can be kept short-term if necessary.
- Fridge: Keep any remaining farls in an airtight container in the fridge for up to 3 days. Reheat them gently on the stove or in the oven to restore their crispy texture.
- Freezer: For long-term storage, freeze uncooked Irish Potato Farls layered with parchment paper for up to 3 months. Fry from frozen when ready to serve for a fresh taste!
- Reheating: To reheat, place cold farls in a skillet over medium heat for about 3-4 minutes per side or until heated through and crispy. Enjoy your delicious homemade Irish Potato Farls!
What to Serve with Authentic Irish Potato Farls
Picture indulging in crispy, golden potato farls, the perfect accompaniment to a variety of delightful flavors and textures that elevate your breakfast experience.
- Scrambled Eggs: Creamy scrambled eggs balance the crispy exterior of the farls, making for a satisfying and wholesome breakfast.
- Crispy Bacon: The salty crunch of crispy bacon adds a savory element that complements the fluffy nature of the potato farls beautifully.
- Grilled Tomatoes: Sweet, slightly charred grilled tomatoes introduce a fresh juiciness that brightens your plate while enhancing each bite.
- Sautéed Spinach: Tender, garlicky sautéed spinach provides a vibrant, healthy side that contrasts wonderfully with the hearty farls.
- Smoked Salmon: A luxurious addition, smoked salmon brings a touch of elegance and rich flavor, making breakfast feel extra special.
- Berry Compote: A sweet and tangy berry compote offers a delightful contrast to the savory farls, perfect for a whimsical twist on breakfast.
- Irish Breakfast Tea: Enjoy a cup of brewed Irish tea alongside your meal to round out the traditional experience, enriched with warmth and comfort.
- Fresh Orange Juice: A refreshing glass of freshly squeezed orange juice adds a zesty brightness that brightens and invigorates your meal.
- Apple Cinnamon Sauce: Drizzle warm apple cinnamon sauce over the farls for a sweet treat that melds perfectly with their crispy texture.
Variations & Substitutions for Irish Potato Farls
Feel free to unleash your creativity and tailor these delightful farls to your taste preferences!
-
Dairy-Free: Swap out butter with olive oil or coconut oil for a rich flavor without dairy. This adjustment doesn’t compromise on the deliciousness of your farls.
-
Gluten-Free: Easily make your farls gluten-free by using a gluten-free flour blend or almond flour. This ensures everyone can indulge in this lovely treat!
-
Herb-Infused: Add finely chopped chives, dill, or parsley to the dough for a fresh, fragrant kick. This not only enhances the flavor but also adds a beautiful pop of color.
-
Spicy Kick: For those who enjoy a little heat, mix in red pepper flakes or smoked paprika. This fiery twist takes the savory taste of farls to the next level!
-
Cheesy Twist: Fold in some shredded cheddar or your favorite cheese into the dough. This creates an extra melt-in-your-mouth experience that cheese lovers will adore.
-
Sweet Variation: For a delightful breakfast dessert, incorporate a hint of cinnamon and sugar into the dough. Drizzle with honey afterward for an even sweeter touch.
-
Veggie-Packed: Sneak in some finely grated zucchini or carrot for added moisture and nutrition. Kids won’t even notice the veggies in this tasty treat.
-
Savory Smoky: Add cooked crumbled bacon or smoked sausage pieces into the dough for a hearty, fulfilling option. This can transform your farls into a satisfying breakfast on its own.
These variations are just the beginning of your culinary adventure with Irish Potato Farls! Whether you prefer them classic or with a twist, consider pairing them with some delicious Sausage Sweet Potatoes or enjoying them alongside a hearty serving of Sweet Potato Beef for a truly comforting meal.
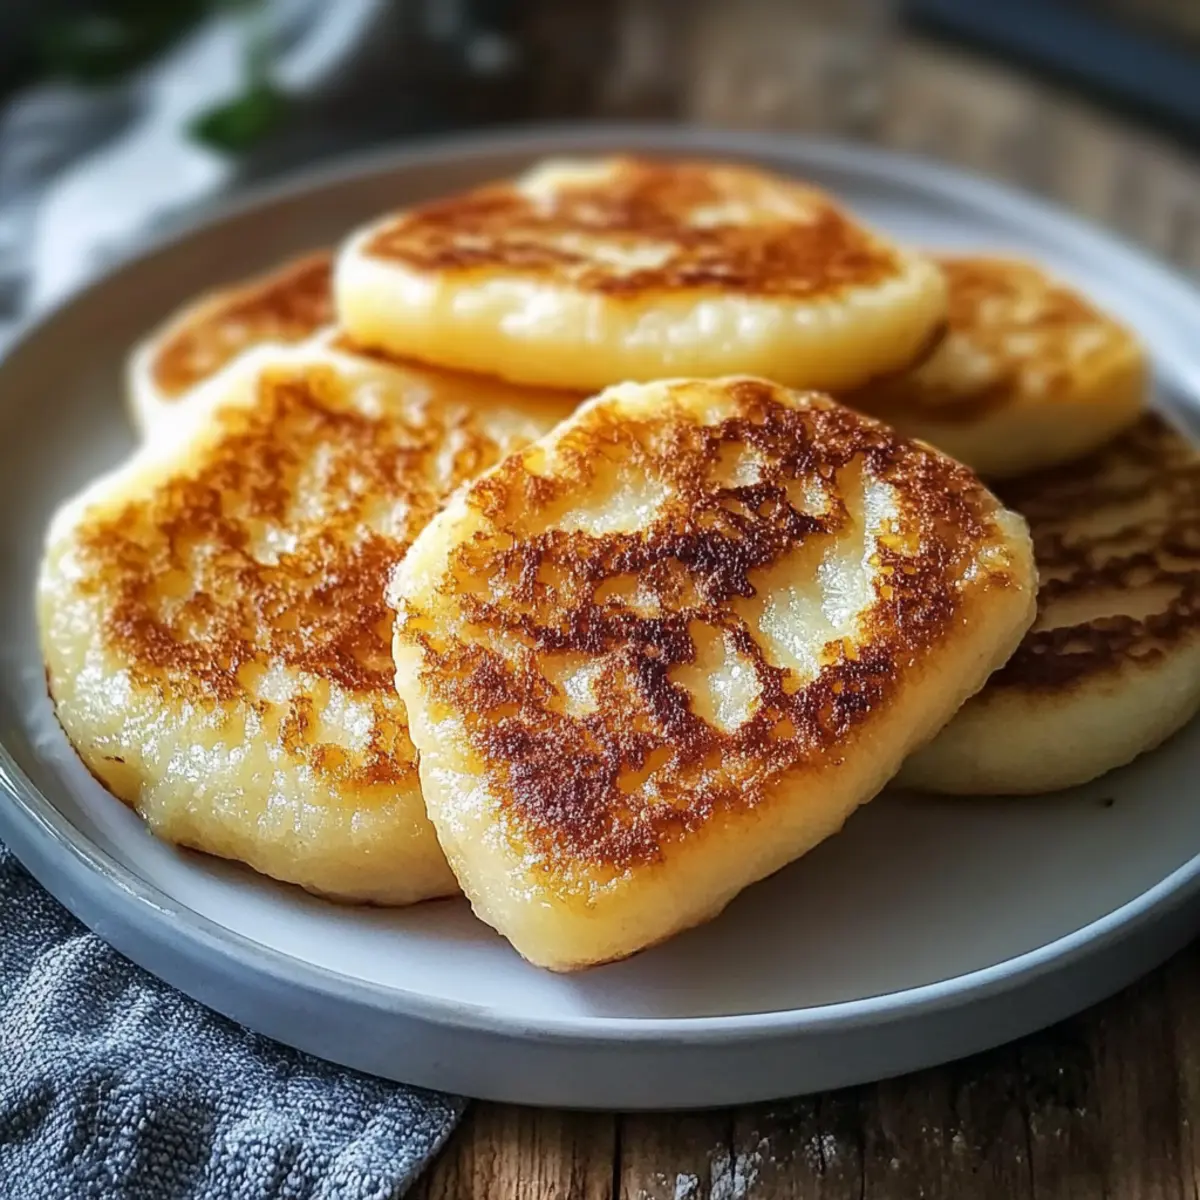
Irish Potato Farls Recipe FAQs
What type of potatoes should I use for Irish Potato Farls?
I recommend using fluffy potato varieties like Russet or Maris Piper, as they yield the best texture. Avoid waxy potatoes, as they will make your farls denser. Look for smooth-skinned potatoes without dark spots for optimum freshness.
How should I store leftover Irish Potato Farls?
Once cooked, store any leftovers in an airtight container in the fridge for up to 3 days. To reheat, I suggest using a skillet over medium heat for about 3-4 minutes per side to restore that wonderful crispy texture.
Can I freeze Irish Potato Farls?
Absolutely! For freezing, shape the uncooked farls and layer them with parchment paper in an airtight container or freezer bag. They can be frozen for up to 3 months. When you’re ready to enjoy them, simply fry them straight from the freezer for about 5-7 minutes per side until golden and crispy.
What if my dough is too sticky?
If you find your dough is too sticky, don’t worry! Just sprinkle a little more flour into the mixture until it is manageable. Be careful not to overwork the dough, as this can make the farls dense instead of fluffy.
Are Irish Potato Farls gluten-free?
Yes, you can make gluten-free Irish Potato Farls by substituting the all-purpose flour with a gluten-free flour blend or almond flour. This way, everyone can enjoy these delicious treats without worry!
Can pets eat Irish Potato Farls?
While potatoes are generally safe for dogs in moderation, it’s important to remember that Irish Potato Farls contain ingredients like butter and salt that aren’t suitable for pets. It’s best to stick to plain, cooked potatoes for your furry friends!
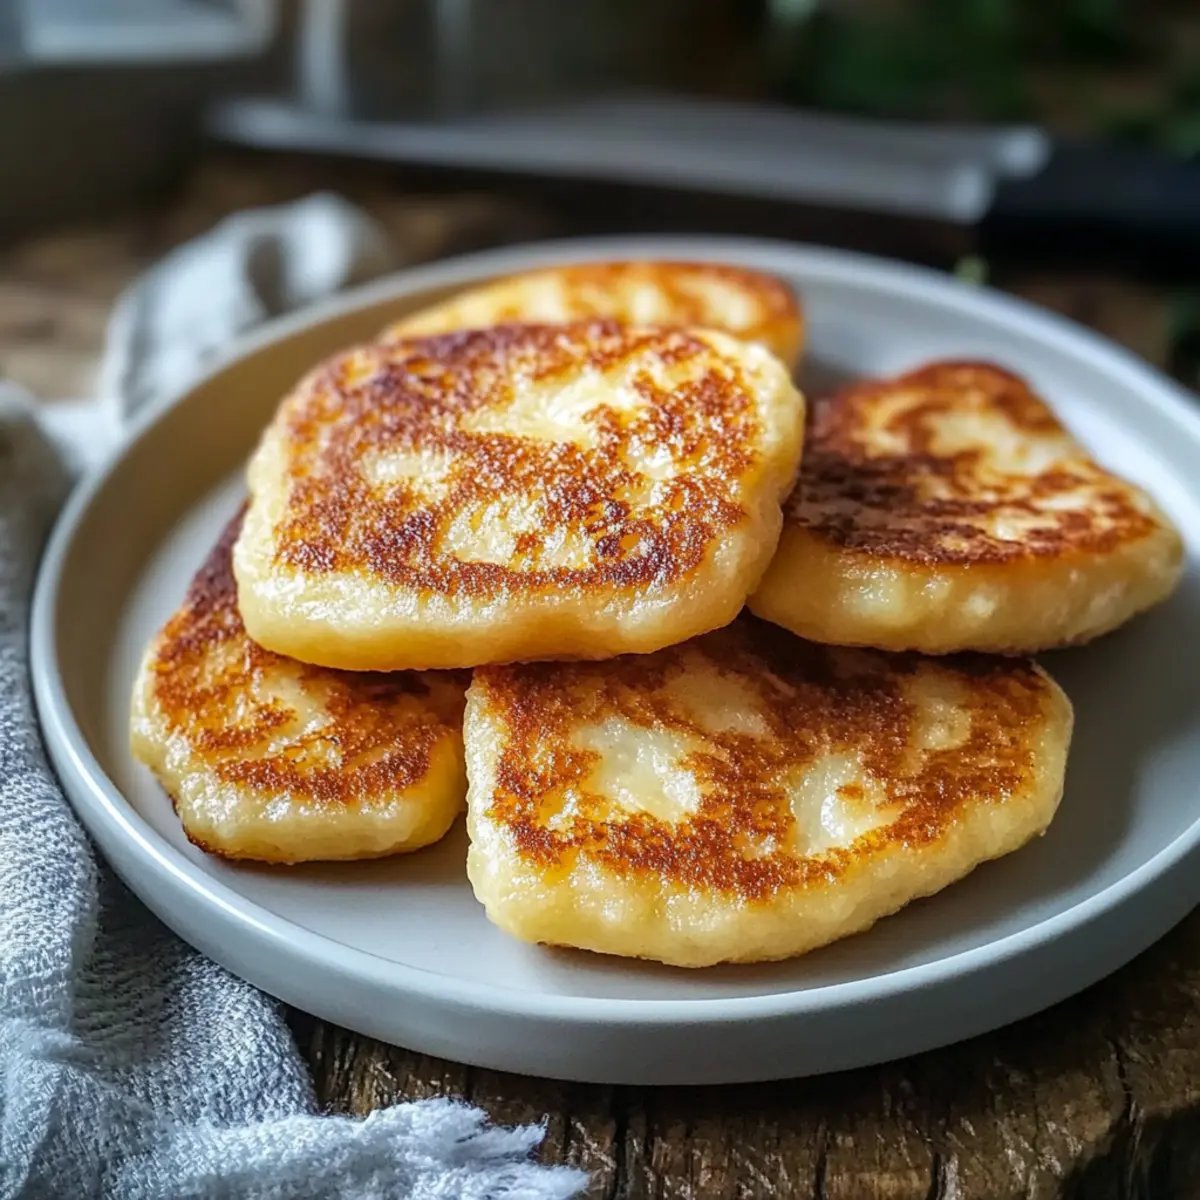
Crispy Irish Potato Farls: A Warm, Comforting Breakfast Delight
Ingredients
Equipment
Method
- Peel and chop the potatoes into evenly-sized chunks. Boil in salted water for 20-25 minutes until tender.
- Transfer cooked potatoes to a sieve to drain and let sit for about 5 minutes to cool and dry.
- Mash the potatoes until completely smooth and fluffy, avoiding any lumps.
- Combine mashed potatoes with all-purpose flour, sea salt, black pepper, and melted butter. Mix gently to form a soft dough.
- Turn out the dough onto a floured surface, flatten into an 8-inch disc, and cut into 6 wedges.
- Heat a non-stick frying pan, add butter, and fry the potato farls for about 5 minutes on each side until golden brown.
- Transfer cooked farls to a paper towel-lined plate. Serve hot as a breakfast side or savory snack.
Leave a Reply