
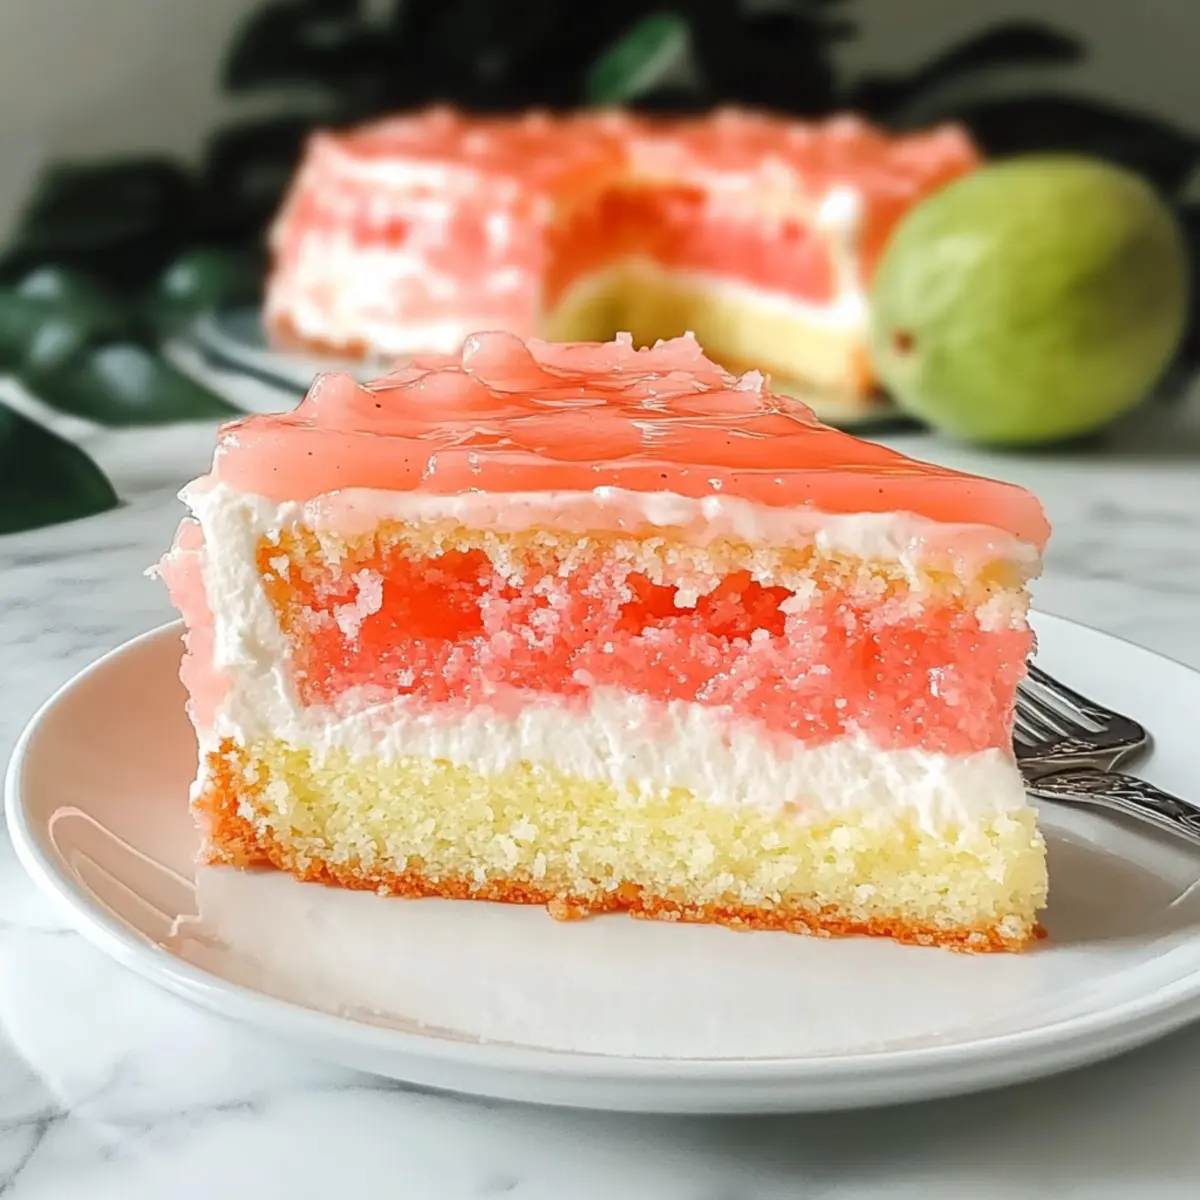
A whisper of the tropics wafts through my kitchen as I pull out the vibrant ingredients for a Hawaiian Guava Cake. This dessert is my secret weapon for turning any gathering into a festive occasion, and trust me, it’s a breeze to whip up. With its moist, fluffy texture and the creamy delight of a sweet guava glaze, everyone from weeknight dinner guests to special occasion celebrators will leave asking for the recipe. Not to mention, it caters to various dietary needs with gluten-free and dairy-free options. So, whether you’re a seasoned home chef or just looking to escape the routine of fast food, this tropical cake will surely become a cherished staple. Are you ready to embark on a culinary trip to paradise?
Why is Hawaiian Cake a Must-Try?
Tropical Escape: This Hawaiian Guava Cake transports you to a sunny paradise with every slice, perfect for brightening up any meal.
Diet-Friendly Options: With gluten-free and dairy-free alternatives available, everyone can indulge in this dreamy dessert.
Easy Preparation: The simple steps make this cake a snap to whip up, so you can spend more time enjoying with loved ones, just like you would when making Pecan Pancakes Cozy.
Gorgeous Presentation: A glossy guava glaze and sweetened coconut flakes elevate the look, making it an Instagram-worthy delight for gatherings.
Versatile Flavor: Customize your cake with fresh fruits or different cake mixes for a variety that delights the taste buds each time.
Hawaiian Guava Cake Ingredients
For the Cake
- Strawberry Cake Mix – Provides a flavorful base for the Hawaiian Guava Cake; opt for a gluten-free mix for a gluten-free dessert.
- Guava Nectar or Juice – Infuses the cake with sweet tropical flavor; choose 100% pure juice for the best taste.
- Eggs (3 large, room temperature) – Essential for binding and rising; substitute with ¼ cup unsweetened applesauce for egg-free options.
- Coconut Oil (½ cup, melted) – Adds a rich, coconut flavor; can be swapped with vegetable oil if preferred.
For the Cream Cheese Layer
- Cream Cheese (8 oz, room temperature) – Creates a creamy texture and richness; use dairy-free cream cheese for a dairy-free treat.
- Granulated Sugar (½ cup) – Sweetens the cream cheese layer; this ingredient is key for the right texture.
- Vanilla Extract (1 tsp) – Enhances the overall flavor profile; use pure vanilla extract for the best results.
- Cool Whip (8 oz, thawed) – Lightens the cream cheese mixture; opt for dairy-free whipped topping for a dairy-free version.
For the Glaze
- Guava Juice (2 ½ cups, for glaze) – Provides a fruity glaze that complements the cake; can substitute with additional guava nectar.
- Cornstarch (2 tbsp) – Acts as a thickener for the glaze; tapioca starch can serve as an alternative if needed.
- Water (¼ cup, for slurry) – Used to mix with cornstarch for thickening.
For Garnish
- Sweetened Coconut Flakes (1 cup, optional) – Adds a crunchy topping and enhances the tropical vibe of the Hawaiian Guava Cake; a delightful addition!
Step‑by‑Step Instructions for Hawaiian Guava Cake
Step 1: Preheat the Oven
Start by preheating your oven to 350°F (175°C) and greasing a 13 x 9 inch baking dish with coconut oil or non-stick spray. This will ensure that your Hawaiian Guava Cake releases easily after baking. Keeping the dish ready at this stage helps streamline your preparation process for the batter.
Step 2: Mix the Batter
In a large mixing bowl or stand mixer, combine the strawberry cake mix, guava juice, eggs, and melted coconut oil. Blend the ingredients on low speed for about 30 seconds, then increase to medium-high speed for 2 minutes until you achieve a smooth, well-combined batter. The mixture should be fluffy and vibrant, ready to bring that tropical flavor to life!
Step 3: Bake the Cake
Pour the batter into your prepared baking dish, spreading it evenly with a spatula. Place the dish in the preheated oven and bake for 24-26 minutes. To check if it’s done, insert a toothpick into the center; it should come out clean or with just a few moist crumbs clinging to it. Once baked, let the cake cool completely on a wire rack.
Step 4: Prepare the Cream Cheese Layer
While the cake is cooling, prepare the cream cheese layer. In a mixing bowl, beat the room-temperature cream cheese until fluffy and smooth. Gradually add the granulated sugar and vanilla extract, mixing until well combined. Gently fold in the Cool Whip until the mixture is light and airy. Place this mixture in the refrigerator to set while the cake cools.
Step 5: Make the Guava Glaze
In a saucepan over medium heat, combine the guava juice and sugar, bringing it to a boil. While it’s heating, mix the cornstarch with water in a small bowl to create a slurry. Once the guava mixture is boiling, add the slurry and stir continuously until the mixture thickens, about 2-3 minutes. Remove it from heat and let it cool completely in the fridge.
Step 6: Assemble the Cake
Once your cake has fully cooled, take the cream cheese mixture out of the refrigerator and spread it evenly over the cake using a spatula. Carefully pour the thickened guava glaze over the cream cheese layer, allowing it to cascade slightly for a beautiful effect. If desired, top with sweetened coconut flakes for added texture and presentation.
Step 7: Chill Before Serving
Cover the assembled Hawaiian Guava Cake with plastic wrap and refrigerate for at least 2 hours, or until ready to serve. This chilling process helps the layers meld beautifully and enhances the flavors. When it’s time to enjoy, slice into the cake and offer everyone a taste of this tropical paradise!
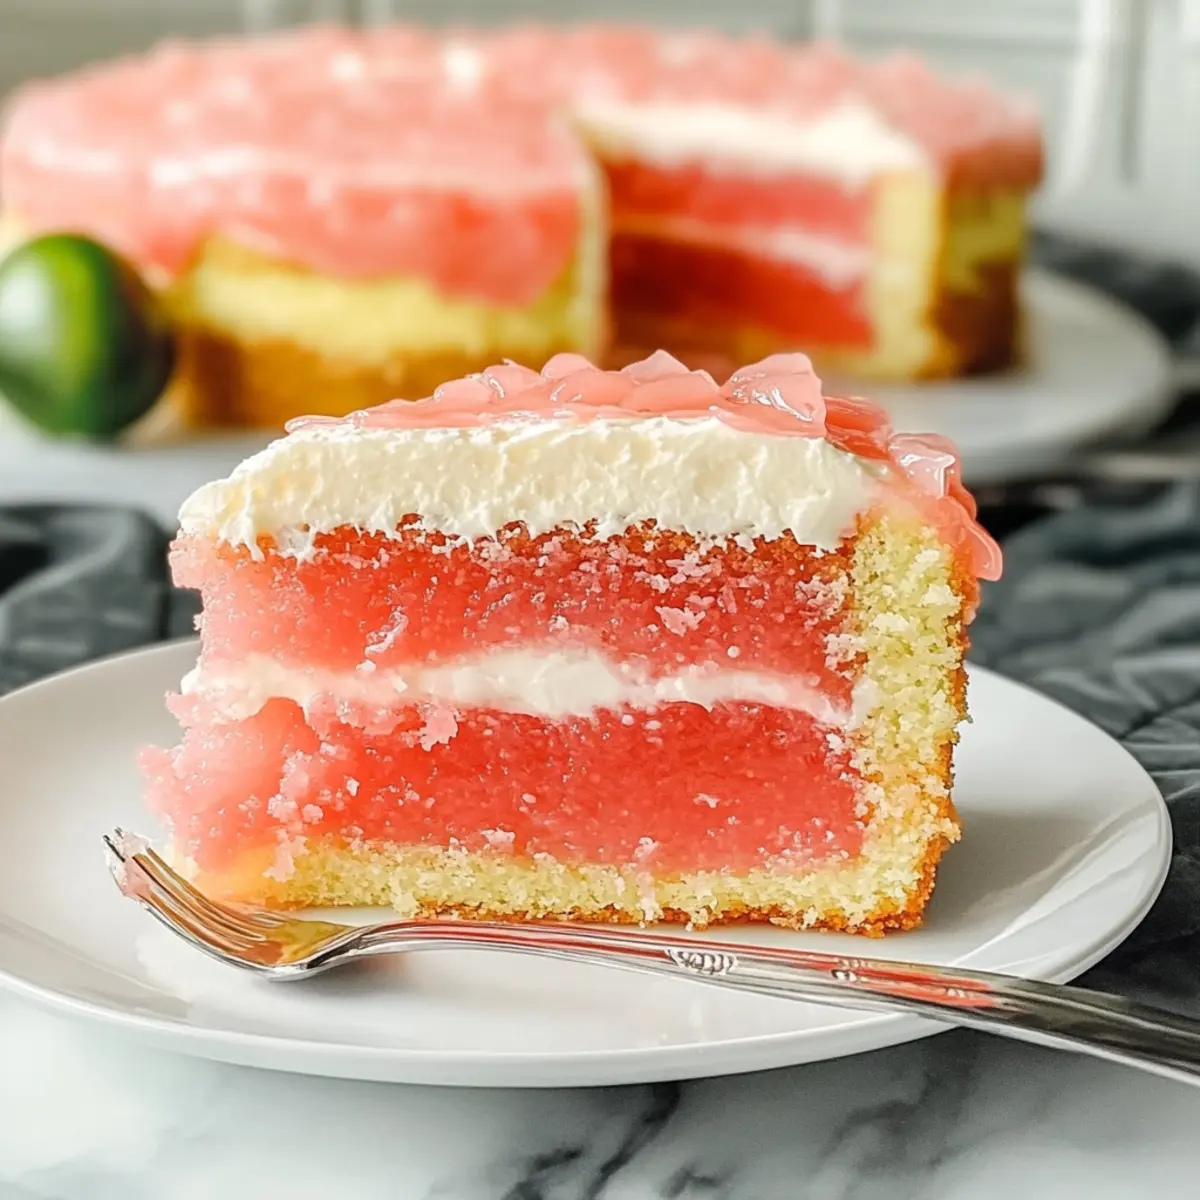
What to Serve with Decadent Hawaiian Guava Cake
A tropical delight deserves equally delightful companions to create a full culinary experience that transports you to paradise.
-
Tropical Fruit Salad: A refreshing mix of mango, pineapple, and kiwi enhances the sweetness of the guava and adds a burst of color. This vibrant salad provides a light, zesty contrast that harmonizes beautifully with the richness of the cake.
-
Coconut Rice: The subtle sweetness and creamy texture of coconut rice elevate the tropical theme, balancing the cake’s flavors perfectly. It’s comforting yet exotic, ideal for a complete meal that feels like a vacation on a plate.
-
Mai Tai Cocktails: This classic tiki drink pairs wonderfully with the cake’s tropical vibe, combining rum, orange liqueur, and freshly squeezed lime for a refreshing sip. It adds a cheeky flair to your gathering, making every bite of cake taste even better.
-
Pineapple Sorbet: The icy texture and sweet tang of pineapple sorbet provide a delightful contrast to the moist cake. This dessert takes indulgence to a new level, cleansing the palate and making every slice of Hawaiian Guava Cake feel refreshing.
-
Chocolate-Dipped Strawberries: These sweet and luscious treats offer a delightful contrast to the sweet guava, with their smooth chocolate notes perfectly complementing the tropical flavors. They serve as an elegant garnish and make every serving feel like a special occasion.
-
Toasted Coconut Flakes: Sprinkle some extra toasted coconut on top of your cake or alongside it. The added crunch and nutty flavor enhance the cake’s tropical elements, making each bite even more divine. It’s a simple touch that elevates the entire experience.
-
Mint Lemonade: A refreshingly zesty drink that cleanses the palate after the rich cake, this thirst-quencher enhances the tropical theme with its bright and fruity notes. Ideal for balancing the sweetness of the guava, it’ll keep everyone feeling refreshed!
How to Store and Freeze Hawaiian Guava Cake
Fridge: Keep leftover Hawaiian Guava Cake tightly covered in the refrigerator for up to 3 days to maintain its moisture and flavor.
Freezer: For longer storage, wrap individual slices in plastic wrap and then place in an airtight container. This allows the cake to be frozen for up to 2 months.
Reheating: To enjoy your cake chilled, simply slice and serve directly from the fridge. For a warm treat, reheat slices in the microwave for about 15-20 seconds until just warmed through.
Garnish Tip: If your cake has sweetened coconut flakes, consider adding them fresh after reheating to keep their crunch!
Expert Tips for Hawaiian Guava Cake
-
Room Temperature Ingredients: Ensure your cream cheese and eggs are at room temperature to create a smooth batter and fluffy cream layer.
-
Cooling Time: Allow the cake to cool completely before adding the cream cheese layer to avoid melting and ensure clean layers.
-
Flavor Enhancement: For a more intense guava flavor, chill the guava glaze and allow it to infuse in the refrigerator before adding to your cake.
-
Avoid Overbaking: Keep an eye on the baking time! Check the cake’s doneness around 24 minutes with a toothpick to prevent dryness.
-
Creative Variations: Feel free to experiment with flavors by using different cake mix varieties or add fresh fruits to personalize your Hawaiian Guava Cake.
Make Ahead Options
These Hawaiian Guava Cakes are perfect for busy home cooks looking to save time during the week! You can prepare the cake batter, pouring it into the baking dish, and refrigerate it up to 24 hours before baking. Additionally, the cream cheese layer and guava glaze can be made ahead and stored separately in the refrigerator for up to 3 days. To maintain their freshness, make sure to cover each component tightly. When you’re ready to serve, simply bake the cake, let it cool completely, layer with the chilled cream cheese mixture and guava glaze, and refrigerate again until you’re ready to wow your guests with a slice of tropical delight!
Hawaiian Guava Cake Variations
Feel free to let your creativity shine as you customize this delightful Hawaiian Guava Cake to suit your taste preferences and dietary needs!
-
Gluten-Free: Use a gluten-free cake mix to enjoy a blissful slice without the gluten. This keeps the tropical flavor intact while accommodating those with sensitivities.
-
Dairy-Free: Swap the cream cheese for dairy-free alternatives and use a non-dairy whipped topping. You’ll still achieve that rich, creamy texture without the dairy.
-
Tropical Twist: Add diced fresh pineapple or mango into the batter. This will enhance the tropical vibe, adding both texture and bursts of flavor in every bite!
-
Citrus Zest: Mix in a tablespoon of lemon or lime zest into the cream cheese layer for a refreshing citrusy contrast. The bright notes will elevate the overall flavor profile.
-
Chocolate Drizzle: Pour melted dark chocolate over the cooled guava glaze for a decadent twist. The rich chocolate will beautifully complement the fruity glaze.
-
Nutty Crunch: Fold in crushed macadamia nuts or toasted coconut into the batter to introduce a delightful crunch. This adds not only texture but also enhances the tropical essence.
-
Spicy Kick: Sprinkle a pinch of cayenne pepper or finely chopped jalapeño into the batter for a surprising spicy kick. It creates an intriguing contrast with the sweetness of guava.
-
Layered Delight: For an elegant touch, slice the cake horizontally and fill it with extra cream cheese frosting before topping with guava glaze. It turns a simple cake into a multi-layered masterpiece!
Whether you choose to mix, match, or add to this cake, it’s sure to be a showstopper, just like my Churro Cheesecake Sweet or Pumpkin Cheesecake Bars. Indulge in these variations and share the joy of this tropical delight with family and friends!
Hawaiian Guava Cake Recipe FAQs
What type of guava juice should I use?
Absolutely! For the best flavor in your Hawaiian Guava Cake, I recommend using 100% pure guava nectar or juice. Avoid those with added sugars or artificial flavors; you want the natural sweetness of guava to shine through.
How long can I store leftovers?
Very! Your leftover Hawaiian Guava Cake can be stored in the refrigerator for up to 3 days. Just make sure to cover it well to keep it moist. If you’d like to keep it longer, you can freeze it!
What’s the best way to freeze Hawaiian Guava Cake?
The more the merrier! To freeze your Hawaiian Guava Cake, slice it into individual portions. Wrap each slice tightly in plastic wrap, then place them in an airtight container. This way, the cake will stay fresh for up to 2 months. When you’re ready to enjoy, just thaw it in the fridge overnight!
What if my cake turns out dry?
Don’t fret! If you find your cake is a bit dry, it could be due to overbaking. Always check for doneness around the 24-minute mark using a toothpick; it should come out with a few moist crumbs, not clean. If it happens, drizzle a little guava juice on top after baking to help rehydrate it.
Can I make this dessert allergen-friendly?
Definitely! The Hawaiian Guava Cake can easily accommodate different dietary preferences. You can opt for a gluten-free cake mix, use unsweetened applesauce for eggs, and substitute dairy-free cream cheese and Cool Whip to make it vegan and allergy-friendly. Just be sure to check labels for hidden allergens.
What fruits can I add to the cake batter?
For a delightful twist, you can incorporate diced fresh pineapple or mango right into the batter! This not only adds extra tropical flair but also enhances the texture. A tablespoon of lemon zest in the cream cheese layer can also provide a fun citrusy kick!
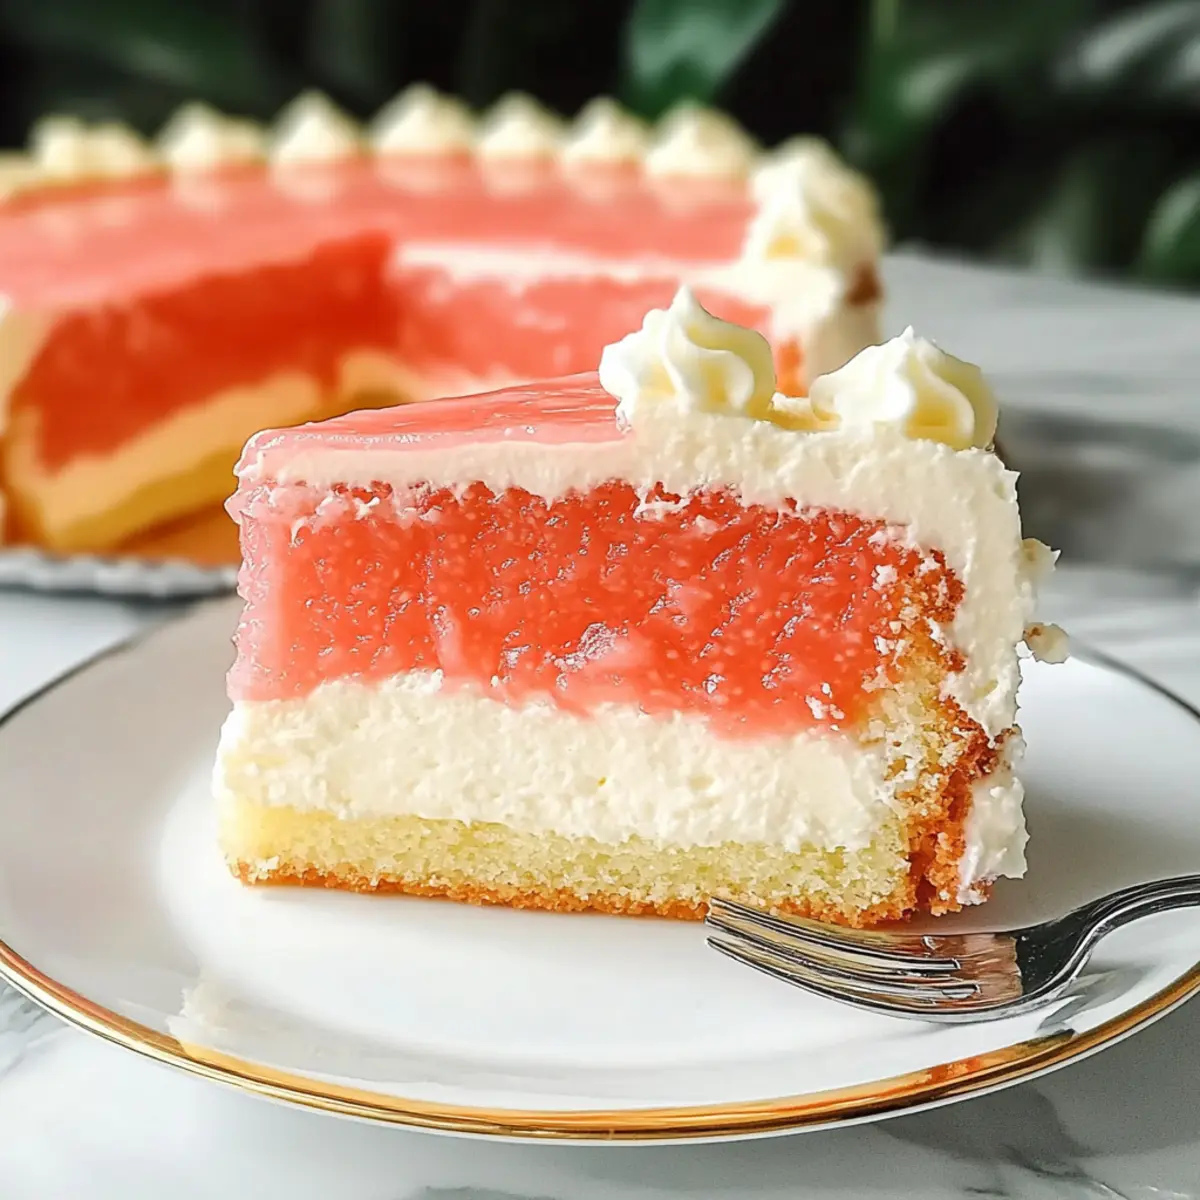
Heavenly Hawaiian Guava Cake Perfect for Every Occasion
Ingredients
Equipment
Method
- Preheat your oven to 350°F (175°C) and grease a 13 x 9 inch baking dish.
- Combine the strawberry cake mix, guava juice, eggs, and melted coconut oil in a mixing bowl. Blend on low speed for 30 seconds, then medium-high for 2 minutes until smooth.
- Pour the batter into the prepared baking dish. Bake for 24-26 minutes. Let the cake cool completely on a wire rack.
- Beat room-temperature cream cheese until fluffy. Gradually add sugar and vanilla extract, then fold in Cool Whip. Refrigerate to set.
- In a saucepan over medium heat, combine guava juice and sugar, bringing to a boil. Mix cornstarch with water for slurry. Add to boiling mixture until thickened. Cool in the fridge.
- Spread cream cheese mixture over the cooled cake, pour the guava glaze on top, and garnish with coconut flakes.
- Cover with plastic wrap and refrigerate for at least 2 hours before serving.
Leave a Reply