
The aroma of sweetened Thai tea wafting through my kitchen instantly transports me to vibrant street markets and cozy cafes. That’s the magic behind my Silky Smooth Thai Tea Crème Brûlée, a delightful twist on the classic dessert that blends the unique flavors of Thai tea with a luxurious custard base. This recipe not only brings indulgence to your dinner table but also offers an easy way to impress friends and family, making it a perfect choice for your next gathering. Plus, it’s an engaging way to explore homemade desserts without the fuss of traditional baking techniques. Are you ready to discover how to create this stunning dessert from scratch?
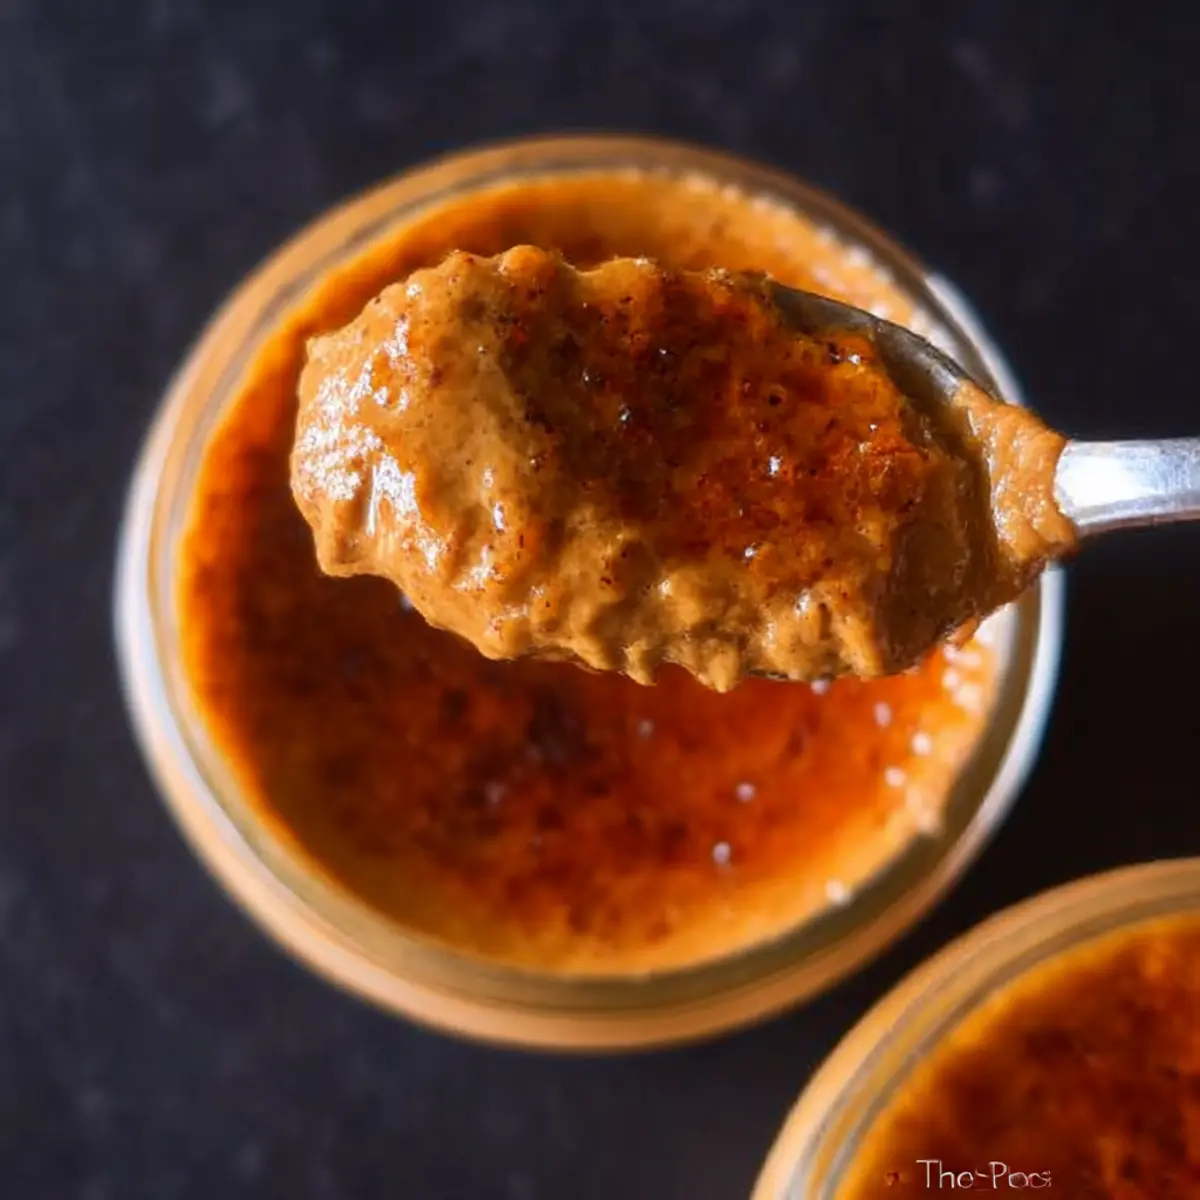
Why is Thai Tea Crème Brûlée Unforgettable?
Irresistible fusion: This recipe brings together the rich, sweet flavors of Thai tea with a classic crème brûlée, creating a dessert that’s truly one-of-a-kind.
Smooth & Luxurious: The silky custard texture melts in your mouth, making every bite feel like a decadent treat.
Easy impress: With just a few simple steps, you’ll impress your guests, showcasing your culinary skills without hours of effort.
Customizable delights: Feel free to experiment with various flavored teas or toppings to make this dessert your own! It’s great for any occasion and pairs well with a refreshing Pie Iced Tea or even after savoring Tiramisu Cookies Steal.
Make-Ahead Wonder: You can prepare this treat in advance, storing it for up to three days, making it a stress-free centerpiece for gatherings.
Thai Tea Crème Brûlée Ingredients
For the Custard
- Heavy Cream – Provides richness and structure to the custard.
- Milk – Adds creaminess and balances the custard’s consistency.
- Thai Tea Mix – Infuses the custard with the unique flavors of Thai tea.
- Egg Yolks – Act as a thickening agent, resulting in a smooth custard.
- Sweetened Condensed Milk – Sweetens the custard and enhances its creamy texture.
For the Caramelized Top
- Granulated Sugar – For caramelizing the top layer of the crème brûlée.
With these carefully chosen ingredients, you’re on your way to creating a delectable Thai Tea Crème Brûlée that will tantalize taste buds and warm hearts. Enjoy the process and feel the magic in your kitchen!
Step‑by‑Step Instructions for Thai Tea Crème Brûlée
Step 1: Preheat and Prepare
Begin by preheating your oven to 300°F (150°C). In the meantime, prepare a hot water bath by filling a deep dish pan with enough water to reach halfway up the sides of your ramekins. This will create a gentle cooking environment for your silky Thai tea crème brûlée, ensuring even baking.
Step 2: Heat the Cream Mixture
In a saucepan, combine heavy cream, milk, and Thai tea mix. Heat over medium-high heat until it just comes to a boil. Once boiling, remove from heat and let it steep for 5 to 10 minutes. This allows the fragrant flavors of the Thai tea to infuse into the cream, enhancing the resulting custard.
Step 3: Strain the Mixture
Carefully strain the tea-infused cream mixture through a fine mesh sieve into a separate bowl. This step is essential to remove any tea leaves, ensuring your Thai tea crème brûlée has a smooth texture. Set this creamy, aromatic liquid aside while you prepare the egg yolk mixture.
Step 4: Whisk the Egg Yolks
In a heatproof mixing bowl, vigorously whisk together egg yolks and sweetened condensed milk until the mixture is pale and slightly thickened. This should take about 1 to 2 minutes. Be sure to whisk thoroughly to combine, creating a rich base for your custard.
Step 5: Combine Mixtures
Slowly drizzle the strained warm tea mixture into the egg yolk blend, whisking continuously to temper the yolks and prevent scrambling. The goal is to create a silky custard mixture that showcases the unique flavors of the Thai tea. Continue whisking until everything is well combined and smooth.
Step 6: Fill Ramekins
Divide the creamy custard mixture evenly among your prepared ramekins. Place the filled ramekins into the deep dish pan to prepare for baking. Ensure they are equally spaced to allow even cooking and heat distribution for the perfect texture in your Thai tea crème brûlée.
Step 7: Create the Water Bath
Carefully pour the hot water into the deep dish pan, filling it halfway up the sides of the ramekins. This hot water bath is crucial for gentle cooking, ensuring the custard sets beautifully without curdling. Place the entire setup in the preheated oven and bake for 25 to 30 minutes.
Step 8: Check for Doneness
After the baking time, check your crème brûlée for doneness. The edges should be set, while the centers should still have a slight jiggle—this indicates a creamy texture. If needed, continue baking in 5-minute increments until the custard is just right.
Step 9: Cool and Chill
Once baked, carefully remove the ramekins from the water bath. Allow the crème brûlée to cool at room temperature for about 30 minutes. After cooling, cover the ramekins with plastic wrap and refrigerate for at least 2 hours or up to 3 days to let the flavors meld and the texture set beautifully.
Step 10: Caramelize the Sugar
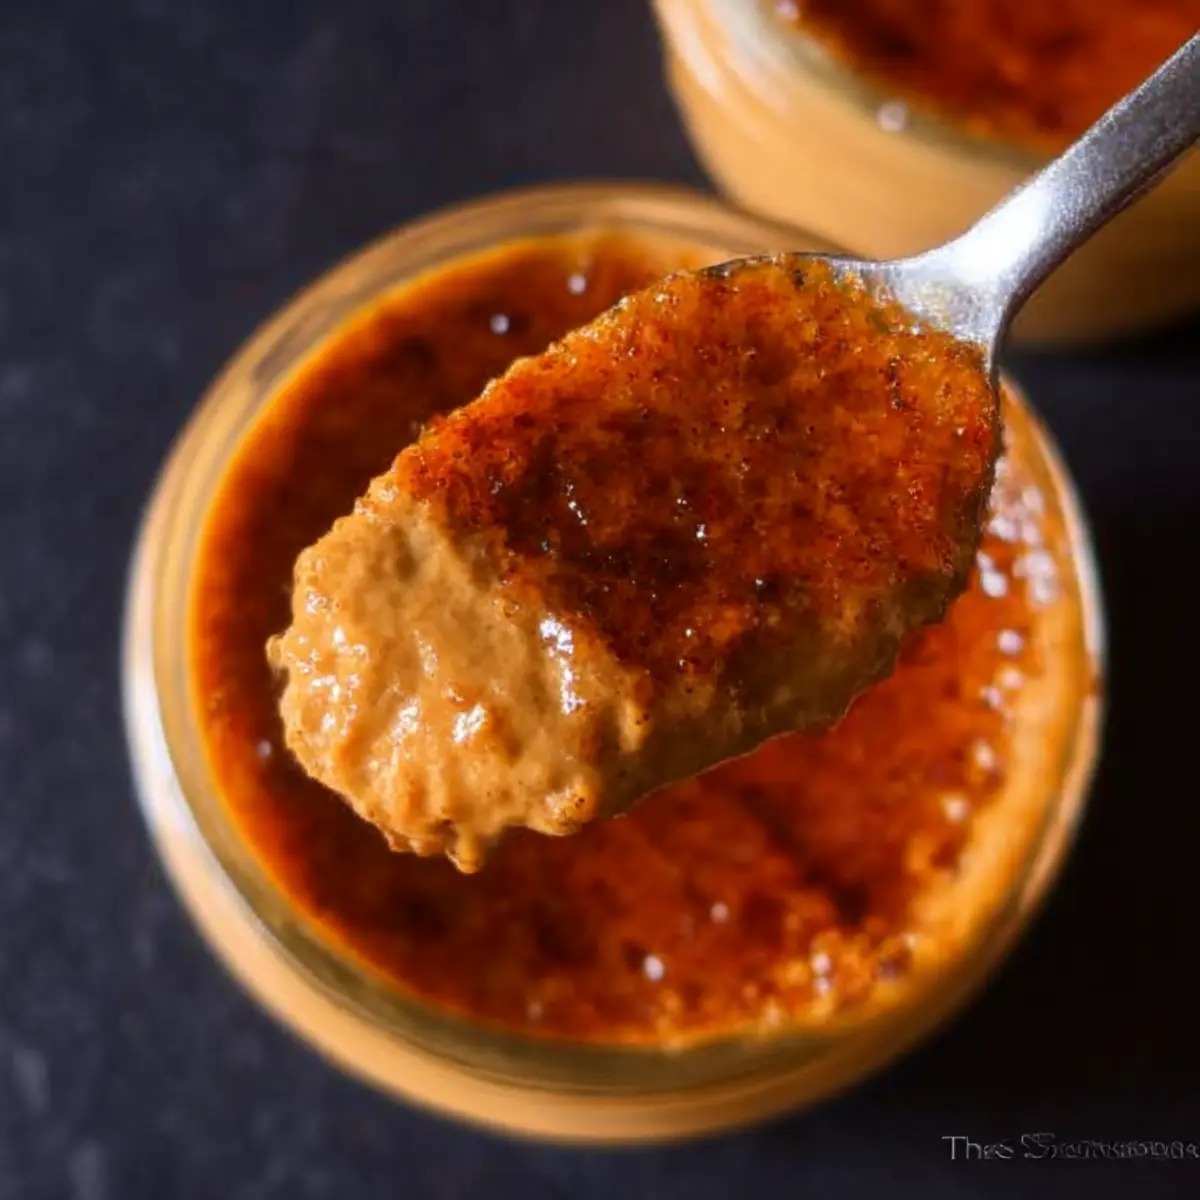
Before serving your indulgent Thai tea crème brûlée, sprinkle an even layer of granulated sugar over the top of each custard. Using a kitchen torch, carefully caramelize the sugar until it forms a crispy, glass-like topping. Alternatively, broil them in the oven, keeping a close eye to avoid burning.
Step 11: Serve and Enjoy
Once the sugar is caramelized and reached a beautiful golden-brown color, allow it to cool for a minute. The hardened sugar layer creates a delightful contrast with the creamy custard beneath. Now your Thai tea crème brûlée is ready to be served—indulge in each delicious bite!
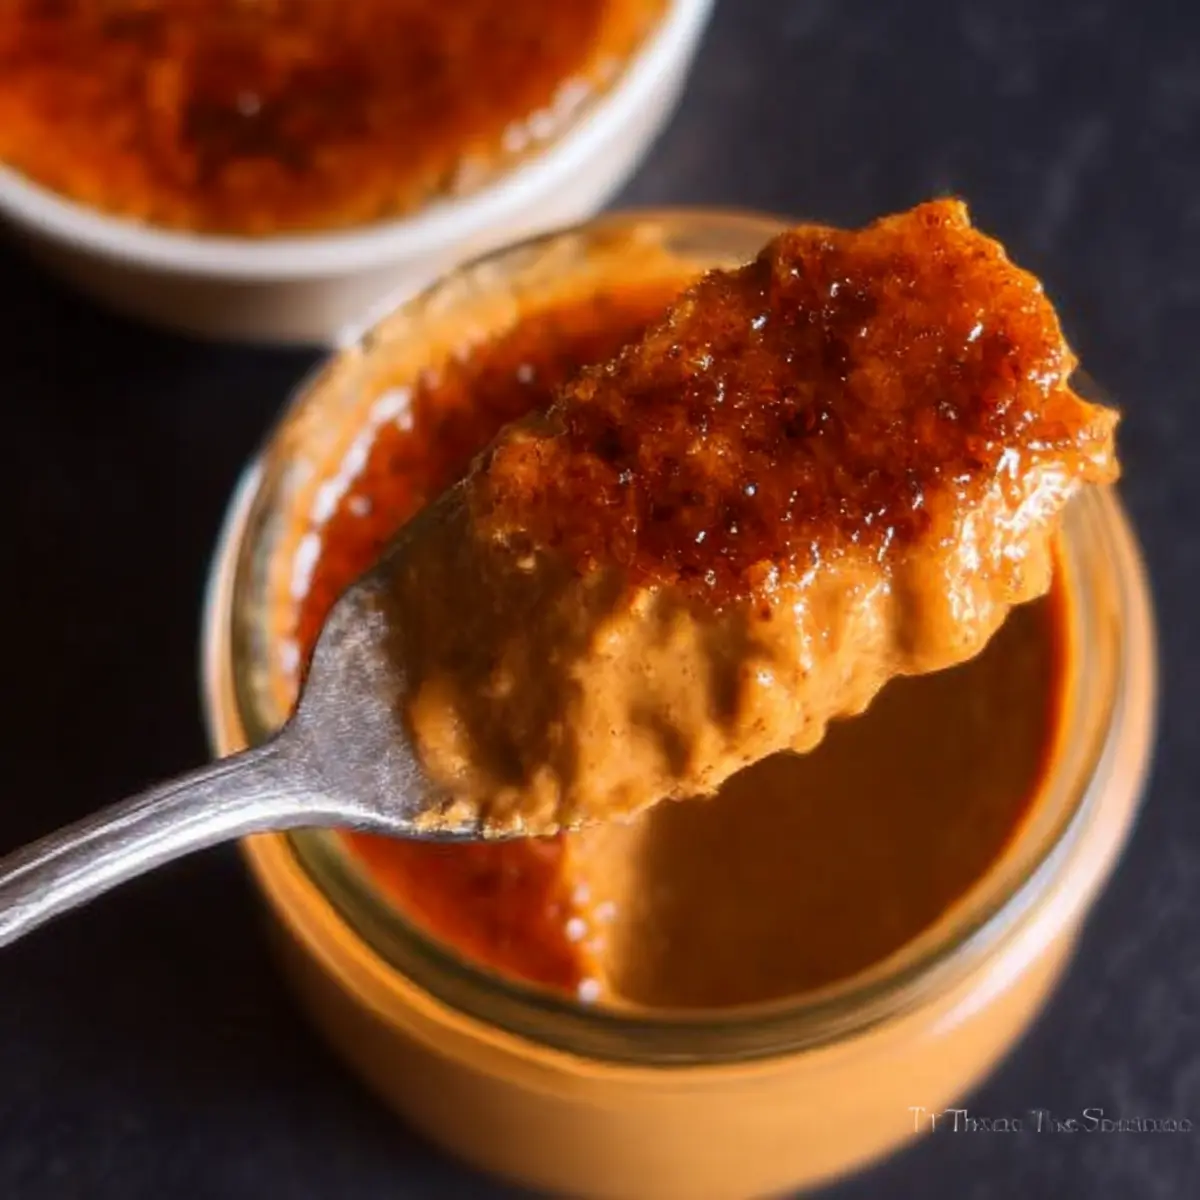
How to Store and Freeze Thai Tea Crème Brûlée
Fridge: Store your Thai tea crème brûlée in the refrigerator, covered or in an airtight container, for up to 3-4 days. Keeping it chilled helps maintain its silky texture.
Freezer: Freezing is not recommended for the crème brûlée itself, as it can affect the custard’s smooth texture. If needed, freeze the unbaked custard mixture in an airtight container for up to 1 month.
Reheating: If you’ve made the custard ahead of time, simply thaw in the fridge overnight before baking. For the best results, caramelize the sugar layer just before serving for that crispy finish.
Serving Tip: Always refrigerate after baking to allow flavors to meld and the custard to set properly—this step is crucial for a delightful experience.
Expert Tips for Thai Tea Crème Brûlée
- Proper Tempering: Ensure to temper the egg yolks slowly by adding the warm tea mixture gradually. This prevents shocking the yolks and scrambling them.
- Consistent Mixing: Whisk the custard mixture until completely smooth to achieve that silky texture integral to your Thai tea crème brûlée.
- Hot Water Bath: Always use a hot water bath while baking; it helps maintain an even cooking temperature and prevents the custard from curdling.
- Sugar Caramelization: For the crisp sugar layer, a kitchen torch is preferable, as it evenly caramelizes without affecting the custard underneath.
- Check for Jiggle: The perfect bake results in a slightly jiggly center. The custard should look set but move gently, ensuring creaminess.
Thai Tea Crème Brûlée Variations
Feel free to make this delightful dessert your own with these creative twists and substitutions!
-
Dairy-Free: Use almond or coconut milk instead of dairy milk to cater to lactose intolerance and enhance flavors.
-
Coconut Delight: Substitute sweetened condensed milk with coconut condensed milk for a tropical flair that complements the Thai tea beautifully.
-
Flavor Infusion: Swap the Thai tea with Earl Grey or chai for a unique custard experience. Each will bring its distinct notes to the dessert.
-
Spiced Touch: Add a pinch of cardamom or cinnamon to the custard mixture for a warm, aromatic essence that elevates your crème brûlée.
-
Zesty Twist: Incorporate a hint of orange or lime zest into the custard for a refreshing citrus finish that brightens the dish.
-
Sugar Variations: Experiment with flavored sugars, such as vanilla or coconut sugar, for the caramelized top to add extra depth and a hint of sweetness.
-
Fruit Topping: Serve with a dollop of whipped cream and fresh fruit on the side for a vibrant pop of color and texture. Slices of mango or strawberries pair wonderfully!
-
Serve with Beverages: Enjoy this dessert with a chilled glass of Pie Iced Tea to complement the sweet notes of the crème brûlée or alongside Tiramisu Cookies Steal for a delectable dessert pairing.
Get creative and let your palate guide you through this indulgent experience!
What to Serve with Silky Smooth Thai Tea Crème Brûlée?
Indulging in a bowl of luscious Thai tea crème brûlée opens up a world of delightful flavors and textures that can be beautifully complemented by a selection of dishes and drinks.
-
Fresh Berries: Juicy, vibrant berries like raspberries and strawberries add a refreshing contrast to the creamy custard, enhancing the overall enjoyment.
-
Coconut Sorbet: The light and tropical notes of coconut sorbet amplify the flavors of Thai tea, creating a delightful palate-pleaser that’s surprisingly cool and refreshing.
-
Mango Sticky Rice: This traditional Thai dessert pairs perfectly with the crème brûlée, providing a chewy texture and sweet fruitiness that harmonizes beautifully.
-
Chai Spiced Cookies: The warm spices in chai cookies echo the flavor profile of the crème brûlée, making for a cozy dessert duo that’s perfect for entertaining.
-
Iced Thai Tea: Serve a chilled glass of this classic drink alongside the crème brûlée to enhance the unique Thai flavors and add a refreshing touch.
-
Macadamia Nut Cookies: Rich and chewy macadamia nut cookies bring a nutty crunch that contrasts the silky custard, creating a delightful combination on the plate.
-
Dark Chocolate Espresso Beans: For coffee lovers, these little bites provide a sophisticated pairing with the crème brûlée, ensuring you leave the meal on a high note.
-
Citrus Salad: A light salad of oranges and grapefruit offers zesty acidity, perfectly complementing the rich custard and refreshing the palate in between bites.
Make Ahead Options
These Thai Tea Crème Brûlée are perfect for busy weeknights or special occasions! You can prepare the creamy custard up to 3 days in advance, allowing the flavors to develop beautifully while saving you time on the day of your gathering. Simply follow the recipe through Step 9, then cover the ramekins with plastic wrap and refrigerate. To maintain quality, avoid sprinkling the sugar on top until just before serving to ensure a fresh, crunchy layer. When you’re ready to serve, simply caramelize the sugar and enjoy your stunning dessert with minimal effort—your guests will be none the wiser!
Thai Tea Crème Brûlée Recipe FAQs
What is the best way to choose ripe Thai tea mix?
When selecting Thai tea mix, look for a brand that has vibrant, fragrant tea leaves and a rich orange color, which indicates quality. Pantai brand is highly recommended for its robust flavor. Always avoid mixes with artificial additives or preservatives for the most authentic taste.
How should I store Thai Tea Crème Brûlée once it’s made?
Store your Thai tea crème brûlée in the refrigerator, covered with plastic wrap or in an airtight container, for up to 3-4 days. Keeping it chilled helps maintain the silky texture and rich flavors. Make sure to caramelize the sugar topping just before serving for the best crunchy experience.
Can I freeze Thai Tea Crème Brûlée?
Freezing the completed Thai tea crème brûlée isn’t recommended, as it can compromise the custard’s delicate texture. However, if you need to prepare ahead, consider freezing the unbaked custard mixture in an airtight container for up to 1 month. Thaw it in the refrigerator overnight before baking and caramelizing for a fresh dessert experience.
What should I do if my crème brûlée doesn’t set properly?
If your Thai tea crème brûlée doesn’t set after baking, it may be due to a couple of reasons: baking at too high a temperature or not using enough hot water in the water bath. For best results, always use a thermometer to check the oven temperature and ensure the water is hot enough before adding it to the pan. If the dessert is still too jiggly, try baking it for an additional 5-10 minutes until the edges firm up.
Are there any dietary considerations for Thai Tea Crème Brûlée?
Yes, if you’re catering to allergies or dietary preferences, you can make a dairy-free version by substituting heavy cream and milk with coconut milk or almond milk. Just keep in mind that these substitutions may slightly alter the creamy texture, but the flavors will still be delightful. Additionally, ensure that all ingredients, particularly sweetened condensed milk, are labeled nut or dairy-free where necessary.
Can I use different tea flavors for this recipe?
Absolutely! The beauty of Thai tea crème brûlée is its versatility. You can experiment with other flavored teas such as earl grey or chai for exciting variations. Just follow the same steps as the original recipe, and you’ll create unique custard flavors that are truly delightful!
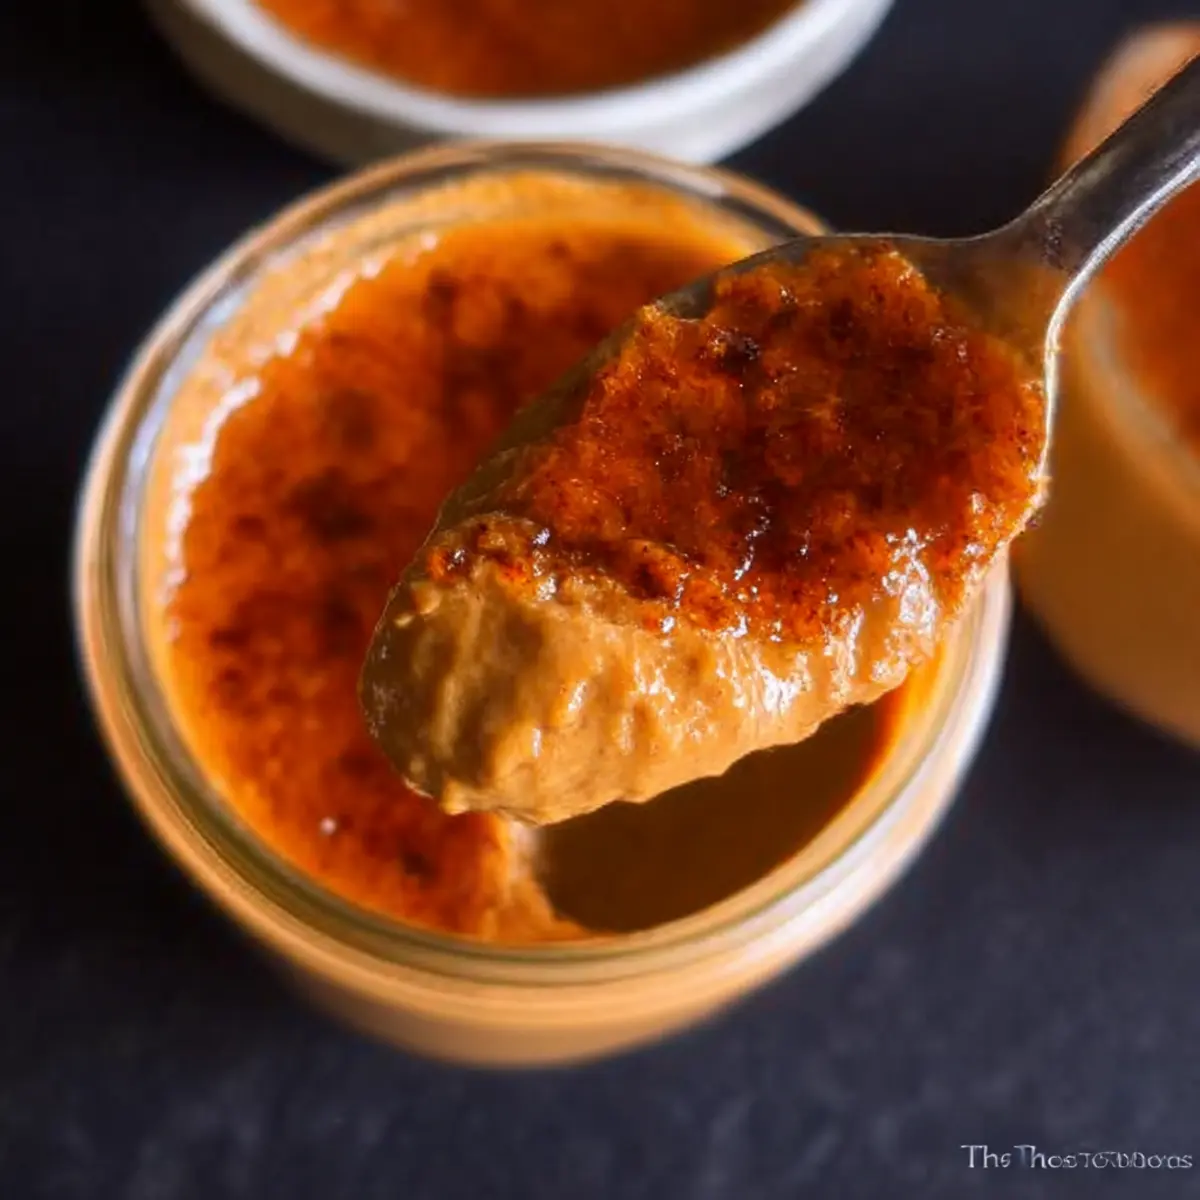
Irresistibly Smooth Thai Tea Crème Brûlée for Dessert Lovers
Ingredients
Equipment
Method
- Preheat your oven to 300°F (150°C). Prepare a hot water bath in a deep dish pan.
- In a saucepan, combine heavy cream, milk, and Thai tea mix. Heat until boiling, then steep for 5 to 10 minutes.
- Strain the tea-infused cream through a fine mesh sieve into a bowl, set aside.
- Whisk together egg yolks and sweetened condensed milk until pale and slightly thickened.
- Slowly drizzle the strained warm tea mixture into the egg yolk blend, whisking continuously.
- Divide the custard mixture evenly among prepared ramekins.
- Pour hot water into the dish pan to create a water bath, filling halfway up sides of the ramekins.
- Bake for 25 to 30 minutes, until edges are set with a slight jiggle in the centers.
- Remove from water bath and allow to cool for 30 minutes. Refrigerate for at least 2 hours.
- Before serving, sprinkle granulated sugar over the top and caramelize using a kitchen torch.
- Once caramelized, allow to cool for a minute, then serve and enjoy.
Leave a Reply