
The aroma of sizzling ground beef mingling with melting cheese always evokes a warm feeling in my kitchen. These Cheeseburger Pockets have become a staple in our home, a delightful solution to those busy weekday evenings when takeout just won’t cut it. With their flaky, golden crust and the customizable filling, these pockets are not only a breeze to whip up in just 30 minutes, but they’re also freezer-friendly—perfect for making ahead! Whether you’re in the mood for a classic cheeseburger experience or a spicy jalapeño kick, these delightful morsels are sure to please the whole family. Are you ready to bring this fun twist on a favorite comfort food to your dinner table?
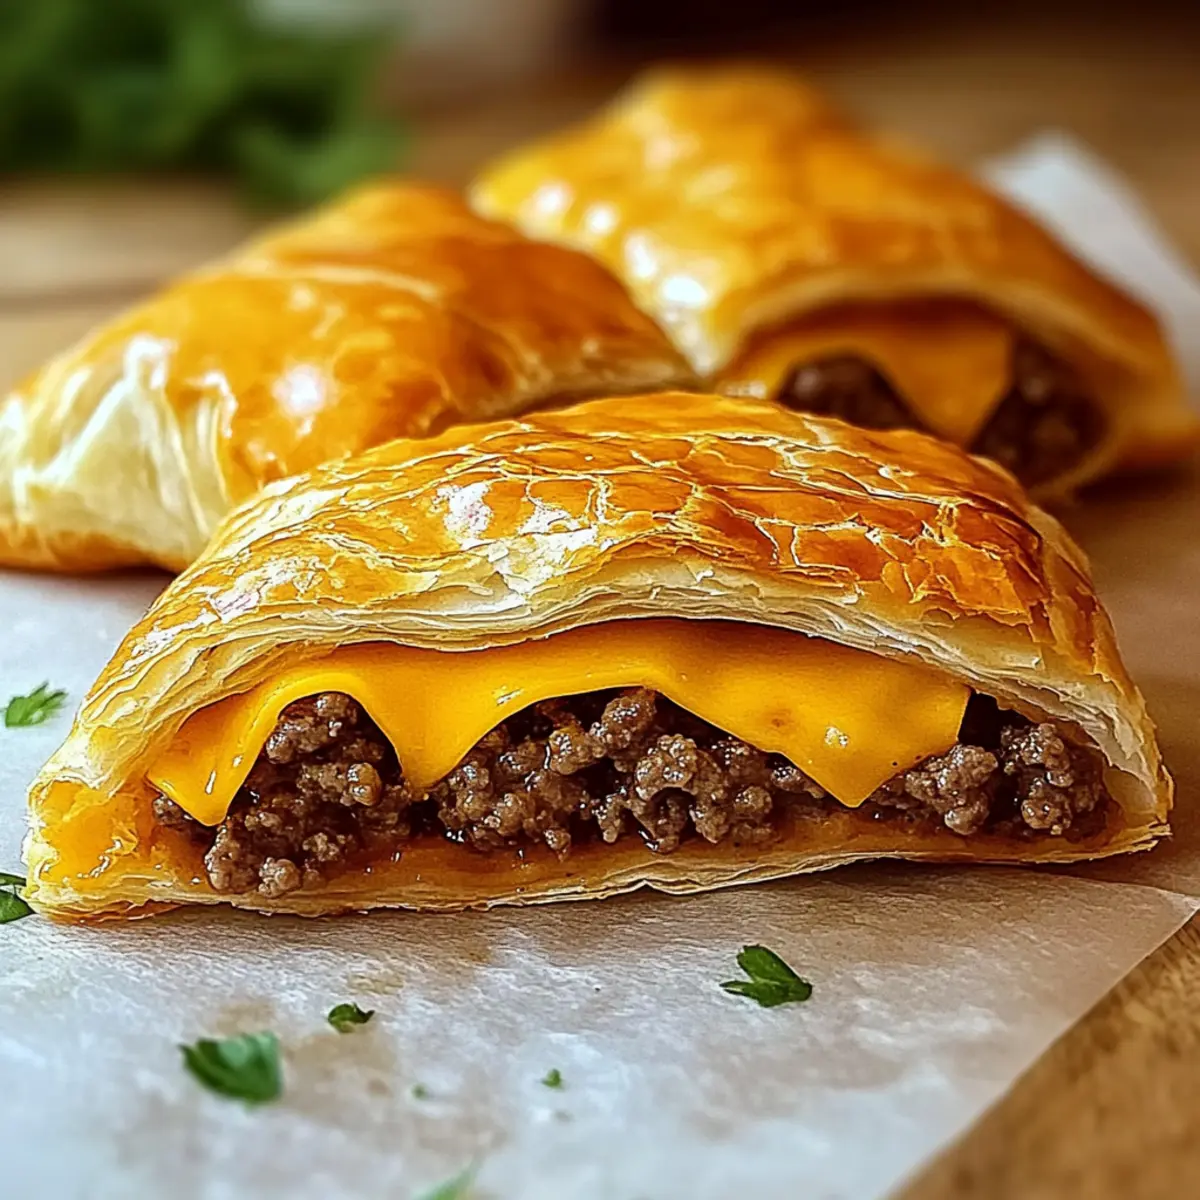
Why are Cheeseburger Pockets a Game-Changer?
Convenient: These pockets are ready in just 30 minutes, making them the perfect solution for busy weeknights.
Customizable: With multiple variations like spicy jalapeño or smoky bacon, you can easily cater to your family’s tastes.
Freezer-Friendly: Prepare a batch for the freeze; simply bake from frozen whenever cravings hit!
Kid-Approved: Kids love the fun shape and delicious filling. Pair them with a side salad for a balanced meal!
Stress-Free Cooking: Minimal prep and mess mean more time enjoying with family. For more quick and easy meal ideas, check out our guide on 30-Minute Meals.
Cheeseburger Pockets Ingredients
• Get ready to create these delicious meals!
For the Filling
- Ground Beef – Provides heartiness; opt for 80/20 for optimal juiciness.
- Cheddar Cheese – Adds creaminess and that classic cheeseburger taste; sub with Pepper Jack for a spicy kick.
- Onion (optional) – Enhances flavor with natural sweetness; green onions are a fresh substitute.
- Garlic Powder – Offers depth to the beef mixture; fresh minced garlic can be used for a bolder taste.
- Salt & Pepper – Essential seasonings that elevate all other flavors.
For the Dough
- Dough (Crescent Roll or Pizza Dough) – Forms the flaky outer layer; store-bought is super convenient, while homemade adds a personal touch.
These Cheeseburger Pockets are the ultimate answer to any busy weeknight, bringing comfort and deliciousness to your family’s table!
Step‑by‑Step Instructions for Cheeseburger Pockets
Step 1: Prepare the Dough
Begin by preheating your oven to 375°F (190°C). If you’re using crescent roll dough, roll it out on a clean, flat surface, or open and separate the pre-cut dough triangles. If you have pizza dough, lightly flour your work surface and roll it out into a rectangular shape. Cut the dough into squares, about 4 inches each, and keep them ready for filling.
Step 2: Cook the Filling
In a large skillet, add 1 pound of ground beef over medium heat. Cook for about 5-7 minutes, breaking it apart with a spatula, until it’s browned thoroughly. Add garlic powder, salt, and pepper to taste. Stir to combine the flavors, then drain any excess fat from the mixture. The beef should be juicy but not oily to ensure the Cheeseburger Pockets are perfectly crispy later.
Step 3: Assemble Pockets
Spoon a generous amount (about 2 tablespoons) of the cooked beef mixture onto the center of each dough square. Top each with a small handful of shredded cheddar cheese, or your preferred cheese variant. Carefully fold the dough over the filling to create a triangle or rectangle shape, ensuring you pinch the edges tightly to seal them well, preventing any filling from leaking during baking.
Step 4: Bake
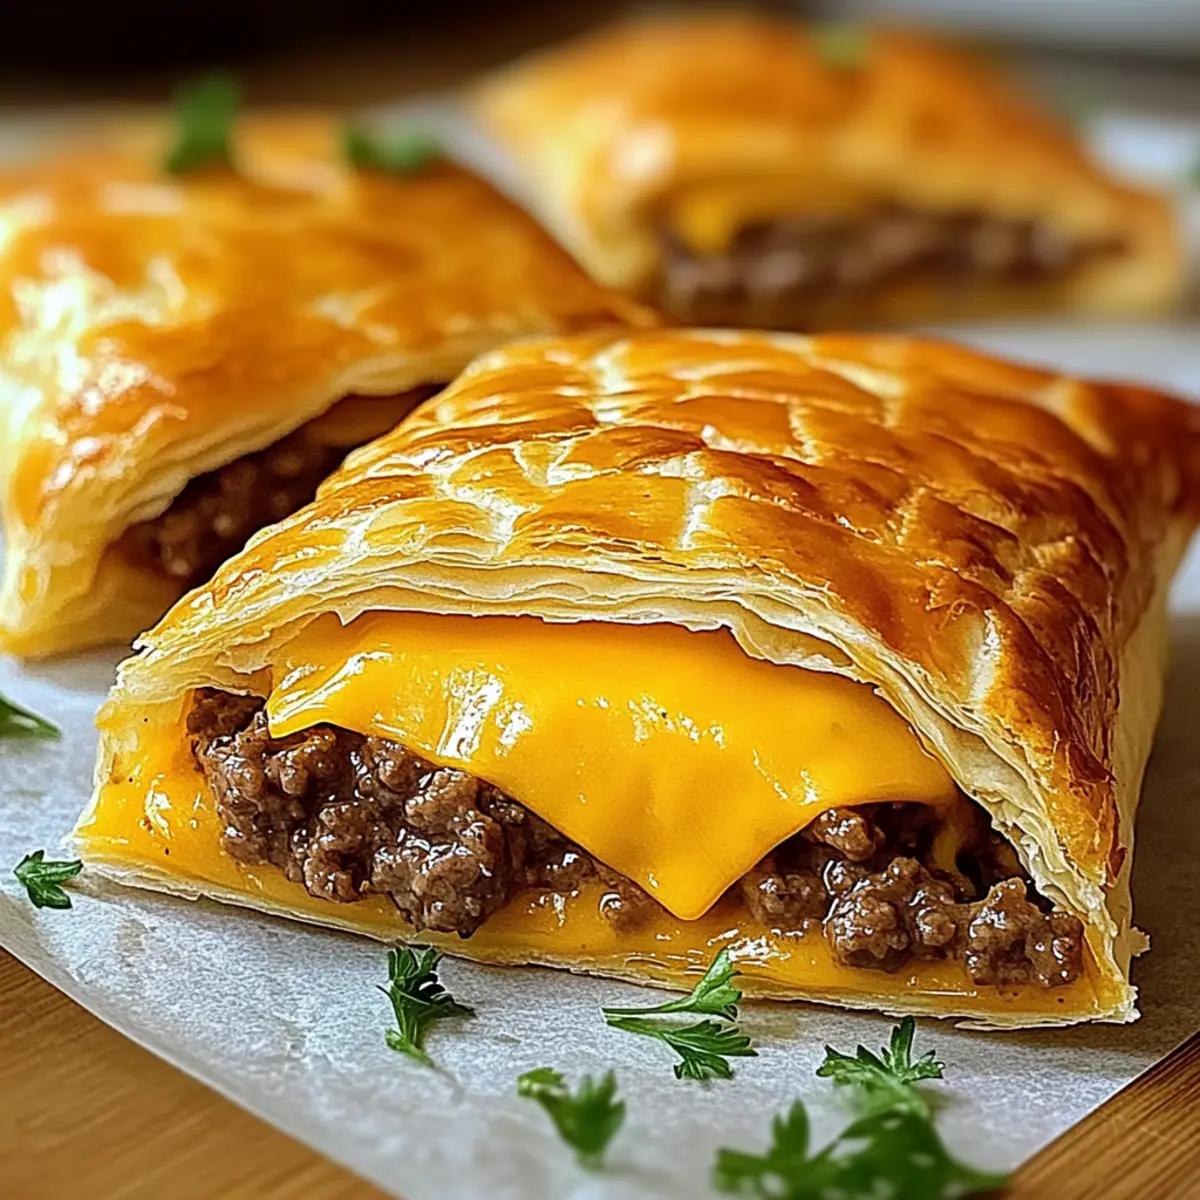
Place the assembled Cheeseburger Pockets on a parchment-lined baking sheet, giving them some space to expand. Bake in your preheated oven at 375°F (190°C) for 20-25 minutes, or until the dough turns a lovely golden brown. You’ll know they’re done when the tops are puffed, and a delicious aroma fills your kitchen, signaling that it’s almost time to dig in.
Step 5: Cool and Serve
Once baked, remove the Cheeseburger Pockets from the oven and let them cool for about 5 minutes on the baking sheet. This short cooling period allows the cheesy filling to settle, making them easier to handle. Serve them warm with your favorite dipping sauces, and watch as the whole family enjoys this delightful twist on a classic meal!
Storage Tips for Cheeseburger Pockets
Fridge: Store leftovers in an airtight container for up to 4 days to keep your Cheeseburger Pockets fresh and tasty.
Freezer: For longer storage, freeze unbaked pockets on a baking sheet until firm, then transfer them to a freezer-safe bag. Bake directly from frozen, adding extra time.
Reheating: Simply microwave for 1-2 minutes or bake at 350°F for 10-12 minutes to restore that crispy texture before serving.
Room Temperature: If serving warm, these pockets are best enjoyed immediately, but they can sit out for about 1 hour before needing refrigeration.
What to Serve with Cheeseburger Pockets
Elevate your cheeseburger pockets experience with delightful sides that will make your meal memorable.
- Crispy Side Salad: A refreshing mix of greens and veggies adds crunch and lightness, balancing the richness of the pockets.
- Sweet Potato Fries: Their natural sweetness and crispy texture pair beautifully, creating a satisfying contrast to the savory filling.
- Classic Coleslaw: Creamy and tangy, coleslaw introduces a refreshing note that complements the hearty cheeseburger pockets perfectly.
- Dipping Sauces: Serve with ketchup, mustard, or ranch dressing; these dips enhance flavors and create an interactive dining experience.
- Cheesy Garlic Bread: The combination of gooey cheese and garlic-buttered bread brings warmth and indulgence to your meal, making it even cozier.
- Fruit Skewers: Bright, fresh fruit adds a burst of color and sweetness, bringing a delightful balance to your plate.
- Iced Tea or Lemonade: Refreshing beverages like iced tea or lemonade bring a cooling touch, ideal for sipping with your warm cheeseburger pockets.
- Chocolate Chip Cookies: End your meal on a sweet note; their warm, gooey goodness is the perfect dessert to complement your savory bites.
Expert Tips for Cheeseburger Pockets
-
Dough Selection: Choose store-bought crescent roll or pizza dough for convenience; homemade can offer a fresher taste, but requires more time.
-
Flavorful Filling: Don’t skip draining the beef! This keeps the filling from becoming soggy, ensuring a perfect texture for your Cheeseburger Pockets.
-
Sealing Edges: Pinch the dough edges securely to prevent leakage during baking. A well-sealed pocket ensures all the delicious flavors stay inside.
-
Moderate Stuffing: Avoid overstuffing your pockets; too much filling can lead to messy leaks. Aim for about 2 tablespoons of filling to maintain structure.
-
Perfect Bake: Use parchment paper on your baking sheet for easy removal and a crispy bottom. Remember to bake until golden brown for the best flavor!
Cheeseburger Pockets Variations & Substitutions
Let your creativity shine by customizing these delightful Cheeseburger Pockets with various twists and flavors!
-
Bacon-Loaded: Fold in cooked, crumbled bacon to the beef filling for a smoky, savory addition that everyone will love. The combination of beef and bacon creates a flavor explosion that is hard to resist.
-
Spicy Jalapeño: Kick up the heat by adding finely chopped jalapeños or substituting regular cheese with Pepper Jack. This combination will give your pockets a zesty punch that spice lovers will adore.
-
Vegetarian Option: Switch ground beef for textured vegetable protein or sautéed mushrooms and spinach for a hearty vegetarian version. Flecks of colorful veggies not only add nutrition but also beautiful shades to these pockets.
-
Cheese Quest: Swap out cheddar for cream cheese or feta for a creamy twist. Cream cheese adds a delightful richness, while feta brings a tangy flavor that pairs beautifully with the beef.
-
Herb Infusion: Add fresh herbs like dill or parsley into the filling mix for a burst of freshness. This little touch elevates the entire dish and adds a delightful complexity to every bite.
-
BBQ Bliss: Introduce a BBQ sauce to the beef mixture for a sweet and tangy flavor profile. This takes the classic cheeseburger to new heights, reminiscent of backyard summer cookouts.
-
Crunchy Texture: For an extra crunch, toss in some diced bell peppers or crispy fried onions into the filling. This adds a satisfying texture that contrasts wonderfully with the flaky dough.
-
Flavorful Dipping Sauces: Serve with various dipping sauces like ranch dressing, spicy mayo, or even a classic ketchup. Each dip offers a unique twist, enhancing the overall experience of these delicious pockets.
Feel free to explore these delicious variations, and don’t hesitate to mix and match to discover your new favorite version of Cheeseburger Pockets! For more creative meal ideas, check out our guide on Quick Family Meals for even more inspiration.
Make Ahead Options
These Cheeseburger Pockets are perfect for busy home cooks looking to save time! You can prepare the beef filling up to 3 days in advance; simply brown and season the ground beef, then store it in an airtight container in the refrigerator. The dough can also be prepped ahead—just roll it out, cut into squares, and refrigerate for up to 24 hours. When you’re ready to serve, fill the pockets with the chilled beef mixture and cheese, then bake them straight from the refrigerator. This way, you’ll enjoy warm, delicious pockets that taste just as good, all with minimal effort on busy weeknights!
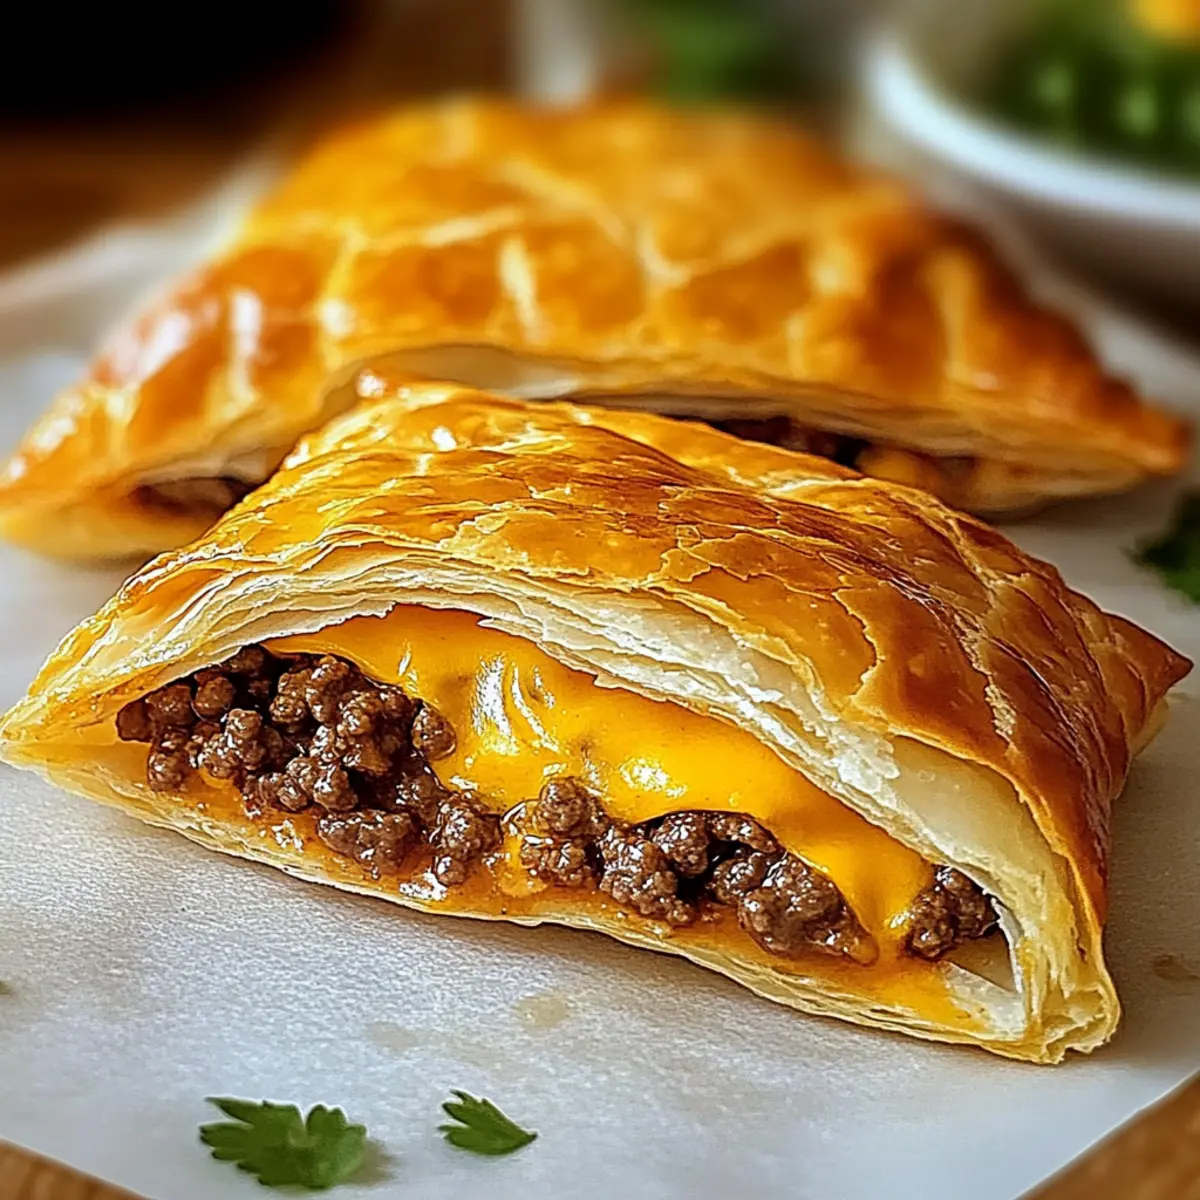
Cheeseburger Pockets Recipe FAQs
What kind of ground beef should I use for Cheeseburger Pockets?
Absolutely! Opt for an 80/20 ground beef blend, as it provides the ideal mix of tenderness and flavor. A leaner blend could result in a drier filling, while too much fat might make it greasy.
How do I store leftover Cheeseburger Pockets?
To keep your Cheeseburger Pockets fresh, place any leftovers in an airtight container in the fridge. They’ll stay tasty for up to 4 days. When you’re ready to enjoy them again, simply reheat in an oven set to 350°F for about 10-12 minutes, so they retain their delightful crispiness.
Can I freeze Cheeseburger Pockets?
Absolutely! To freeze unbaked Cheeseburger Pockets, lay them out on a baking sheet to firm up for about 30 minutes. Once they’re solid, transfer them to a freezer-safe bag. When it’s time to bake from frozen, add an extra 5-10 minutes to the baking time—just keep an eye on them until they’re golden brown.
Why did my Cheeseburger Pockets leak during baking?
Very! Leakage generally occurs when the edges aren’t sealed tightly enough or if they are overstuffed. Make sure to pinch the dough edges firmly to seal them and keep a modest amount of filling (about 2 tablespoons) to allow for proper sealing.
Are Cheeseburger Pockets suitable for freezing after baking?
Yes, you can freeze cooked Cheeseburger Pockets! Just allow them to cool completely, then wrap them tightly in plastic wrap and place them in a freezer-safe container. They’ll maintain their best quality for up to 3 months. When you’re ready to enjoy, thaw in the refrigerator overnight and reheat in the oven or microwave for a quick snack!
Can I make Cheeseburger Pockets vegetarian or accommodate dietary restrictions?
Very! To make a vegetarian version, you can substitute ground beef with textured vegetable protein or sautéed mushrooms and spinach. If you’re avoiding dairy, try using vegan cheese alternatives. Always check labels for allergens to accommodate specific dietary needs!
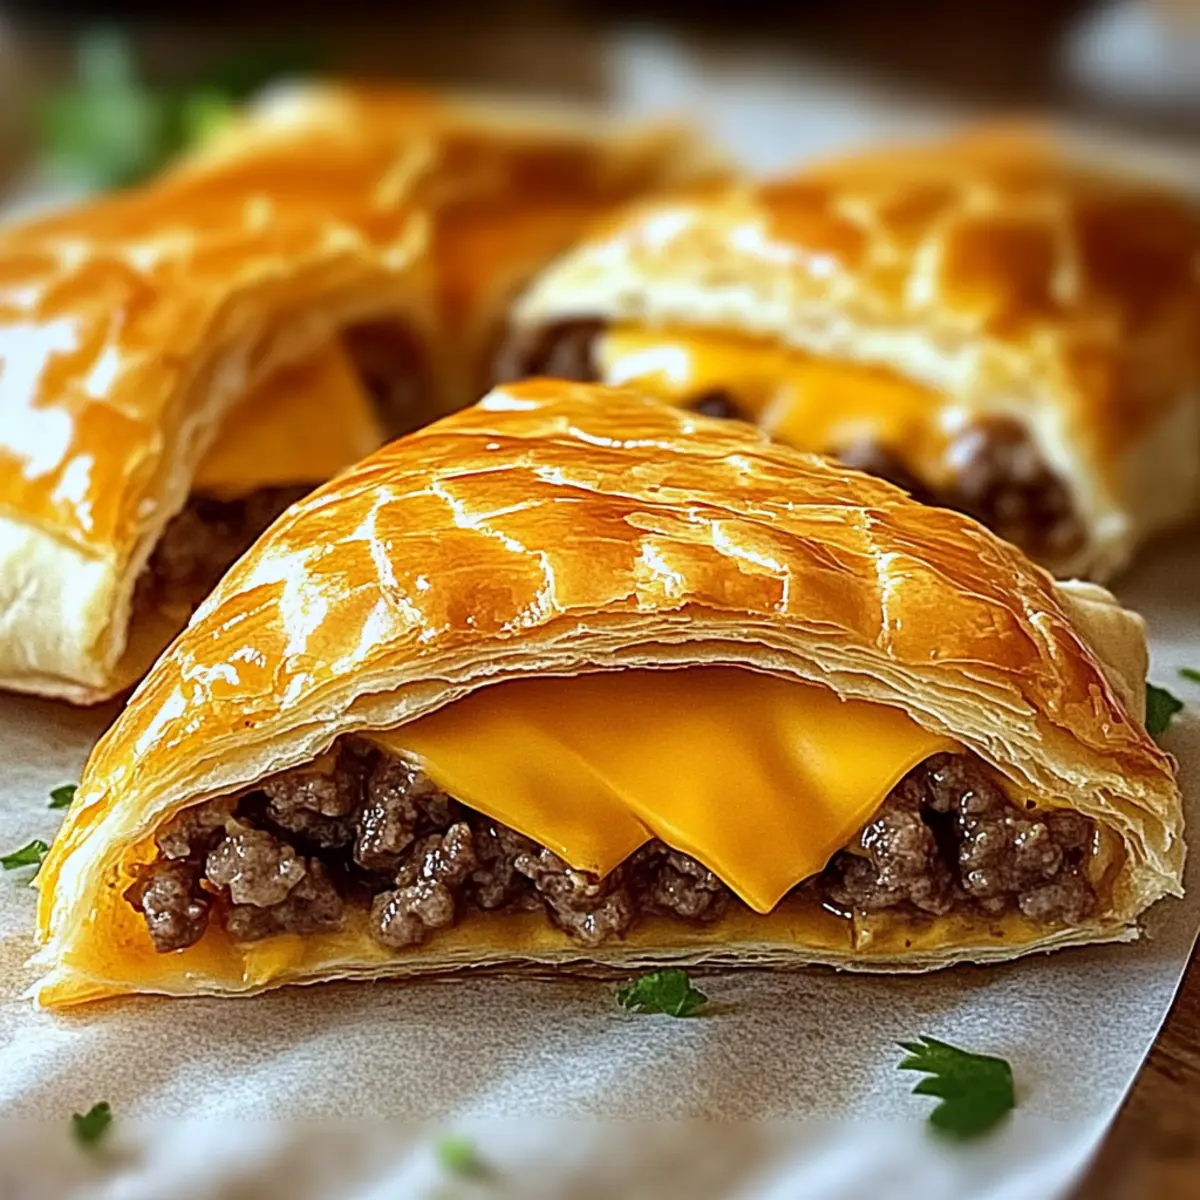
Cheeseburger Pockets: Homemade Comfort for Busy Nights
Ingredients
Equipment
Method
- Preheat your oven to 375°F (190°C) and prepare the dough depending on the type you are using.
- Cook 1 pound of ground beef in a skillet over medium heat for 5-7 minutes until browned. Add garlic powder, salt, and pepper; drain excess fat.
- Assemble by placing 2 tablespoons of beef mixture and cheese on the dough squares, folding and sealing them.
- Bake the assembled pockets on a parchment-lined baking sheet for 20-25 minutes until golden brown.
- Cool the pockets for 5 minutes before serving with your favorite dipping sauces.
Leave a Reply