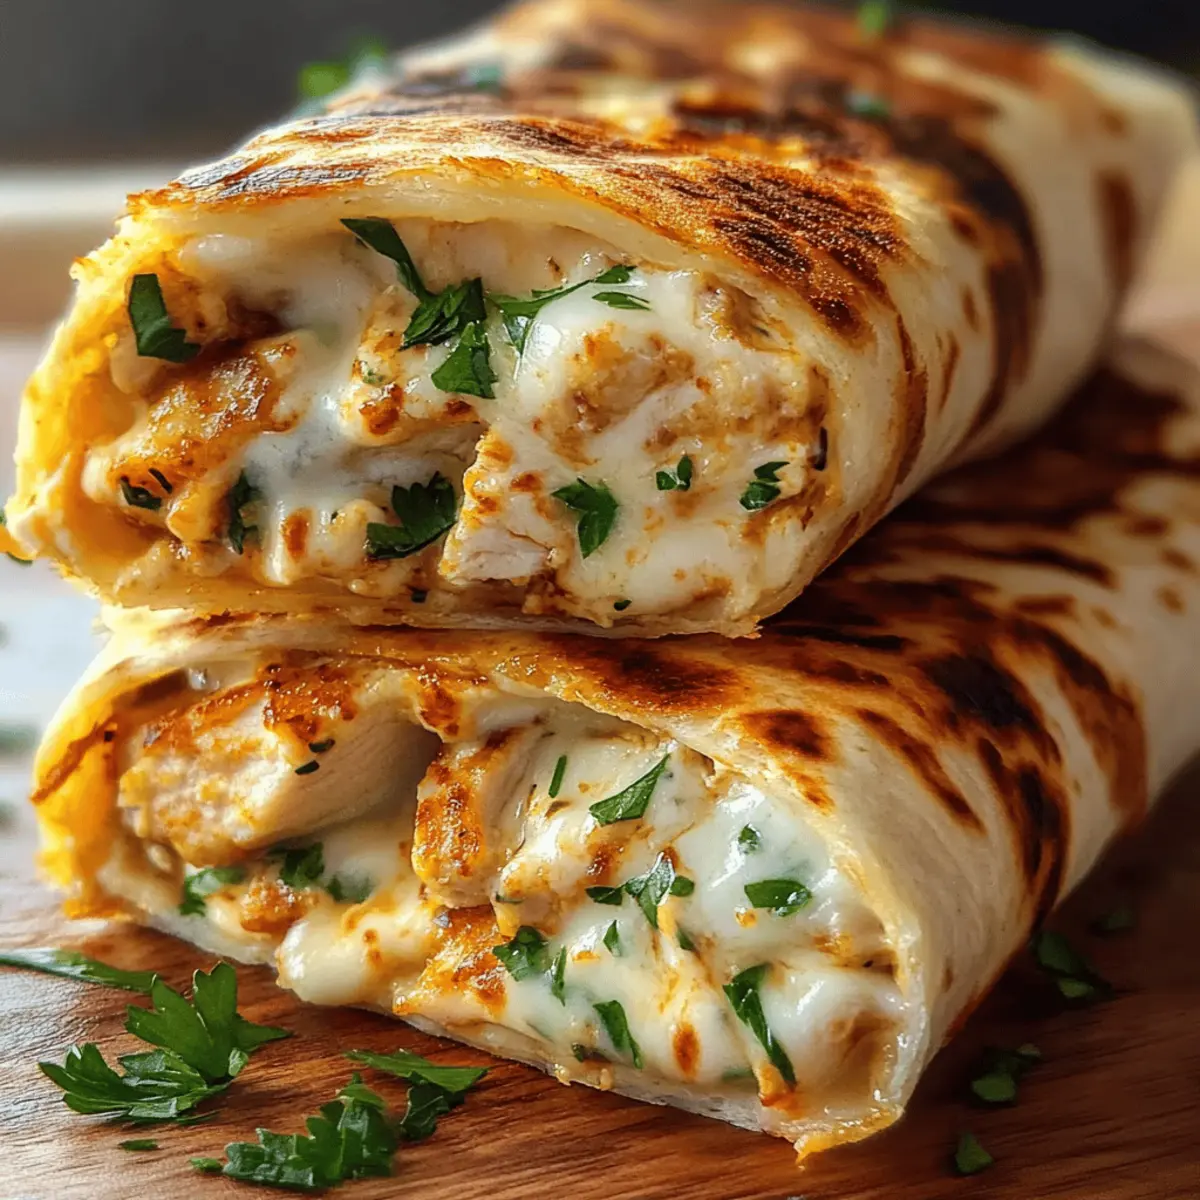
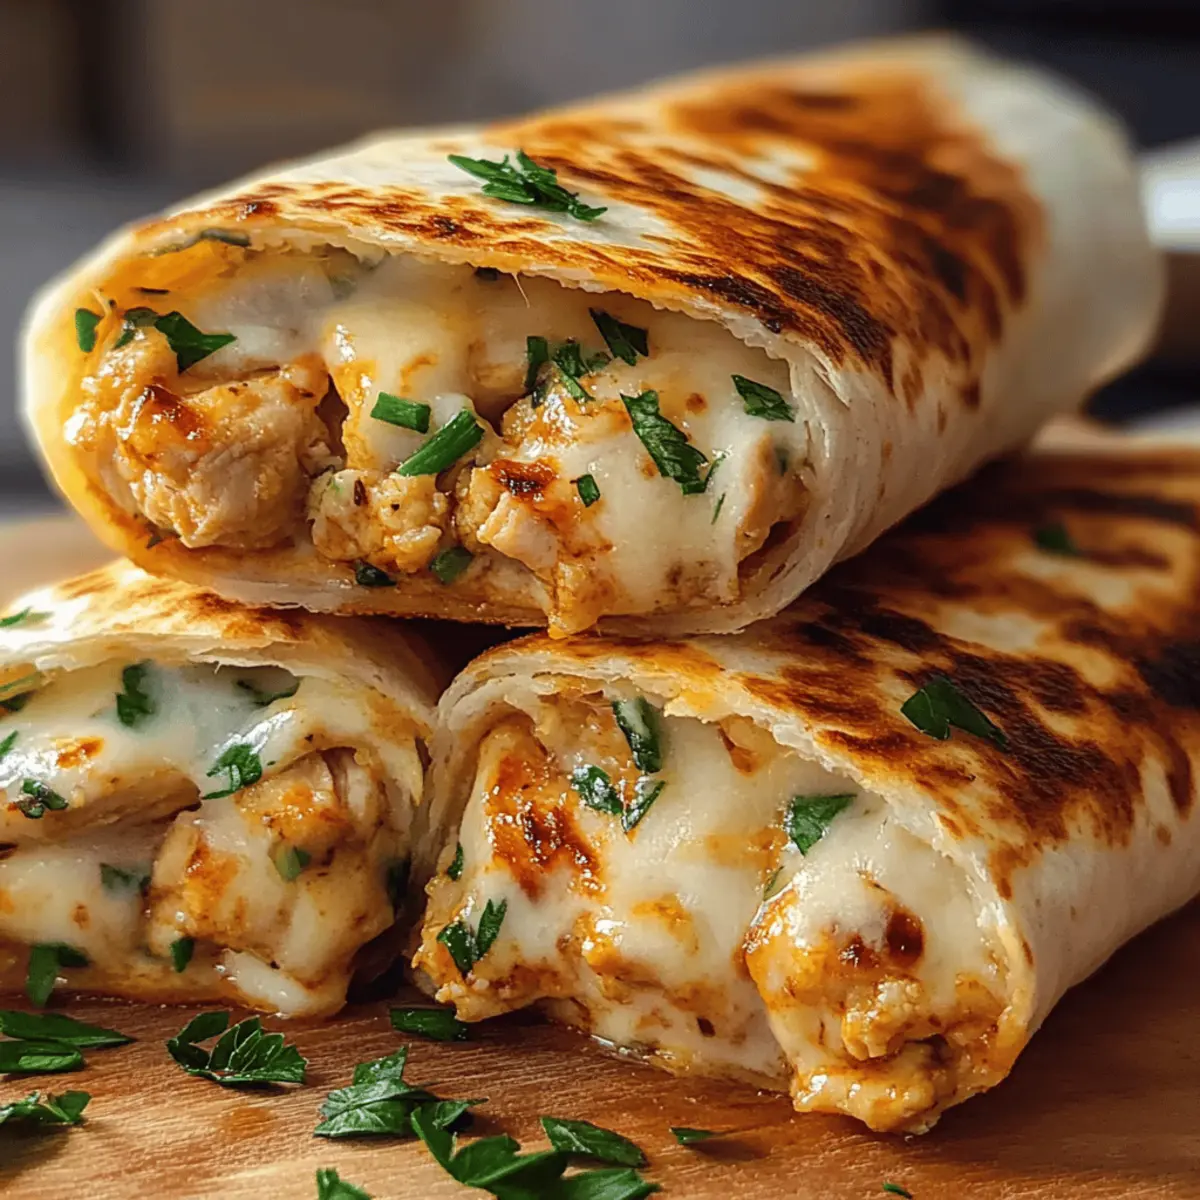
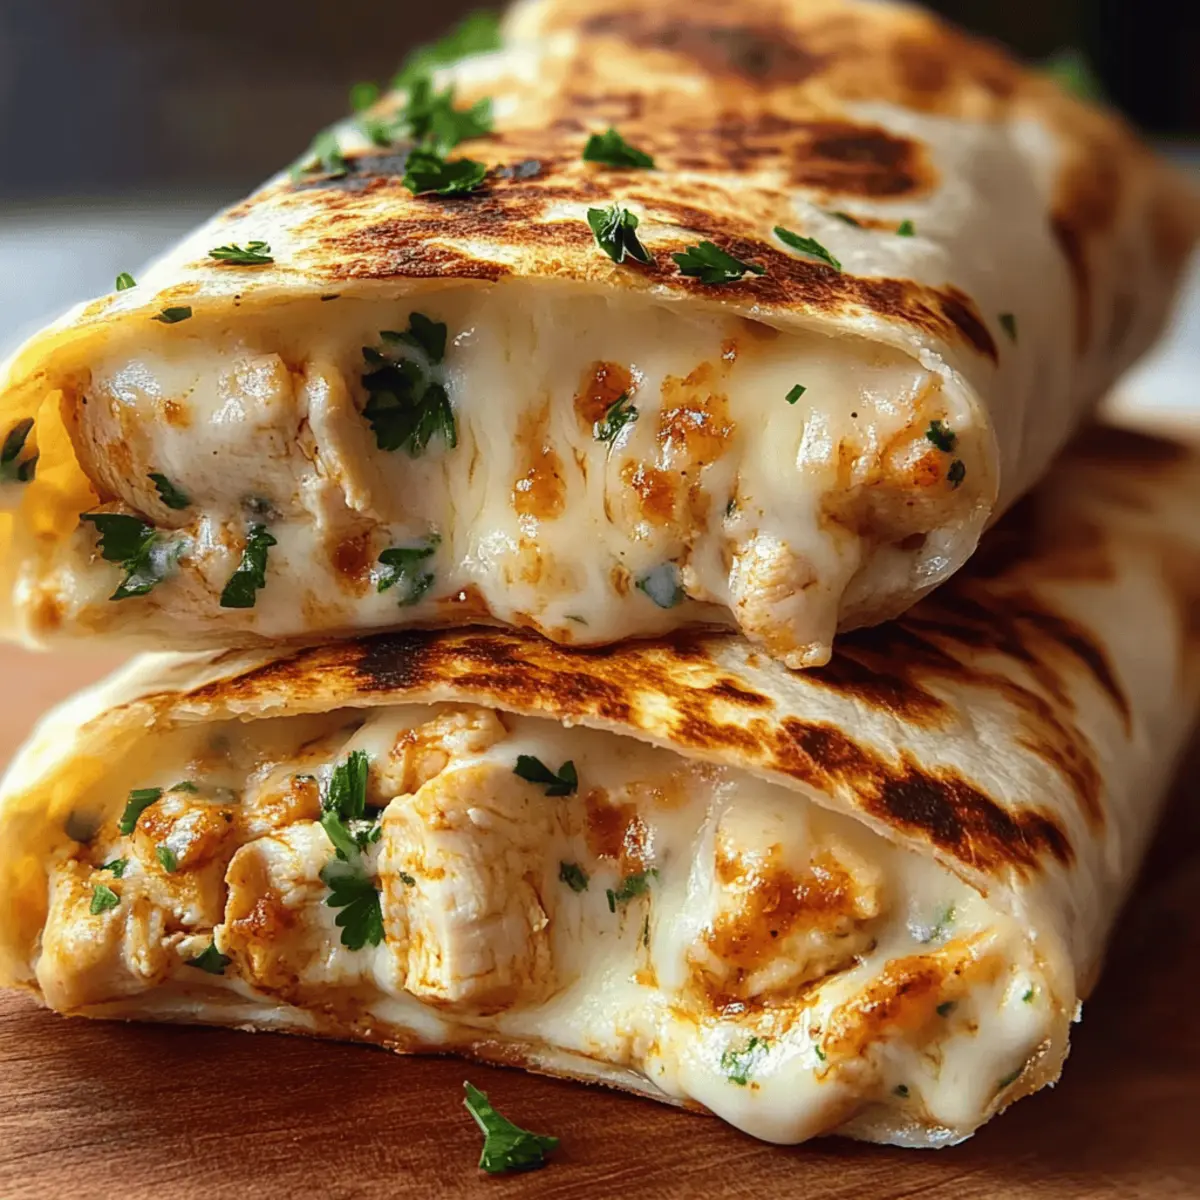
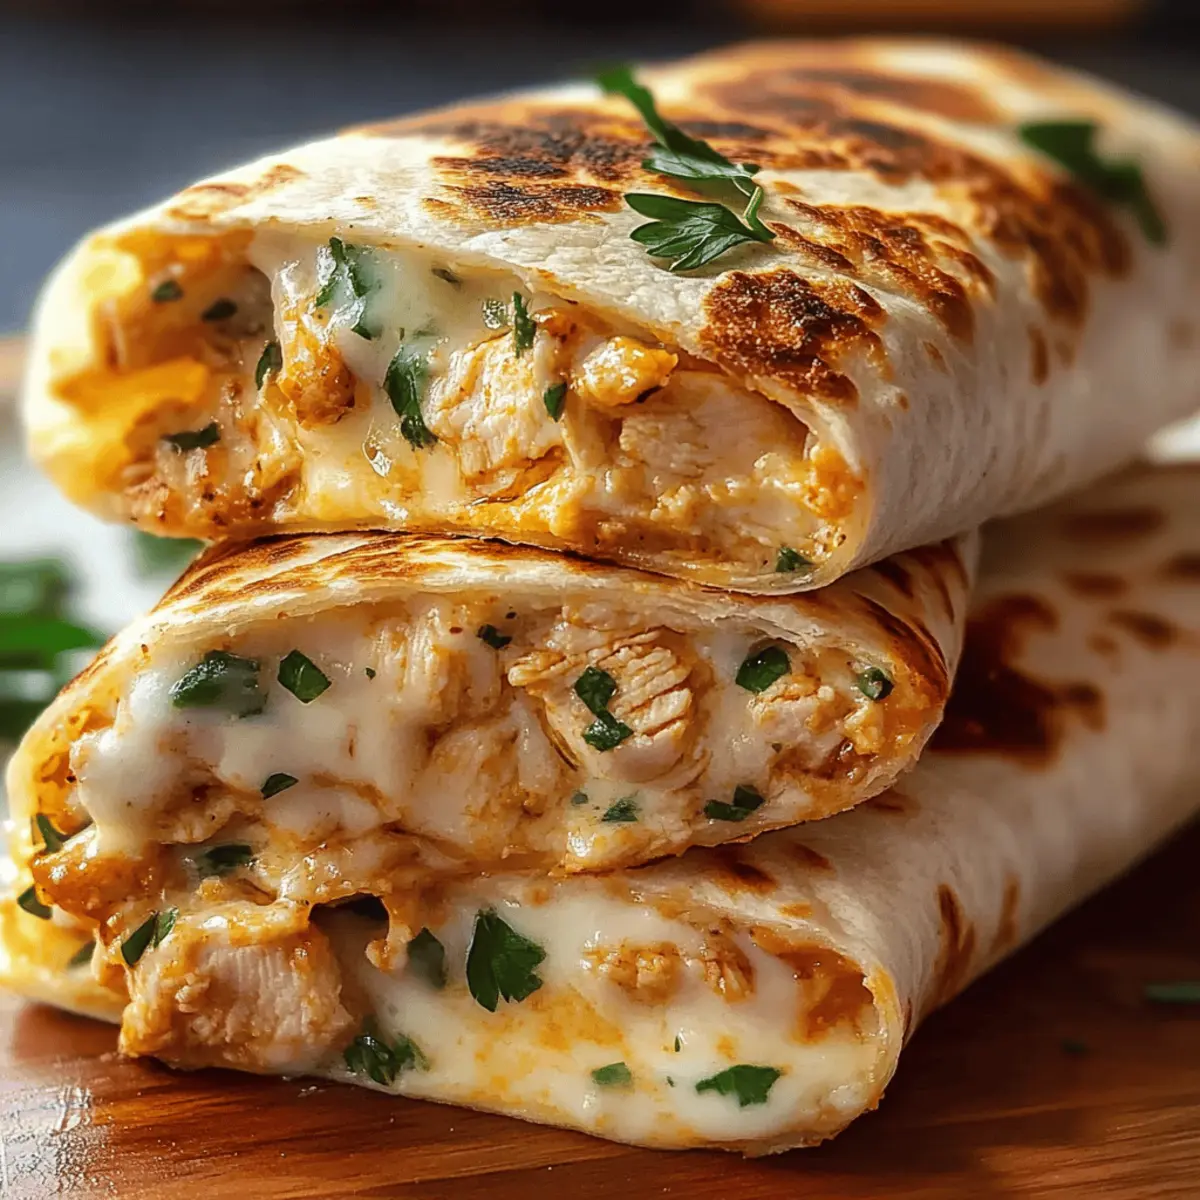
As I stood in my kitchen, the aroma of sizzling garlic filled the air, igniting a cozy anticipation for what was about to come. I couldn’t wait to share my Cheesy Garlic Chicken Wraps—a dish that promises more than just flavor; it’s a joyful embrace of comfort food that’s perfect for busy weeknights. These wraps are a delightful combination of juicy chicken and gooey cheese, all cradled in a warm, soft tortilla. The best part? They’re endlessly customizable to fit every palate, whether you prefer a spicy kick or a vegetarian twist. Not to mention, they’re quick to prepare—ideal for those evenings when you crave something satisfying yet simple. So, grab your apron and let’s dive into a recipe that’s not only delicious but also a surefire hit at the dinner table. What will your favorite variation be?

Why Are Cheesy Garlic Chicken Wraps a Favorite?
Endlessly Customizable: One of the greatest joys of these wraps is their versatility. Mix and match your ingredients—swap chicken for shrimp or make it vegetarian by adding sautéed mushrooms and spinach. Easily Adaptable for dietary preferences, with gluten-free tortillas and low-carb options available. Flavorful Garlic Bliss: The aromatic garlic combined with melted cheese creates a mouthwatering experience that will have everyone asking for seconds! Quick & Simple: In just 30 minutes, you can whip up a delicious meal that satisfies even the pickiest eaters. If you love quick meal solutions, check out Cheesy Garlic Chicken and Crack Chicken Gnocchi for more ideas! Crowd-Pleaser: Perfect for family dinners or casual gatherings, these wraps are sure to impress!
Cheesy Garlic Chicken Wraps Ingredients
For the Chicken
- Chicken – Provides protein and heartiness; for convenience, use rotisserie chicken or ground chicken for a texture twist.
- Olive Oil – Used for sautéing; substitute with butter for an added rich flavor.
- Garlic – Adds bold flavor; fresh minced garlic gives the best aroma, and you can adjust the quantity for intensity.
For the Filling
- Cheese (e.g., cheddar, mozzarella) – Offers a creamy texture when melted; try pepper jack for heat or gouda for added creaminess.
- Chopped Parsley (optional) – Creates a fresh garnish; a sprinkle enhances the overall presentation and flavor.
For the Wrap
- Tortillas – The essential wrap base; opt for gluten-free or whole wheat options to cater to dietary needs.
- Butter – For crisping the wraps; a garlic butter mixture can elevate the flavor experience.
Feel free to get creative with your Cheesy Garlic Chicken Wraps by adding your favorite ingredients!
Step‑by‑Step Instructions for Cheesy Garlic Chicken Wraps
Step 1: Cook the Chicken
Preheat your oven to 375°F (190°C) or heat a skillet over medium-high heat. Season your chicken with salt and pepper, and then either bake it for 20-25 minutes, sauté it until cooked through, or grill it until golden. Once fully cooked, let the chicken cool slightly before dicing it into bite-sized pieces, ensuring it complements the cheesy garlic flavors in your Cheesy Garlic Chicken Wraps.
Step 2: Sauté Garlic
In a medium skillet, heat 2 tablespoons of olive oil over medium heat. Once the oil is shimmering, add 2-3 cloves of minced garlic and sauté for about 1-2 minutes, or until the garlic becomes fragrant and turns a light golden brown. Be careful not to burn it, as this will impart a bitter taste. This aromatic step will set the foundation for the delicious flavors in your wraps.
Step 3: Combine Chicken and Cheese
Add the diced chicken to the skillet with the sautéed garlic and stir everything together, allowing the chicken to absorb the flavorful oil for about 2 minutes. Remove the skillet from heat and stir in 1-1.5 cups of shredded cheese (like cheddar or mozzarella) until it starts to melt, creating a gooey mixture. This cheesy garlic chicken filling is the star of your Cheesy Garlic Chicken Wraps.
Step 4: Assemble Wraps
Lay out your tortillas on a clean surface and spoon a generous amount of the cheesy chicken mixture onto the center of each tortilla. Fold in the sides, then roll the tortilla tightly from the bottom to the top, ensuring the filling remains securely inside. The warm filling will help the wrap hold together seamlessly, making it easy to handle and eat later.
Step 5: Cook Wraps
Melt 1 tablespoon of butter in a skillet over medium heat. Place the wraps seam-side down in the skillet and press gently with a spatula. Cook until golden brown, about 2-3 minutes, then carefully flip and cook the other side until crispy and golden. This step gives your Cheesy Garlic Chicken Wraps a delightful crunch while ensuring the cheese is perfectly melted inside.
Step 6: Rest and Serve
Once the wraps are beautifully browned and crispy, remove them from the skillet and let them rest for 1-2 minutes to allow the cheese to set. Slice them in half on a diagonal for a visually appealing presentation. If using, sprinkle with chopped parsley for a pop of color and freshness. Now your Cheesy Garlic Chicken Wraps are ready to serve and enjoy!

Make Ahead Options
These Cheesy Garlic Chicken Wraps are a fantastic choice for meal prep lovers! You can prepare the chicken and garlic mixture up to 24 hours in advance, storing it in an airtight container in the refrigerator to preserve freshness. It’s also effective to assemble the wraps without cooking them, wrapping them tightly in plastic wrap and refrigerating for up to 3 days. To maintain that crispy exterior, cook the wraps in a skillet just before serving, ensuring the butter is hot to create that perfect golden crunch. With these tips, you’ll enjoy savory, satisfying wraps that are just as delicious as if you made them fresh!
What to Serve with Cheesy Garlic Chicken Wraps
Elevate your meal by pairing these delightful wraps with complementary sides that enhance their comforting flavors.
-
Crispy French Fries: Their crunchy texture contrasts beautifully with the soft wraps, making each bite a joyous experience. Ideal for soaking up any melted cheese that escapes!
-
Fresh Garden Salad: A light, vibrant salad adds a refreshing touch, balancing the richness of the wraps. Use mixed greens, cherry tomatoes, and a citrus vinaigrette for extra zing.
-
Creamy Tomato Soup: This classic duo warms the soul, with the soup providing a rich, tangy counterpoint to the cheesy wraps. Dip your wraps for an extra cozy treat!
-
Garlic Breadsticks: For those who can’t get enough of garlic, serve these buttery sticks for a bread-loving twist. The shared flavor theme brings everything together wonderfully.
-
Sautéed Vegetables: Brightly colored spinach, bell peppers, and zucchini offer a nutritious boost. Their slight crunch complements the wraps while adding a burst of color to your plate.
-
Classic Coleslaw: This tangy side dish brings a crispness that contrasts nicely with the cheesy filling. The crunch of the cabbage adds texture, enriching your meal with every bite.
-
Sparkling Lemonade: This refreshing drink brings a touch of brightness, cutting through the richness of the wraps. Its fizz adds a fun twist, making your meal feel like a special occasion!
Cheesy Garlic Chicken Wraps Variations
Feel free to let your imagination run wild with these delicious wraps! The possibilities to personalize this recipe are as enticing as the warm, cheesy goodness itself.
- Dairy-Free: Substitute regular cheese with a plant-based cheese alternative; it melts beautifully and keeps the taste festive.
- Spicy Kick: Enhance the flavor profile by adding diced jalapeños or crushed red pepper flakes to the chicken mixture for a fiery touch!
- Vegetable Boost: Incorporate colorful vegetables like sautéed bell peppers or fresh spinach for extra nutrition and vibrancy.
- Different Proteins: Swap chicken for cooked shrimp or ground turkey, creating a whole new taste sensation that family and friends will adore.
- Herb Infusion: Fresh herbs like cilantro or oregano can elevate the flavor profile—just chop and mix them right into your filling!
- Wrap It Up: Use lettuce wraps instead of tortillas for a low-carb alternative, providing a refreshing twist while keeping it crunchy.
- Flavorful Focaccia: For something different, use pieces of Garlic Parmesan Focaccia as a wrap instead; it adds that extra touch of garlic goodness!
- Asian Fusion: Mix up the flavors by incorporating stir-fried veggies and teriyaki sauce; these wraps become an exciting meal that transports your taste buds!
Embrace the joy of customizing your Cheesy Garlic Chicken Wraps to suit your family’s cravings and dietary needs. Let your creativity shine!
How to Store and Freeze Cheesy Garlic Chicken Wraps
Fridge: Store leftover Cheesy Garlic Chicken Wraps in an airtight container for up to 2 days. This keeps them fresh while ensuring you can enjoy them later.
Freezer: To freeze, wrap the wraps tightly in plastic wrap and then place them in a freezer bag. They can be frozen for up to 2 months, maintaining their flavor and texture.
Reheating: Reheat in a skillet over medium heat for 3-4 minutes on each side until heated through and crispy. This method helps retain the delightful texture.
Make-Ahead: Prepare the wraps in advance and store uncooked in the fridge for up to 1 day. This allows for a quick dinner solution after a busy day!
Expert Tips for Cheesy Garlic Chicken Wraps
-
Chicken Choice: Use rotisserie chicken for convenience; it saves time and adds great flavor, ensuring your Cheesy Garlic Chicken Wraps are a hit.
-
Garlic Sautéing: Be mindful not to overcook the garlic. Burned garlic can create a bitter taste, ruining the deliciousness of your wraps.
-
Cheese Melting: Remove the skillet from heat before adding cheese. This way, it melts perfectly without becoming rubbery, enhancing the wrap’s gooey goodness.
-
Tortilla Handling: Warm tortillas briefly before filling to make them pliable and easy to roll; this prevents tearing and maintains your wrap’s integrity.
-
Crispiness Factor: For an extra crispy finish, brush the tortillas with garlic butter before cooking them in the skillet. It elevates flavor and texture in your Cheesy Garlic Chicken Wraps.

Cheesy Garlic Chicken Wraps Recipe FAQs
How do I choose ripe and fresh ingredients?
Absolutely! For the best flavor, select fresh and firm chicken. If using garlic, choose heads that feel heavy and have tight, unblemished skins. When selecting cheese, opt for blocks over pre-shredded varieties, as they melt more smoothly.
How should I store leftover Cheesy Garlic Chicken Wraps?
Store your leftovers in an airtight container in the fridge for up to 2 days. This keeps them fresh and ready for a quick meal. Just make sure to let them cool completely before sealing to avoid moisture build-up.
Can I freeze Cheesy Garlic Chicken Wraps?
Yes, you can freeze them! Wrap the cooled wraps individually in plastic wrap, then place them in a freezer bag. They can be kept in the freezer for up to 2 months. When you want to enjoy one, just thaw it overnight in the fridge and reheat in a skillet for that crispy texture!
What should I do if my wraps are tearing when I roll them?
Very good question! If your tortillas are tearing, it’s often due to them being cold or stiff. Try warming them briefly in a microwave or sauté pan for about 10 seconds on each side. This will make them more pliable and easier to roll without tearing.
Are Cheesy Garlic Chicken Wraps suitable for my dietary needs?
Absolutely! These wraps are highly customizable. Use gluten-free tortillas for a gluten-free option. If you’re avoiding dairy, swap out cheese for a vegan alternative or simply load up on veggies. Always be sure to check for any specific allergies to ingredients used, especially with cheese and chicken preparations.

Cheesy Garlic Chicken Wraps
Ingredients
Equipment
Method
- Preheat oven to 375°F (190°C) or heat a skillet over medium-high heat. Season chicken with salt and pepper, then bake, sauté, or grill until cooked. Cool slightly, then dice.
- In a medium skillet, heat olive oil over medium heat. Add minced garlic and sauté for about 1-2 minutes until fragrant and golden brown.
- Add diced chicken to the skillet and stir for about 2 minutes. Remove from heat and stir in shredded cheese until melted.
- Lay tortillas on a surface, spoon cheesy chicken mixture in the center, fold sides, and roll tightly from bottom to top.
- Melt butter in a skillet over medium heat. Place wraps seam-side down, cooking until golden brown, about 2-3 minutes per side.
- Let wraps rest for 1-2 minutes, then slice diagonally for presentation. Sprinkle with chopped parsley if desired.

Leave a Reply