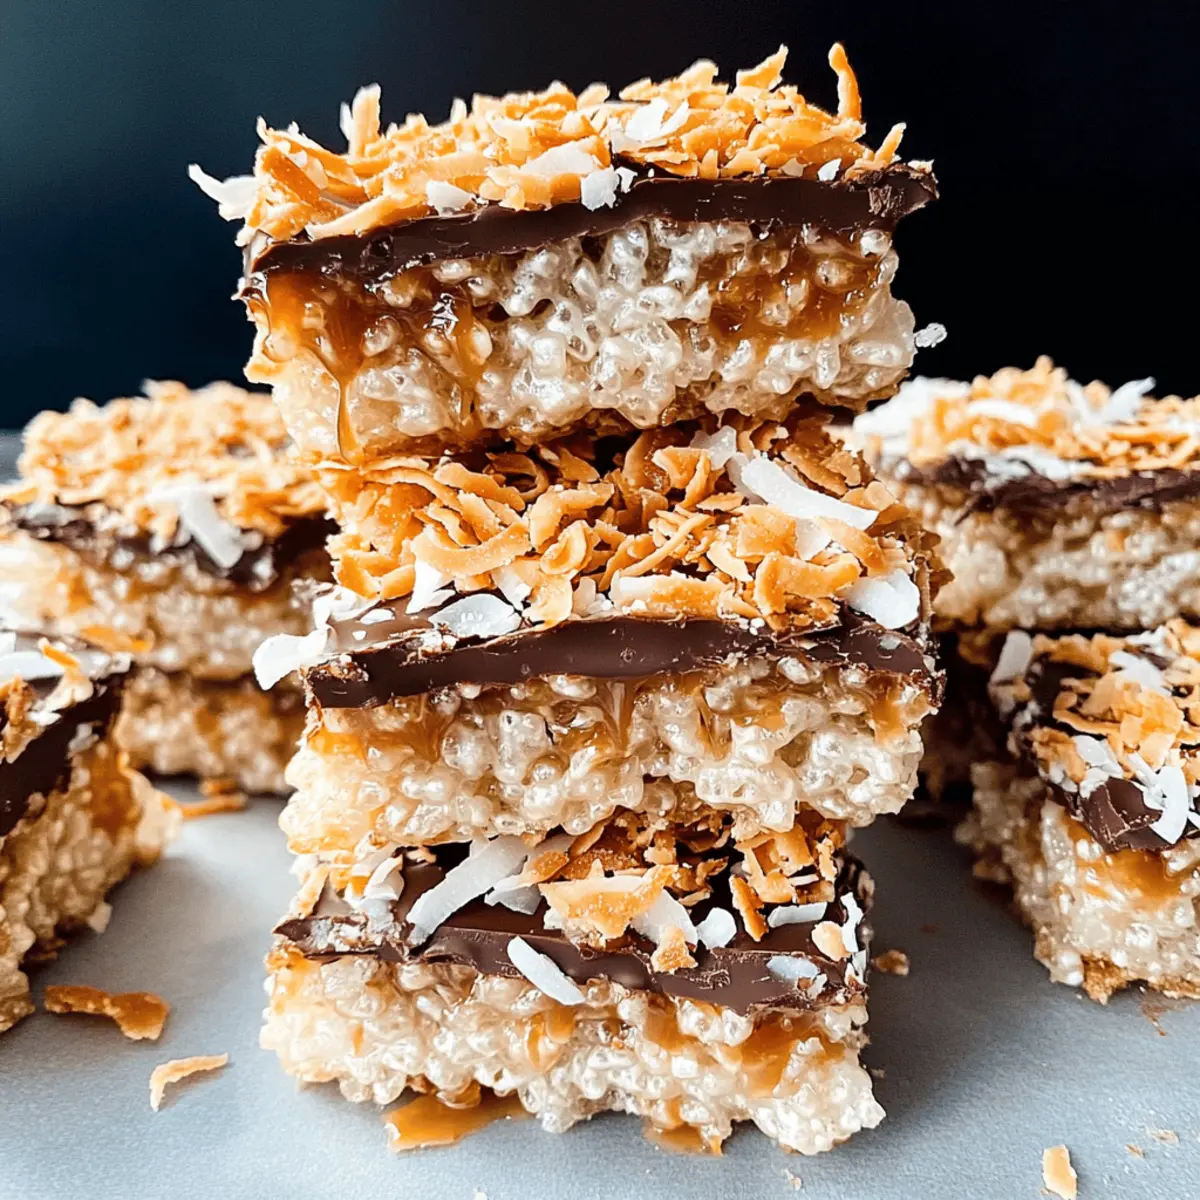
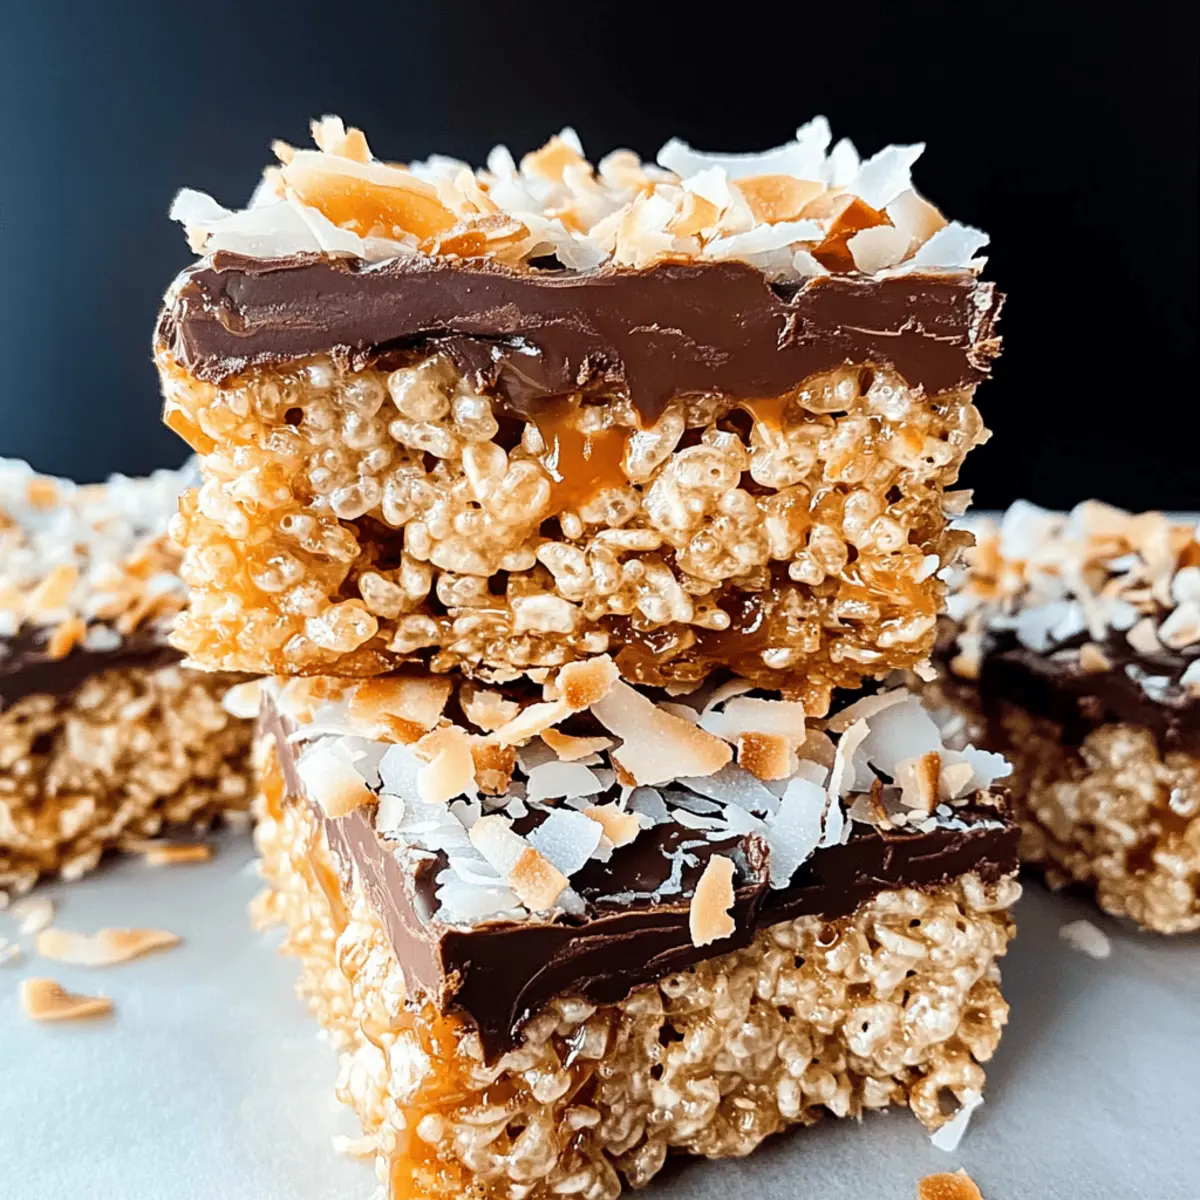
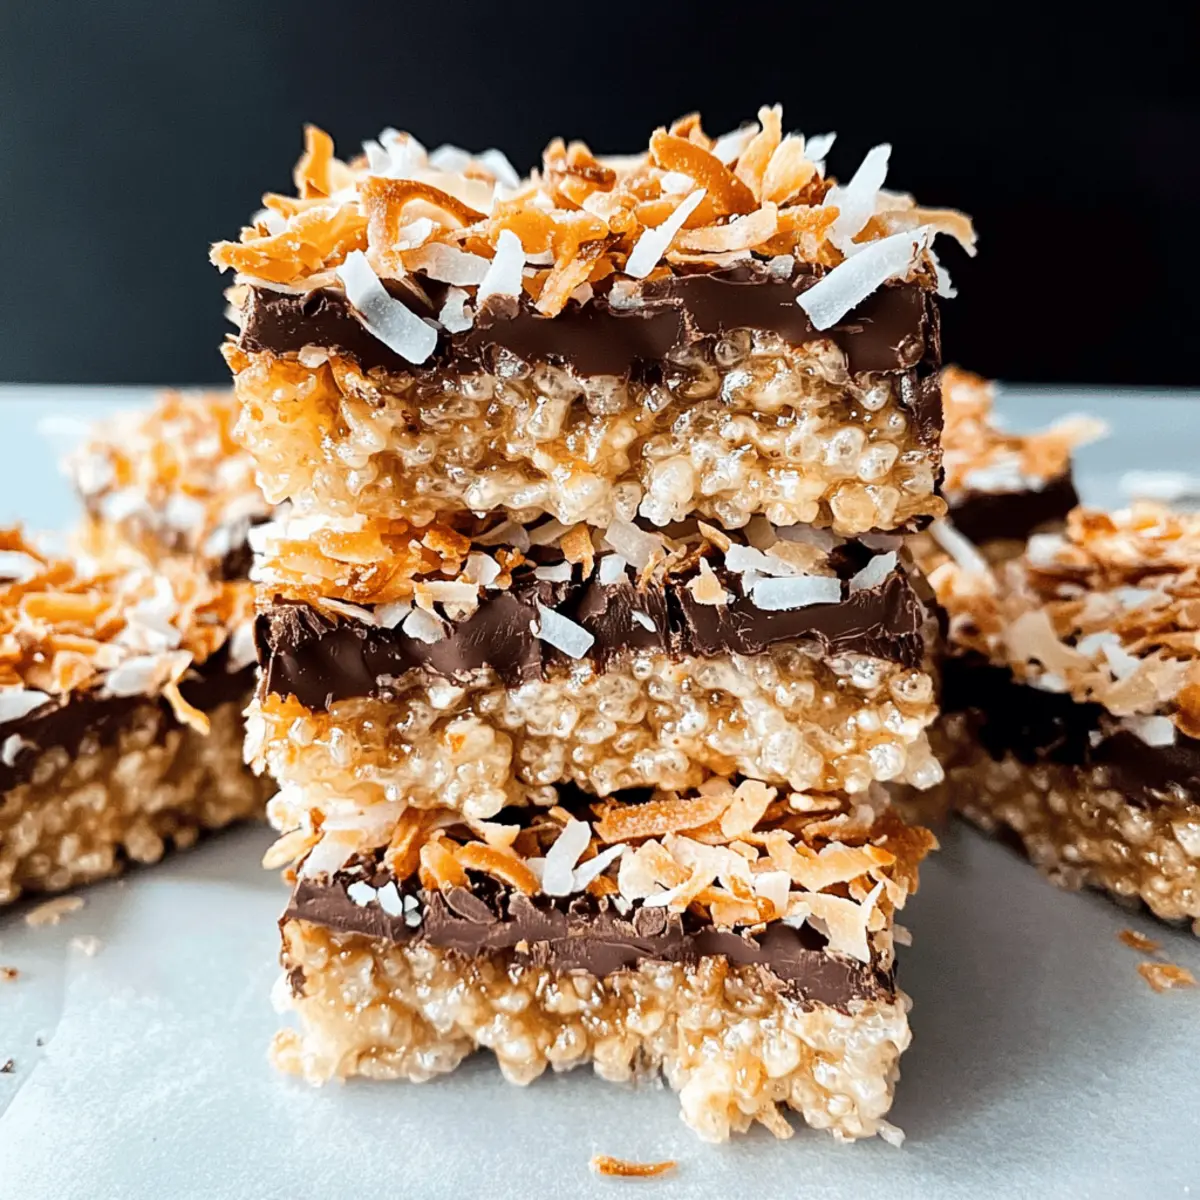
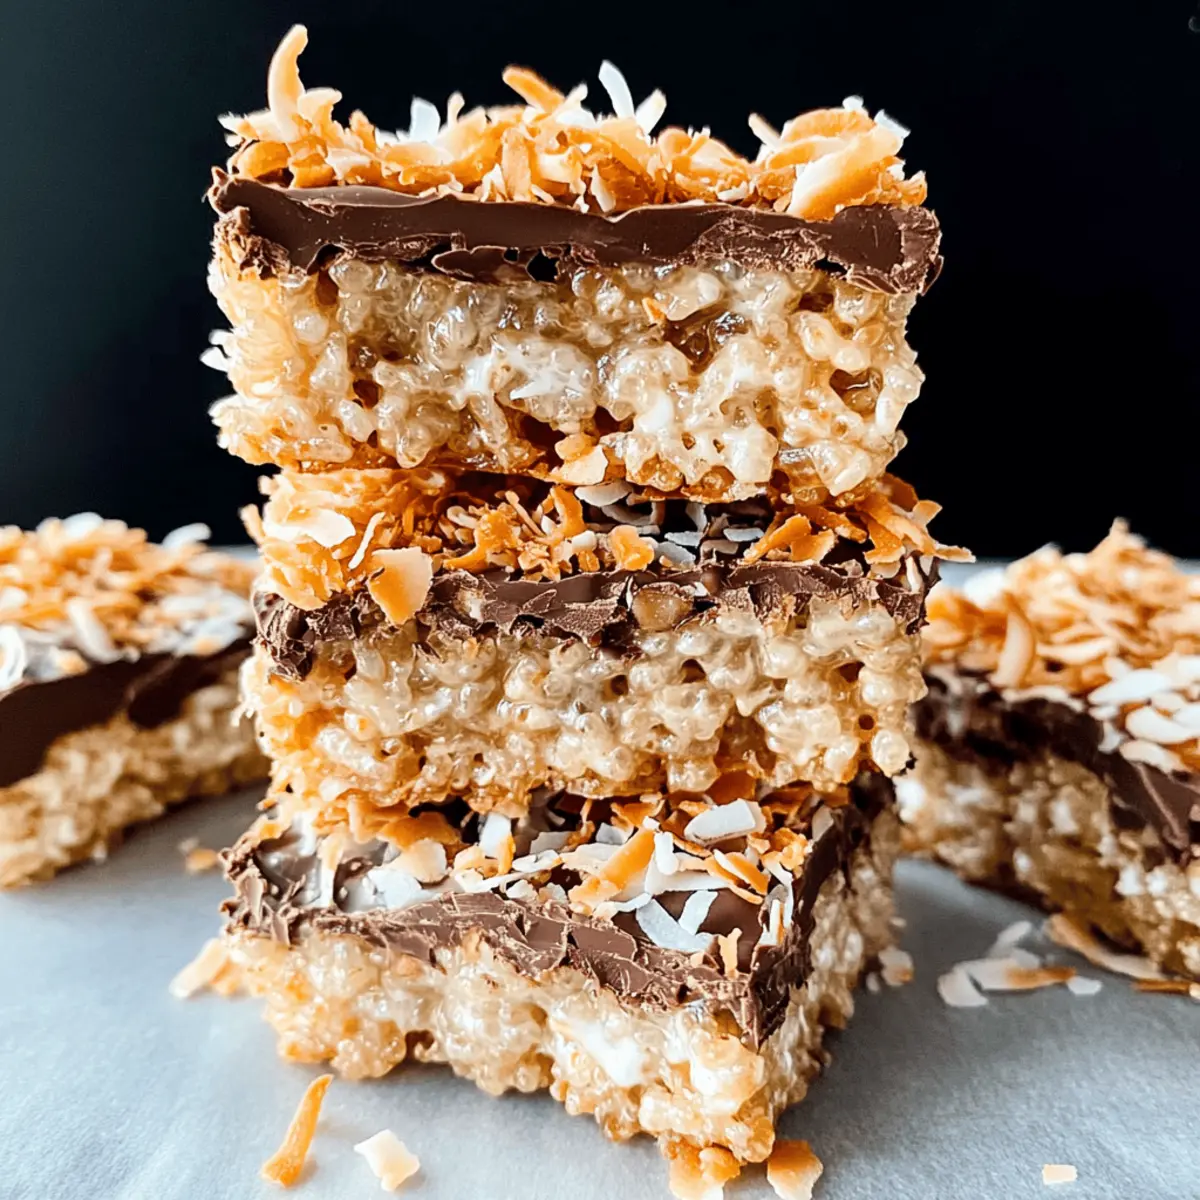
As I stood in my kitchen, the warm scent of toasting coconut filled the air, instantly transporting me to my childhood, where Girl Scout cookies were an irresistible treat. Inspired by those beloved Samoa cookies, I couldn’t resist creating a sweet and chewy version that’s as simple as making Rice Krispie treats. These Samoa Rice Krispie Treats are a sensational no-bake dessert that will delight both kids and adults alike. With just a handful of ingredients and a quick prep time, you’ll have a delicious treat ready for any gathering or just a fun afternoon snack. Each bite offers a perfect blend of gooey marshmallow, crunchy cereal, and tropical coconut richness, making them a true crowd-pleaser. Are you ready to discover how to bring this joy into your home? Let’s get started!

Why are Samoa Rice Krispie Treats irresistible?
Easy to Make: The no-bake method means you can whip these up in no time, making them ideal for busy days or spontaneous cravings.
Kid-Friendly: With familiar ingredients and a fun texture, even the pickiest of eaters will love them!
Decadent Flavors: The rich mix of caramel, chocolate, and toasted coconut creates a flavor explosion that rivals any dessert.
Perfect for Sharing: Bring these treats to potlucks or parties, and watch as they disappear in seconds—a guaranteed crowd-pleaser!
Versatile Options: Add your twist with variations like dried pineapple or macadamia nuts, or switch to dark chocolate for an intense flavor burst. Don’t forget to pair them with a glass of milk or coffee! If you’re looking for more delightful no-bake ideas, check out my Breakfast Fried Rice or One Pot Rice recipes.
Samoa Rice Krispies Ingredients
• Discover the simple staples for a delicious treat!
For the Treats
- Mini Marshmallows – The primary binding agent adding sweetness and texture; for a quicker option, use about 40 larger marshmallows.
- Butter – Adds richness and helps bind ingredients; using unsalted butter gives you better control over salt content.
- Rice Krispie Cereal – Provides essential structure and crunch; both name brand and store brand work perfectly.
- Sweetened Shredded Coconut – An essential flavor component; unsweetened coconut can be used for a less sweet alternative.
For the Caramel Layer
- Milk – Helps thin dulce de leche for easier mixing; any type of milk, including dairy or plant-based, works well.
- Dulce de Leche – Adds a rich caramel flavor and creamy texture; you can substitute with homemade dulce de leche for a personal touch.
For the Topping
- Semi-Sweet Chocolate – Imparts a chocolatey flavor on top; feel free to swap for dark or milk chocolate based on your preference.
These Samoa Rice Krispies are not just a treat; they’re a delightful experience waiting to be shared!
Step‑by‑Step Instructions for Samoa Rice Krispie Treats
Step 1: Toast Coconut
In a large sauté pan, set your stove to medium-high heat and add sweetened shredded coconut. Stir constantly for about 5-7 minutes until the coconut turns golden brown and develops a fragrant aroma. This step brings out the rich flavor of the coconut, making your Samoa Rice Krispie Treats even more delicious. Once toasted, set aside half a cup for garnish later.
Step 2: Prepare Dulce de Leche
Grab a microwave-safe bowl and combine dulce de leche with a splash of milk. Microwave this mixture on high for about 1.5 minutes, stirring halfway through, until it’s smooth and thinned for easier mixing. After achieving a gooey consistency, mix in most of the toasted coconut from Step 1, reserving the rest for topping your treats.
Step 3: Melt Mixture
In another large microwave-safe bowl, combine mini marshmallows and unsalted butter. Heat in the microwave for approximately 2 minutes, stopping to stir halfway through. You want this mixture to melt completely and become a glossy, cohesive blend. This melted mixture is the perfect binder for your Samoa Rice Krispie Treats.
Step 4: Combine
Once your marshmallow and butter mixture is smooth, take it out of the microwave and gently fold in the Rice Krispie cereal. Use a spatula to ensure every piece is coated with the marshmallow mixture, creating a deliciously sticky texture. This step is key for the delightful crunch of your Samoa Rice Krispie Treats.
Step 5: Layering
Prepare an 8×12 pan by lightly greasing it with cooking spray. Spread half of your Rice Krispie mixture evenly into the bottom of the pan, pressing down firmly. Next, add the dulce de leche and toasted coconut mixture in a layer on top. Finally, place the remaining Rice Krispie mixture over the dulce de leche layer, pressing gently to compact it all together.
Step 6: Finish
Melt semi-sweet chocolate in the microwave, heating in 30-second intervals until smooth. Spread this luscious chocolate evenly over the top layer of your Samoa Rice Krispie Treats. For the perfect finishing touch, sprinkle the reserved toasted coconut over the chocolate. Allow your treats to cool and the chocolate to harden before cutting into squares and serving.

What to Serve with Samoa Rice Krispie Treats
Indulging in these sweet treats is only the beginning—let’s create a complete experience for your taste buds.
-
Chilled Glass of Milk: A classic pairing, milk beautifully balances the sweetness and adds a creamy element to complement the chewy treats.
-
Rich Brewed Coffee: Enjoy a warm cup of coffee alongside your Samoa Rice Krispie Treats for a delightful contrast—perfect for afternoon cravings or dessert.
-
Tropical Fruit Salad: The freshness of pineapple, kiwi, and mango adds a bright, refreshing contrast to the caramel and chocolate, enhancing the overall tropical vibe.
-
Creamy Vanilla Ice Cream: A scoop of vanilla ice cream melts atop the warm treats, creating a luscious combination of flavors and textures that’s simply divine.
-
Toasted Coconut Dusted Whipped Cream: Serve a dollop of whipped cream dusted with more toasted coconut for an extra layer of flavor that ties back to the treats.
-
Decadent Dark Chocolate Drizzle: For an indulgent touch, add a drizzle of dark chocolate over the treats for a richer, more luxurious experience.
Pairing these flavors with your Samoa Rice Krispie Treats elevates them from delicious to unforgettable, making every bite a celebration!
Samoa Rice Krispie Treats Variations
Feel free to let your creativity shine with these delicious Samoa Rice Krispie Treats by making a few fun twists!
-
Tropical Twist: Add chopped dried pineapple or macadamia nuts for a refreshing burst of flavor. The addition of pineapple gives a juicy sweetness that compliments the coconut beautifully.
-
Dark Chocolate Delight: Swap in dark chocolate instead of semi-sweet for a rich, intense chocolate finish. Its deep taste pairs wonderfully with the caramel and coconut layers.
-
Nutty Crunch: Include chopped nuts like pecans or walnuts to add a delicious crunch to the texture. Not only does this give extra flavor, but it also makes the treats more satisfying.
-
Coconut Bliss: Use unsweetened shredded coconut for a less sweet version while still keeping that delightful coconut flavor. This allows the other rich ingredients to shine!
-
Cookie Dough Layer: Mix in cookie dough bites atop your cereal layer before adding the chocolate. It adds a fun surprise element that cookie lovers will adore.
-
Heat It Up: Add a pinch of cayenne pepper or a drizzle of hot honey to the chocolate layer for a spicy kick. Feeling adventurous? This spicy-sweet combination will elevate your treats to another level.
-
Rice Paper Crunch: For a unique texture, swap out some of the Rice Krispies for crushed rice paper or puffed quinoa. This will give your treats a light, airy crunch that feels indulgent yet different.
Let your imagination guide you, and remember these Samoa Rice Krispie Treats are all about enjoying the process! And if you’re in the mood for more exciting recipes, don’t forget to explore my Smothered Chicken Rice for a savory treat or whip up some delicious Rice Paper Crab for a unique twist on dinner.
Expert Tips for Samoa Rice Krispie Treats
-
Coconut Perfection: To prevent burning, stir the coconut constantly while toasting. Set a timer to keep an eye on it as it turns golden.
-
Easier Handling: Lightly spray your hands with cooking spray before pressing the cereal mixture into the pan. This will help prevent sticking and make layering simpler.
-
Storage Strategy: Store the Samoa Rice Krispie Treats in an airtight container to maintain their freshness. Enjoy within 1-2 days for the best texture; they can become chewy if left longer.
-
Maximize Flavor: Don’t rush melting the marshmallows and butter; ensure they’re fully melted and combined for an even distribution in your Samoa Rice Krispie Treats.
-
Customize Your Treats: Feel free to experiment with mix-ins like nuts or dried fruits to add your personal touch. This versatility keeps your treats exciting!
Make Ahead Options
These Samoa Rice Krispie Treats are perfect for meal prep, allowing you to get a head start on dessert for your next gathering! You can prepare the layers of cereal and toasted coconut up to 24 hours in advance by pressing them into the pan, but I recommend waiting to add the chocolate topping until just before serving to maintain its glossy finish. To keep the treats fresh, simply cover the assembled pan with foil and store it in the refrigerator. When you’re ready to serve, melt the semi-sweet chocolate and spread it over the top, garnishing with the reserved toasted coconut for a delightful finishing touch. This way, you can enjoy delicious, homemade treats with minimal effort on the day of your event!
Storage Tips for Samoa Rice Krispie Treats
Room Temperature: Store in an airtight container at room temperature for up to 2 days, ensuring they stay fresh and chewy.
Fridge: If you prefer a firmer texture, refrigerate in an airtight container for up to 5 days. Just remember, they may lose some chewiness!
Freezer: For longer storage, wrap in plastic wrap and place in a freezer-safe container; they can be frozen for up to 2 months. Thaw at room temperature before enjoying.
Reheating: While best enjoyed fresh, if they soften in storage, briefly microwave individual pieces for about 10 seconds to regain some warmth and gooeyness.

Samoa Rice Krispies Recipe FAQs
How do I choose the right coconut for my Samoa Rice Krispie Treats?
Selecting sweetened shredded coconut is best for these treats, as it provides that delightful sweetness and chewy texture. When toasting, look for coconut with a consistent white color. If you prefer a less sweet option, unsweetened coconut can also work well, but it won’t have the same flavor profile.
What is the best way to store leftover Samoa Rice Krispie Treats?
Store your treats in an airtight container at room temperature for up to 2 days to maintain their freshness. If you want to keep them longer, refrigerate for up to 5 days, but be aware they may lose some of their delightful chewiness. Always let them come to room temperature before eating, so they regain a bit of their softness.
Can I freeze Samoa Rice Krispie Treats?
Absolutely! To freeze them, wrap each treat individually in plastic wrap and place them in a freezer-safe container. They can be frozen for up to 2 months. When you’re ready to enjoy them, thaw at room temperature for about 30 minutes, or if you’re in a hurry, pop them in the microwave for about 10 seconds to soften slightly.
What should I do if my treats are too sticky or gooey?
If your Samoa Rice Krispie Treats are overly sticky, this can happen if the marshmallow mixture wasn’t melted completely or was too humid during preparation. To troubleshoot, ensure your marshmallows and butter are fully melted and combined before adding the cereal. If they are already made and sticky, you can refrigerate them for about 30 minutes to help them firm up a bit.
Are there any dietary considerations when making Samoa Rice Krispie Treats?
Yes, if you or someone you’re serving has allergies, be cautious! These treats contain butter and marshmallows, which may have gluten or other allergens depending on the brand. For a gluten-free option, look for gluten-free marshmallows and ensure your Rice Krispie cereal is also gluten-free. If you’re concerned about lactose, you can substitute dairy butter with a dairy-free alternative to accommodate a lactose intolerance.
Can I make these treats ahead of time?
Of course! Feel free to make your Samoa Rice Krispies a day in advance. Just keep in mind that their texture may soften overnight. For the freshest taste, I recommend consuming them on the same day they’re made, but prepping ahead won’t hurt!

Samoa Rice Krispies: A Chewy Treat You'll Love to Share
Ingredients
Equipment
Method
- In a large sauté pan, set your stove to medium-high heat and add sweetened shredded coconut. Stir constantly for about 5-7 minutes until the coconut turns golden brown.
- Grab a microwave-safe bowl and combine dulce de leche with a splash of milk. Microwave on high for about 1.5 minutes, stirring halfway through.
- In another large microwave-safe bowl, combine mini marshmallows and unsalted butter. Heat in the microwave for approximately 2 minutes, stopping to stir halfway through.
- Once your marshmallow and butter mixture is smooth, gently fold in the Rice Krispie cereal.
- Prepare an 8x12 pan by lightly greasing it with cooking spray. Spread half of your Rice Krispie mixture evenly into the bottom.
- Melt semi-sweet chocolate in the microwave. Spread evenly over the top layer of your Samoa Rice Krispie Treats and sprinkle with reserved toasted coconut.

Leave a Reply