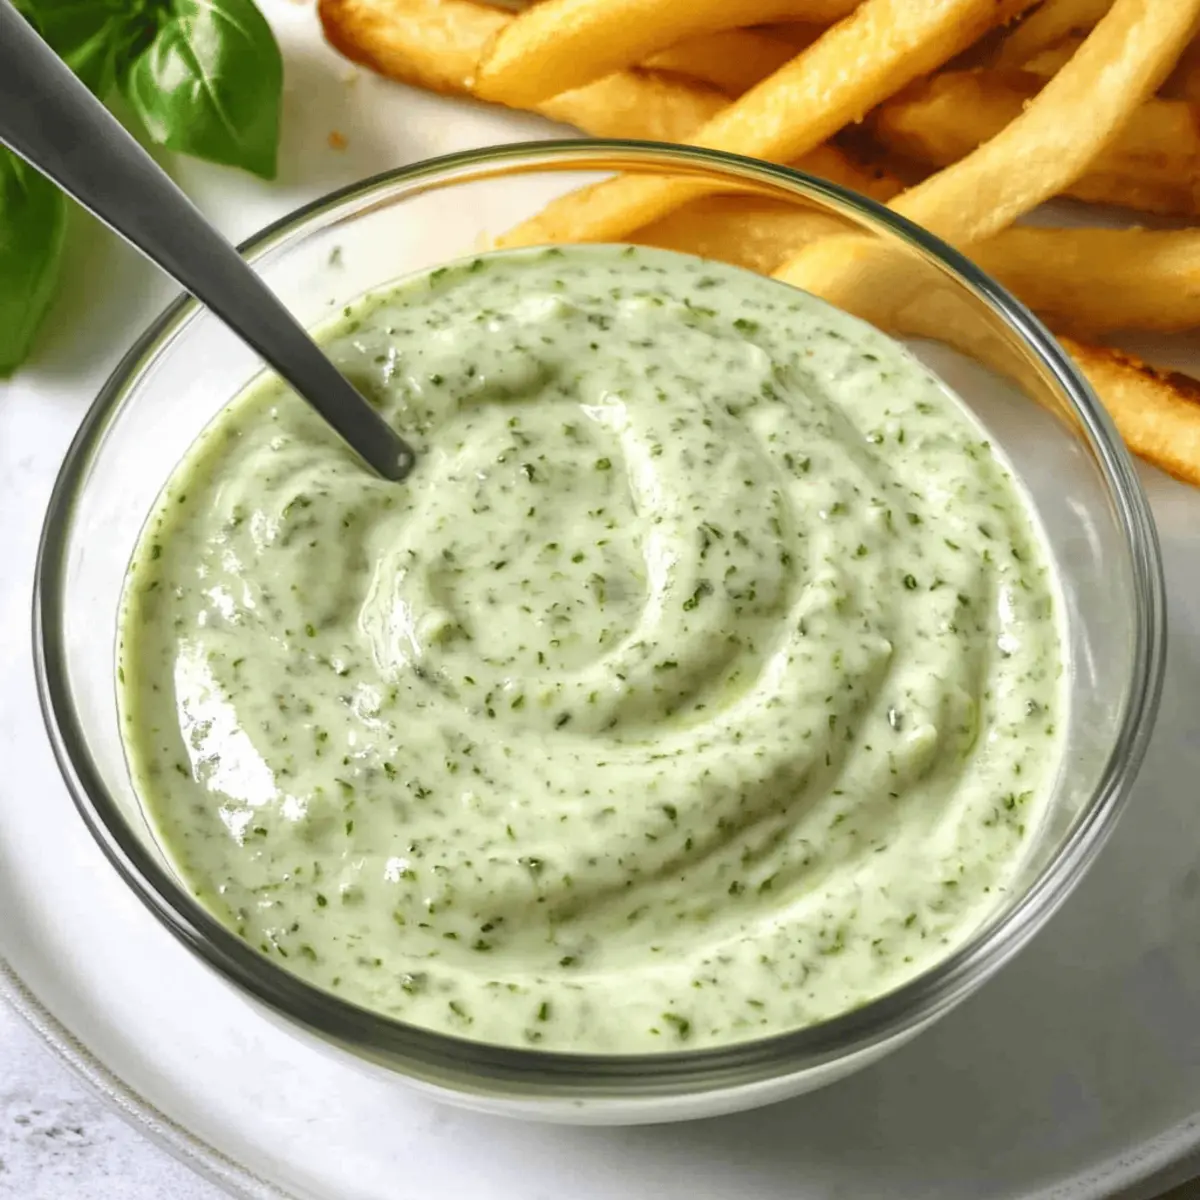
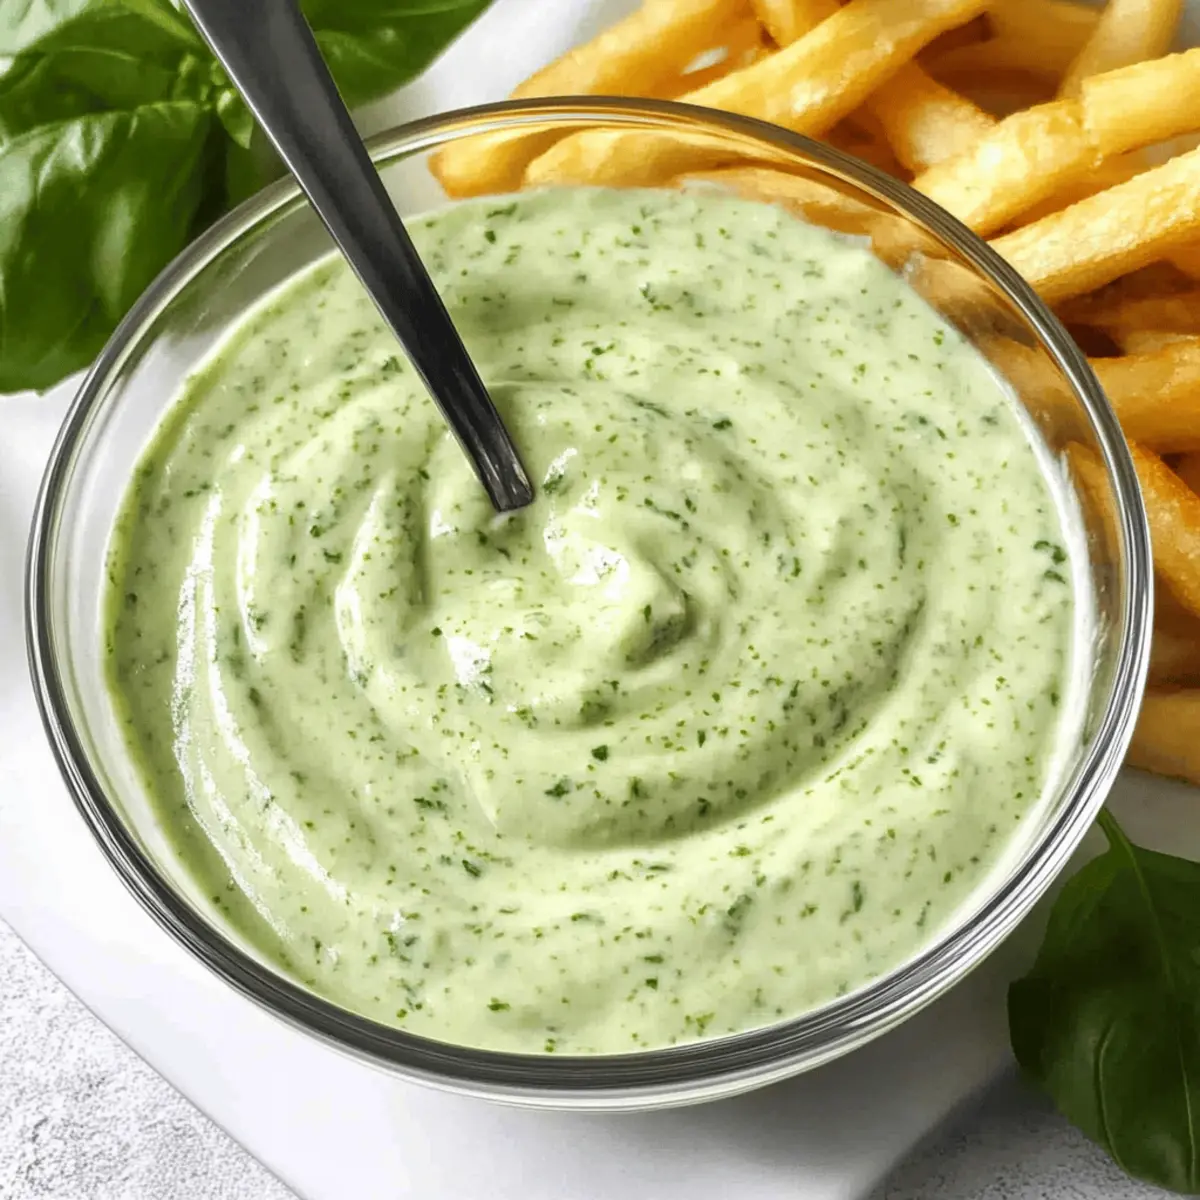
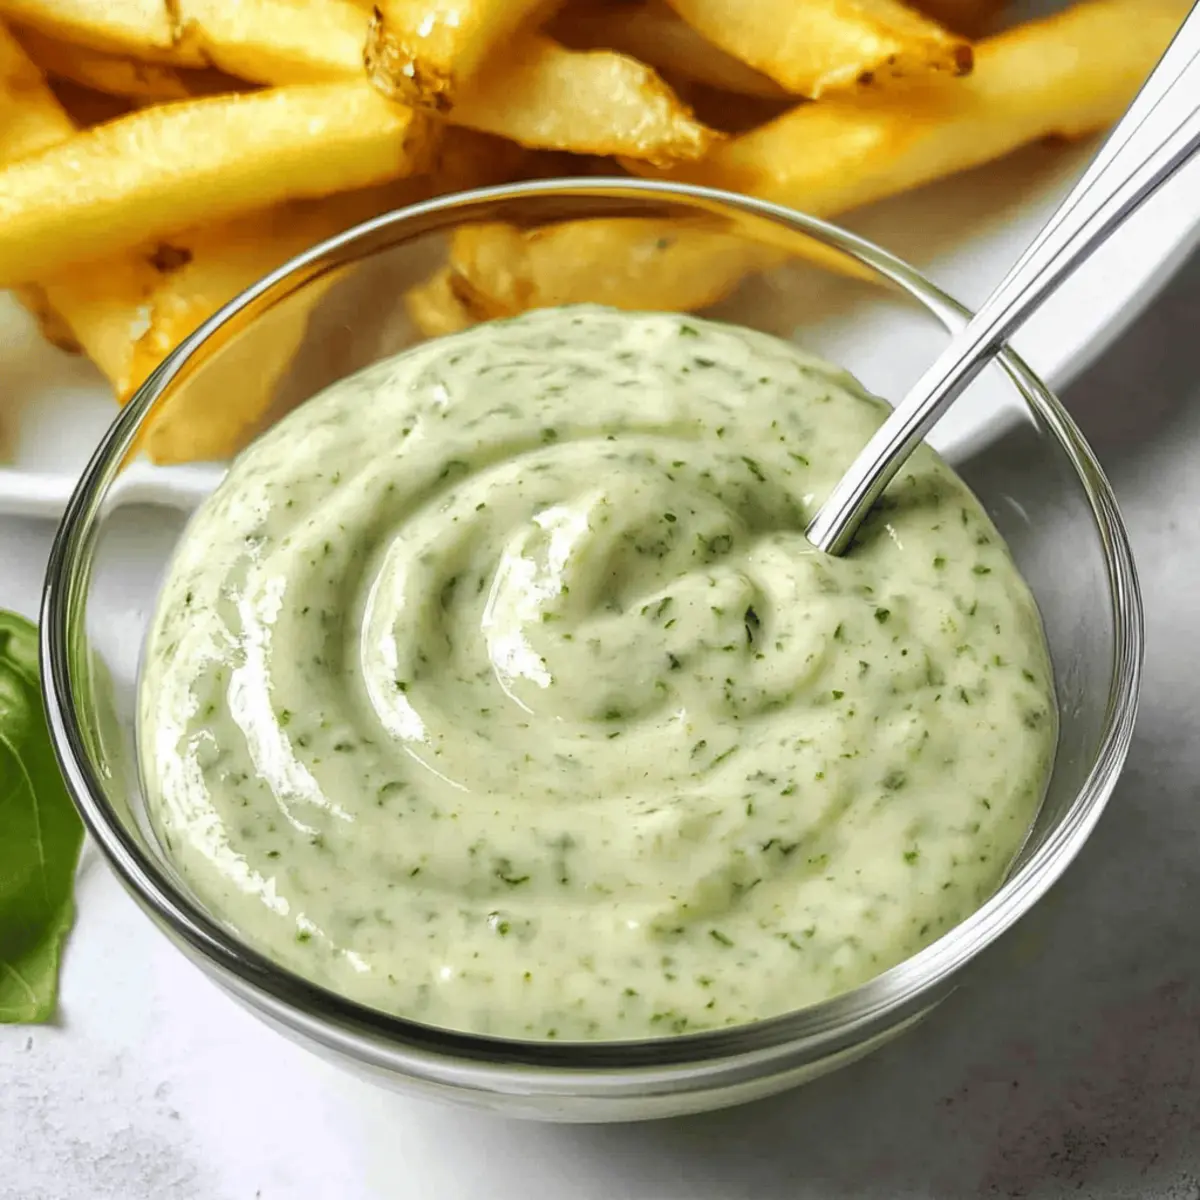
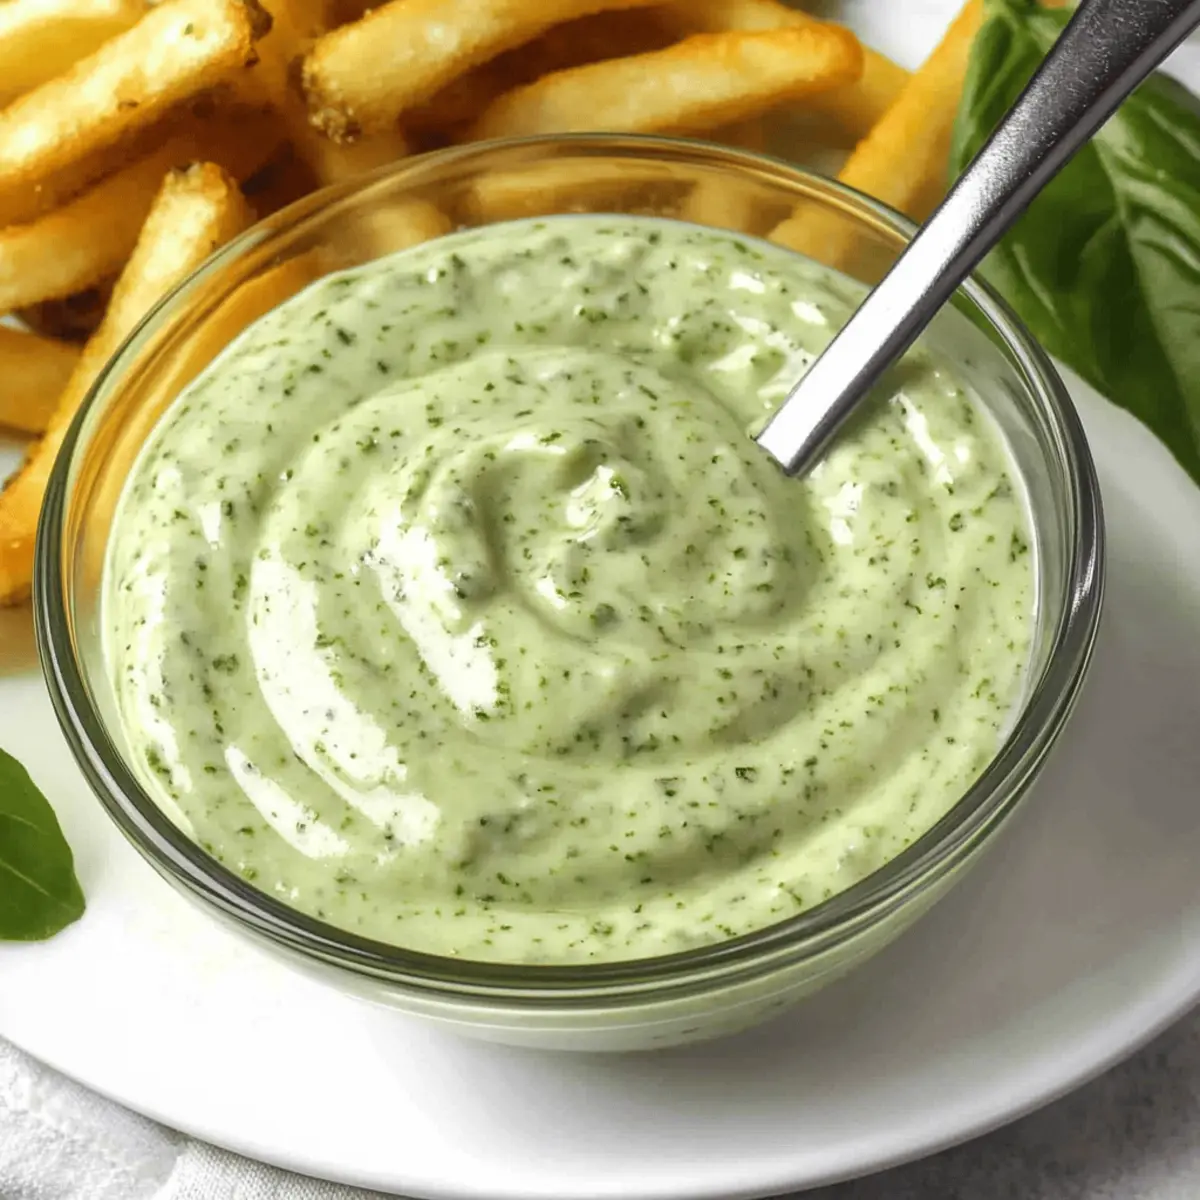
As the sun shines brighter and summer beckons, there’s nothing quite like the vibrant flavor of fresh basil to elevate your dishes. Today, I’m thrilled to share my recipe for Quick and Creamy Basil Aioli, a delightful condiment that can turn any meal into a celebration. This creamy aioli, made with simple ingredients like mayonnaise, garlic, and zesty lemon juice, promises to be your new go-to for sandwiches, burgers, or even a tasty dip for fries. One of the best perks of this basil aioli is its quick prep time—whipping it up takes no effort at all, and you’ll impress your family and friends with its fresh taste. Plus, you can easily customize it with different herbs to keep it exciting! Are you ready to discover how this creamy delight can transform your summer dining experience? Let’s dive in!

Why is Basil Aioli a Must-Try?
Creamy Texture: The silky smooth consistency of basil aioli makes it the perfect complement to your favorite dishes, enhancing everything from sandwiches to grilled meats.
Fresh Ingredients: With bright flavors of fresh basil, tangy lemon, and aromatic garlic, this aioli is a flavor bomb that will elevate your meals instantly.
Quick to Make: This recipe is all about speed and simplicity. You can whip it up in no time, making it a fantastic option for spontaneous gatherings.
Versatile Uses: Whether you’re drizzling it over roasted veggies, using it as a dip for fries, or slathering it on burgers, the variety of applications ensure it fits into any meal.
Customizable Flavor: Feel free to experiment! Substituting herbs like cilantro or parsley can transform the flavor profile, keeping your summer dining fresh and exciting. Plus, for a unique twist, try making a version inspired by Thai Basil Beef for a fusion touch!
Basil Aioli Ingredients
For the Aioli
• Mayonnaise – The base providing creaminess, but you can use Greek yogurt for a lighter option.
• Basil Leaves – Fresh, aromatic flavor; swap with cilantro, parsley, dill, or chives for a different twist.
• Garlic – Adds a robust kick; adjust the amount to suit your taste preference.
• Lemon Juice – Brightens and adds acidity; always choose fresh for the best flavor.
• Salt – Enhances the overall taste; make sure to adjust it according to your liking.
Step‑by‑Step Instructions for Basil Aioli
Step 1: Combine Ingredients
In a medium mixing bowl or food processor, add 1 cup of mayonnaise, 1 cup of fresh basil leaves, 2 cloves of minced garlic, the juice of 1 lemon, and a pinch of salt. Use a spatula to help incorporate the ingredients if needed. The vibrant green of the basil should be well dispersed throughout the mayonnaise, creating a fresh and inviting mixture.
Step 2: Blend to Perfection
Blend or whisk the mixture on medium speed for 30–60 seconds until it reaches a smooth, creamy consistency. Scrape down the sides of the bowl or processor occasionally to ensure all ingredients are fully integrated. The final texture should be thick and luscious, with a bright green hue that signifies freshness, making your basil aioli truly irresistible.
Step 3: Chill for Flavor Development
Transfer the basil aioli to a sealed container and refrigerate for at least 30 minutes. This resting time allows the flavors to meld beautifully, enhancing the overall taste. You’ll know it’s ready when the fragrant garlic and zesty lemon have married with the fresh basil, giving it a well-rounded flavor profile perfect for any dish.
Step 4: Serve and Enjoy
Once chilled, taste your basil aioli and adjust salt if needed. It’s ready to use as a delightful condiment for sandwiches, burgers, or as a dip for crispy fries and fresh vegetables. The creamy texture and vibrant flavors will elevate your meals, making your homemade basil aioli a new favorite for summer dining.

What to Serve with Quick and Creamy Basil Aioli?
Elevate your dining experience with fresh flavors and delightful pairings that complement the vibrant essence of basil aioli.
- Grilled Chicken Sandwiches: Juicy grilled chicken paired with creamy basil aioli adds a fresh burst of flavor to every bite.
- Crispy Sweet Potato Fries: The natural sweetness of sweet potato fries perfectly balances the zesty notes of the aioli, creating a harmonious dip.
- Roasted Vegetables: Tossed in olive oil and roasted to perfection, veggies like zucchini and bell peppers are enhanced with a drizzle of basil aioli.
- Seafood Tacos: The richness of grilled fish or shrimp topped with basil aioli offers a refreshing twist that brightens your taco night.
- Garden Salad: Drizzling aioli over a garden salad transforms it into a flavorful dish, adding creaminess and herbaceous notes with each forkful.
- Bruschetta: Spread basil aioli on toasted baguette slices topped with tomatoes, bringing a creamy contrast to the tartness of the tomatoes.
- Chips and Veggies Dip: Serve with an array of crispy chips or fresh veggie sticks for a simple yet delightful snacking experience on a sunny afternoon.
- Sparkling Lemonade: Refresh your palate with a homemade sparkling lemonade; its zesty flavor pairs beautifully with the creamy aioli.
- Brownies for Dessert: To finish on a sweet note, enjoy fudgy brownies. Their rich flavor contrasts charmingly with the savory note of basil aioli earlier in the meal.
Make Ahead Options
These Quick and Creamy Basil Aioli preparations are fantastic for busy home cooks looking to save time! You can prepare the aioli up to 24 hours in advance by blending all the ingredients and storing it in an airtight container in the refrigerator. Allow the flavors to develop beautifully in the fridge; just be sure to give it a quick stir before serving. If you need a more extended option, the aioli can last up to 3 days refrigerated, maintaining its creamy texture and vibrant flavor. Avoid freezing, as it can alter the consistency. When it’s time to serve, simply taste and adjust the salt if needed, and you’ll have a delicious, homemade condiment to elevate your dishes effortlessly!
Storage Tips for Basil Aioli
Fridge: Store basil aioli in a tightly sealed container in the refrigerator for up to 7 days. For the best taste, aim to enjoy it within 1-2 days.
Avoid Freezing: Freezing basil aioli is not recommended, as the mayonnaise may separate and lose its creamy texture when thawed.
Reheating: If you plan to use leftover aioli, serve it cold straight from the fridge. There’s no need to reheat, as the flavors are best enjoyed chilled.
Expert Tips for Basil Aioli
• Fresh Ingredients Only: Use fresh basil and lemons for the best flavor. Dried herbs or bottled lemon juice can diminish the aioli’s vibrant taste.
• Customize Your Aioli: Don’t hesitate to try different herbs like cilantro or parsley. This way, your basil aioli remains exciting and tailored to your taste buds.
• Mince Finely: Mince garlic and herbs well for a smooth texture, avoiding any gritty bits that might disrupt the creamy consistency.
• Chill Time Matters: Letting the aioli chill for at least 30 minutes is crucial, as it enhances the flavor. Don’t skip this step!
• Storage Savvy: Store basil aioli in an airtight container in the fridge, but remember it’s best enjoyed within one to two days for utmost freshness.
• Avoid Freezing: Freezing basil aioli isn’t recommended; it can cause the mayonnaise to separate, losing its luscious texture upon thawing.
Basil Aioli Variations & Substitutions
Feel free to tailor your basil aioli to suit your taste buds and dietary needs with these delightful variations!
-
Herb Swap: Replace basil with cilantro, dill, or chives to give your aioli a new flavor profile. Each herb brings its unique twist, so have fun experimenting!
-
Greek Yogurt: For a lighter version, substitute mayonnaise with Greek yogurt. This swap not only lightens the dish but also adds a tangy richness that’s simply delightful.
-
Spicy Kick: Add a pinch of cayenne pepper or red pepper flakes for a spicy zau! This fiery twist livens up your aioli, making it an exciting dip for fries or drizzling over grilled meats.
-
Lemon Zest: Incorporate the zest of a lemon alongside the juice to enhance the citrusy flavor. The fragrant oils from the zest create a fragrant and bright experience.
-
Garlic Variation: Roast your garlic before including it for a sweeter, mellower flavor. This changes the dynamic of your aioli while adding a lovely richness to the creamy texture.
-
Creamy Avocado: Introduce half an avocado into your aioli for extra creaminess and a subtle, nutty flavor. This twist will make your basil aioli even more luxurious!
-
Sundried Tomatoes: Blend in some chopped sundried tomatoes for a tangy sweetness that pairs exceptionally well with the basil. This adds vibrant color and flavor to your aioli.
-
Try Thai Inspiration: For a unique spin, consider infusing flavors reminiscent of Thai Basil Beef by adding Thai basil and a hint of fish sauce. This creates a dip with a delightfully complex flavor profile that’s bound to impress!

Basil Aioli Recipe FAQs
How do I select the best basil for my aioli?
Absolutely! Look for vibrant green basil leaves that are firm and fragrant. Avoid leaves that are wilting or show dark spots. If you can, choose basil from a local farmer’s market or grow your own—fresh herbs make all the difference!
How should I store my basil aioli?
For the best flavor and freshness, store basil aioli in a tightly sealed container in the refrigerator. It will keep for up to 7 days, but I recommend enjoying it within 1 to 2 days for optimal taste.
Can I freeze basil aioli?
Unfortunately, freezing basil aioli isn’t recommended. The mayonnaise can separate and lose its creamy texture upon thawing, which can affect the flavor and consistency. Instead, make small batches that you can use up within a week!
Why is my basil aioli too thin or runny?
If your aioli turns out too thin, it could be due to using too much lemon juice or not enough mayonnaise. To fix it, simply add more mayonnaise gradually until you reach your desired thickness. Remember to blend again after adding!
Can I use different herbs in my aioli?
Very! While basil is the star, feel free to substitute with herbs like cilantro, parsley, dill, or chives. Each of these will give your aioli a unique flavor twist. Just make sure the flavors balance with the other ingredients, like garlic and lemon.
Is basil aioli safe for pets or people with allergies?
It’s best to keep basil aioli away from pets and individuals with certain allergies. The garlic can be toxic for dogs and cats, and if anyone has a mayonnaise allergy, you could substitute with Greek yogurt for a safer option. Always check with family and friends before serving!

Delicious Basil Aioli: Your New Favorite Homemade Dip
Ingredients
Equipment
Method
- In a medium mixing bowl or food processor, add 1 cup of mayonnaise, 1 cup of fresh basil leaves, 2 cloves of minced garlic, the juice of 1 lemon, and a pinch of salt. Use a spatula to help incorporate the ingredients if needed.
- Blend or whisk the mixture on medium speed for 30–60 seconds until it reaches a smooth, creamy consistency. Scrape down the sides occasionally.
- Transfer the basil aioli to a sealed container and refrigerate for at least 30 minutes to allow the flavors to meld.
- Once chilled, taste your basil aioli and adjust salt if needed. Serve as a condiment for sandwiches, burgers, or as a dip.

Leave a Reply