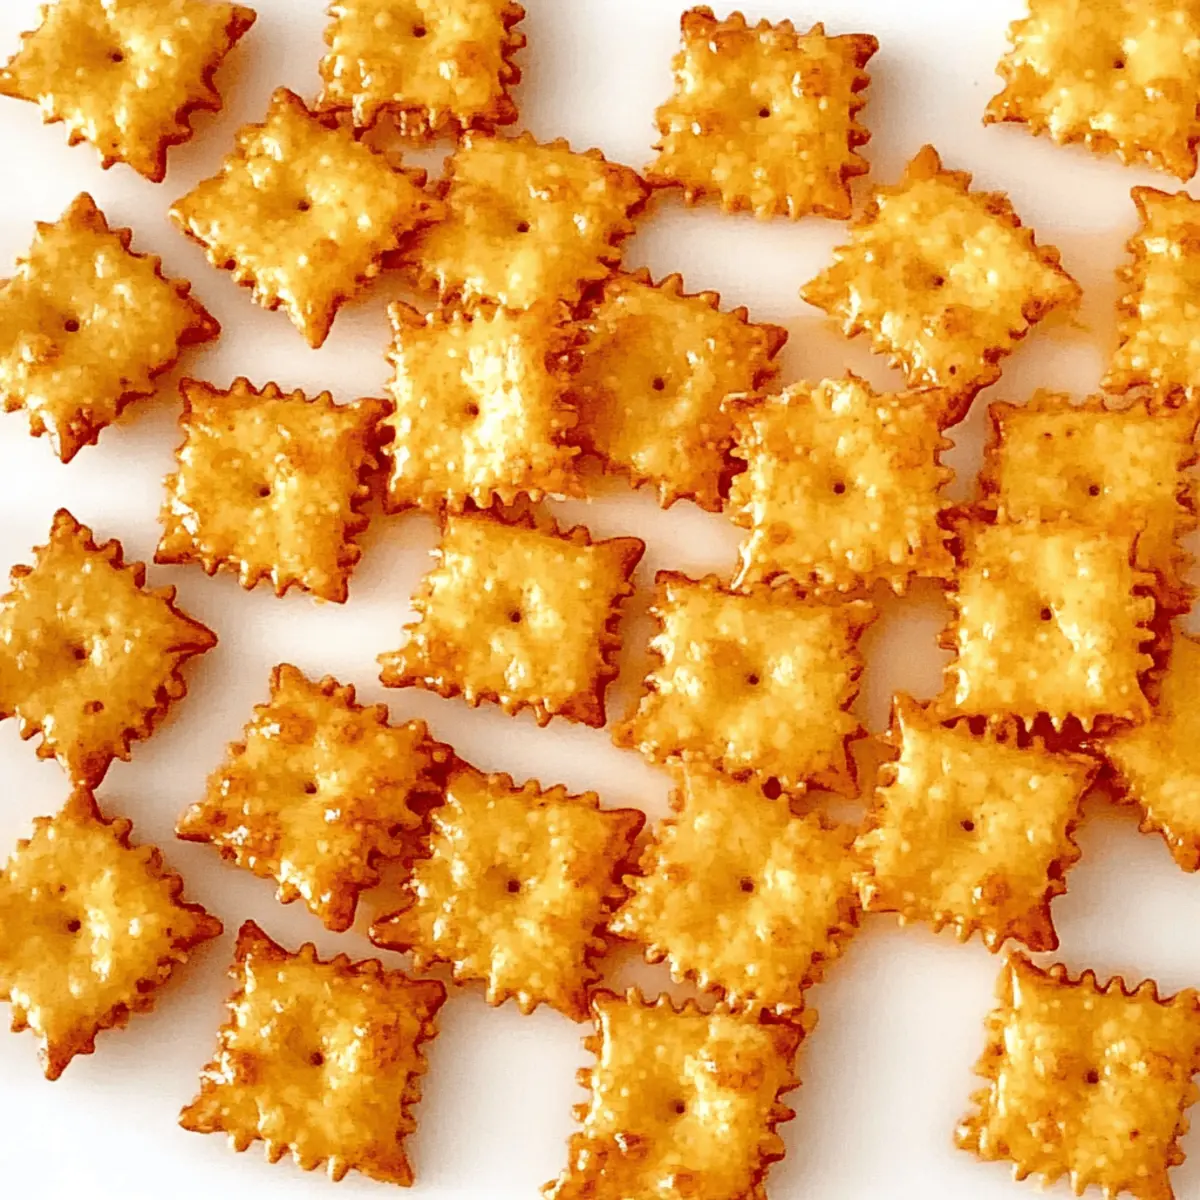
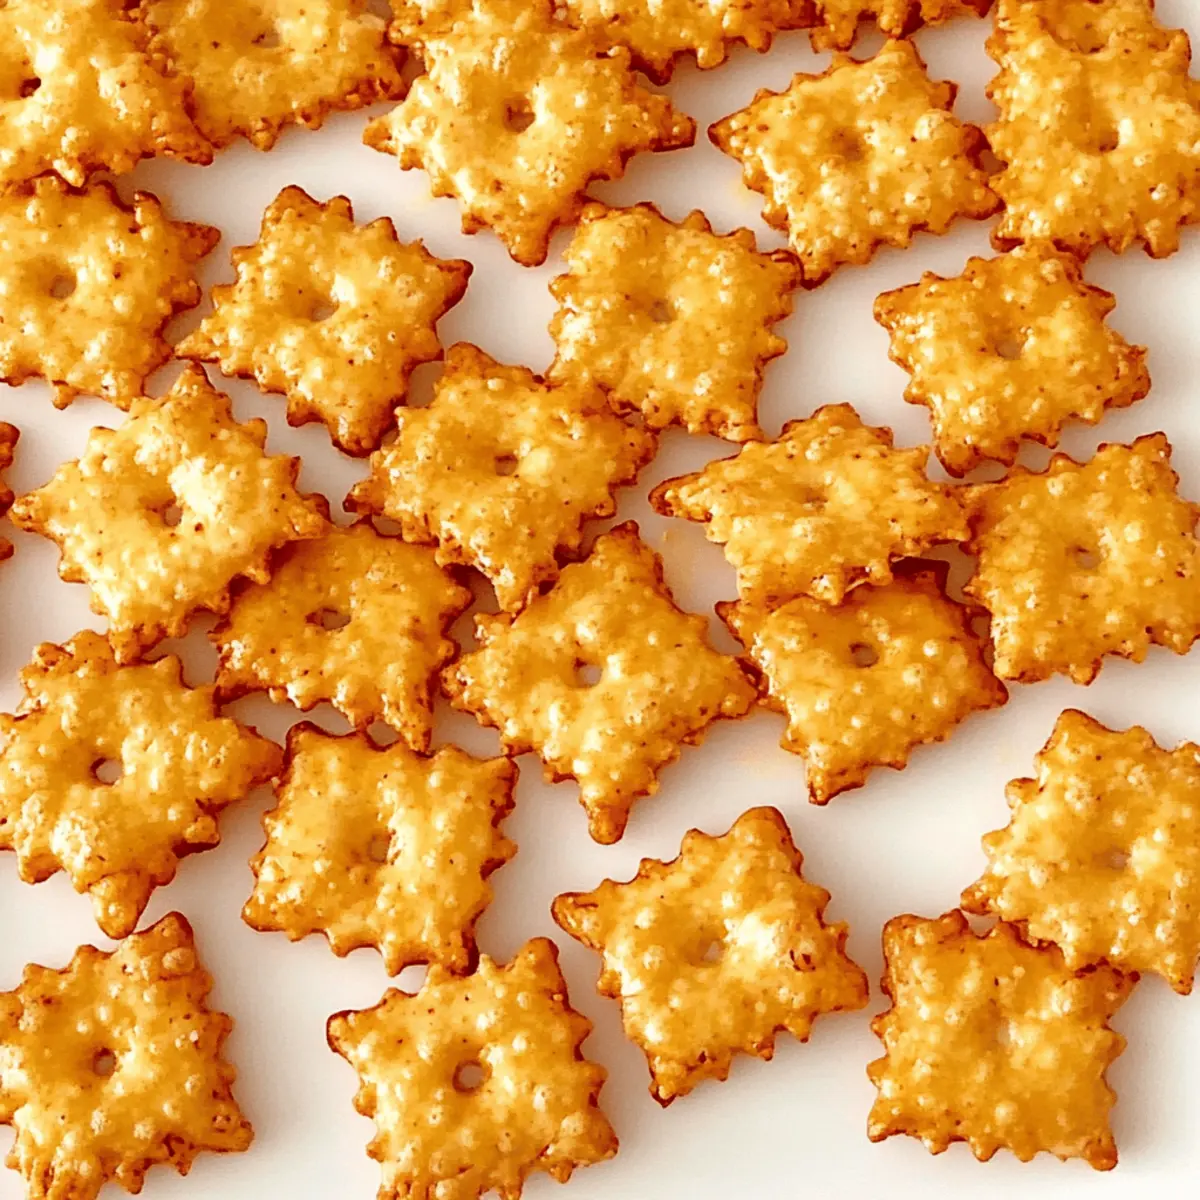
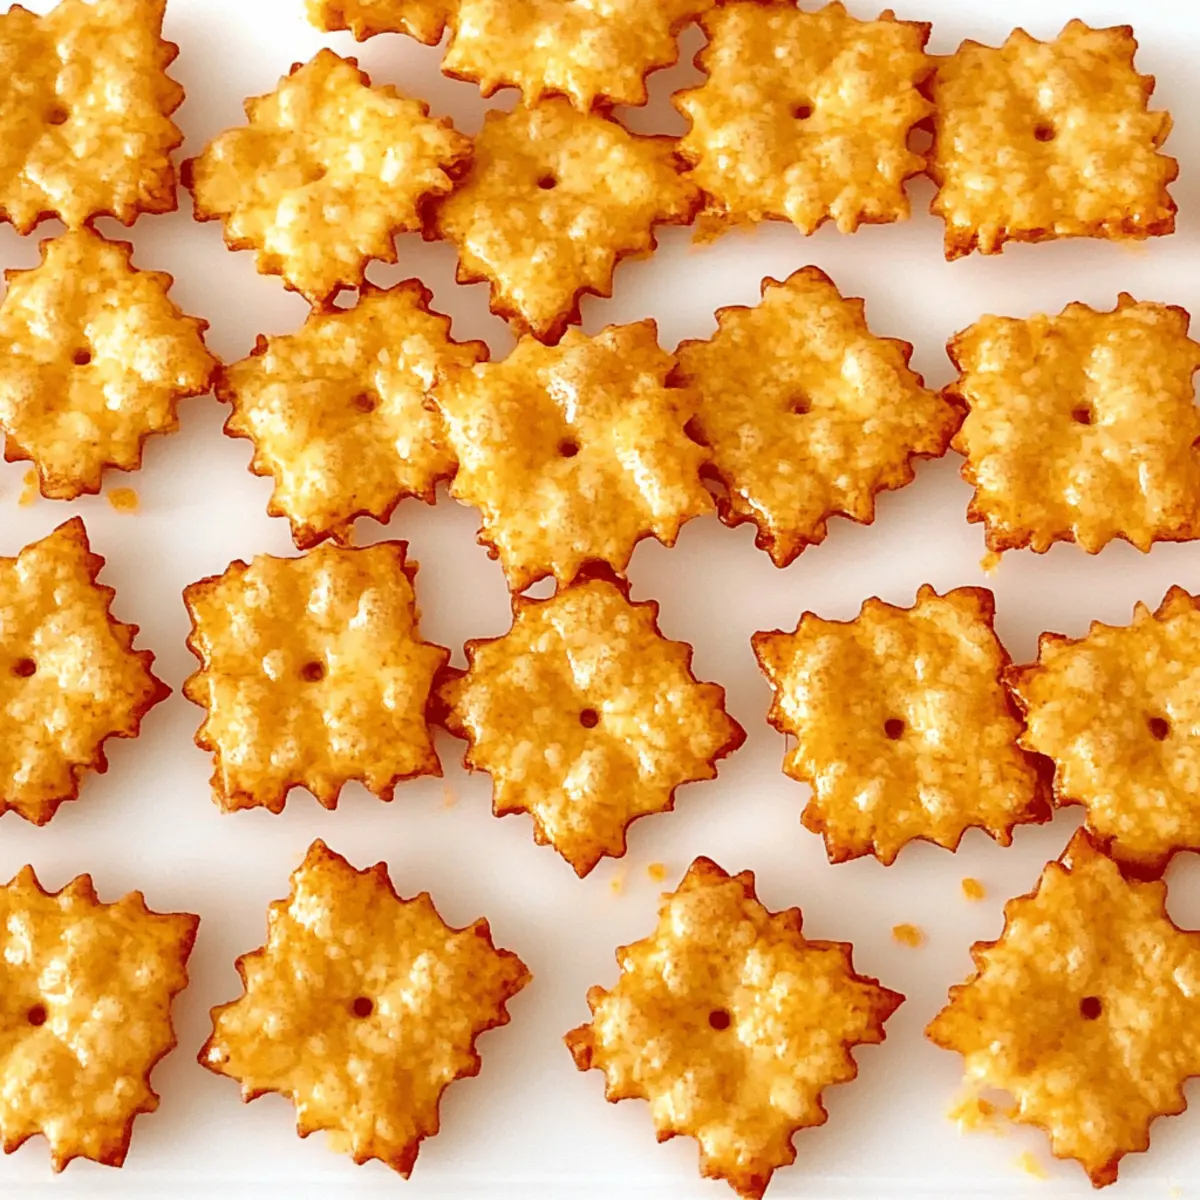
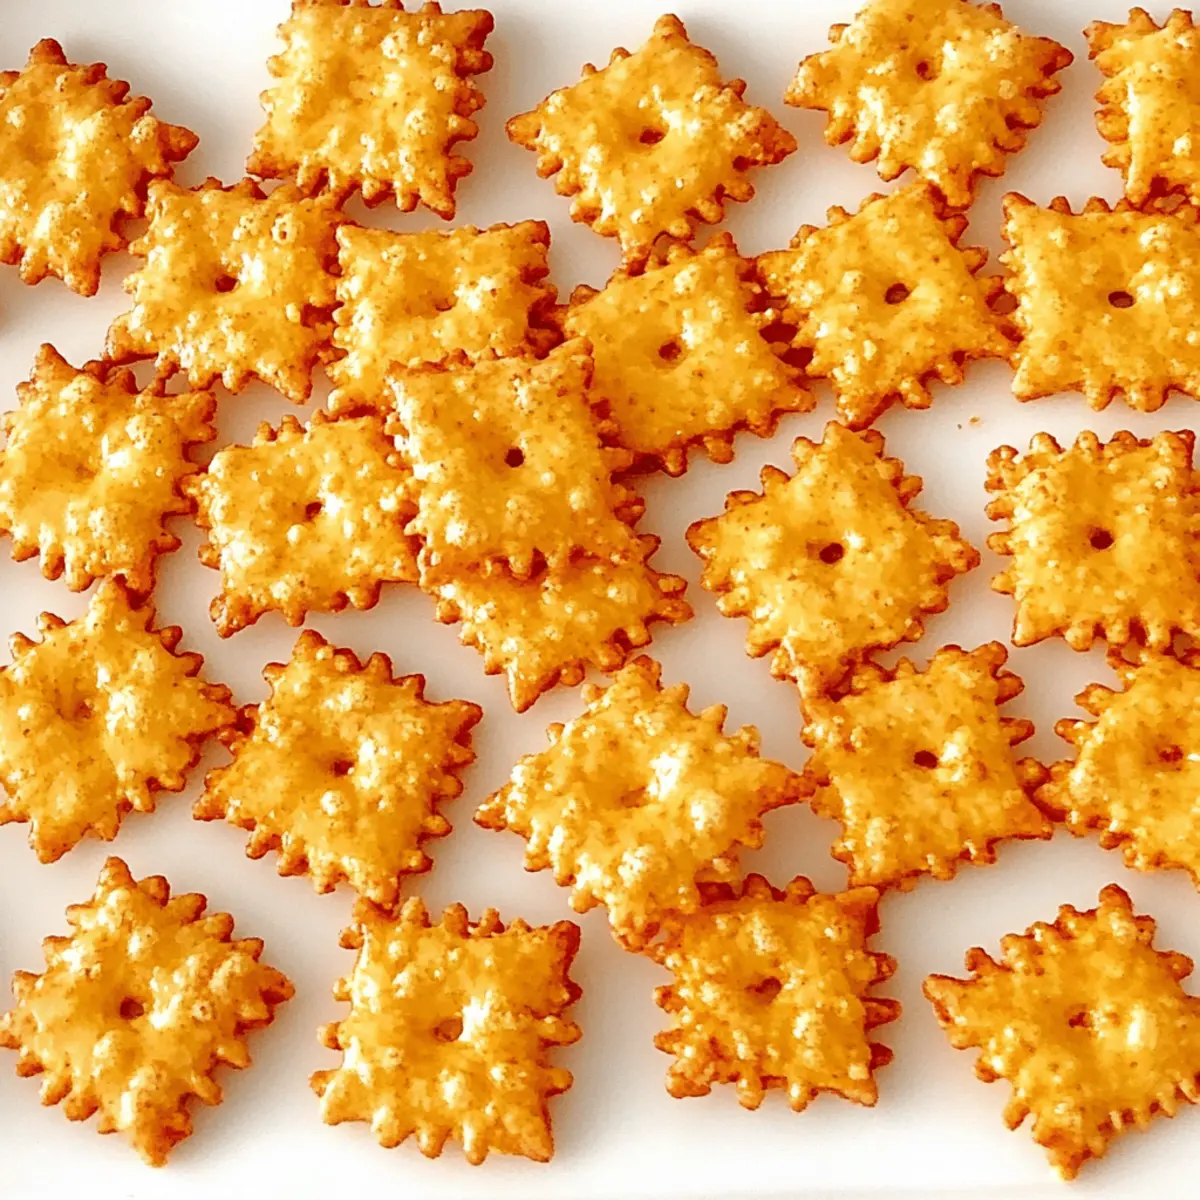
As I stood in my kitchen, the scent of melting cheese filled the air, immediately transporting me back to carefree afternoons spent snacking on Cheez Its. This homemade version takes that nostalgic experience to new heights, delivering crispy cheddar cheese crackers that are not only delicious but also healthier than the store-bought ones. Unlike their commercially processed counterparts, these homemade Cheez Its use simple, natural ingredients, making them quick to whip up and a perfect crowd-pleaser for game days or casual get-togethers. Plus, you can customize them by adding your favorite spices or even making a gluten-free batch. Ready to discover how easy it is to bring this delightful snack to your table? Let’s get started!

Why Make Homemade Cheez Its?
Nostalgic Flavor: Experience the same delightful taste you loved as a kid but made with wholesome ingredients.
Quick Preparation: Whip up a batch in under an hour, perfect for unexpected snack attacks or last-minute gatherings.
Customization: Get creative! Add your favorite spices like cayenne for a kick or try different cheeses for unique flavor variations.
Healthier Alternative: Ditch the preservatives and artificial flavors; these homemade Cheez Its are a guilt-free indulgence that you can feel good about serving.
Crowd-Pleasing Snack: Great for parties, game days, or any occasion! They’re sure to be a hit with friends and family.
Dive into the world of homemade snacks and combine these delightful crackers with your favorite dips or serve them on a charcuterie board for an irresistible treat!
Cheez It Ingredients
For the Crackers
• Grated Sharp Cheddar Cheese – Provides rich flavor and character; other options include Extra-Sharp Cheddar or Gouda for a different twist.
• Unsalted Butter – Adds a luscious buttery taste; can use salted butter but remember to reduce added salt.
• Organic Vegetable Shortening – Contributes a delightful crisp texture; if preferred, swap with butter.
• Sea Salt – Enhances the overall flavor; regular table salt can suffice if that’s what you have on hand.
• All-Purpose Flour – Gives the perfect structure to the crackers; feel free to substitute half with whole wheat flour for added nutrition.
• Ice Water – Keeps the dough cool and aids in achieving a flaky texture; essential for the best results.
Optional Add-ins
• Ground Cayenne Pepper – Sprinkle in for a hint of heat; can amplify flavor and create spicy Cheez Its your guests will love!
• Sesame Seeds – Top the crackers before baking for added crunch and flavor – a delightful twist!
By using fresh ingredients, these homemade Cheez Its become a satisfying and healthier snack option that captures nostalgia while embracing creativity. Enjoy the fun of making your own today!
Step‑by‑Step Instructions for Homemade Cheez It Crackers
Step 1: Prepare the Cheese Mixture
In a food processor, combine 1 cup of grated sharp cheddar cheese, 4 tablespoons of unsalted butter, 2 tablespoons of organic vegetable shortening, and ½ teaspoon of sea salt. Pulse until the mixture is blended and smooth, resembling a creamy paste. This base will give your Cheez It crackers their rich and cheesy flavor.
Step 2: Incorporate the Flour
Gradually add 1 cup of all-purpose flour to the cheese mixture, mixing until coarse crumbs form. You may need to pause and scrape down the sides of the bowl to ensure everything is well-combined. The dough should look crumbly but should start to come together when pressed, indicating it’s ready for the next step.
Step 3: Add Ice Water
Slowly drizzle in 2-3 tablespoons of ice water while pulsing the processor, stopping when the dough begins to cling together. Be careful not to over-mix; a few visible pieces of cheese will enhance the texture of your homemade Cheez It crackers. Once combined, the dough should be pliable but firm.
Step 4: Chill the Dough
Divide the dough into thirds and shape each piece into a disc. Wrap each disc tightly in plastic wrap and refrigerate for at least 1 hour. Chilling allows the dough to firm up, making it easier to roll out later. This crucial step ensures your crackers will have the perfect texture when baked.
Step 5: Preheat the Oven
While the dough chills, preheat your oven to 350°F (175°C). This temperature is ideal for achieving golden-brown, crispy edges on your Cheez It crackers. Line a baking sheet with parchment paper, which will help prevent sticking and make cleanup a breeze later on.
Step 6: Roll Out the Dough
Once the dough is chilled, remove it from the refrigerator. On a lightly floured surface or directly on parchment paper, roll out one disc to about 1/8 inch thick. Use a rolling pin for even thickness, which is key for uniformly baked crackers. Repeat this process for the remaining discs, keeping the dough covered when not in use.
Step 7: Cut the Crackers
Using a sharp knife or pizza cutter, cut the rolled-out dough into 1-inch squares, ensuring they are evenly sized for consistent baking. Poke a small hole in the center of each cracker with a toothpick or fork to help them bake evenly and achieve that classic Cheez It look.
Step 8: Bake and Cool
Transfer the parchment paper with the cut crackers onto a baking sheet and place it in the preheated oven. Bake for 12-13 minutes, or until the edges are lightly browned and crisp. Keep an eye on them, as oven temperatures can vary. Once done, remove from the oven and let the crackers cool on a wire rack.
Step 9: Store Carefully
Once cooled completely, your homemade Cheez It crackers are ready to enjoy! Store them in an airtight container at room temperature for up to 5 days, or freeze for up to 2 months. To refresh frozen crackers, simply bake at 350°F for about 5 minutes until heated through, and enjoy your delightful, cheesy snack!

Make Ahead Options
These Homemade Cheez Its are perfect for meal prep, allowing you to enjoy fresh, cheesy crackers while saving time during busy weeks. You can prepare the dough ahead of time and refrigerate it for up to 24 hours. Simply shape the dough into discs, wrap them tightly in plastic wrap, and store them in the fridge. When you’re ready to bake, roll out the chilled dough and cut it into squares just before serving, ensuring they’re just as delicious and crispy as when made fresh. For longer storage, you can also freeze the cut crackers for up to 2 months, refreshing them in the oven for 5 minutes at 350°F when you’re ready for snacking!
Expert Tips for Homemade Cheez Its
• Don’t Overmix the Dough: Gently combine ingredients to keep visible chunks of cheese, enhancing texture and flavor in your Cheez Its.
• Proper Chilling is Key: Refrigerate the dough for at least an hour to ensure the crackers roll out easily and maintain a crispy texture.
• Even Baking Essential: Cut crackers into uniform squares to guarantee even baking; uneven sizes can lead to some being burnt while others are undercooked.
• Watch the Oven: Ovens can vary, so keep a close eye on your Cheez Its during baking, adjusting the time to prevent burning but still achieving that golden brown color.
• Customization is Fun: Experiment with different cheeses or add spices to create unique flavors; your homemade Cheez Its can be tailored to suit any palate.
How to Store and Freeze Cheez Its
Fridge: Store your homemade Cheez Its in an airtight container for up to 5 days to keep them fresh and crunchy. They make a quick and delicious snack any time!
Freezer: To extend their shelf life, freeze the crackers in a single layer on a baking sheet, then transfer to a freezer-safe bag. They will last for up to 2 months.
Refreshing Frozen Crackers: To enjoy your frozen Cheez Its, preheat the oven to 350°F and bake for about 5 minutes. This will revive their crispiness and flavor!
Room Temperature: If left at room temperature, ensure they’re in a sealed container to prevent moisture. Enjoy your crispy cheddar cheese crackers at their best!
Cheez It Variations & Substitutions
Customize your homemade Cheez Its with these fun variations and additions that will tantalize your taste buds!
- Spicy Cheese Crackers: Add ground cayenne for a delightful kick. A little heat can transform your snack time into a flavor adventure!
- Sesame Cheese Crackers: Sprinkle sesame seeds on top before baking for an extra crunch. These delightful seeds bring a nuttiness that pairs perfectly with cheese.
- Gluten-Free Option: Swap all-purpose flour for a gluten-free blend to enjoy these tasty treats without gluten. Everyone can join the snacking fun!
- Herbed Cheddar Crackers: Mix in dried herbs like rosemary or thyme for an earthy flavor profile. Fresh herbs offer depth and surprise in every bite.
- Parmesan Twist: Substitute half of the cheddar cheese with grated Parmesan for an umami punch. This twist elevates the cracker to gourmet status!
- Nutty Flavor: Incorporate ground almonds or hazelnuts for a unique twist on texture. Nuts bring a crunch that complements the cheesy goodness beautifully.
- Cheddar and Pepper Jack: Use a blend of sharp cheddar and pepper jack for a creamy, zesty experience. This combo takes your cheese game to new heights!
- Cheesy Garlic Crackers: Add garlic powder or minced garlic for a savory, aromatic flavor that pairs perfectly with cheese. A classic duo that never disappoints!
Explore these variations to find your perfect Cheez It combination, and don’t hesitate to experiment with your favorite flavors! For an additional snack idea, check out homemade dips to serve alongside your crackers. Enjoy the creative journey in your kitchen!
What to Serve with Homemade Cheez Its?
These delightful cheese crackers are perfect for elevating your snack game and can easily be paired with a variety of delicious accompaniments!
- Creamy Dips: Pair with classic hummus or a tangy artichoke dip for a creamy contrast to the crunchy crackers.
- Charcuterie Board: Create an inviting spread with cheeses, cured meats, olives, and fruits that balance the salty flavor of the Cheez Its beautifully.
- Fresh Veggies: Serve with crisp carrot sticks, cucumber slices, or bell pepper strips for a refreshing crunch that complements the rich cheddar flavor.
- Sweet Fruit Slices: Fresh apple or pear slices add a delightful sweetness that counterbalances the savory taste of the crackers, making them an irresistible combination.
- Sparkling Drinks: Enjoy with sparkling water or a light, fruity cocktail that enhances the flavors without overpowering your snack.
- Cheese Fondue: Dive into cheesy bliss by pairing these homemade Cheez Its with a warm cheese fondue for a fun dipping adventure!
These pairings not only enhance the experience but also create a delightful culinary journey, bringing joy to your table.

Homemade Cheez Its Recipe FAQs
How do I choose the best cheese for my Homemade Cheez Its?
Absolutely! The secret to heavenly Cheez Its lies in the cheese selection. I recommend using grated sharp cheddar for its rich flavor. You can also explore Extra-Sharp Cheddar or Gouda for a slightly different taste. If you’re in a pinch, pre-shredded cheese works fine too, just check for anti-caking agents that can affect the texture.
What’s the best way to store leftover Cheez Its?
Very important! Store your homemade Cheez Its in an airtight container at room temperature, where they will stay fresh for up to 5 days. If your home is humid, consider putting a desiccant packet in the container to absorb moisture and maintain that crunch!
Can I freeze my Homemade Cheez Its? If so, how?
Yes, you can freeze them! To do this, start by placing the cooled crackers in a single layer on a baking sheet and freeze them for about 1 hour until firm. Then transfer them to a freezer-safe bag, removing as much air as possible. They’ll last up to 2 months! When you’re ready to enjoy, simply preheat your oven to 350°F and bake for about 5 minutes to refresh their crispiness.
What can I do if my dough is too crumbly to roll out?
Don’t worry if your dough isn’t cooperating! If your dough feels too crumbly, try adding a little more ice water, one teaspoon at a time, while gently mixing. Alternatively, ensure that it has chilled long enough; sometimes, a longer resting period helps! If all else fails, just press it into a flat layer and cut it into squares for a rustic style—it will still taste delicious.
Are there any dietary considerations for Homemade Cheez Its?
Definitely! If you’re looking for gluten-free options, simply swap the all-purpose flour for a gluten-free flour blend, ensuring that all other ingredients are also certified gluten-free. For those with dairy allergies, consider using dairy-free cheese substitutes, although I recommend testing small batches first for flavor!
Can I add spices to customize the flavor?
Absolutely! Get creative with your Cheez Its by adding spices like ground cayenne for a spicy kick or even garlic powder for something savory. You might also sprinkle sesame seeds before baking for added texture and flavor. The more the merrier when it comes to customizing!

Homemade Cheez It Crackers: A Cheesy Snack Adventure
Ingredients
Equipment
Method
- In a food processor, combine 1 cup of grated sharp cheddar cheese, 4 tablespoons of unsalted butter, 2 tablespoons of organic vegetable shortening, and ½ teaspoon of sea salt. Pulse until blended.
- Gradually add 1 cup of all-purpose flour to the cheese mixture, mixing until coarse crumbs form.
- Slowly drizzle in 2-3 tablespoons of ice water while pulsing the processor until the dough clings together.
- Divide the dough into thirds and shape each piece into a disc. Wrap in plastic wrap and refrigerate for at least 1 hour.
- Preheat the oven to 350°F (175°C) while the dough chills. Line a baking sheet with parchment paper.
- Roll out one disc to about 1/8 inch thick on a floured surface or parchment paper.
- Cut the rolled-out dough into 1-inch squares and poke a small hole in the center of each.
- Transfer the cut crackers onto the prepared baking sheet and bake for 12-13 minutes until edges are lightly browned.
- Let the crackers cool on a wire rack before storing in an airtight container.

Leave a Reply