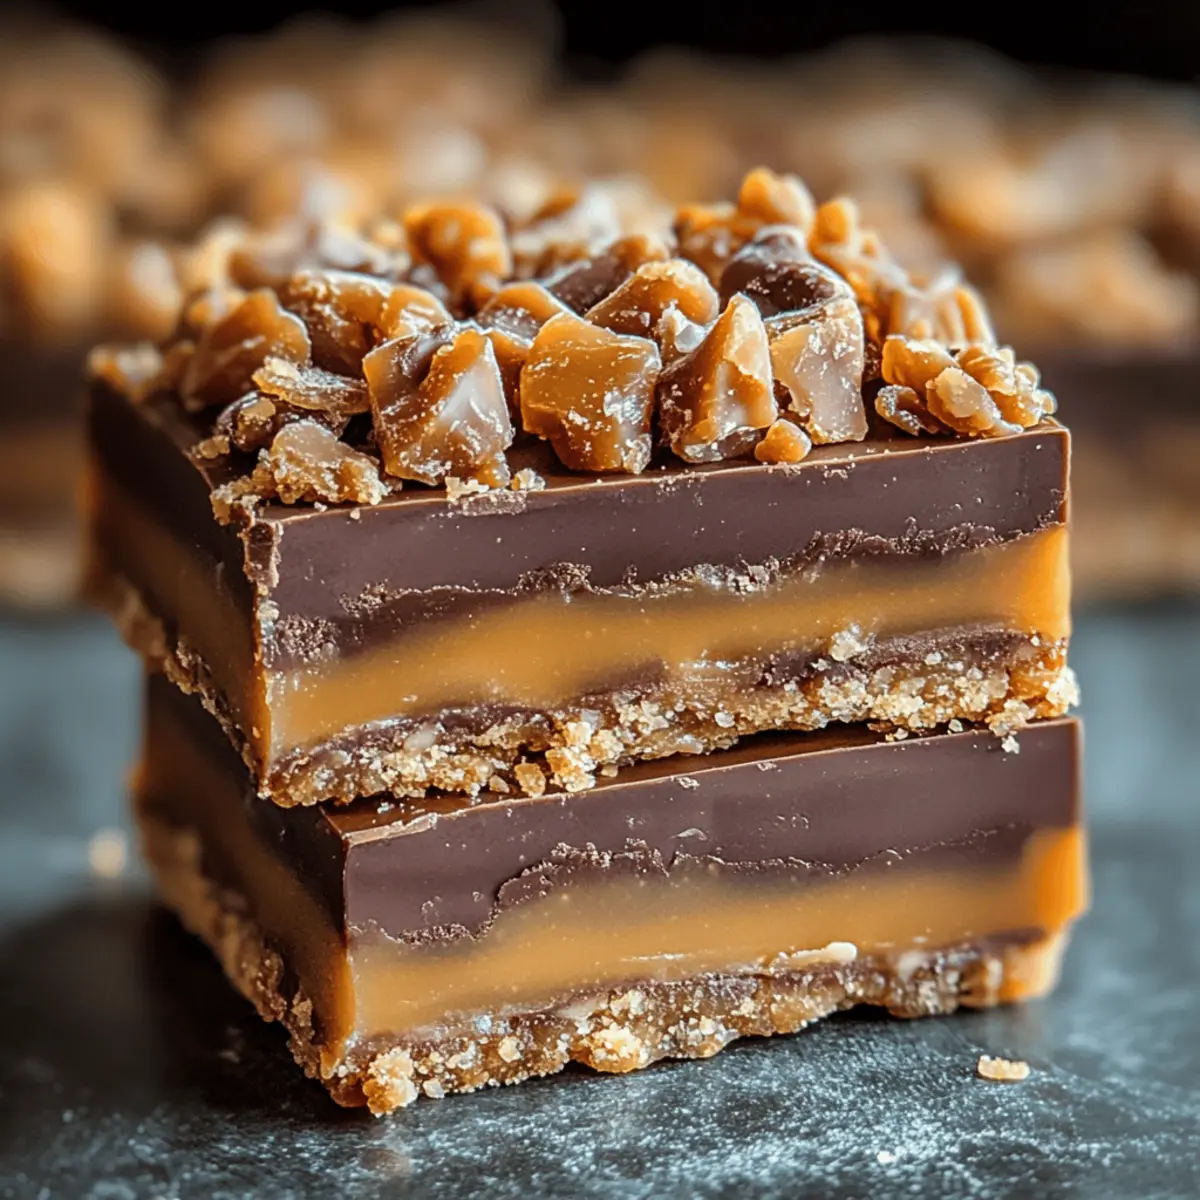
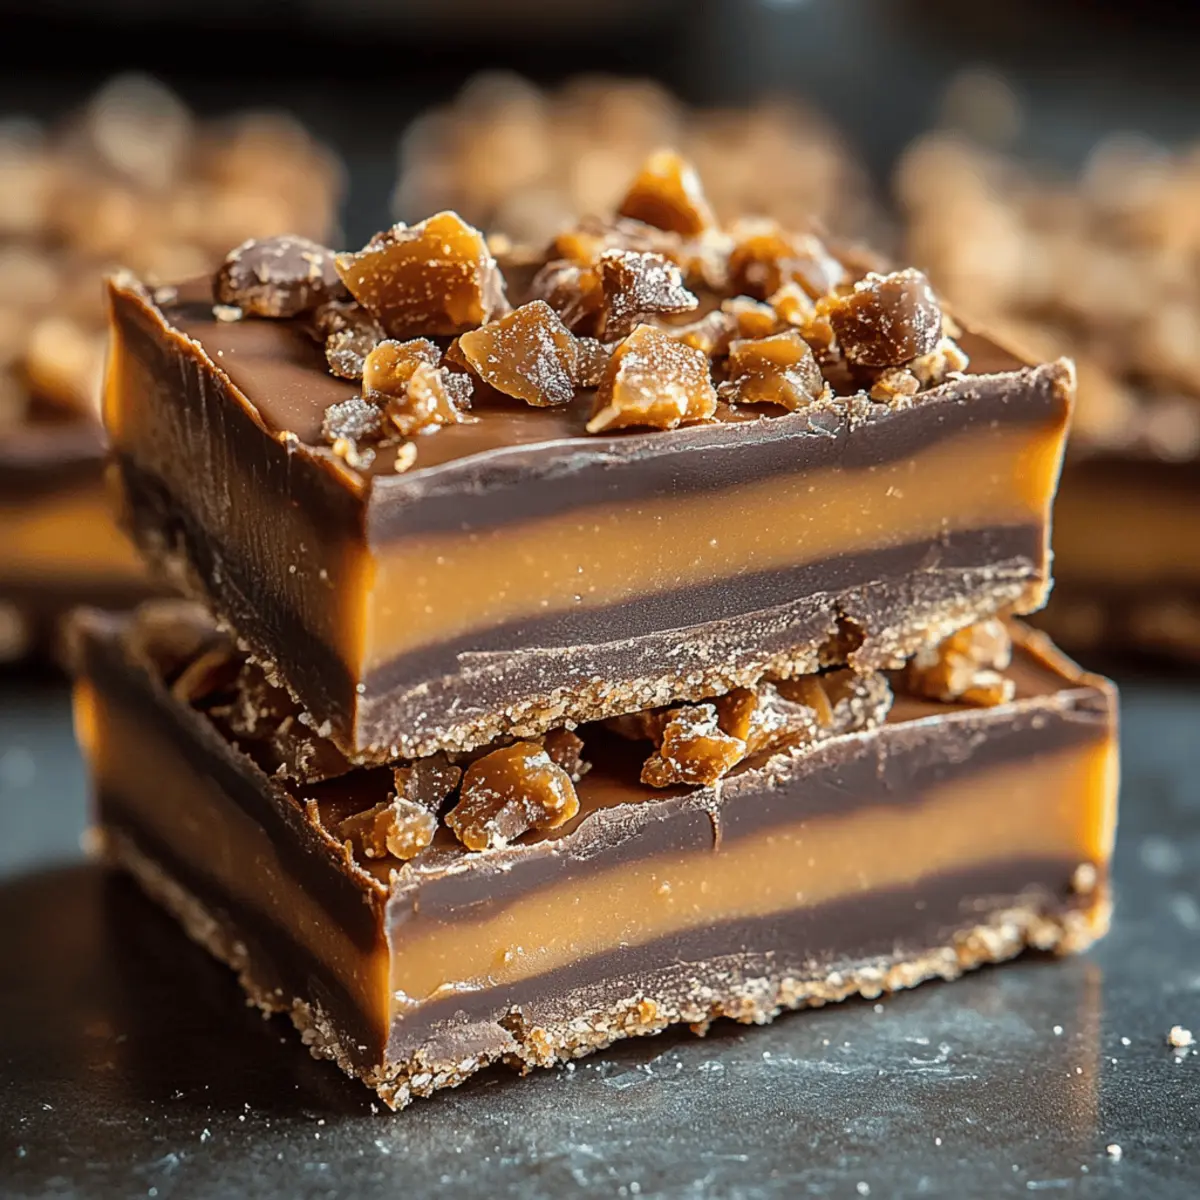
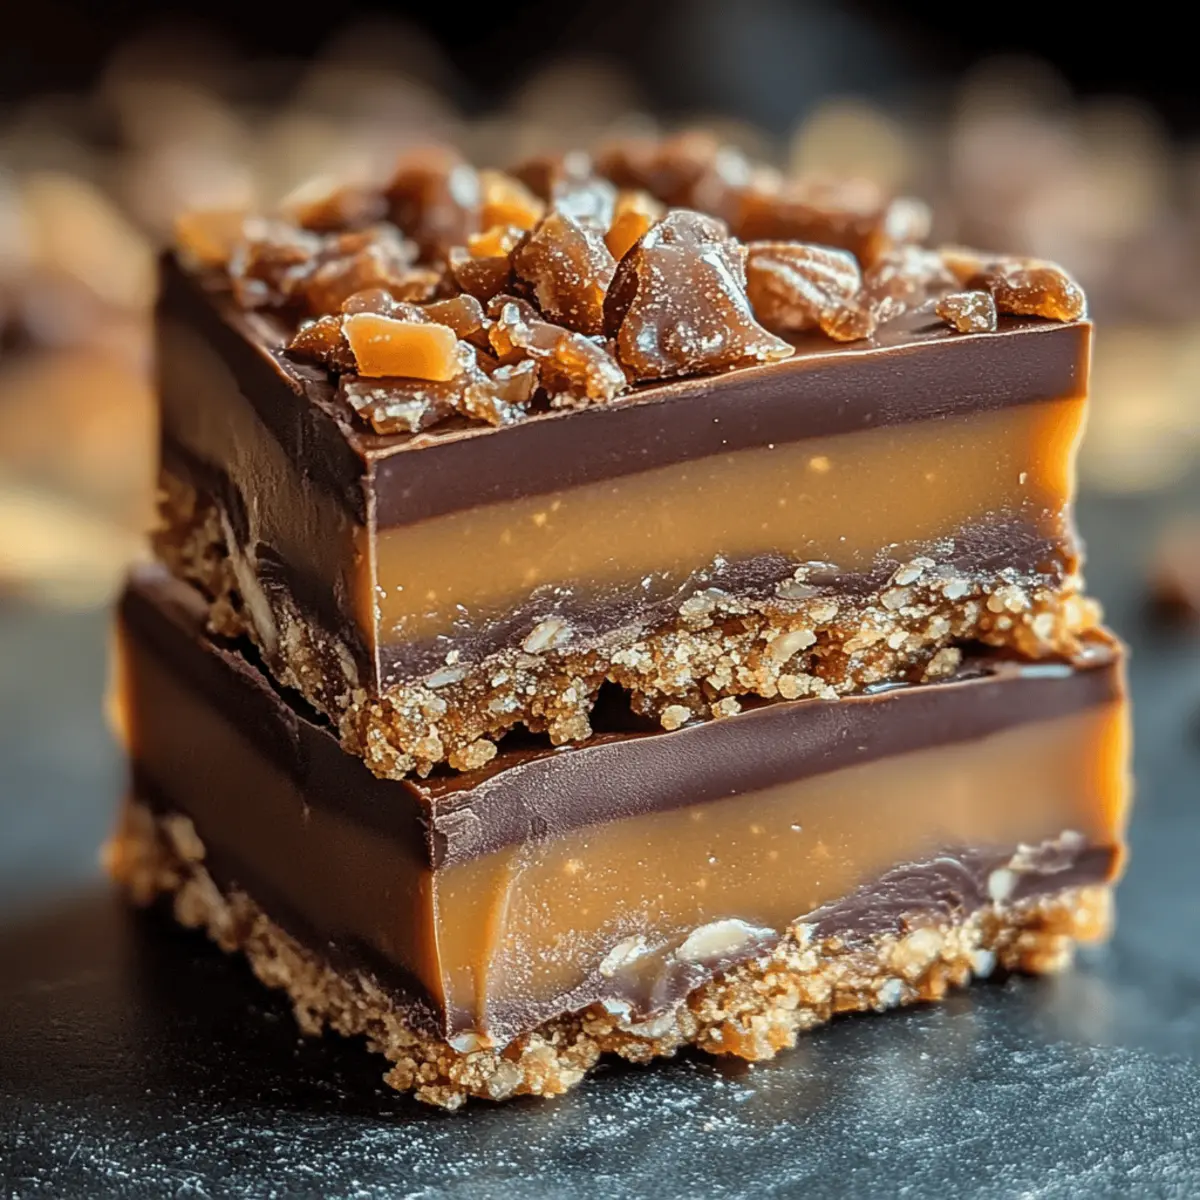
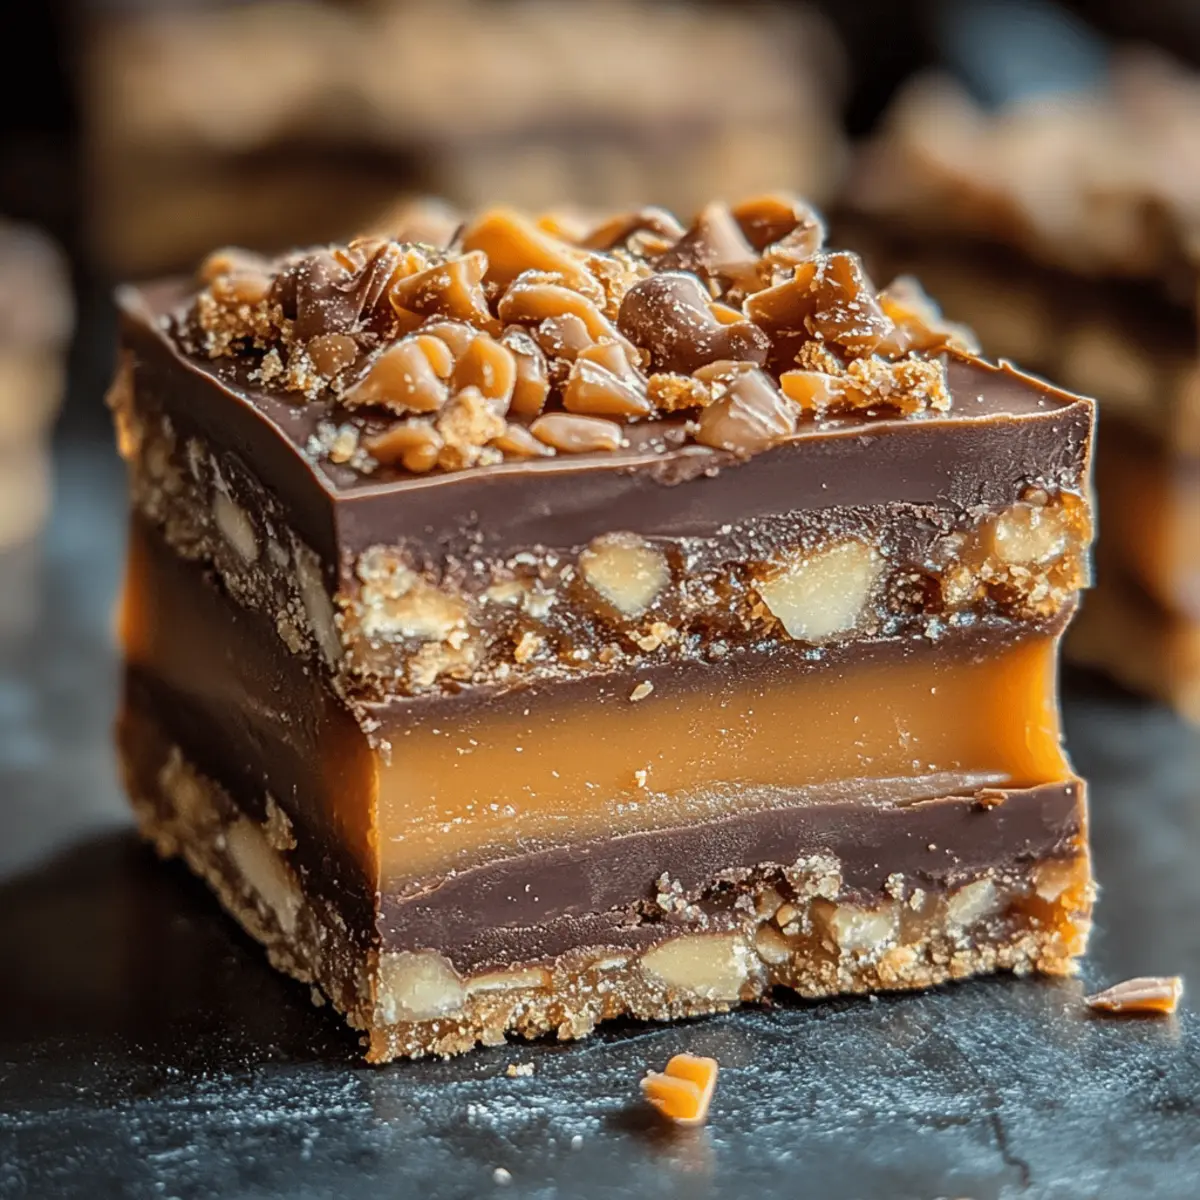
As I rummaged through my pantry, seeking a sweet fix, I stumbled upon a hidden stash of Butterfinger bars. That moment sparked a delicious idea: why not combine that nostalgic candy with a no-bake treat? Enter my Butterfinger Caramel Crunch Bars—an easy-to-make dessert that promises indulgence without the oven. With a buttery graham cracker base, gooey caramel layer, and the delightful crunch of Butterfinger throughout, these bars are perfect for any gathering or a cozy night in. Plus, they come together in no time, making them a crowd-pleaser that will have everyone asking for seconds. Ready to satisfy your sweet tooth? Let’s dive into this delightful recipe!

Why are these bars a must-try?
Decadent Delight: Each bite of these Butterfinger Caramel Crunch Bars is a heavenly combination of flavors and textures that will leave you craving more.
No-Bake Convenience: You won’t need to turn on the oven! This recipe is perfect for warm days or last-minute gatherings.
Crowd-Pleasing Treat: Whether it’s a picnic or a party, these bars are guaranteed to impress your guests and generate rave reviews.
Simple Ingredients: Most of what you need is probably already in your pantry, making it an easy treat to whip up anytime.
Versatile Variations: Don’t hesitate to swap out Butterfinger for your favorite candy, like Snickers or Reese’s, for a personalized touch! For more delightful flavors, check out my Caramel Apple Cinnamon and Pumpkin Cheesecake Bars.
Give these bars a try; they might just become your new go-to dessert!
Butterfinger Caramel Crunch Bars Ingredients
-
For the Crust
• Graham Cracker Crumbs – Provides a buttery and crisp base for the bars; substitute with gluten-free crumbs for a gluten-free option.
• Unsalted Butter (melted) – Binds the crust ingredients while adding richness; use coconut oil for a dairy-free alternative.
• Granulated Sugar – Sweetens the crust, enhancing flavor; consider brown sugar for a more caramel-like taste. -
For the Caramel Layer
• Caramel Bits or Soft Caramels (unwrapped) – Forms the gooey layer; choose sugar-free versions for a lower-sugar option.
• Heavy Cream – Helps melt the caramel, creating a smooth texture; use full-fat coconut cream for a dairy-free alternative. -
For the Topping
• Crushed Butterfinger Candy Bars – Adds a sweet and crunchy topping, providing a unique flavor; substitute with any chocolate-peanut butter candy for variation.
• Semi-Sweet Chocolate Chips – Used for the rich chocolate topping; dark chocolate chips can be used for a deeper flavor.
• Extra Crushed Butterfinger Pieces (Optional Garnish) – Enhance presentation and flavor on top of the bars.
Step‑by‑Step Instructions for Butterfinger Caramel Crunch Bars
Step 1: Prepare the Base
In a mixing bowl, combine graham cracker crumbs, melted unsalted butter, and granulated sugar until well-mixed. The mixture should resemble wet sand. Using your hands or the back of a spoon, press this mixture firmly into the bottom of a lined 9×9-inch baking dish. Chill in the refrigerator for about 15 minutes to set the crust firmly.
Step 2: Create the Caramel Layer
In a small saucepan, combine caramel bits and heavy cream over low heat. Stir the mixture continuously for about 5–7 minutes until it melts into a smooth and glossy caramel. Once ready, pour it evenly over the chilled graham cracker crust, spreading it gently with a spatula. Return the dish to the refrigerator to allow the caramel to firm up for another 20 minutes.
Step 3: Add the Butterfinger Layer
After the caramel has set, take the dish out of the refrigerator. Sprinkle the crushed Butterfinger candy generously over the caramel layer, pressing down lightly to ensure it adheres well. The goal is to create a delightful crunch in every bite. Let this cool for about 5 minutes while you prepare the chocolate topping.
Step 4: Prepare the Chocolate Topping
In a clean saucepan, melt semi-sweet chocolate chips and a tablespoon of unsalted butter over low heat, stirring until the mixture is smooth and shiny. This should take about 3–5 minutes. Once melted, pour the chocolate over the Butterfinger layer. Use a spatula to spread it evenly, covering the entire surface beautifully.
Step 5: Chill & Serve
Place the dish back in the refrigerator and chill for at least 1 hour, or until the chocolate topping is completely set. Once firm, remove the bars from the dish by lifting the edges of the parchment paper. Cut the Butterfinger Caramel Crunch Bars into squares using a sharp knife for clean cuts. Serve chilled and enjoy the delightful layers of flavors!

Butterfinger Caramel Crunch Bars Variations
Feel free to unleash your creativity with these delightful variations to make these bars your own!
-
Gluten-Free: Substitute graham cracker crumbs with gluten-free cookies or alternative gluten-free crumbs for an inclusive treat.
-
Dairy-Free: Use coconut oil instead of butter and full-fat coconut cream instead of heavy cream for a deliciously dairy-free dessert. The flavors will remain rich and satisfying.
-
Nutty Twist: Add chopped nuts, like pecans or almonds, to the crust or sprinkle on top for added texture and a delightful crunch. This touch adds a lovely earthy balance to the sweetness.
-
Chocolate Lovers: For an even richer experience, drizzle some melted dark chocolate over the top after setting, and let it harden. The deeper flavor enhances the overall decadence.
-
Salted Caramel: A sprinkle of flaky sea salt on top of the chocolate layer elevates the sweet and savory experience. This twist can amplify the flavor profile!’
-
Fruit Fusion: Incorporate chopped dried fruit or even mini marshmallows into the caramel layer. It adds a chewy texture and bursts of fruity flavor that complement the sweetness!
-
Candy Swap: For something new, switch out Butterfinger for your favorite candy bar, such as Snickers or Twix, and watch how it transforms the taste. The combinations are endless!
-
Add Spice: Sprinkle a touch of cinnamon or a hint of cayenne pepper into the chocolate for a subtle warmth that will surprise your palate!
Each of these variations allows you to discover unique flavor combinations while still enjoying the classic appeal of Butterfinger Caramel Crunch Bars. Enjoy exploring these creative avenues!
Expert Tips for Butterfinger Caramel Crunch Bars
-
Prep Your Pan: Use parchment paper to line your baking dish for easy removal; it prevents sticking and helps cut clean bars.
-
Chill Between Layers: Patience is key! Let each layer chill properly to prevent the ingredients from mixing and losing their individual textures.
-
Watch the Heat: Melt caramel and chocolate over low heat; high temperatures can cause them to burn, affecting the smoothness and taste of your Butterfinger Caramel Crunch Bars.
-
Customize Your Crunch: Feel free to mix in other candies or nuts along with the Butterfinger; this adds variety and personal flair to your dessert.
-
Cut Cleanly: Use a sharp knife dipped in hot water to slice through the bars smoothly, ensuring your presentation is as delightful as the taste!
Make Ahead Options
These Butterfinger Caramel Crunch Bars are perfect for meal prep, allowing you to save time for busy weeknights or celebrations! You can prepare the base and the caramel layer up to 24 hours in advance. To do this, simply follow the first two steps of the recipe and store the crust and caramel layers separately in the refrigerator (this helps prevent the crust from becoming soggy). When you’re ready to finish, top the chilled caramel with crushed Butterfinger and the chocolate topping, then allow the bars to set in the fridge for an hour before serving. This simple make-ahead technique ensures these delightful treats are just as delicious, minimizing effort while maximizing enjoyment!
Storage Tips for Butterfinger Caramel Crunch Bars
Room Temperature: Store in an airtight container at room temperature for up to 2 days, but for optimal freshness and texture, refrigeration is recommended.
Fridge: Keep the bars refrigerated in an airtight container for up to 1 week. This helps maintain their creamy caramel and chocolate consistency.
Freezer: Freeze individual squares wrapped tightly in plastic wrap, then in aluminum foil, for up to 2 months. Thaw in the fridge before enjoying for the best texture.
Reheating: If you prefer a warm treat, gently microwave for 10–15 seconds; this brings back the gooeyness of the caramel layer in your Butterfinger Caramel Crunch Bars.
What to Serve with Butterfinger Caramel Crunch Bars
Elevate your dessert experience with delightful pairings that will tantalize your taste buds.
- Vanilla Ice Cream: A classic pairing, the creamy richness balances the bars’ sweetness and adds a delightful coolness.
- Fresh Berries: Juicy strawberries or tart raspberries provide a fresh contrast, enhancing the overall flavor without overpowering the bars.
- Caramel Sauce Drizzle: Extra caramel adds an indulgent touch, intensifying the flavors and appealing to all caramel lovers.
- Sea Salt Flakes: A sprinkle of sea salt on top heightens the sweetness and creates a beautiful flavor balance with the rich chocolate.
- Coffee or Espresso: A warm cup complements the dessert perfectly, the bitter notes of coffee enhance the sweet layers and create a classic combination.
- Chocolate Milkshake: This indulgent drink echoes the chocolate topping, providing a nostalgic feel reminiscent of childhood treats.
- Chopped Nuts: Tossing in some crushed peanuts or pecans adds a satisfying crunch, enhancing both texture and flavor beautifully.
- Whipped Cream: Light and fluffy, it complements the dense texture of the bars, making each bite feel luxurious and indulgent.
- Mint Tea: The refreshing aroma of mint can cleanse the palate, creating a perfect end to a sweet treat.
- Dark Chocolate: For the true chocolate lover, dark chocolate shards offer a rich contrasting taste and make for a fancy finish.

Butterfinger Caramel Crunch Bars Recipe FAQs
How do I choose the best graham cracker crumbs?
Absolutely! Look for graham cracker crumbs that are uniform in texture and free of dark spots or moisture. They should have a pleasant aroma and a crisp taste. If you’re opting for gluten-free, select certified gluten-free crumbs to ensure a suitable substitute without compromising flavor.
What’s the best way to store leftover Butterfinger Caramel Crunch Bars?
Very simple! Store the bars in an airtight container in the refrigerator for up to 1 week for the best flavor and texture. If you want to keep them fresher for longer, wrap the bars in plastic wrap and then in aluminum foil before placing them in the freezer, where they can last up to 2 months.
Can I freeze Butterfinger Caramel Crunch Bars?
Definitely! To freeze, cut the bars into squares and wrap each one tightly in plastic wrap. Then, place them in a freezer-safe container or a zip-top bag. This way, they’ll retain their deliciousness for up to 3 months. When you’re ready to enjoy, simply thaw them in the refrigerator overnight or for a few hours at room temperature.
What if my caramel layer isn’t smooth?
No worries! If your caramel is too thick or hasn’t melted properly, try reheating it gently over low heat, stirring constantly. Adding a splash of milk or water can help achieve a smoother consistency. Just be sure not to let it get too hot to avoid burning, as keeping a low and steady heat is crucial.
Are there any dietary considerations for these bars?
Absolutely! If you’re catering to dietary restrictions, you can easily adapt this recipe. For a gluten-free version, use certified gluten-free graham cracker crumbs. For a dairy-free alternative, substitute the unsalted butter with coconut oil and the heavy cream with full-fat coconut cream. Always check the labels on candy for allergens like nuts or gluten, especially if sharing with friends or family who have dietary needs.
Can I use a different candy instead of Butterfinger?
The more the merrier! Feel free to swap out Butterfinger with Snickers, Reese’s, or even a mix of your favorite chocolate-peanut butter candies. Just remember to keep the overall flavor balance in mind, and have fun experimenting with different combinations!

Irresistible Butterfinger Caramel Crunch Bars for Easy Indulgence
Ingredients
Equipment
Method
- In a mixing bowl, combine graham cracker crumbs, melted unsalted butter, and granulated sugar until well-mixed. The mixture should resemble wet sand. Using your hands or the back of a spoon, press this mixture firmly into the bottom of a lined 9x9-inch baking dish. Chill in the refrigerator for about 15 minutes to set the crust firmly.
- In a small saucepan, combine caramel bits and heavy cream over low heat. Stir the mixture continuously for about 5–7 minutes until it melts into a smooth and glossy caramel. Once ready, pour it evenly over the chilled graham cracker crust, spreading it gently with a spatula. Return the dish to the refrigerator to allow the caramel to firm up for another 20 minutes.
- After the caramel has set, take the dish out of the refrigerator. Sprinkle the crushed Butterfinger candy generously over the caramel layer, pressing down lightly to ensure it adheres well.
- In a clean saucepan, melt semi-sweet chocolate chips and a tablespoon of unsalted butter over low heat, stirring until the mixture is smooth and shiny. This should take about 3–5 minutes. Once melted, pour the chocolate over the Butterfinger layer. Use a spatula to spread it evenly, covering the entire surface beautifully.
- Place the dish back in the refrigerator and chill for at least 1 hour, or until the chocolate topping is completely set. Once firm, remove the bars from the dish by lifting the edges of the parchment paper. Cut the Butterfinger Caramel Crunch Bars into squares using a sharp knife for clean cuts.

Leave a Reply