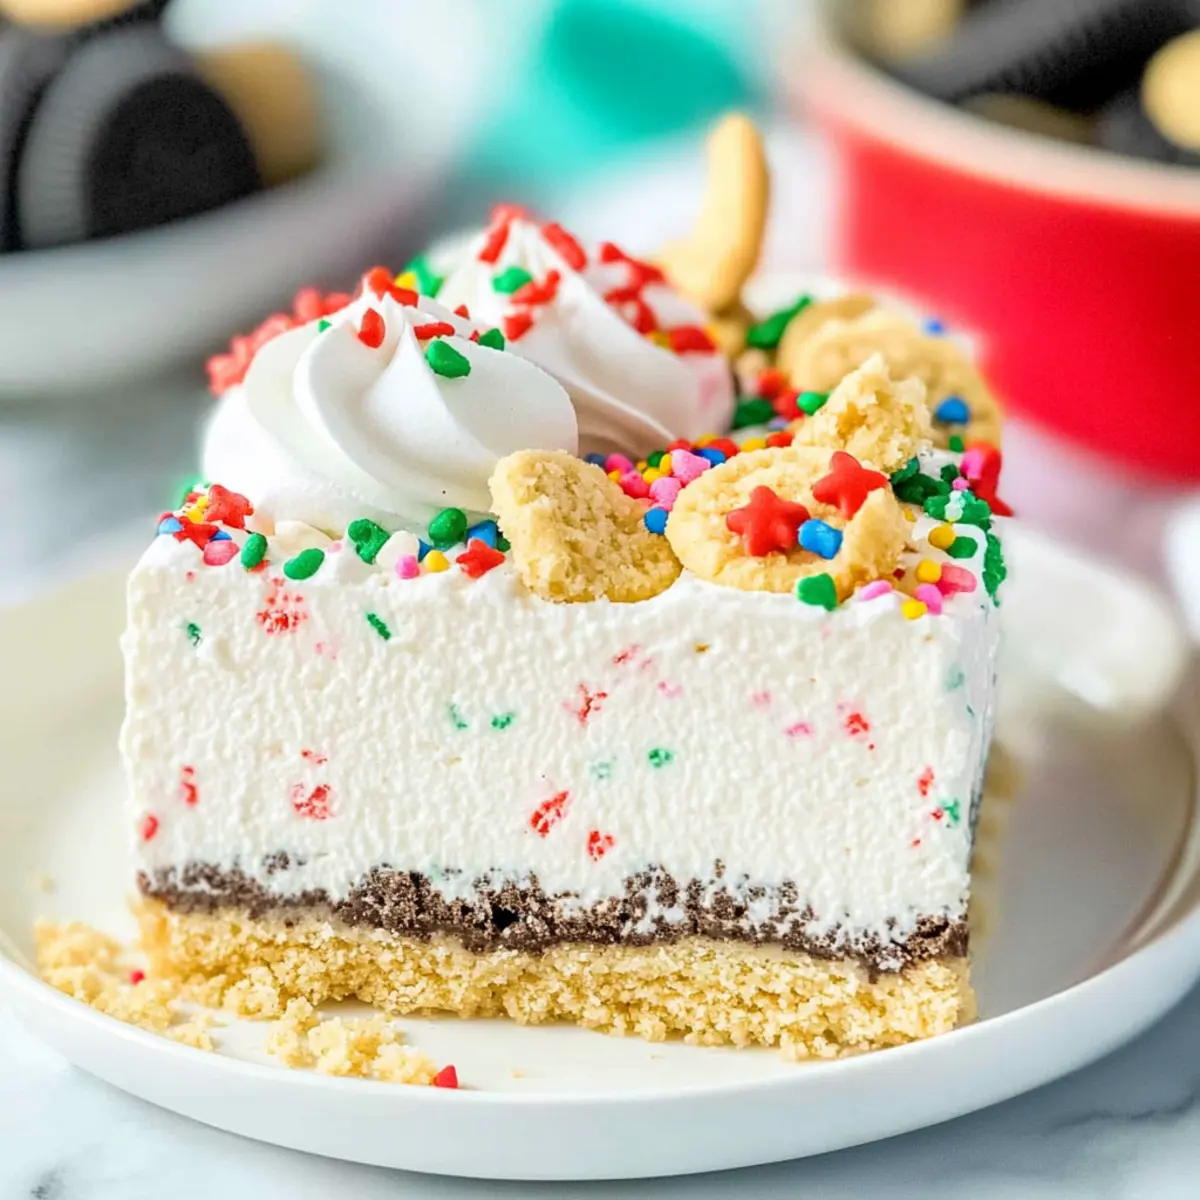
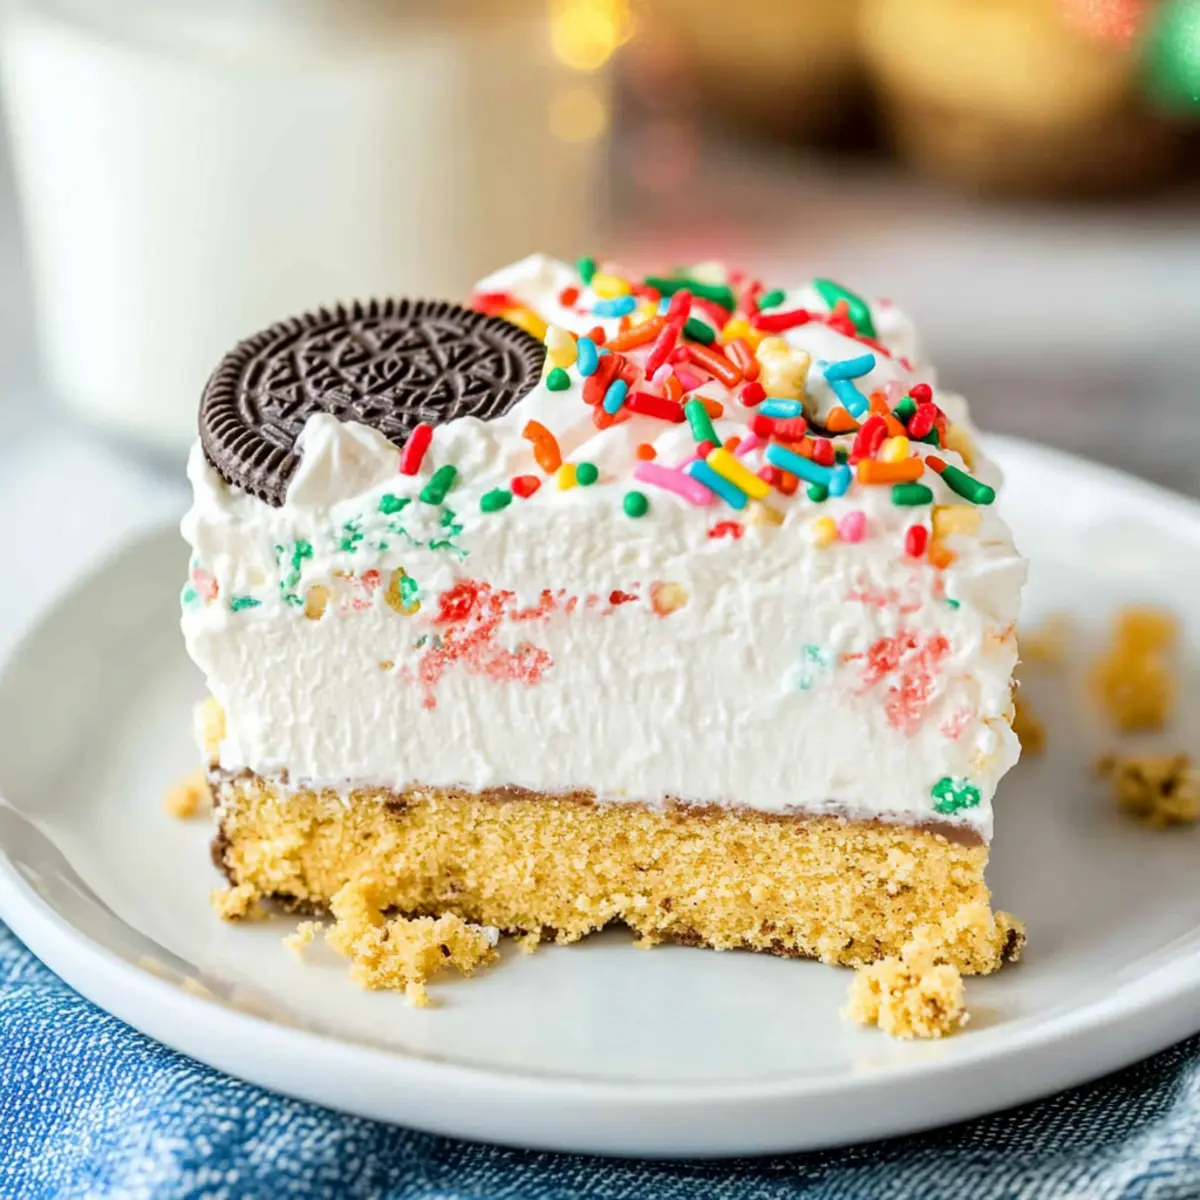
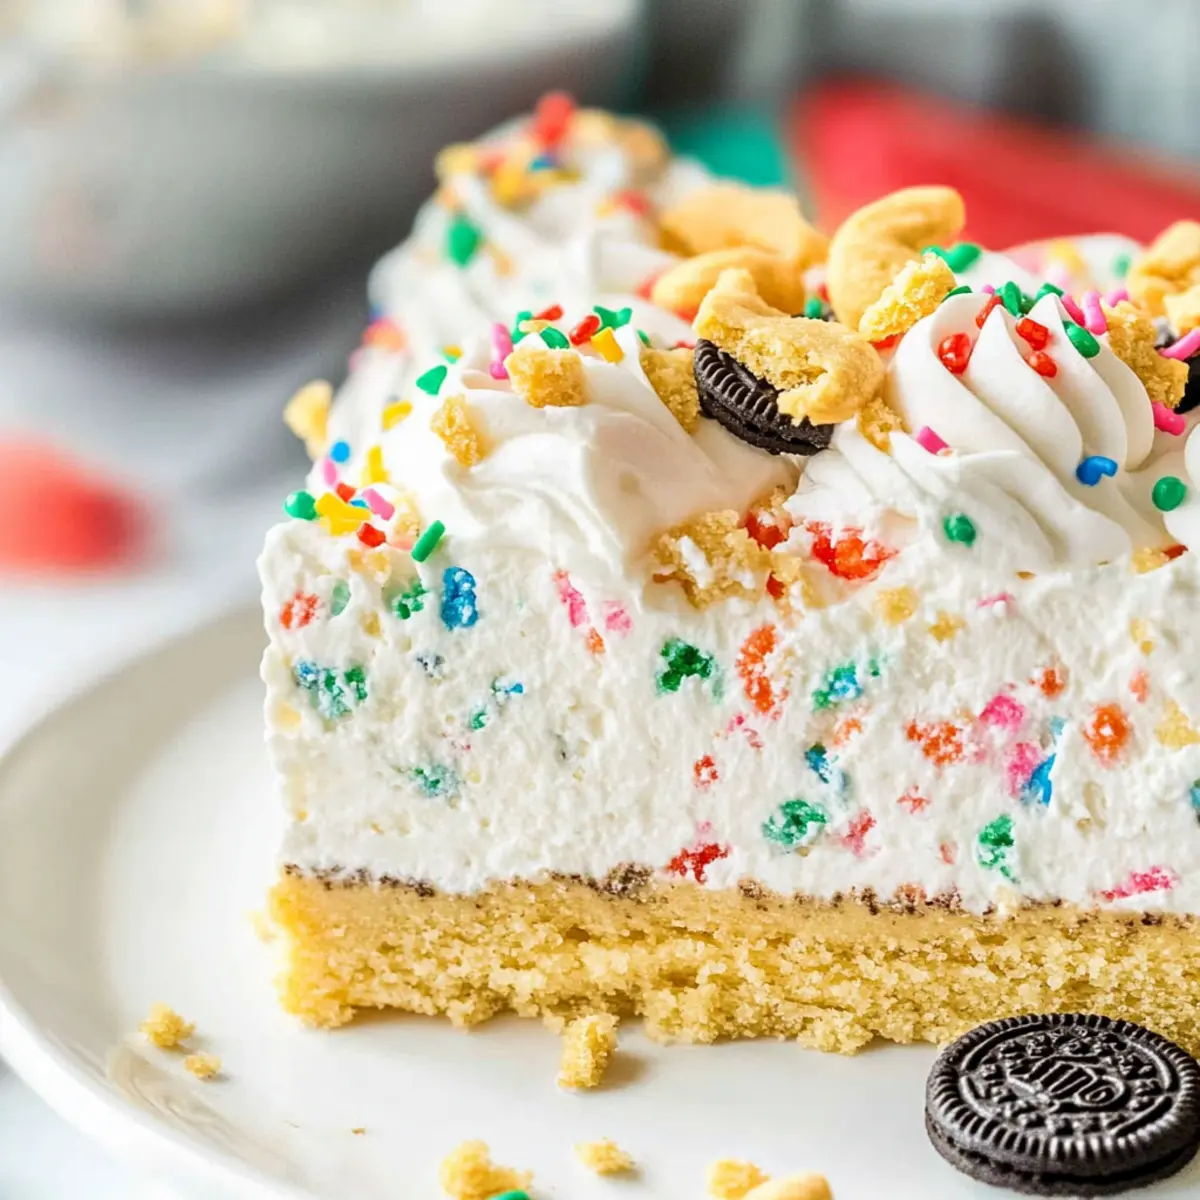
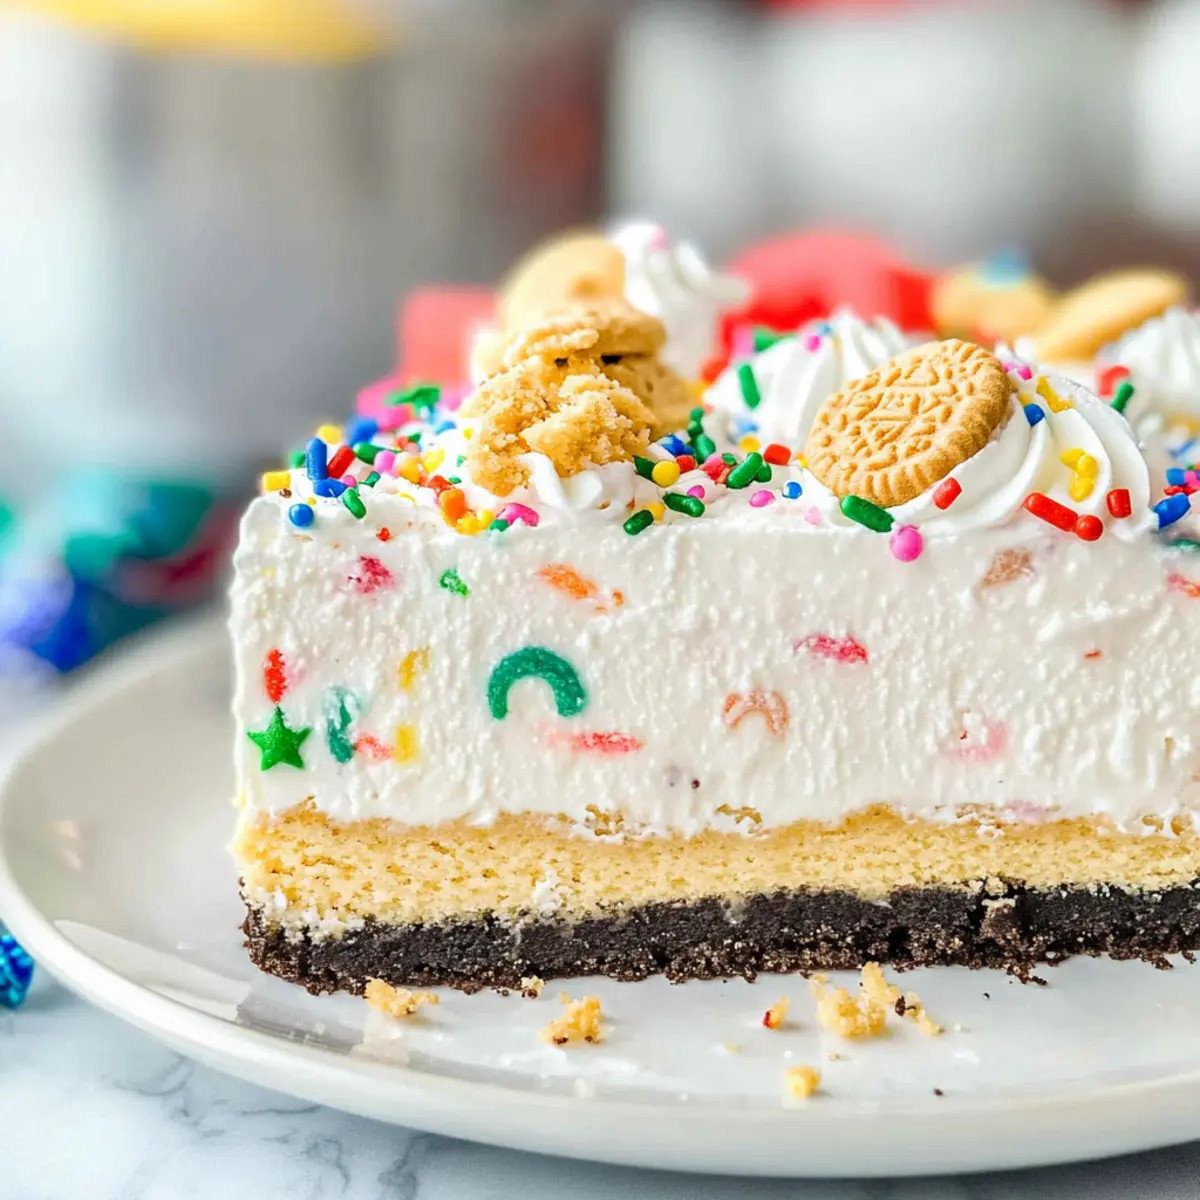
There’s something magical about the holiday season that makes dessert feel extra special, and this No Bake Christmas Cookie Lush is the perfect way to elevate your festive gatherings. With layers of creamy cheesecake and dreamy pudding, it’s a quick preparation that allows you to spend less time in the kitchen and more time with loved ones. Plus, the crunchy Vanilla Oreo cookie crust provides an irresistible base that both kids and adults will adore. As soon as you unveil this show-stopping dessert at your next holiday party, you’ll see smiles all around. Are you ready to bring a little sweetness to your celebrations?

Why is this dessert a holiday favorite?
No Bake Convenience: This dessert comes together quickly, leaving you with more time to enjoy the festivities with friends and family.
Layered Delight: The harmonious blend of creamy cheesecake and rich pudding layers creates a luxurious texture that is unforgettable.
Festive Presentation: Topped with colorful holiday sprinkles, it’s as visually appealing as it is delicious—an absolute crowd-pleaser!
Versatility: Feeling adventurous? Try adding fresh berries or swapping in different flavors of pudding to suit your taste.
Perfect for Gatherings: Whether it’s a potluck, holiday party, or family get-together, this No Bake Christmas Cookie Lush is the go-to dessert that will impress everyone.
No Bake Christmas Cookie Lush Ingredients
• Gather these simple ingredients for your festive delight!
For the Crust
- Vanilla Oreo Cookies – A delicious base that adds crunch and flavor to your No Bake Christmas Cookie Lush.
- Butter – Provides richness and binds the cookie crumbs together, melting it makes mixing easy.
For the Cream Cheese Layer
- Cream Cheese – Adds a creamy texture; full-fat versions yield the richest taste.
- Powdered Sugar – Sweetens without grittiness, ensuring a smooth layer.
- Whipped Topping – Light and airy, it folds perfectly into the cream cheese mix.
- Peppermint Extract (optional) – Adds a festive touch if you want to give a holiday twist to the flavor!
For the Pudding Layer
- Cheesecake Instant Pudding Mix – Infuses the dessert with a rich, creamy cheesecake flavor.
- Cold Milk – Essential for making the pudding mix; whole milk gives the best creaminess.
- Holiday Sprinkles – Brighten up the layers and make your No Bake Christmas Cookie Lush visually appealing.
For the Topping
- Whipped Topping – Use a tub for convenience, covering the dessert for a fluffy finish.
- Crushed Vanilla Oreo Cookies – Sprinkle on top for an extra crunch and flavor boost!
- Extra Holiday Sprinkles – Use to enhance the festive presentation.
Gather these ingredients and get ready to create a luscious dessert that will have everyone raving at your holiday gathering!
Step‑by‑Step Instructions for No Bake Christmas Cookie Lush
Step 1: Prepare the Pan
Begin by optionally lining a 9×13 baking dish with parchment paper. This will make removal easier later. If you prefer, you can skip this step and go directly to the next one, but lining the pan will ensure clean edges.
Step 2: Make the Crust
Crush 36 vanilla Oreo cookies into fine crumbs using a food processor or by placing them in a zip-top bag and rolling them with a rolling pin. In a bowl, mix the crushed cookies with melted butter and ½ tablespoon of holiday sprinkles. Once well combined, firmly press the mixture into the bottom of the prepared baking dish, creating an even layer.
Step 3: Cream Cheese Layer
In a mixing bowl, beat 8 ounces of softened cream cheese, ½ cup of powdered sugar, and a splash of peppermint extract until completely smooth and fluffy. Fold in one tub of whipped topping, mixing gently until combined. Spread this creamy mixture evenly over the cookie crust you previously prepped, sprinkling ½ tablespoon of holiday sprinkles on top for added festive flair.
Step 4: Pudding Layer
In a separate bowl, whisk together the cheesecake instant pudding mix and 2 cups of cold milk for about 2-3 minutes or until the mixture thickens to a pudding-like consistency. Stir in another ½ tablespoon of holiday sprinkles, adding color throughout. Gently spread this pudding layer evenly over the cream cheese layer, making sure to smooth the top with a spatula.
Step 5: Final Assembly
Top the dessert with the remaining whipped topping, spreading it out evenly to cover the pudding layer. Crush the remaining 12 Oreo cookies and sprinkle them generously over the whipped topping. To finish, scatter any remaining holiday sprinkles on top for a fun and festive finish.
Step 6: Chill
Refrigerate your No Bake Christmas Cookie Lush for at least 4 hours to allow the layers to set properly, or if you prefer firmer slices, you may freeze it for a couple of hours. This chilling time is essential for achieving the perfect texture.
Step 7: Serve
Once chilled, slice the dessert into squares using a sharp knife. If you’ve frozen it, let it thaw in the refrigerator for about an hour before serving. Your guests will love this luscious, multi-layered treat at your holiday gathering!

What to Serve with No Bake Christmas Cookie Lush
Nothing brings joy to the holiday table quite like a spread that perfectly complements your dessert.
-
Rich Hot Chocolate: A warm, chocolatey drink pairs wonderfully with this dessert’s creamy layers, enhancing the indulgent experience. The sweetness of the hot chocolate balances the lush flavors beautifully.
-
Winter Fruit Salad: A refreshing mix of seasonal fruits adds a pop of color and freshness to your dessert table. The juicy and tangy elements counterbalance the richness of the No Bake Christmas Cookie Lush.
-
Spiced Gingerbread Cookies: These classic treats offer a crunchy texture and bold spices that harmonize with the creamy sweetness of the lush. Serve them on the side for those who crave a little extra crunch!
-
Peppermint Bark: This festive classic provides a satisfying crunch and a refreshing minty flavor, enhancing the playful spirit of your holiday gathering. The layered contrast adds an additional texture to your dessert experience.
-
Hot Apple Cider: The warmth of spiced apple cider evokes cozy holiday feelings, making it an ideal drink pairing. The fruity notes complement the cookie lush’s sweetness, creating a delightful contrast.
-
Chocolate Fondue: Set up a fondue station with fruits, marshmallows, and cookies for dipping. The interactive element and rich chocolate will have everyone talking, perfectly complementing the layered dessert.
-
Coffee or Espresso: A strong cup of coffee, whether hot or iced, balances sweetness and delivers deep flavors that pair nicely with the creamy dessert. The bitter notes create a wonderful contrast with the luscious layers.
Expert Tips for No Bake Christmas Cookie Lush
- Room Temperature Cream Cheese: Ensure the cream cheese is softened to room temperature for a smooth, lump-free mixture. Cut it into small cubes for quicker softening.
- Chill for Best Texture: Allowing the No Bake Christmas Cookie Lush to chill for at least 4 hours helps the layers set properly, ensuring a delightful slice every time.
- Freezing for Clean Cuts: For cleaner slices, consider freezing the dessert before cutting. This makes it easier to achieve perfectly neat edges that look impressive.
- Crushed Cookies Topping: Use the leftover Oreo crumbs as a topping to increase flavor and texture, enhancing the dessert’s visual appeal with a crunchy finish.
- Experiment with Flavors: Feel free to swap in different pudding flavors or add fresh fruit layers for a unique twist on this beloved holiday dessert!
Make Ahead Options
These No Bake Christmas Cookie Lushes are perfect for busy home cooks looking to save time during the hectic holiday season! You can prepare the crust and cream cheese layer up to 24 hours in advance; just layer them into your baking dish, cover tightly with plastic wrap, and refrigerate. The pudding layer can also be made and refrigerated for up to 3 days before serving, just be sure to cover it well to prevent it from forming a skin. When you’re ready to enjoy this delightful dessert, simply assemble the pudding on top of the cream cheese layer and finish with whipped topping and sprinkles just before serving, ensuring it stays fresh and delicious. This way, you’ll have an impressive dessert at your fingertips, allowing you to revel in the festivities without the last-minute stress!
Storage Tips for No Bake Christmas Cookie Lush
-
Room Temperature: The No Bake Christmas Cookie Lush can be left out for about 2 hours at room temperature before it needs refrigeration, perfect for serving at parties.
-
Fridge: Store any leftovers in an airtight container in the refrigerator for up to 4 days. This helps maintain its creamy texture and flavor.
-
Freezer: For longer storage, wrap tightly in plastic wrap or foil and freeze for up to a month. Thaw overnight in the fridge before serving for the best results.
-
Reheating: There’s no need to reheat this dessert; simply slice and enjoy straight from the fridge or after thawing if frozen.
No Bake Christmas Cookie Lush Variations
Customize your No Bake Christmas Cookie Lush to make it even more delightful and personal! Let your creativity shine with these fun alternatives that will surprise and impress your guests.
-
Different Crust: Swap the vanilla Oreo crust with graham cracker crumbs or chocolate cookies for a unique twist. Each option gives a different flavor profile—experiment and see what you love best!
-
Flavorful Pudding: Use chocolate, vanilla, or white chocolate pudding mix instead of cheesecake for a deliciously different flavor. The creamy texture will remain, but the taste will surprise everyone at your gathering!
-
Sugar-Free Option: Choose sugar-free pudding mix for a lighter version. While the taste and texture may vary slightly, your health-conscious guests will appreciate the thought!
-
Fruit Layers: Add layers of fresh berries or fruit preserves between the cream cheese and pudding layers for a burst of freshness. Strawberries, blueberries, or raspberries work wonderfully and add a colorful touch!
-
Peppermint Twist: Enhance the festive flavor by incorporating crushed candy canes into the cream cheese layer. The refreshing minty crunch perfectly complements the other sweet elements, creating a holiday dream!
-
Nutty Crunch: Sprinkle chopped nuts, like pecans or almonds, between the layers for delightful crunch and flavor. It adds extra texture to each bite, making it even more satisfying!
-
Coconut Finish: For a tropical touch, incorporate shredded coconut into the whipped topping or as a garnish! It offers a creamy, sweet flavor that pairs beautifully with the other rich layers.
-
Pumpkin Spice: If you’re looking for a seasonal spin, mix pumpkin puree and pumpkin pie spice into the cream cheese layer for a cozy fall-inspired dessert. Serve slices with whipped topping and a sprinkle of cinnamon for that apple pie vibe!
Feel free to discover more delicious possibilities with variations on other delightful desserts like Pumpkin Smores Cookies or Butterscotch Chocolate Chip Cookies! Each alternative you make helps create a unique creation that expresses your personal touch while keeping the holiday spirit alive.

No Bake Christmas Cookie Lush Recipe FAQs
What kind of Oreo cookies are best for the crust?
Absolutely, using Vanilla Oreo Cookies is key for flavor! They add a sweet crunch that perfectly complements the creamy layers. However, if you’re feeling adventurous, you can also try other vanilla-flavored sandwich cookies or even graham crackers for a different taste.
How do I store leftovers from my No Bake Christmas Cookie Lush?
Store any leftovers in an airtight container in the refrigerator for up to 4 days. This will help maintain the creaminess of the dessert and keep it fresh for indulgence later. Just remember that the crunchiness of the cookie crust may soften over time, but it’s still delicious!
Can I freeze No Bake Christmas Cookie Lush?
Yes! You can freeze your No Bake Christmas Cookie Lush for up to a month. Wrap it tightly in plastic wrap or foil to prevent freezer burn. When you’re ready to enjoy, simply thaw it overnight in the fridge for the best results, allowing the layers to regain their creamy texture.
What should I do if my cream cheese layer is lumpy?
If you find that your cream cheese mixture has lumps, no worries! Simply let it come to room temperature to soften, then beat it again with your mixer until smooth. If a few stubborn lumps remain, you can also use a fine-mesh sieve to strain the mixture before adding the whipped topping, ensuring a silky smooth cream cheese layer.
Can I make this dessert ahead of time?
Absolutely! I often prepare my No Bake Christmas Cookie Lush a day in advance. This allows the flavors to meld beautifully and helps the layers set properly, leading to a delightful dessert experience. Just be sure to cover it well to prevent any absorption of odors from the fridge.
Is this dessert suitable for people with allergies?
This dessert contains common allergens including dairy and gluten, so it may not be suitable for everyone. If you’re concerned about allergies, consider using gluten-free Oreos and dairy-free alternatives for the cream cheese and whipped topping. Just keep in mind that this may alter the flavor and texture slightly.

Irresistible No Bake Christmas Cookie Lush for Festive Joy
Ingredients
Equipment
Method
- Begin by optionally lining a 9x13 baking dish with parchment paper for easier removal.
- Crush 36 vanilla Oreo cookies into fine crumbs. Mix with melted butter and ½ tablespoon holiday sprinkles, then press into the baking dish.
- Beat together 8 oz cream cheese, ½ cup powdered sugar, and peppermint extract until smooth. Fold in one tub of whipped topping.
- Spread the cream cheese mixture over the crust, sprinkling ½ tablespoon of holiday sprinkles on top.
- Whisk together cheesecake pudding mix and 2 cups of cold milk for 2-3 minutes until thickened. Stir in ½ tablespoon of holiday sprinkles.
- Spread the pudding layer over the cream cheese layer, smoothing the top with a spatula.
- Top with remaining whipped topping and sprinkle crushed Oreo cookies and remaining holiday sprinkles on top.
- Refrigerate for at least 4 hours or freeze for a couple of hours before cutting into squares.
- Serve chilled, letting thaw if previously frozen.

Leave a Reply