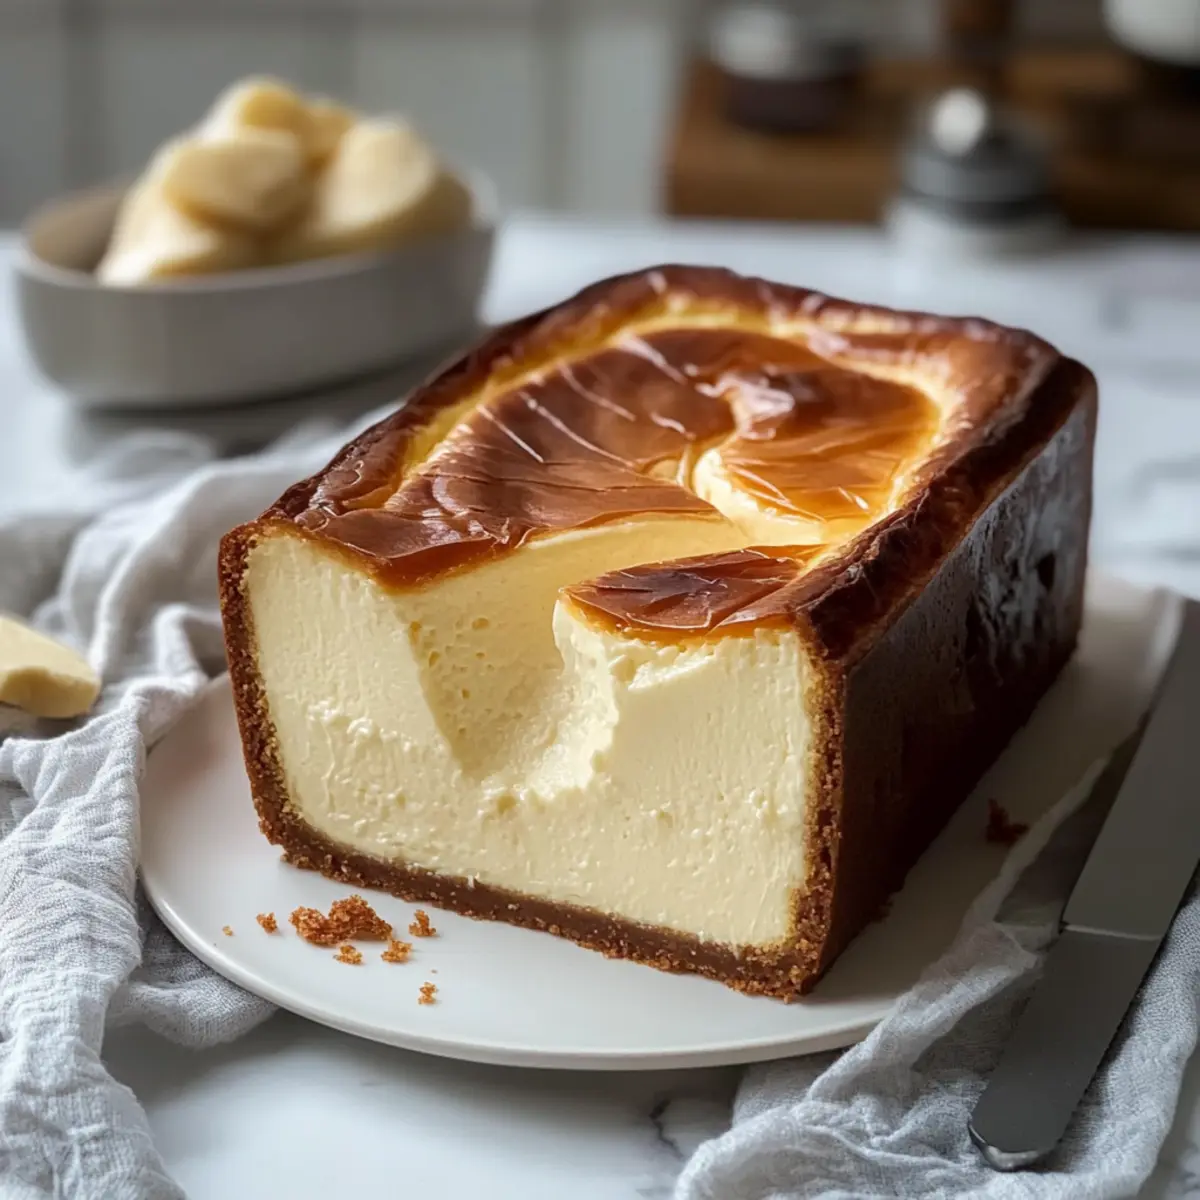
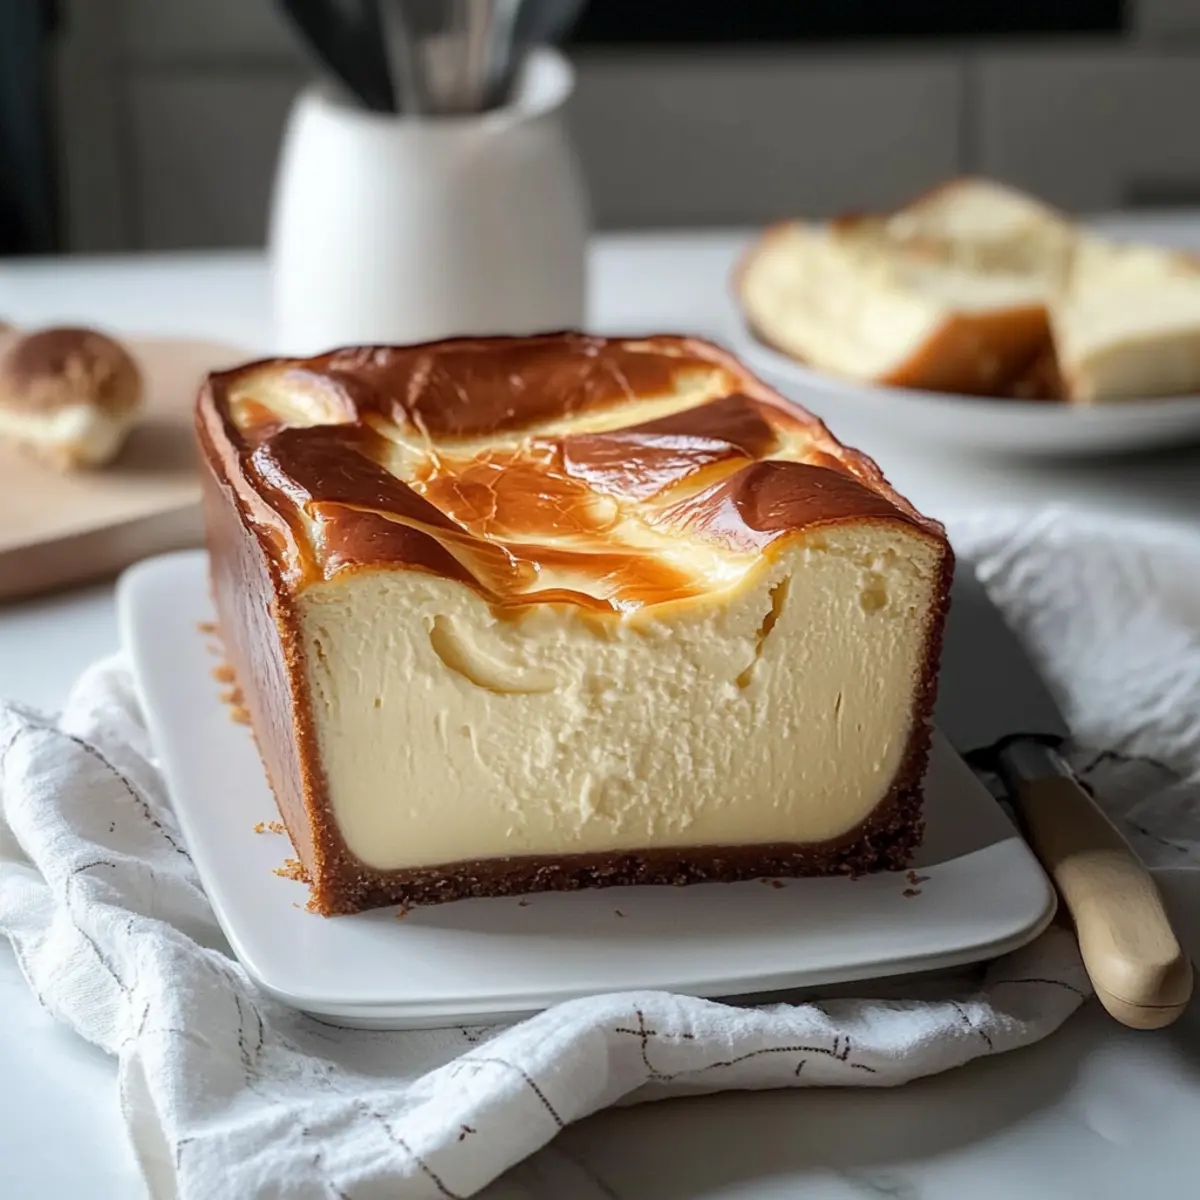
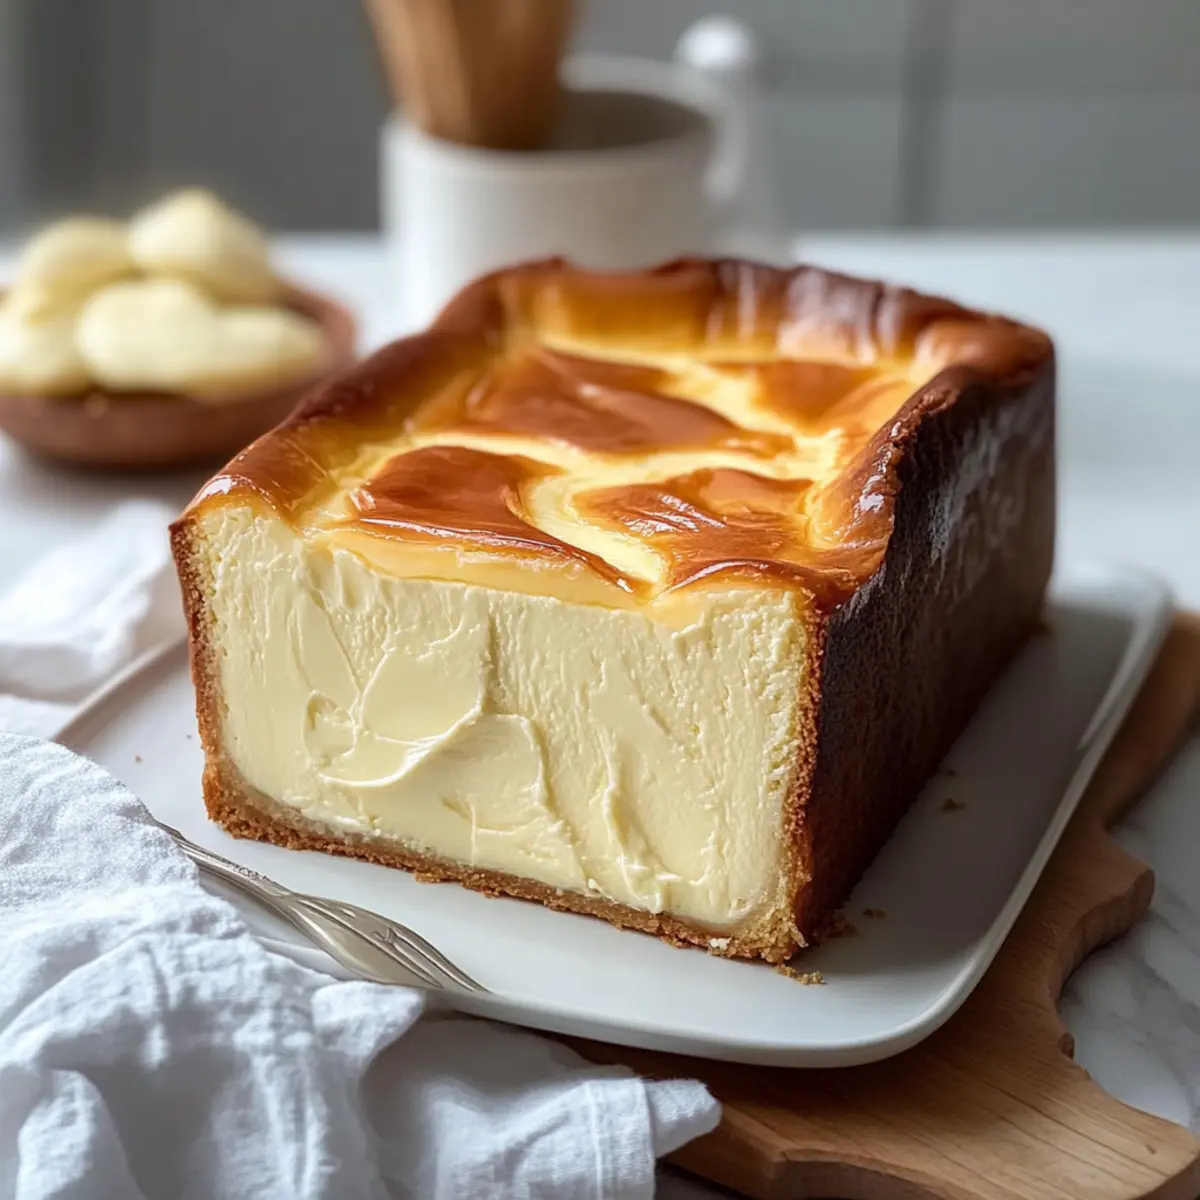
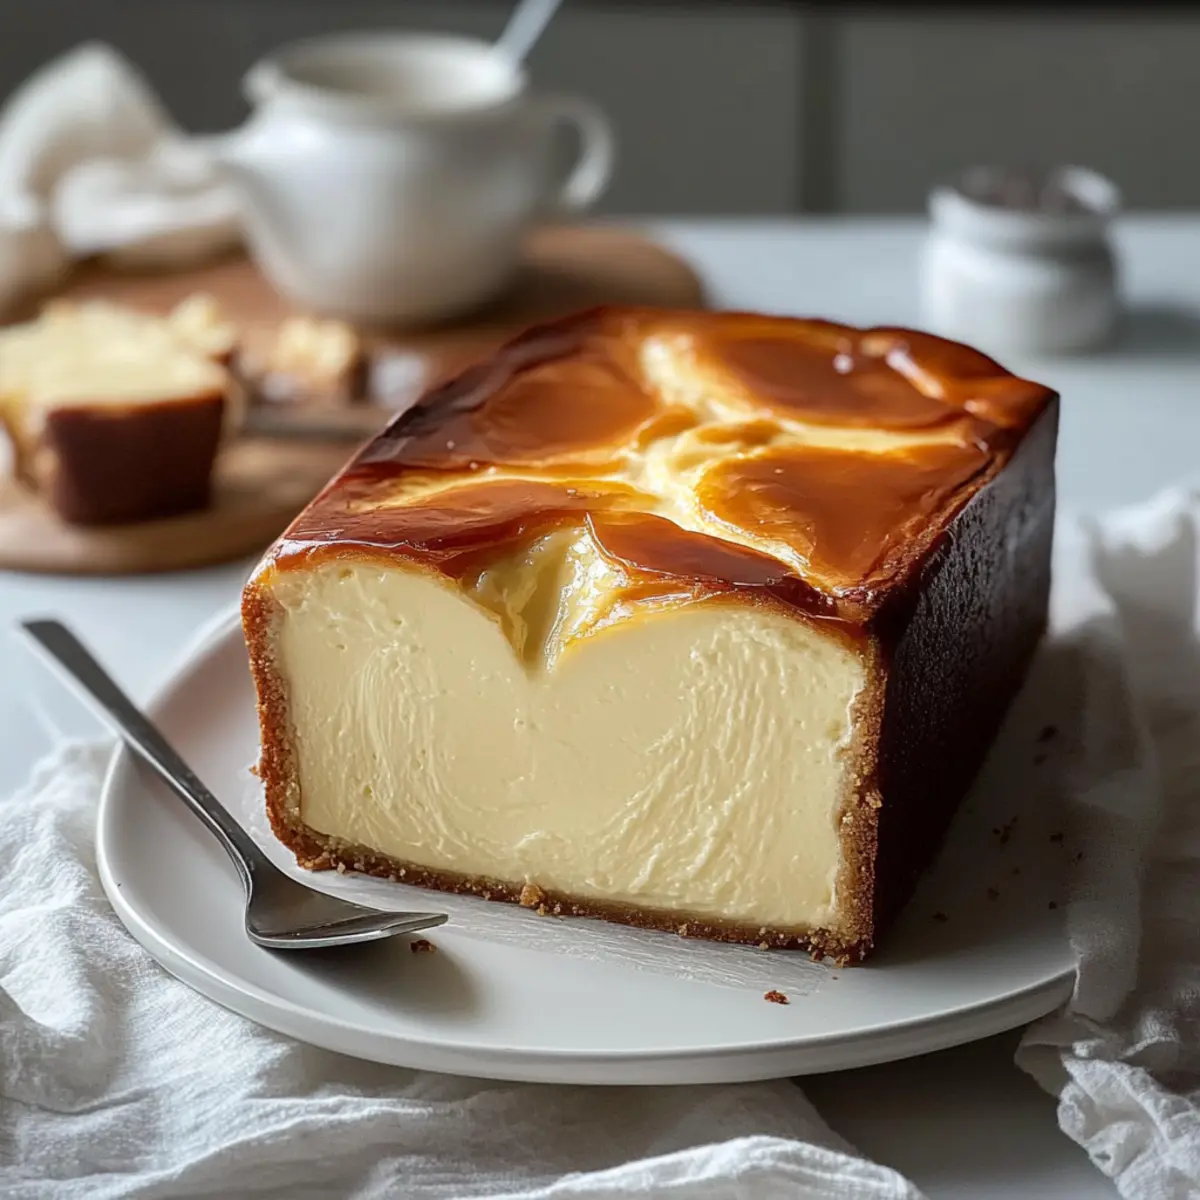
“Have you ever wondered how something so simple could deliver such luxury?” The first time I made a Burnt Basque Cheesecake in a loaf pan, I was astounded by the tantalizing aromas wafting from my oven. This crustless, creamy delight is a game-changer in the dessert world, combining ease with impressive results. With no water bath required, you can whip this up quickly for spontaneous gatherings or a well-deserved treat at home. The deeply caramelized top, paired with a soft, custard-like interior, makes it as visually stunning as it is delicious. Plus, it’s vegetarian-friendly and incredibly satisfying to slice into after it’s set. So, are you ready to embark on this delectable baking journey with me?

Why is This Cheesecake So Irresistible?
Unique Method: This Burnt Basque Cheesecake is baked in a loaf pan, making it a delightful twist on traditional recipes.
Effortless Baking: With no crust and no need for a water bath, this dessert is straightforward and quick to prepare, perfect for any baking novice!
Decadent Flavor: Expect a beautifully caramelized top and a rich, creamy interior that’s truly unforgettable—just the right balance of sweetness.
Versatile Delight: Easily customize the flavor with citrus zest or spices, and it pairs wonderfully with fresh berries or whipped cream.
Crowd-Pleasing Appeal: This show-stopping dessert is sure to impress at gatherings, much like my popular Pumpkin Cheesecake Bars or Vanilla Bean Cheesecake recipes. It’s a definite hit among family and friends!
Burnt Basque Cheesecake Ingredients
• Prepare to delight your taste buds with this simple yet luxurious dessert!
For the Cheesecake
• Cream Cheese (800 g or 1 lb 12 oz) – Full-fat is essential for the perfect creamy texture and stability.
• Granulated Sugar (1 cup) – This adds sweetness and enhances the creamy consistency; try coconut sugar for a unique twist!
• Eggs (4 large) – Ensure rich flavor and structure by mixing in one at a time for even incorporation.
• Heavy Cream (1 2/3 cup or ≈400 ml) – This ingredient brings an indulgent richness; low-fat options may alter the final texture.
• Vanilla Extract (1 teaspoon, optional) – A splash enhances the overall flavor with a hint of sweetness.
• Salt (¼ teaspoon) – Balances sweetness and amplifies all the delicious flavors.
• All-Purpose Flour (¼ cup or about 30 g) – Provides slight structure; leave it out for a gluten-free version!
Step‑by‑Step Instructions for Burnt Basque Cheesecake
Step 1: Preheat the Oven
Begin your baking journey by preheating your oven to 400°F (200°C). This essential step allows for even baking, ensuring that your Burnt Basque Cheesecake develops that signature caramelized top. While the oven warms up, you can focus on preparing your loaf pan, which will make assembling the cheesecake a breeze.
Step 2: Prepare the Loaf Pan
Line a 9×5-inch loaf pan with parchment paper, allowing some overhang on the sides for easy removal later. This step is crucial; without it, the cheesecake may stick to the pan. Ensure the parchment is smooth against the pan to create a beautiful presentation once the Burnt Basque Cheesecake is done baking.
Step 3: Mix Cream Cheese and Sugar
In a large mixing bowl, beat 800 g of full-fat cream cheese and 1 cup of granulated sugar together for about 5 minutes. Use an electric mixer on medium speed to achieve a smooth, creamy texture. Look for the mixture to become light and fluffy, which indicates that the sugar is dissolved and the cream cheese is well-aerated—key for a rich cheesecake.
Step 4: Incorporate Eggs
Next, add 4 large eggs individually, mixing well after each addition. This gradual incorporation is vital for achieving a smooth batter; the mixture should be homogenous with no visible lumps. Take your time during this step to ensure that each egg is fully blended before proceeding.
Step 5: Add Cream and Flavorings
Pour in 1 2/3 cups of heavy cream, 1 teaspoon of vanilla extract (if using), and ¼ teaspoon of salt into your batter. Gently stir until everything is well combined, creating a luxurious, creamy mixture. The heavy cream adds richness, while the salt enhances the sweetness, making your Burnt Basque Cheesecake impeccably balanced.
Step 6: Incorporate Flour
Sift in ¼ cup of all-purpose flour, folding it gently into the cheesecake batter. This step adds a hint of structure—it’s essential not to overmix at this stage. The flour should be fully integrated, but you want to keep that beautiful and airy consistency, ensuring your final product remains rich and creamy.
Step 7: Bake the Cheesecake
Carefully pour the prepared batter into the lined loaf pan. Bake for 40-45 minutes, watching as the edges turn a deep golden-brown and the center remains slightly jiggly. This visual cue is crucial; it indicates that the Burnt Basque Cheesecake is perfectly baked, ready to achieve that iconic texture.
Step 8: Cool and Chill
Once baked, remove the cheesecake from the oven and allow it to cool at room temperature for about an hour. Then, transfer it to the refrigerator and chill for 2-4 hours, or overnight if possible. This cooling period is key to setting the cheesecake, enhancing its flavors, and making for a delightful and easy slicing experience.

Expert Tips for Burnt Basque Cheesecake
-
Use Full-Fat Cream Cheese: Ensure you only use full-fat cream cheese for a rich, creamy texture; anything less may result in a watery cheesecake.
-
Don’t Open the Oven: Resisting the urge to peek inside while baking is crucial! Opening the oven door can disrupt the heat needed for that caramelized top.
-
Anticipate Cracks: Expect cracks on the cheesecake’s surface; they’re a charming characteristic of this style. Embrace them as part of its rustic appeal!
-
Chill for the Best Texture: Allow the cheesecake plenty of time to chill in the refrigerator; this helps it set up beautifully and enhances the flavor.
-
Serve at Room Temperature: For the best experience, let your Burnt Basque Cheesecake sit out for a bit before serving; it becomes even creamier at room temperature.
Burnt Basque Cheesecake Variations
Get ready to elevate your baking experience with these enticing twists! Your creativity can shine through as you explore new flavors and textures.
-
Citrus Zest: Add lemon or orange zest for a refreshing brightness that complements the creamy cheesecake beautifully.
-
Spiced Delight: Incorporate spices like cinnamon or nutmeg to warm up the flavor profile, giving it a cozy, comforting touch.
-
Chocolate Swirl: For a rich twist, gently fold in melted dark chocolate. This indulgent addition will take your cheesecake to a new level of decadence.
-
Savory Infusion: Reduce sugar and add crumbled blue cheese with fresh herbs for a savory cheesecake option that surprises and delights.
-
Nutty Crunch: Fold in some finely chopped nuts like almonds or hazelnuts for a delightful texture contrast that adds both flavor and crunch.
-
Berry Bliss: Top with a burst of fresh berries before serving, such as strawberries or blueberries, for a vibrant and colorful presentation.
-
Caramel Drizzle: A drizzle of homemade or store-bought caramel sauce adds sweetness and visual appeal, elevating the overall dessert experience.
-
Alternative Sweeteners: Swap granulated sugar for coconut sugar or honey for a unique flavor twist that’s healthier and equally enticing.
As you explore these variations, don’t forget to check out my popular Churro Cheesecake Sweet for an exciting flavor shift or the delectable Pumpkin Cheesecake Bars as a seasonal treat! Enjoy customizing your Burnt Basque Cheesecake—you truly can’t go wrong!
Make Ahead Options
These divine Burnt Basque Cheesecakes are perfect for busy cooks looking to save time on dessert prep! You can prepare the batter and keep it in the fridge for up to 24 hours before baking; just be sure to tightly cover the bowl to maintain freshness. If you prefer, you can bake the cheesecake ahead of time and then refrigerate it for 2-4 hours or overnight to let the flavors deepen. To serve, simply slice it after allowing it to sit at room temperature for about 30 minutes—this will soften it for a smoother texture. Whether prepped in advance or made the day of, this cheesecake remains just as delicious and impressive, giving you that well-deserved time-saving edge!
What to Serve with Burnt Basque Cheesecake
Create a memorable dining experience by complementing your cheesecake with delicious side dishes and treats.
-
Fresh Berries: Juicy strawberries, raspberries, or blueberries add a burst of freshness that cuts through the cheesecake’s richness. Their vibrant colors elevate the plate beautifully.
-
Whipped Cream: A fluffy dollop of freshly whipped cream offers a light, airy counterpoint to the dense cheesecake. Sweetened lightly, it harmonizes perfectly, bringing an indulgent creaminess that can’t be beaten.
-
Earl Grey Tea: This delicate tea brings fragrant notes of bergamot that pair exquisitely with the creamy flavors of the cheesecake, enhancing your dessert experience. Served hot, it wraps you in warmth with each sip.
-
Melted Dark Chocolate: Drizzling warm, bittersweet chocolate over the cheesecake creates a luxurious touch. The chocolate’s richness complements the sweet flavors while adding depth.
-
Citrus Salsa: A zesty mix of chopped citrus fruits like oranges and grapefruits brings brightness to each bite. The tartness cuts through the sweetness, making each mouthful a delicious contrast.
-
Almond Biscotti: Crunchy and lightly sweet, these cookies make the perfect dipping companion. The crunchiness pairs well with the cheesecake’s creamy interior while delivering a nostalgic touch.
-
Caramel Sauce: Drizzling warm caramel adds a sweet, buttery depth that intensifies the dessert’s flavor profile. It’s an irresistible addition, especially when paired with a sprinkle of sea salt.
-
Prosecco: A glass of bubbly prosecco elevates the whole dessert experience. Its effervescence refreshes the palate, and the wine’s brightness enhances the cheesecake’s velvety richness.
How to Store and Freeze Burnt Basque Cheesecake
Room Temperature: Allow the cheesecake to cool completely before storing at room temperature for up to 2 hours. Beyond that, refrigeration is recommended.
Fridge: Store your Burnt Basque Cheesecake in an airtight container for up to 4 days. To retain its creamy texture, avoid slicing until ready to serve.
Freezer: If you’d like to freeze it, wrap the cheesecake tightly in plastic wrap and then foil. It can be frozen for up to 2 months; thaw overnight in the fridge before serving.
Reheating: Serve chilled or at room temperature. If it’s been frozen, let it sit at room temperature for about 30 minutes before enjoying for the best texture and flavor.

Burnt Basque Cheesecake Recipe FAQs
What type of cream cheese should I use for this recipe?
Absolutely use full-fat cream cheese for your Burnt Basque Cheesecake. This ensures the rich, creamy texture you desire. Low-fat versions can lead to a watery cheesecake, so for the best results, always opt for the full-fat variety.
How should I store my cheesecake?
To store your cheesecake, place it in an airtight container in the fridge, where it will stay fresh for up to 4 days. I often keep mine wrapped in plastic wrap before putting it in a container to retain its moisture and prevent it from absorbing any odors.
Can I freeze Burnt Basque Cheesecake? How?
Yes, you can freeze your cheesecake! First, allow it to cool completely. Then, wrap it tightly in plastic wrap, followed by aluminum foil. This double-wrapping protects it from freezer burn and extends its life for up to 2 months. When you’re ready to eat, thaw it in the fridge overnight for the best texture.
What if my cheesecake cracks during baking?
Don’t worry! It’s completely normal for a Burnt Basque Cheesecake to crack during baking. Embrace those unique cracks as they add character to the dessert. Make sure you’re not opening the oven door while it bakes, as the temperature fluctuation can cause it to crack more.
Is this cheesecake suitable for gluten-free diets?
Definitely! You can make this cheesecake gluten-free by simply omitting the flour. The cream cheese and eggs provide stability, so it will still turn out beautifully creamy without the flour.
How should I serve the cheesecake?
For the best experience, I recommend serving your Burnt Basque Cheesecake chilled or at room temperature. Let it sit out for about 30 minutes before slicing to allow it to soften slightly, enhancing that luscious texture that makes it so irresistible.

Heavenly Burnt Basque Cheesecake Made Easy in a Loaf Pan
Ingredients
Equipment
Method
- Preheat your oven to 400°F (200°C).
- Line a 9x5-inch loaf pan with parchment paper, allowing some overhang.
- In a large mixing bowl, beat 800 g of cream cheese and 1 cup of sugar together for 5 minutes.
- Add 4 large eggs individually, mixing well after each addition.
- Pour in 1 2/3 cups of heavy cream, 1 teaspoon of vanilla extract, and ¼ teaspoon of salt into your batter, then stir until combined.
- Sift in ¼ cup of all-purpose flour, folding it gently into the batter.
- Pour the prepared batter into the lined loaf pan and bake for 40-45 minutes.
- Remove the cheesecake from the oven and let it cool at room temperature for one hour, then refrigerate for 2-4 hours or overnight.

Leave a Reply