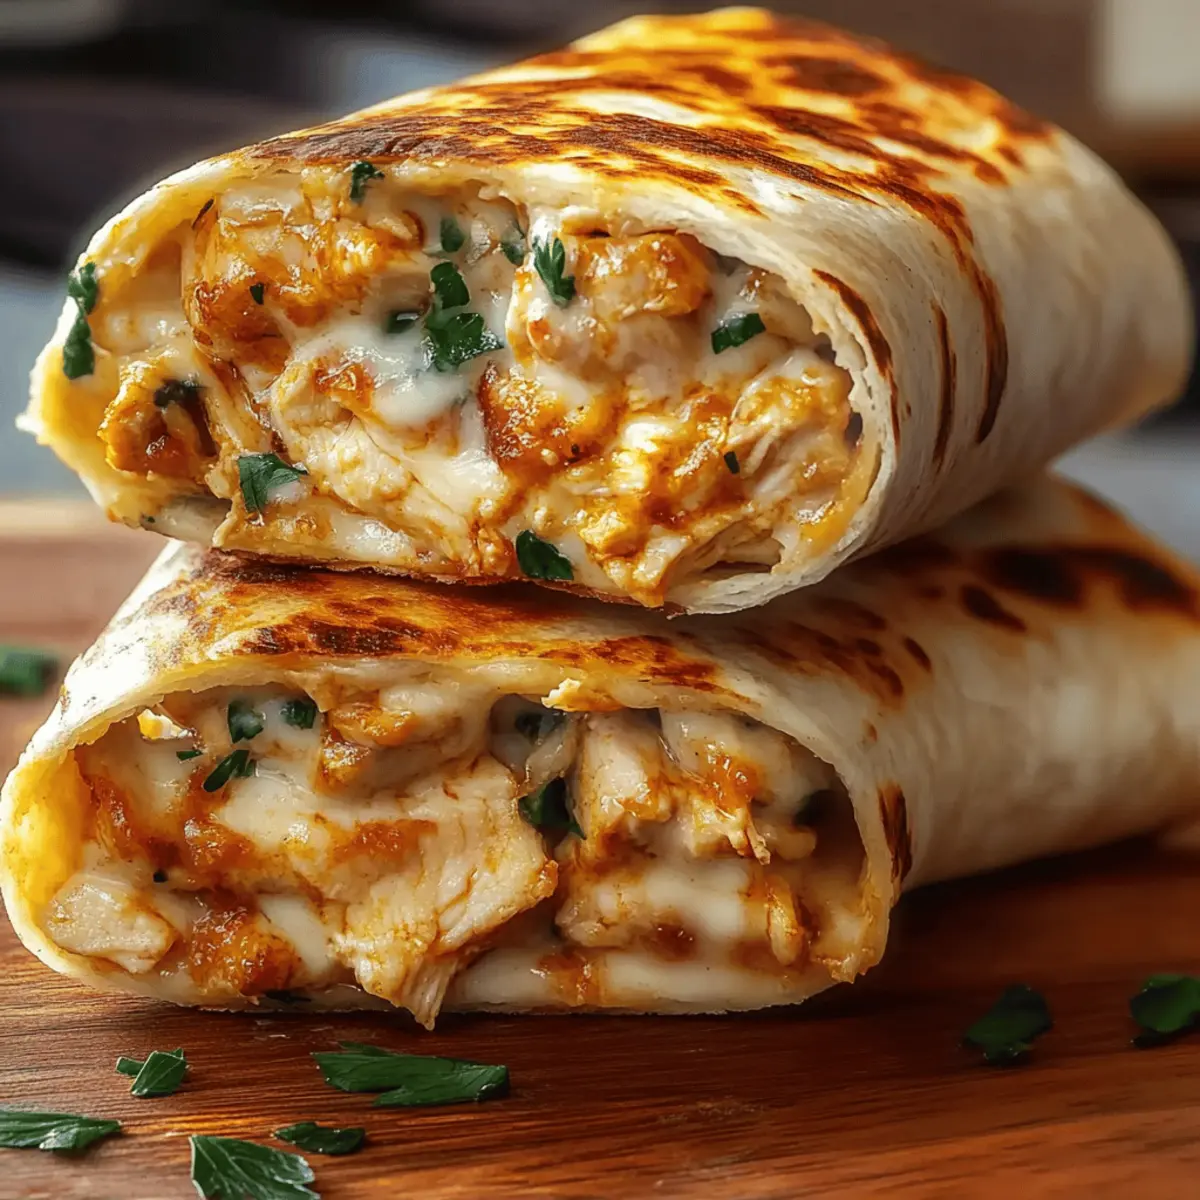
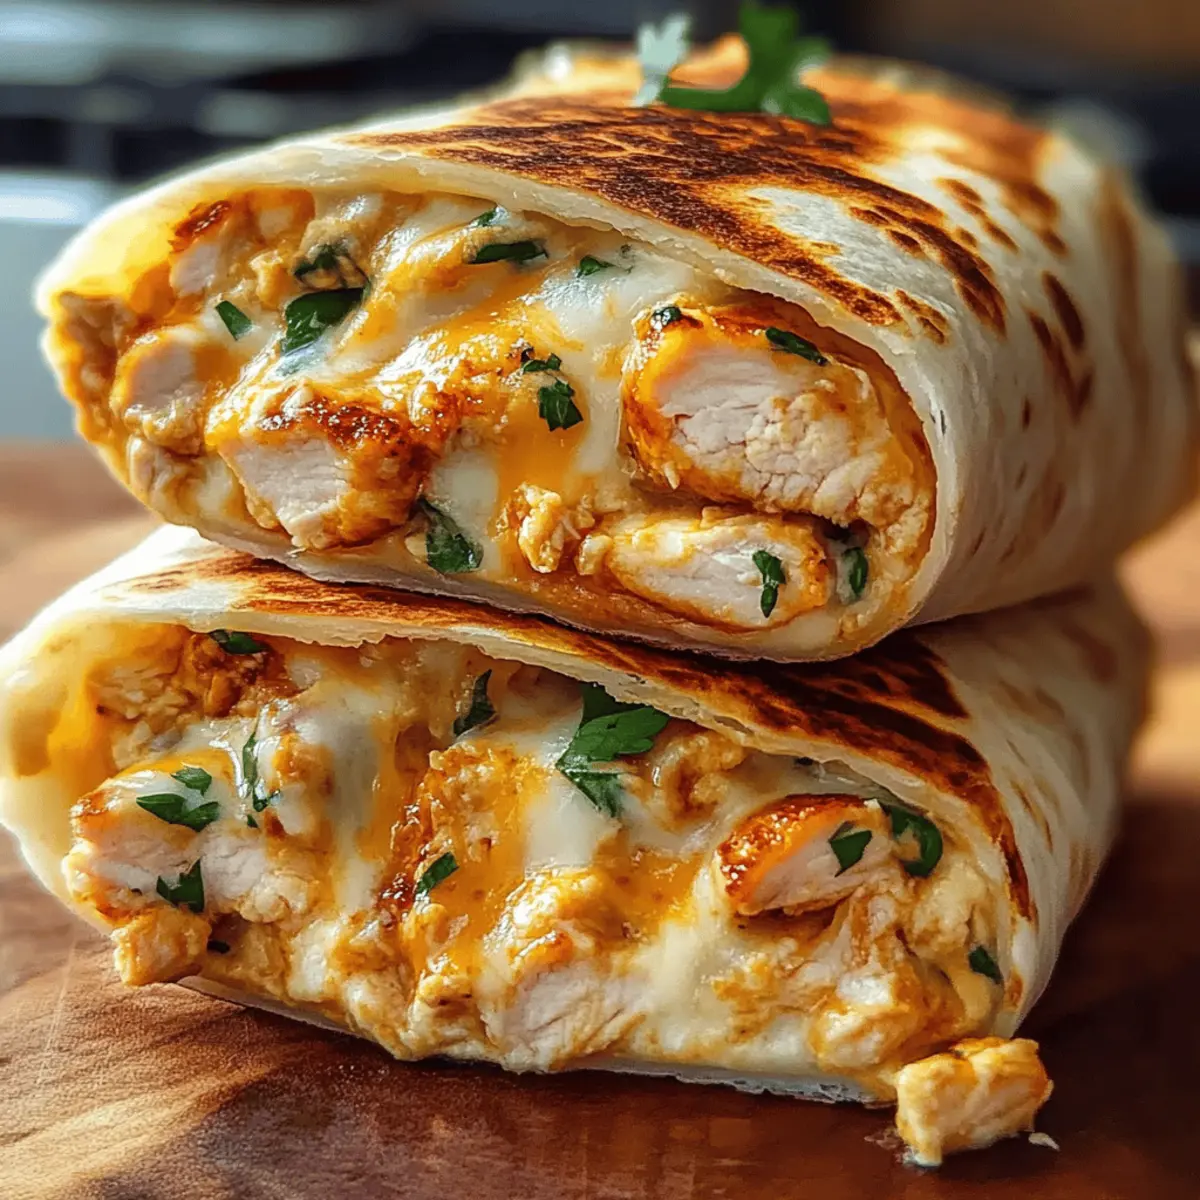
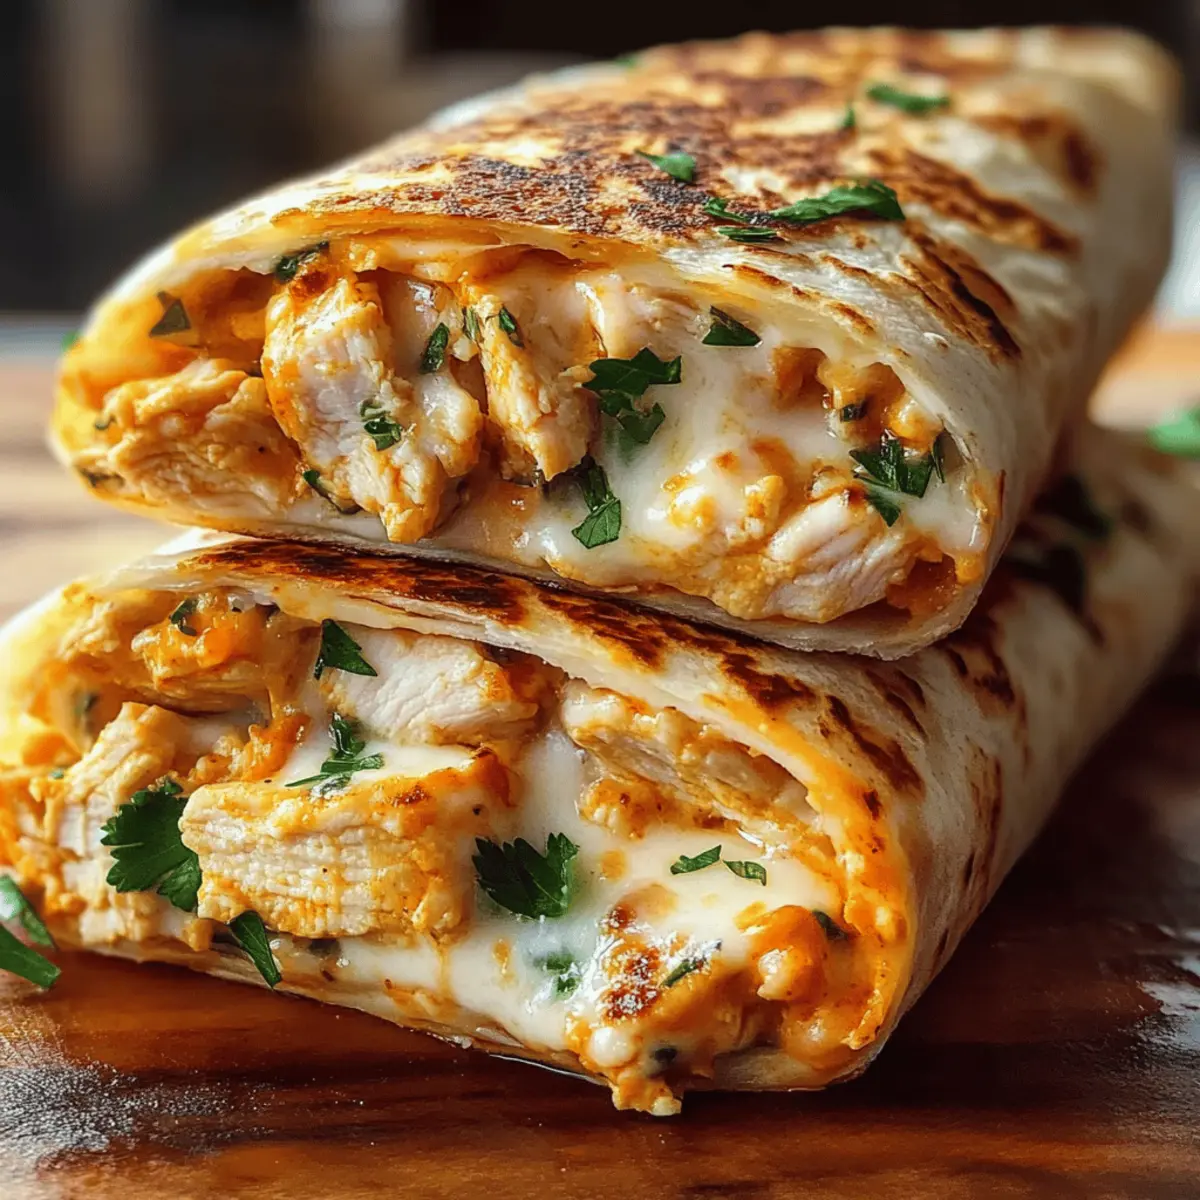
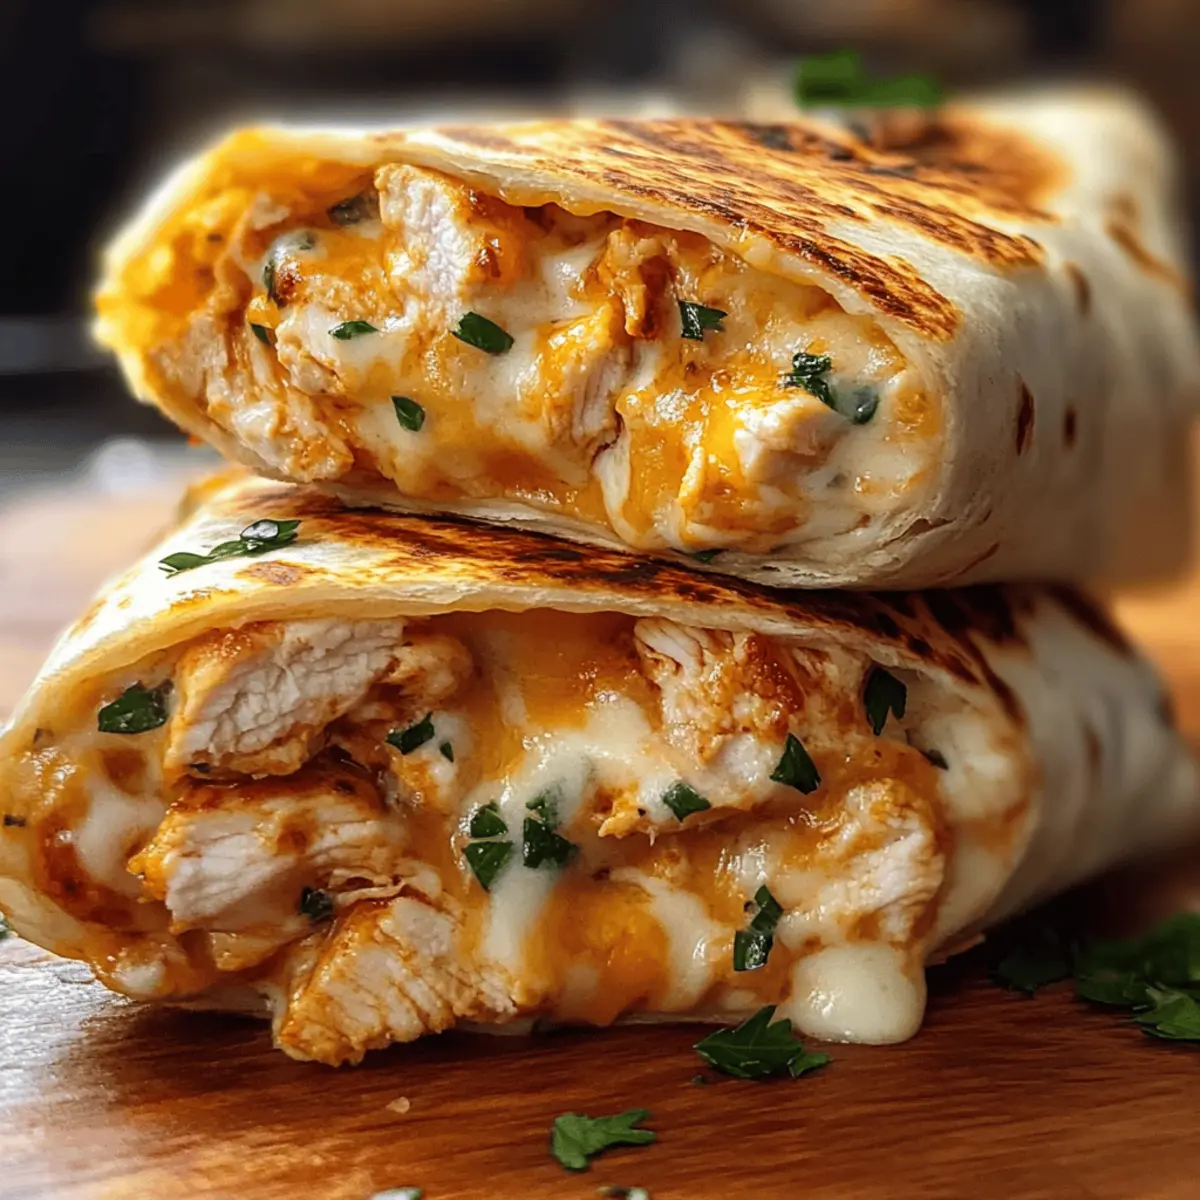
Amid the hustle of a busy week, I find myself yearning for comfort food that doesn’t take a culinary marathon to prepare. That’s when I turn to my trusty Cheesy Garlic Chicken Wraps. Picture this: tender chicken sautéed to perfection, mingling with gooey cheese and aromatic garlic, all tucked into a soft tortilla. Not only are these wraps a breeze to whip up, making them ideal for hectic nights, but they’re also family-friendly and easily customizable to satisfy every palate. Whether you’re feeling adventurous with spices or sticking to classic flavors, the options are endless. Curious to learn how you can create this deliciousness in your own kitchen? Let’s dive in!

Why Are These Wraps a Must-Try?
Irresistible Comfort: These Cheesy Garlic Chicken Wraps are the ultimate go-to meal for cozy nights, combining heartiness and flavor in each bite.
Quick to Prepare: Perfect for those busy evenings, you can whip these up in no time—ideal for families on the go!
Customizable: Want to spice things up? Add your favorite veggies or experiment with different cheeses; the choices are yours!
Crowd-Pleaser: These wraps are great for gatherings; they disappear fast at parties and are loved by both kids and adults.
Nutritionally Packed: With protein-rich chicken and cheese, these wraps can be adapted for gluten-free diets, making them guilt-free comfort food! Enjoy alongside a fresh green salad or some delicious Garlic Parmesan Focaccia to complete your meal.
Cheesy Garlic Chicken Wraps Ingredients
• Get ready to create a delicious meal the whole family will love!
For the Filling
• Chicken – A hearty protein source; feel free to use rotisserie chicken to save time!
• Olive Oil – Perfect for sautéing; it enhances the flavor of your garlic and chicken.
• Minced Garlic – Adds irresistible flavor and aroma; if you’re in a pinch, garlic powder will do!
• Cheese (e.g., mozzarella, cheddar) – Provides that melty cheesy goodness; try pepper jack for a spicy kick!
For the Wraps
• Tortillas – They act as the base for your wraps; opt for gluten-free tortillas to accommodate dietary needs.
• Butter – Used for grilling to achieve a crispy, golden exterior on your wraps.
Feel free to mix and match as you create your own version of these Cheesy Garlic Chicken Wraps!
Step‑by‑Step Instructions for Cheesy Garlic Chicken Wraps
Step 1: Cook Chicken
Begin by seasoning the chicken with salt and pepper. You can either bake the chicken at 375°F for about 20-25 minutes or sauté over medium heat until it’s no longer pink, roughly 7-10 minutes per side. Once cooked, dice the chicken into bite-sized pieces, ensuring it’s tender and juicy, ready to be combined with the delicious flavors coming next.
Step 2: Prepare Garlic Mixture
Heat a tablespoon of olive oil in a skillet over medium heat. Add the minced garlic and sauté, stirring continuously for about 30 seconds to 1 minute, until the garlic turns golden and fragrant. This step infuses the oil with rich, aromatic flavors that will elevate your Cheesy Garlic Chicken Wraps. Remove from heat to prevent burning the garlic.
Step 3: Combine Ingredients
Add the diced chicken to the skillet with the sautéed garlic, tossing everything together gently. Over medium heat, mix in your chosen cheeses, like mozzarella and cheddar, until they start to melt and create a gooey texture, about 2-3 minutes. The combination of warm chicken and melted cheese will make your mouth water, setting the stage for the wraps ahead.
Step 4: Assemble Wraps
Lay out a tortilla on a flat surface. Place a generous portion of the cheesy garlic chicken mixture in the center. Fold the sides inward and roll the tortilla tightly like a burrito, ensuring the filling is securely enclosed. This step is fun and straightforward, allowing you to customize the wraps to your preferred size and filling ratio.
Step 5: Cook Wraps
In a skillet, melt a tablespoon of butter over medium heat. Once melted, place the assembled wraps seam-side down in the skillet. Cook for 2-3 minutes per side, pressing gently with a spatula, until they turn a beautiful golden brown and crisp. This will give your wraps a delightful crunch that perfectly complements the cheesy interior.
Step 6: Serve
Remove the Cheesy Garlic Chicken Wraps from the skillet and let them rest for about 1-2 minutes. This allows the cheese to set slightly, making each bite more enjoyable. Slice the wraps in half, and feel free to sprinkle with fresh parsley for a burst of color and freshness before serving warm.

Cheesy Garlic Chicken Wraps Variations
Feel free to let your creativity shine while making these wraps; countless delicious twists await!
-
Vegetable Boost: Add chopped spinach, bell peppers, or sautéed mushrooms for extra nutrition and flavor. They’ll add a lovely color and variety to your wraps.
-
Spice It Up: Incorporate crushed red pepper flakes or jalapeños into the filling for a zesty kick. A touch of heat elevates the overall flavor while keeping it family-friendly.
-
Cheese Choices: Swap traditional mozzarella or cheddar for pepper jack for an added spicy twist, or opt for creamy gouda for a richer taste. Cheese is the heart of these wraps; experiment with your favorites!
-
Herb Infusion: Sprinkle in some fresh herbs like cilantro or parsley before serving for a refreshing touch. This enhances the aromatic experience and adds that fresh garden flavor.
-
Different Tortillas: Use whole wheat or spinach tortillas for a healthier wrap. You could even try wraps made from cauliflower for a gluten-free option that packs extra veggies!
-
Creamy Additions: Spread a layer of ranch or a creamy garlic sauce before adding the chicken filling. This additional layer can make each bite burst with flavor.
-
Sweet Touch: Add a few slices of avocado or some caramelized onions for a hint of sweetness and creaminess. It’s a delightful contrast to the savory elements in the wrap.
-
Signature Spin: Try using diced cooked ham or turkey instead of chicken for an unexpected twist. These alternatives can give a fresh character to your wraps while keeping them family-approved.
The beauty of these Cheesy Garlic Chicken Wraps is in their adaptability. Whether you want something zesty or creamy, there’s a combination waiting just for you. Enjoy them alongside a warm bowl of Crack Chicken Gnocchi for a cozy family feast!
How to Store and Freeze Cheesy Garlic Chicken Wraps
Fridge: Store leftover Cheesy Garlic Chicken Wraps in an airtight container in the refrigerator for up to 3 days. This keeps them fresh and ready for quick meals!
Freezer: For longer storage, wrap each cooked wrap tightly in plastic wrap, then place them in a freezer bag. They can be frozen for up to 2 months without losing quality.
Reheating: For the best texture, reheat wraps in a skillet over medium heat for about 3-4 minutes per side until crispy, rather than using the microwave, which can make them soggy.
Make-Ahead Tips: You can prepare the filling in advance and store it in the refrigerator for up to 2 days. Assemble and cook the wraps when you’re ready to enjoy!
What to Serve with Cheesy Garlic Chicken Wraps
Enhance your dining experience with complementary sides and treats that balance flavors and textures beautifully.
- Fresh Green Salad: A light, crisp salad with a tangy vinaigrette adds freshness and brightens the meal.
- Seasoned Potato Wedges: Crispy potato wedges seasoned with herbs provide a satisfying crunch that pairs perfectly with the wraps.
- Tomato Soup: A warm bowl of creamy tomato soup brings a comforting, nostalgic touch, ideal for dipping your wraps.
- Garlic Parmesan Focaccia: This savory bread adds a delightful garlic twist, making it a great side for those who crave robust flavors.
- Coleslaw: A crunchy, creamy slaw introduces refreshing acidity, balancing the richness of the cheesy filling.
- Chips and Salsa: Light and zesty, this classic appetizer offers a fun, flavorful contrast to your hearty wraps.
- Shredded Lettuce and Pico de Gallo: These fresh toppings help brighten each bite, adding texture and a burst of flavor.
- Sparkling Lemonade: A bubbly drink with citrusy zing complements the savory wraps and makes for a festive meal.
Expert Tips for Cheesy Garlic Chicken Wraps
Properly Diced Chicken: Ensure your chicken is diced into small, even pieces for consistent cooking. This helps achieve the ideal tenderness and ensures every bite is packed with flavor.
Garlic Butter Boost: For an enhanced garlic flavor, create a garlic butter by mixing melted butter with minced garlic to brush on the tortillas before grilling. This adds an extra layer of deliciousness.
Right Heat Level: Cook your wraps on medium heat to prevent burning. If the heat is too high, the exterior will brown before the cheese melts inside, leading to an undesirable texture.
Crispy Finish: Always let the wraps rest for a minute or two post-cooking. This briefly cools down the filling and helps maintain the crispy exterior of your Cheesy Garlic Chicken Wraps.
Storage Tips: If planning to make ahead, wrap the uncooked wraps in plastic wrap and store in the refrigerator. For the best results, reheat in a skillet to keep them crispy rather than in the microwave.
Make Ahead Options
These Cheesy Garlic Chicken Wraps are a fantastic choice for meal prep, saving you time on busy nights! You can prepare the cheesy garlic chicken filling up to 24 hours in advance; simply cook and combine the chicken with garlic and cheese, then store it in an airtight container in the refrigerator. Additionally, you can assemble the wraps (just keeping them ungrilled) and refrigerate them for up to 3 days—just ensure they’re tightly wrapped to maintain their freshness. When you’re ready to serve, simply grill the wraps over medium heat for 2-3 minutes on each side until golden and crispy. With these make-ahead tips, you’ll enjoy delicious, homemade comfort food in a flash!

Cheesy Garlic Chicken Wraps Recipe FAQs
What type of chicken works best for these wraps?
Absolutely! You can use boneless, skinless chicken breasts or thighs for the best results. For convenience, rotisserie chicken or cooked ground chicken also works wonderfully, making your wraps even quicker to assemble. Just ensure the chicken is warm when mixing with the cheese for that melty goodness!
How should I store leftovers?
Very easy! Store your leftover Cheesy Garlic Chicken Wraps in an airtight container in the refrigerator for up to 3 days. This ensures they stay fresh and ready for a quick snack or meal whenever you crave them.
Can I freeze the wraps?
Yes, you can! To freeze Cheesy Garlic Chicken Wraps, wrap each cooked wrap tightly in plastic wrap and then place them in a freezer bag. They’ll stay delicious for up to 2 months. When you’re ready to enjoy, simply reheat them in a skillet for that fantastic crispiness.
What can I do if my wraps are soggy after reheating?
If your wraps end up soggy, don’t worry! To achieve a crispy texture when reheating, heat them in a skillet over medium heat for about 3-4 minutes per side, pressing gently to help them crisp up. This method restores that wonderful crunch and keeps the cheesy filling warm and melty.
Are there gluten-free options for this recipe?
Absolutely! You can easily make these wraps gluten-free by using gluten-free tortillas. There are many great options available that hold up well with the fillings, so everyone can enjoy this comforting dish without worry.
How can I make these wraps spicier?
Feeling adventurous? To spice up your Cheesy Garlic Chicken Wraps, try adding diced jalapeños, crushed red pepper flakes, or even a spicy cheese like pepper jack. Simply mix these in with the chicken filling to give those wraps an exciting kick!

Melty Cheesy Garlic Chicken Wraps for Cozy Nights In
Ingredients
Equipment
Method
- Season the chicken with salt and pepper, then cook either by baking at 375°F for 20-25 minutes, or sautéing over medium heat for 7-10 minutes per side. Dice cooked chicken into bite-sized pieces.
- Heat olive oil in a skillet over medium heat. Add minced garlic and sauté for about 30 seconds to 1 minute until golden and fragrant.
- Add diced chicken to the skillet with the garlic and mix in cheese until melted, about 2-3 minutes.
- Lay out a tortilla and place a portion of the chicken mixture in the center. Fold the sides inward and roll tightly.
- Melt butter in the skillet, place wraps seam-side down, and cook for 2-3 minutes per side until golden brown and crispy.
- Let wraps rest for 1-2 minutes, slice in half, and serve warm, optionally garnished with fresh parsley.

Leave a Reply