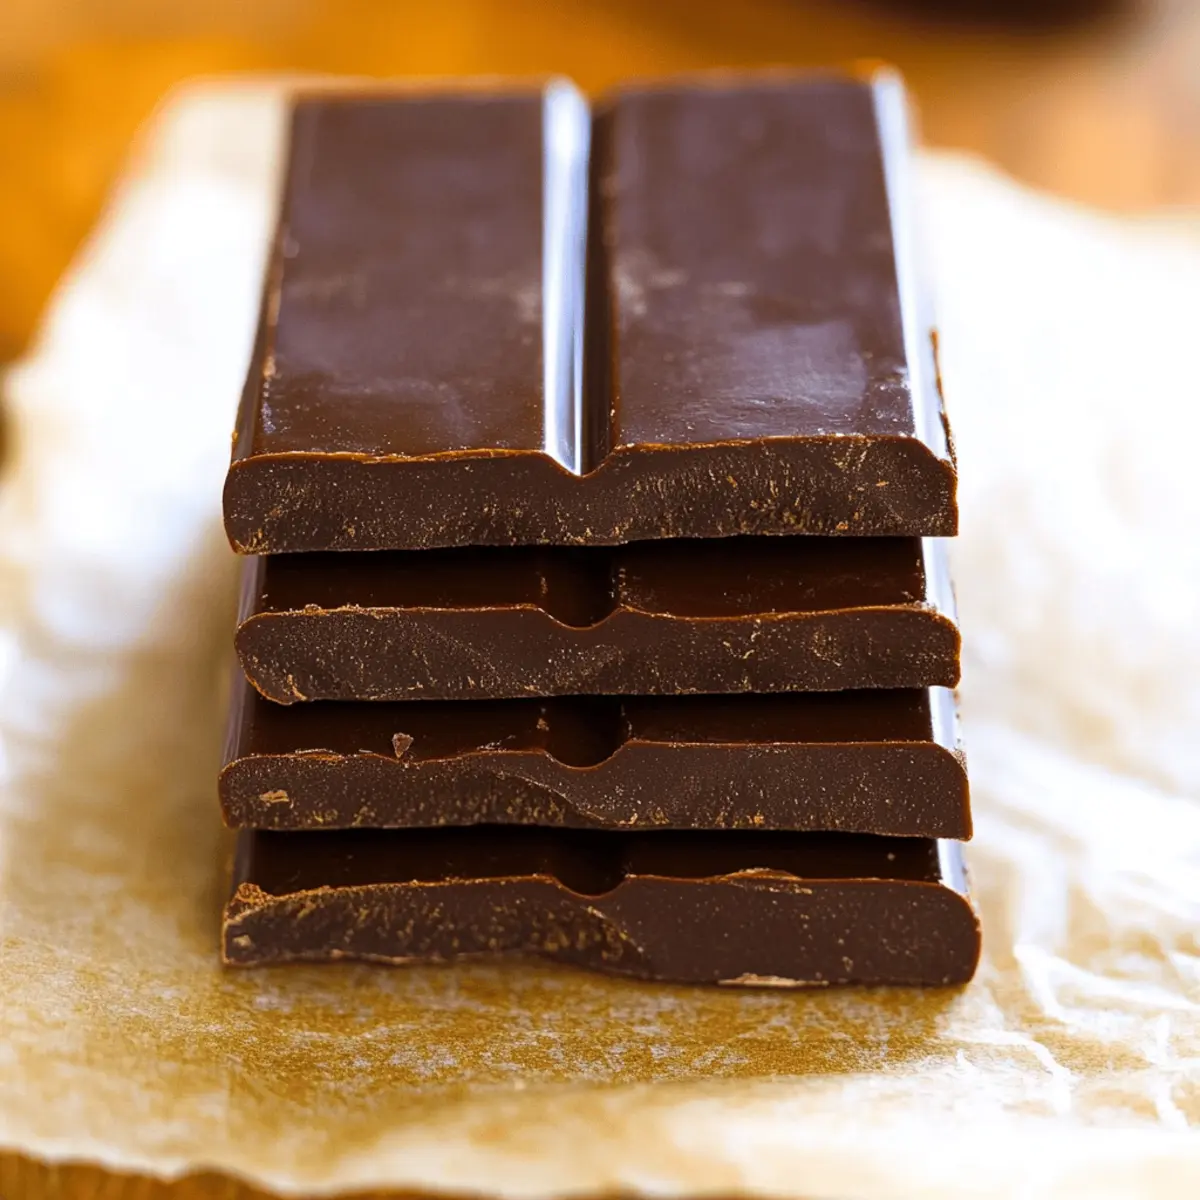
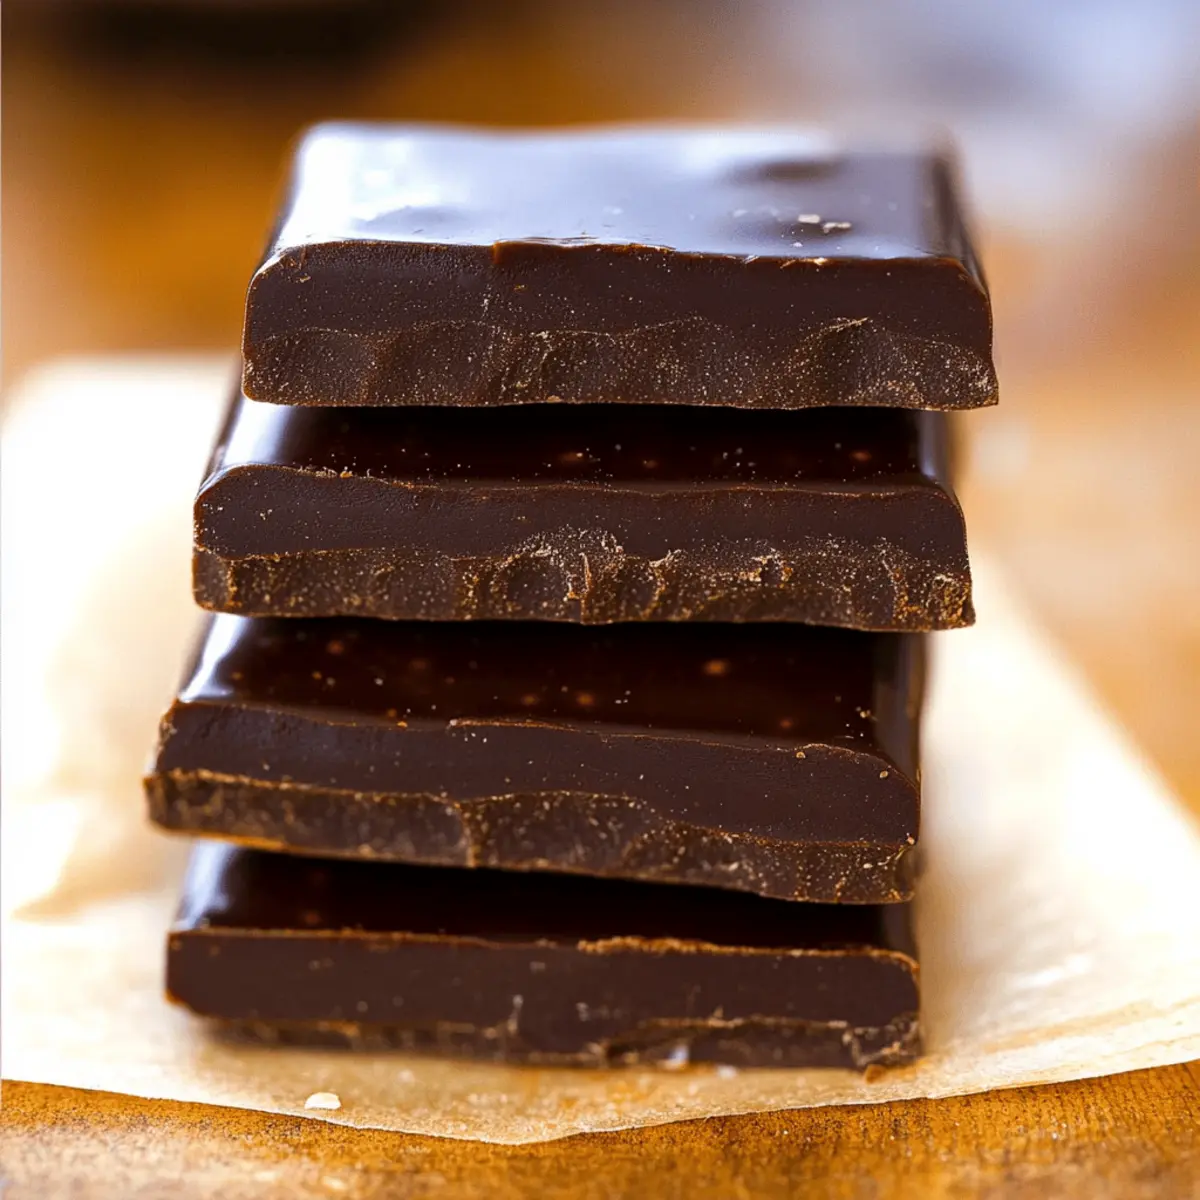
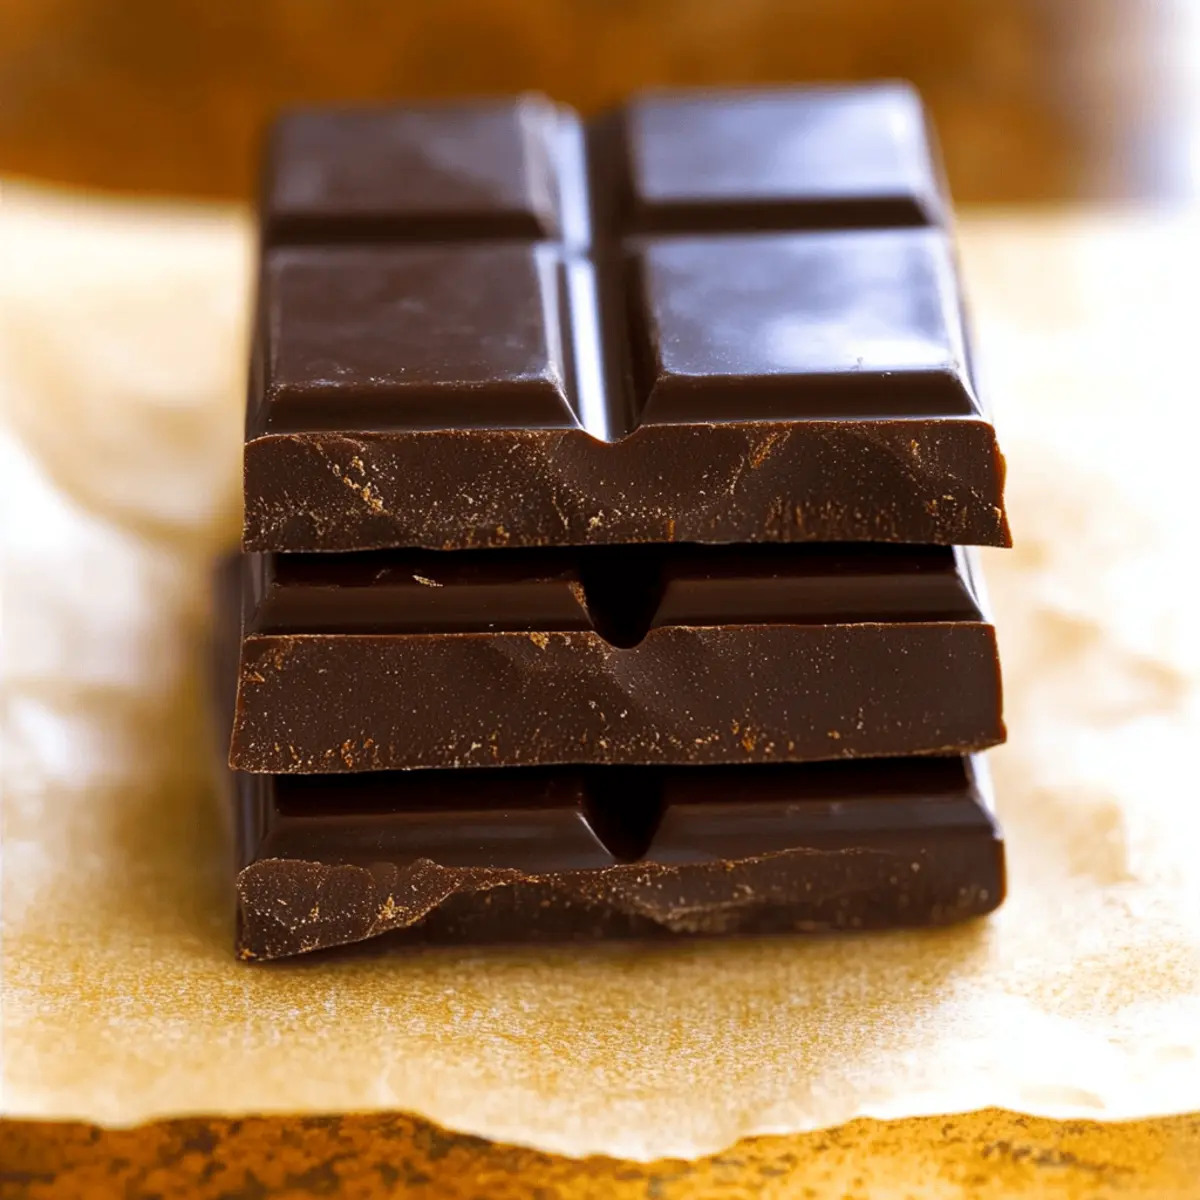
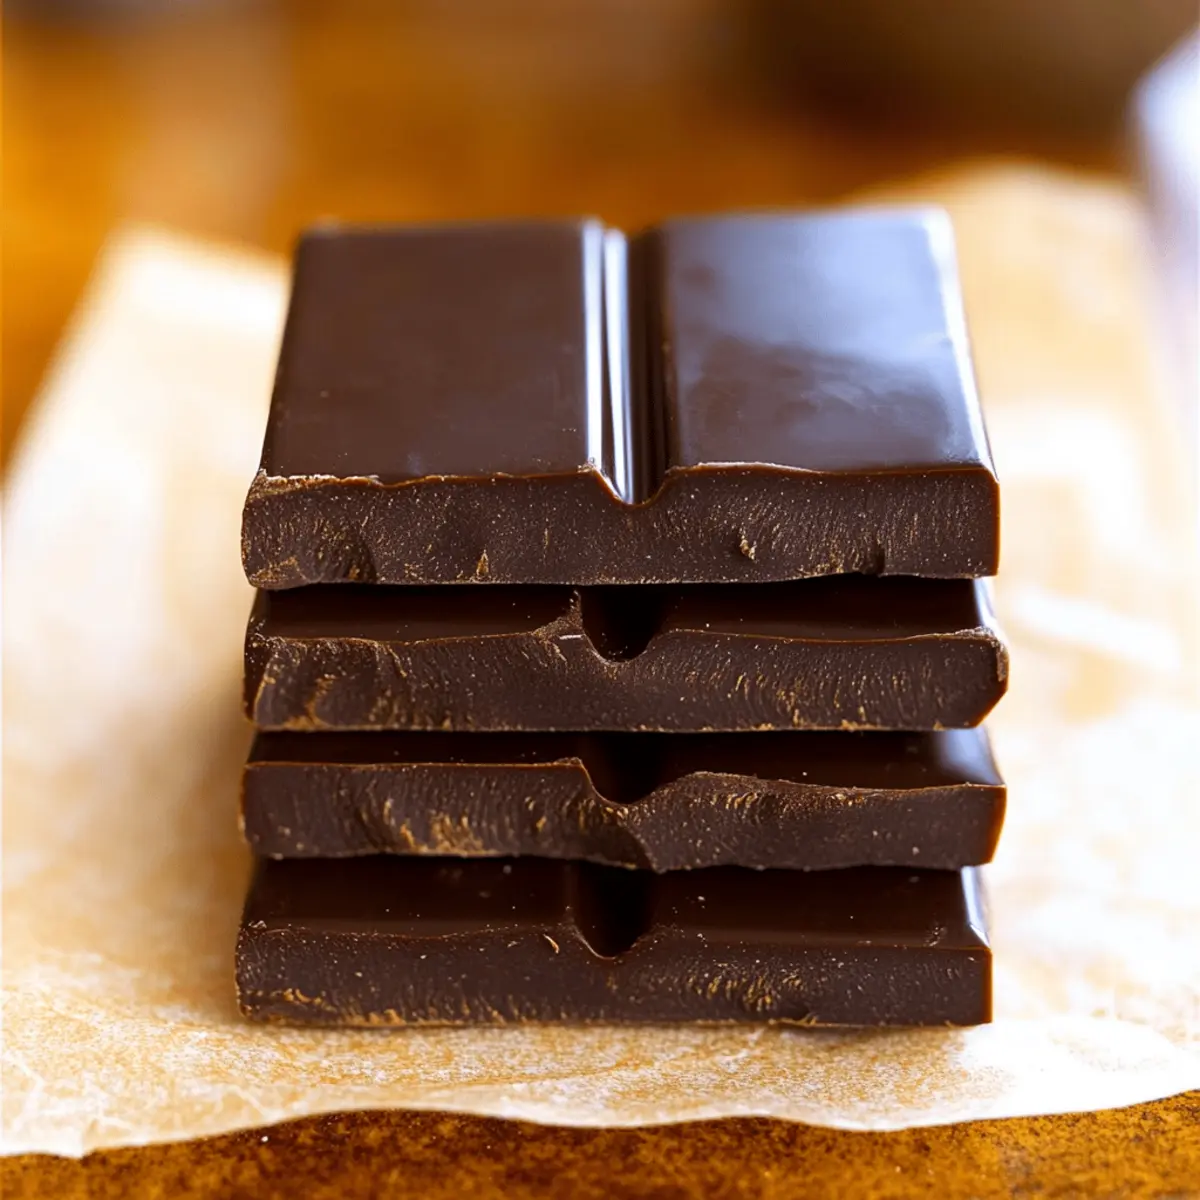
I once found myself staring at an empty candy wrapper, longing for something sweet yet homemade. That’s when the idea of 3-Ingredient Homemade Chocolate Bars struck me like a lightning bolt! In less than five minutes, you can whip up these creamy, customizable treats that will leave any chocolate lover dancing with joy. Perfect for those evenings when you crave a quick snack or need an indulgent dessert, these chocolate bars fit seamlessly into your vegan or keto lifestyle, and you can even opt for a sugar-free version. Plus, since they require no baking, you can skip the oven and settle into a sweet victory in your kitchen. What flavor variation will you try first? Minty fresh or a tropical twist? Let’s dive into the world of homemade chocolate bliss!

Why Are Homemade Chocolate Bars Amazing?
Simplicity at its finest: Just three ingredients come together to create these luscious chocolate bars in no time!
Customizable to your taste: Choose from flavors like mint, coconut, or even espresso, making every batch unique and fun to experiment with.
Diet-friendly options: Whether you’re vegan, keto, or simply looking for sugar-free indulgence, these bars cater to all dietary needs!
Quick no-bake delight: Perfect for those last-minute cravings or impromptu gatherings, providing a delicious treat without the wait.
After you’re done with these, you might want to check out our delightful Butterscotch Chocolate Chip or try a slice of Chocolate Banana Bread for more sweet inspiration!
Chocolate Bar Ingredients
• Here’s everything you need for your delicious homemade chocolate bars!
For the Chocolate Mixture
- Cacao or Cocoa Powder – Provides a rich chocolate flavor; opt for unsweetened cocoa if you’re watching your sugar intake.
- Coconut Oil – Acts as the creamy base; substitute with cocoa butter if desired for a firmer texture.
- Pure Maple Syrup, Honey, or Agave – Sweetens the bars beautifully; feel free to use sugar-free alternatives for a low-carb chocolate bar option.
For Optional Flavor Boosts
- Mint Extract – A refreshing addition for a minty chocolate twist; great to pair with cacao nibs.
- Shredded Coconut – Mix in for a tropical flair, or use it as a topping for added texture.
- Nuts or Dried Fruits – Toss these in for an exciting crunch and burst of flavor, like adding chia seeds for extra nutrition!
Step‑by‑Step Instructions for Chocolate Bars
Step 1: Melt the Coconut Oil
Begin by gently heating ½ cup of coconut oil in a small saucepan over low heat. Stir constantly until the oil is fully melted and clear, which should take about 2–3 minutes. This crucial first step ensures a smooth base for your 3-ingredient chocolate bars; be careful not to let it bubble or simmer.
Step 2: Combine Ingredients
Once the coconut oil is melted, remove it from heat and carefully pour it into a mixing bowl. Add in ½ cup of cacao powder and ¼ cup of pure maple syrup (or your chosen sweetener). Stir vigorously with a whisk or spatula until the mixture thickens and is completely homogeneous, forming a glossy chocolate blend that looks rich and tempting.
Step 3: Pour into Molds
Next, grab a flat container or silicone chocolate mold to hold your chocolate mixture. Carefully pour the luscious chocolate blend into the chosen vessel, making sure to spread it evenly into the corners for consistent thickness. You can gently tap the container on the counter to eliminate air bubbles, helping those delicious chocolate bars achieve a smooth finish.
Step 4: Chill to Set
Place your filled container or mold into the refrigerator or freezer to chill. Allow it to set for about 1 hour in the fridge or 30 minutes in the freezer, until the chocolate bars are firm and solid. The colder temperature will enhance their texture, ensuring each bite melts beautifully in your mouth.
Step 5: Remove and Slice
After chilling, take your chocolate mixture out of the refrigerator or freezer. If you used a mold, gently flex it to release the chocolate bars; if in a container, turn it upside down and tap to remove. Use a sharp knife to cut the solid chocolate into desired sizes, whether squares or rectangles, for sharing or personal indulgence.
Step 6: Store Your Creation
Finally, store your homemade chocolate bars in an airtight container in the refrigerator for up to two weeks or in the freezer for three months. Keeping them chilled will maintain their tantalizing texture and flavor, ready to satisfy your sweet cravings whenever you need a quick and tasty treat!

What to Serve with 3-Ingredient Homemade Chocolate Bars
Enjoying these luscious chocolate bars is an experience on its own, but why not elevate it with delightful pairings that enhance their rich flavor?
-
Fresh Berries: Juicy strawberries or raspberries add a burst of freshness that contrasts beautifully with the creamy chocolate. Their tartness complements the sweetness, making each bite a party for your taste buds.
-
Ice Cream: A scoop of vanilla or coconut ice cream turns these chocolate bars into a decadent dessert. The velvety ice cream balances the richness, creating a delightful synergy that pleases everyone at the table.
-
Nut Butter Dip: Serve with a side of almond or peanut butter for a creamy, protein-packed dip. The nutty flavors harmonize with the chocolate, adding depth and making your treat even more satisfying.
-
Coconut Whipped Cream: Light and fluffy, this delight brings a tropical flair to your chocolate indulgence. The coconut flavor enhances any chocolate variation, especially if you’ve made chocolate coconut bars!
-
Coffee: Pair your bars with a strong cup of coffee or a frothy cappuccino. The bitter notes of the coffee perfectly balance the sweetness, enhancing the chocolate flavor while delivering a comforting caffeine boost.
-
Cheese Platter: Try offering a selection of mild cheeses, like brie or goat cheese, along with the chocolate bars. The creamy texture of the cheese pairs surprisingly well with chocolate, providing a unique and unforgettable combination.
-
Sparkling Wine or Champagne: For a festive touch, serve your chocolate bars with a glass of bubbly. The effervescence cleanses the palate, making each taste of rich chocolate feel indulgent and celebratory.
-
Dark Chocolate Dipped Fruit: Continue the chocolate theme by dipping fruit into dark chocolate. It adds sophistication and deliciously contrasts with the sweetness of your homemade chocolate bars.
Chocolate Bars: Flavor Variations
Feel free to play with flavors and create your own personalized twist on these delightful chocolate bars!
-
Mint Chocolate: Add peppermint extract and fold in cacao nibs for a refreshing twist. Each bite will transport you to a cool, minty oasis.
-
Chocolate Coconut: Incorporate shredded coconut into the mixture or sprinkle it on top for a delightful tropical experience. It’s like a beach vacation in every bite!
-
Espresso Chocolate: Blend in instant coffee granules for a rich coffee flavor. Perfect for coffee lovers, this variation packs a punch of energy and decadence.
-
Rocky Road: Mix in mini marshmallows and chopped nuts for a beloved flavor combo that combines creamy, crunchy, and chewy all at once. Every bite is a surprise!
-
Sea Salt Caramel: Drizzle some sugar-free caramel sauce over the top and sprinkle with sea salt for a sweet-savory experience. This creates a sophisticated flavor profile you won’t want to miss.
-
Nutty Chocolate Crunch: Add your favorite chopped nuts such as almonds or walnuts into the mix for a delightful crunch and nutty undertones, elevating the texture.
-
Spicy Chocolate: Stir in a dash of cayenne pepper or chili powder for an unexpected kick. This intriguing twist will delight your taste buds and keep things interesting!
As you whip up these scrumptious treats, don’t forget to check out our Pumpkin Cheesecake Bars for more homemade treats, or indulge in some heavenly White Chocolate Cupcakes.
Expert Tips for Homemade Chocolate Bars
-
Melt Completely: Ensure the coconut oil is fully melted before adding the other ingredients; this prevents clumping and results in smooth chocolate bars.
-
Adjust Sweetness: Start with less sweetener, then add more to taste. Some people prefer a richer chocolate flavor without too much sweetness in their chocolate bars.
-
Flavor Exploration: Don’t hesitate to play around with flavors! Adding spices like cinnamon or unique extracts can elevate the chocolate bars to a whole new level and suit your taste.
-
Avoid Over-Chilling: Chill just until firm, to avoid overly hard chocolate bars. If they are too hard, let them sit briefly at room temperature for easy slicing.
-
Experiment with Mix-Ins: Enhance texture and nutrients by adding nuts, seeds, or dried fruits into the mixture before pouring it into molds.
How to Store and Freeze Chocolate Bars
-
Room Temperature: Keep chocolate bars in a cool, dry place away from sunlight for up to 5 days. If the temperature rises, it’s better to refrigerate them.
-
Fridge: Store your chocolate bars in an airtight container in the refrigerator, where they will maintain their freshness for up to 2 weeks. This helps to preserve their creamy texture.
-
Freezer: For longer storage, freeze chocolate bars in an airtight container or wrapped individually for up to 3 months. Allow them to thaw at room temperature before enjoying.
-
Reheating: If you prefer a softer chocolate texture, briefly microwave individual bars for 10-15 seconds. This gentle warming enhances the delicious melt-in-your-mouth experience!
Make Ahead Options
These 3-Ingredient Homemade Chocolate Bars are perfect for busy home cooks looking to save time during the week! You can prepare the chocolate mixture up to 24 hours in advance by melting the coconut oil and combining it with cacao powder and your chosen sweetener. Just pour the mixture into your molds or container, and refrigerate it to set. When you’re ready to enjoy your homemade chocolate bars, simply pull them out, slice them, and they will taste just as decadent as if you had made them fresh that day. For best quality, store any leftovers in an airtight container in the fridge for up to two weeks or freeze for longer storage, keeping dessert cravings at bay with minimal effort!

3-Ingredient Homemade Chocolate Bars Recipe FAQs
What is the best way to select cacao or cocoa powder?
When choosing cacao or cocoa powder, look for options that are unsweetened for maximum control over sweetness. If you’re opting for health benefits, raw cacao is nutty and rich in antioxidants, while Dutch-processed cocoa has a smoother flavor profile. Always check the packaging for quality indicators, such as certifications or organic labels.
How should I store my homemade chocolate bars?
To keep your chocolate bars fresh, store them in an airtight container. In the fridge, they can last for up to 2 weeks, preserving that creamy, melt-in-your-mouth texture. If you’d like to prolong their shelf life, you can freeze them for up to 3 months in a well-sealed bag or container. The key is to ensure they’re protected from moisture and strong smells.
Can I freeze the chocolate bars, and how should I do it?
Absolutely! To freeze your chocolate bars, first, let them cool and harden completely. Once set, cut them into your desired shapes and lay them flat on a parchment-lined baking sheet. Freeze for about 30 minutes, then transfer the bars into an airtight container or suitable freezer bag, ensuring there’s minimal air inside. This way, the bars won’t stick together, and you can enjoy them as needed.
What if my chocolate mixture is clumpy or grainy?
If your chocolate mixture turns out clumpy, make sure your coconut oil was fully melted before combining. If you’ve already mixed it and it’s still grainy, try gently reheating the mixture over low heat while stirring continuously until it becomes smooth again. Patience is key here! This step should help regain that luscious, glossy texture you’re after.
Can I make these chocolate bars nut-free for allergies?
Of course! The base recipe is naturally nut-free, so you can easily create delicious chocolate bars without any nut ingredients. For added texture, consider using seeds like sunflower or pumpkin seeds, or simply focus on flavoring with extracts like vanilla or mint. Always check any flavor additives for allergens, and customize to ensure they suit anyone’s dietary needs.
How long will the flavors last in my chocolate bars?
When flavoring your homemade chocolate bars with extracts or additional ingredients, they can retain their flavor for as long as the bars are fresh. Typically, enjoy them within 2 weeks if stored properly in the fridge. However, spices like cinnamon or nutmeg might lose some potency over time, so it’s best to add those to your taste just before serving if you’re aiming for maximum flavor impact.

Decadent Homemade Chocolate Bars That Wow in Minutes
Ingredients
Equipment
Method
- Melt the Coconut Oil: Heat the coconut oil in a small saucepan over low heat until fully melted.
- Combine Ingredients: Pour melted coconut oil into a mixing bowl, add cacao powder and sweetener, and stir until homogeneous.
- Pour into Molds: Transfer the mixture into molds or container, spreading evenly and tapping out air bubbles.
- Chill to Set: Refrigerate for about 1 hour or freeze for 30 minutes until firm.
- Remove and Slice: Flex the mold or tap the container to release, then cut into desired shapes.
- Store Your Creation: Keep in an airtight container in the fridge for up to two weeks or freeze for three months.

Leave a Reply