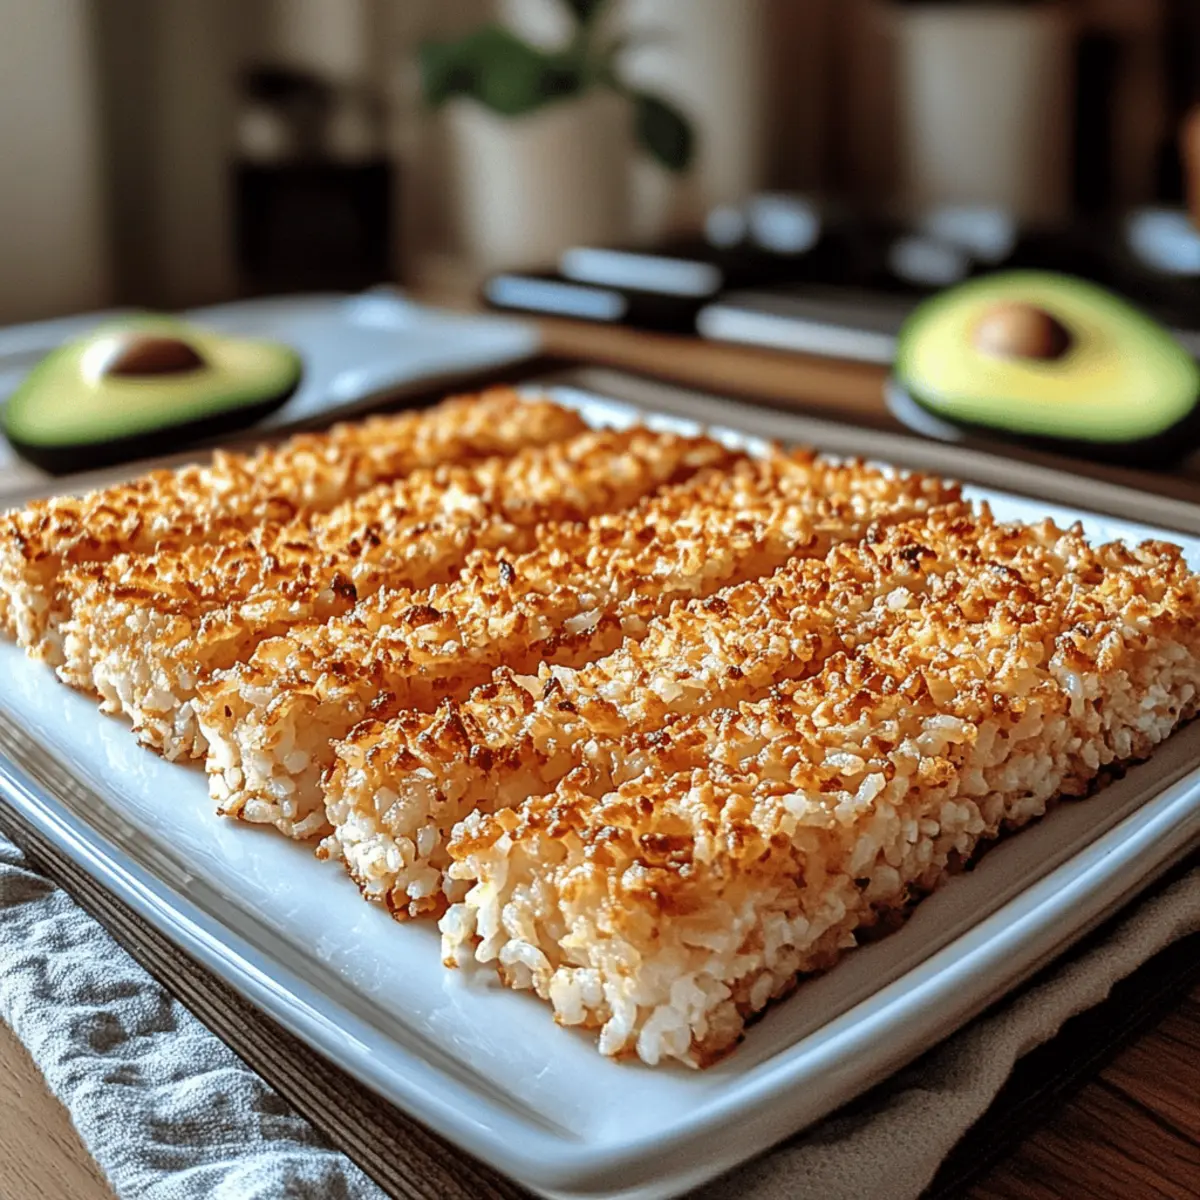
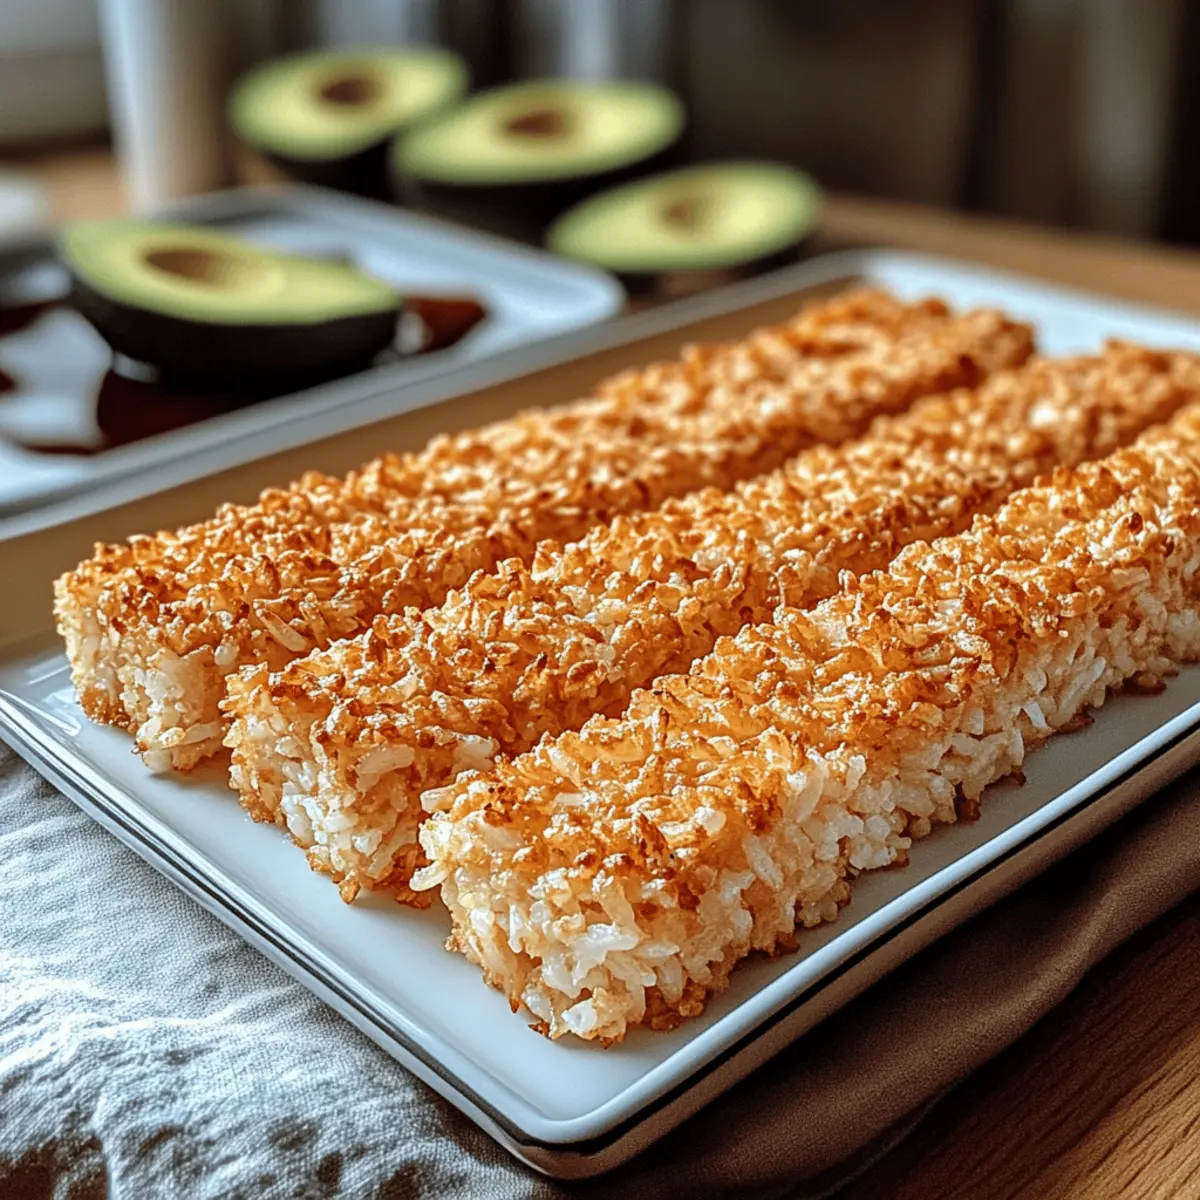
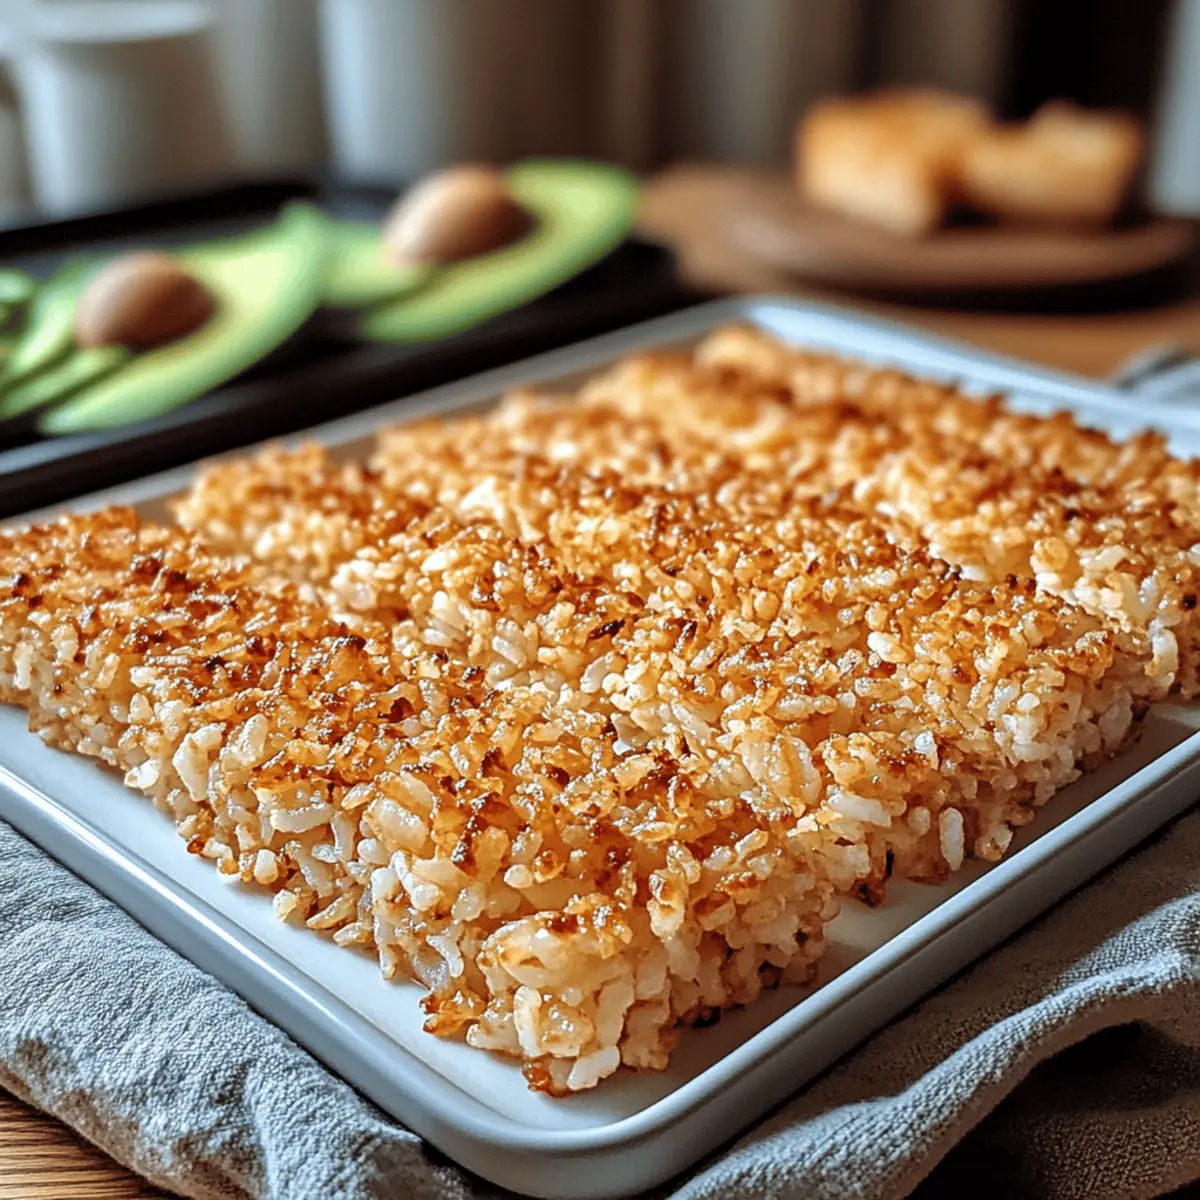
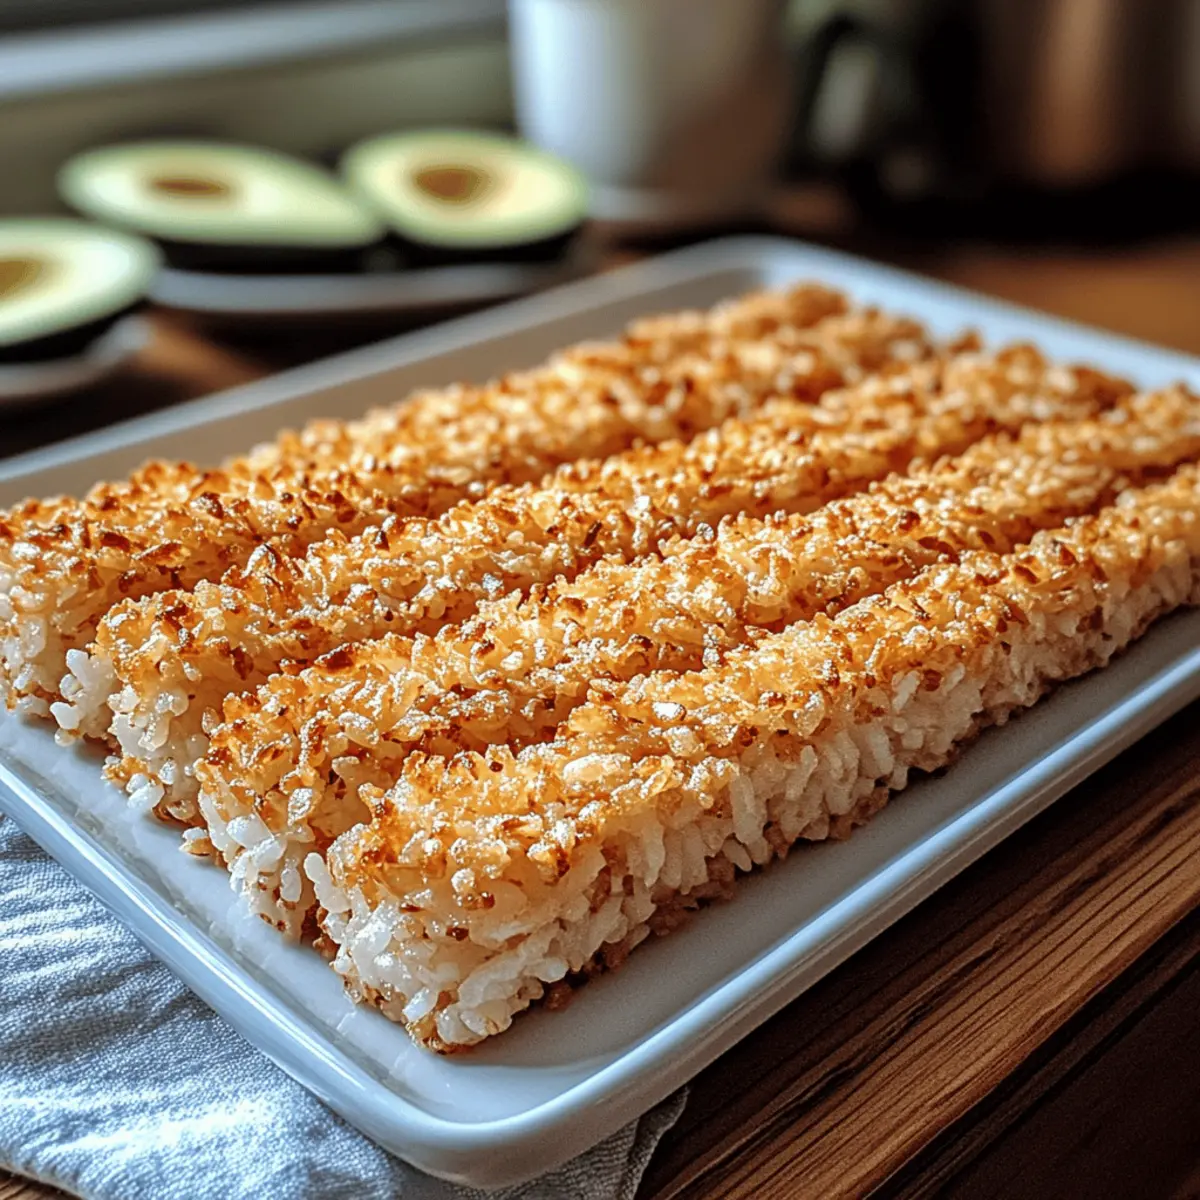
As I rummaged through the kitchen, a delightful memory of crispy rice danced in my mind—each golden bite a perfect blend of crunch and fluff. This Crispy Rice recipe is a game-changer, transforming plain rice into an irresistible treat that can star in sushi, cozy up to salads, or stand alone as a satisfying snack. With minimal ingredients and effortless prep, it’s a versatile delight ready in no time, making it an essential addition to your cooking repertoire. Plus, it easily accommodates dietary preferences—feel free to swap out rice or toppings to suit your needs. Ready to discover how to make this delightful dish and impress friends and family alike? Let’s dive in!

Why is Crispy Rice Truly Irresistible?
Golden Crunch: The delightful texture of crispy rice offers a perfect contrast between a crunchy exterior and fluffy interior, making every bite an experience worth savoring.
Versatile Dish: Whether you’re planning to use it for sushi or as a topping for salads, the options are endless—think spicy tuna or creamy avocado!
Quick Prep Time: With just a handful of ingredients and minimal effort, you can whip up this dish in no time, making it an ideal choice for those busy weeknights.
Guilt-Free Indulgence: Customize your crispy rice by using gluten-free options or healthy toppings like greens, ensuring everyone can enjoy it without compromise.
Culinary Adventure: Explore different variations of crispy rice from around the globe, like Persian tahdig or Japanese yaki onigiri, to elevate your culinary skills!
Crispy Rice Ingredients
• A delightful blend for your next dish!
For the Base
- Sushi Rice – Provides the perfect foundation for crispy rice and holds together beautifully while frying; substitute with any short-grain rice if needed.
- Water – Essential for cooking the rice thoroughly and hydrating it, ensuring a fluffy texture.
For the Flavor
- Rice Vinegar – Infuses a zesty tang that enhances the flavor and helps bond the rice; apple cider vinegar can be a great alternative.
- Sugar – Balances the acidity of the vinegar and elevates the overall taste with a hint of sweetness.
- Salt – The secret ingredient that brings out the flavors in your crispy rice, ensuring it’s perfectly seasoned.
For Frying
- Neutral Oil (Avocado, Vegetable, Sesame) – Ideal for frying, giving crispy rice its golden crunch; choose oils with a high smoke point for the best results.
This crispy rice recipe is not only versatile but can be gluten-free if you choose the right rice, allowing you to customize and enjoy it without hesitation!
Step‑by‑Step Instructions for Crispy Rice
Step 1: Rinse the Rice
Begin by rinsing 1 cup of sushi rice under cold water in a fine-mesh strainer until the water runs clear, which removes excess starch and prevents stickiness. This step is crucial for achieving that ideal fluffy texture in your Crispy Rice. Set aside the rinsed rice to drain while you prepare the next steps.
Step 2: Cook the Rice
In a medium pot, combine the rinsed sushi rice with 1 ¼ cups of water. Bring the pot to a boil over medium-high heat. Once boiling, reduce the heat to low and cover the pot with a tight-fitting lid. Allow it to simmer for about 15 minutes until the water is absorbed, then remove from heat and let it sit, covered, for an additional 10 minutes to allow the rice to fluff.
Step 3: Season the Rice
In a small bowl, mix together 2 tablespoons of rice vinegar, 1 tablespoon of sugar, and ½ teaspoon of salt until dissolved. Once the rice has rested, gently fold this mixture into the warm rice using a spatula, ensuring it’s evenly distributed. This seasoning will enhance the flavor of your Crispy Rice and help it hold together beautifully.
Step 4: Shape and Chill the Rice
Spread the seasoned rice into a shallow dish, pressing it down to form an even layer about 1 inch thick. Cover the dish with plastic wrap and place it in the refrigerator to chill for at least 4 hours, or preferably overnight. This chilling process solidifies the rice, making it easier to cut and fry into perfect crispy squares.
Step 5: Cut the Rice
After chilling, remove the rice from the refrigerator and use a sharp knife to cut it into square or rectangular pieces. Aim for pieces roughly 2 inches in size, as this will provide a convenient bite for frying and serving. This will be the base for your Crispy Rice, ready to transform into a golden treat!
Step 6: Heat the Oil
In a medium-sized non-stick or well-seasoned skillet, heat ½ cup of neutral oil (like avocado, vegetable, or sesame) over medium heat. You want the oil to shimmer but not smoke. To test if it’s hot enough, drop in a small piece of rice; if it sizzles, you’re ready to fry your Crispy Rice pieces.
Step 7: Fry the Rice
Carefully place the cut rice pieces into the hot oil, ensuring not to overcrowd the pan. Fry for about 3-4 minutes on each side or until they turn a crispy golden brown. Use tongs or a slotted spatula to flip the pieces gently, keeping an eye on them to avoid burning. once done, transfer them onto a plate lined with paper towels to drain excess oil.
Step 8: Serve Your Crispy Rice
Now that your Crispy Rice is beautifully golden, present them hot alongside your favorite toppings. Whether you choose to enjoy them plain, with spicy tuna, avocado, or a drizzle of soy sauce, each bite promises a delightful crunch and soft center!

Crispy Rice Variations & Substitutions
Feel free to let your creativity run wild as you customize the crispy rice to fit your taste and dietary needs!
-
Dairy-Free: Swap out traditional toppings with avocado or guacamole for a creamy twist. These options not only add richness but also elevate the overall flavor profile of your dish.
-
Gluten-Free: Use gluten-free short-grain rice to ensure this crunchy delight fits your dietary needs. Your crispy rice will still achieve that perfect texture while remaining accommodating for everyone at the table.
-
Healthier Option: Substitute white sushi rice with brown rice for a fiber boost. You’ll gain a nutty flavor while keeping that satisfying crunch that crispy rice is known for.
-
Baked Version: Instead of frying, consider baking your rice. Brush it with oil and bake at 400°F (200°C) for 15 minutes. This lighter version can be just as crispy without the added oil.
-
Add Greens: Mix in finely chopped spinach or kale with the seasoned rice before chilling. This simple addition will boost your dish’s nutritional value, making it vibrant and delicious.
-
Spicy Kick: Toss in some chili flakes or Sriracha sauce to the seasoning mixture for an exciting heat. This kick will turn your crispy rice into a bold and flavorful treat that awakens the taste buds!
-
Global Twist: Explore cultural variations by adding spices like turmeric for a fragrant Indian twist or sesame oil for a hint of Asian flavor. These adjustments can transport you to different culinary experiences with each bite.
-
Fun Toppings: Get creative with your toppings! Whether guacamole, kimchi, or even a fried egg, these options bring unique flavors that can change the entire dish. Each combination offers a delicious surprise, making this crispy rice an exciting option on any occasion.
The versatility of crispy rice opens a world of tastes and textures, perfect for meals that inspire and satisfy. For more ideas, consider exploring the flavor profiles found in Breakfast Fried Rice or the creamy delight of Smothered Chicken Rice. Happy cooking!
What to Serve with Crispy Rice
Elevate your meal with delightful accompaniments that perfectly complement each bite of crunchy goodness.
- Spicy Tuna Tartare: This fresh and zesty topping adds a wonderful contrast to the crispy texture, making each bite a flavorful adventure.
- Creamy Avocado: The rich, creamy avocado provides a luscious contrast to the crunchy rice, creating a satisfying and indulgent experience.
- Savory Miso Soup: A warm bowl of miso soup complements the crispy rice beautifully, balancing flavors and textures for a comforting meal.
- Tangy Pickled Vegetables: These add a refreshing crunch and a pop of acidity that brightens the overall dish, making it truly irresistible.
- Sesame Spinach Salad: A light and vibrant salad gives a fresh touch, enhancing flavors while providing a contrasting texture to the crispy rice.
- Coconut Curry: A rich and aromatic coconut curry drizzled over crispy rice brings warmth and depth, turning it into a heartwarming dish.
- Crispy Tempura Vegetables: For an extra crunch, serve with tempura veggies; their light batter adds to the delightful crunch factor.
- Chilled Sake: Pair with a glass of chilled sake for an authentic taste experience that harmonizes with your crispy rice, perfect for impressing dinner guests.
Make Ahead Options
Crispy Rice is perfect for busy home cooks looking to save time without sacrificing flavor! You can prepare the seasoned rice by following steps 1 through 3, then spread it in a shallow dish and refrigerate for up to 24 hours. This chilling process solidifies the rice, making it easier to cut later. When you’re ready to fry your Crispy Rice, simply cut the chilled rice into squares and heat your oil as directed in step 6. Finish by frying the rice pieces for 3-4 minutes on each side until golden brown. With this make-ahead option, you’ll enjoy delightful, crispy treasures in no time!
How to Store and Freeze Crispy Rice
Fridge: Store leftover crispy rice in an airtight container for up to 3 days. Ensure the rice has cooled completely before sealing to maintain its texture.
Freezer: Place cut, uncooked crispy rice pieces in a single layer on a baking sheet and freeze until solid. Transfer to a freezer bag for up to 2 months.
Reheating: To reheat, thaw fried crispy rice at room temperature and warm in a pan over medium heat for a few minutes until crispy again. Enjoy the delightful crunch of crispy rice, even after freezing!
Make-Ahead Tips: Prepare the rice and chill it in the fridge for optimal frying later. Chilling for at least 4 hours allows for perfect cuts and frying!
Expert Tips for Crispy Rice
Proper Rinsing: Always rinse the rice thoroughly under cold water until the water runs clear. This step removes excess starch and prevents a gummy texture in your crispy rice.
Chilling Time: Don’t skip the chilling! Allow the formed rice to chill in the fridge for at least 4 hours. This step ensures the rice holds its shape during frying.
Heat Control: Fry the crispy rice over medium heat. Too high, and they’ll burn; too low, and they won’t crisp up. Test the oil with a small piece of rice to find the perfect temperature.
Ideal Oil Choice: Use a neutral oil with a high smoke point, such as avocado or vegetable oil, for frying your crispy rice. This ensures a golden, crunchy exterior without burning.
Cutting Uniformly: Cut the chilled rice into even squares or rectangles, about 2 inches in size. Uniform pieces will fry evenly, giving you a consistent texture and crunch.

Crispy Rice Recipe FAQs
How do I choose the right rice for crispy rice?
Absolutely! For the best texture, I recommend using sushi rice as it holds together well during frying. If sushi rice isn’t available, any short-grain rice will work nicely. Just make sure to rinse it thoroughly until the water runs clear to avoid a gummy texture.
What is the best way to store leftover crispy rice?
You can store leftover crispy rice in an airtight container in the refrigerator for up to 3 days. Make sure it has cooled completely before sealing to keep that perfect crunch. If you prefer to keep it longer, freezing is an excellent option.
Can I freeze uncooked crispy rice?
Yes, you can! To freeze uncooked crispy rice, cut it into squares after chilling, then lay the pieces on a baking sheet in a single layer. Freeze them until solid, and then transfer the pieces to a freezer bag for up to 2 months. This way, you can have your crispy rice ready to fry whenever the craving strikes!
What if my crispy rice isn’t getting crunchy enough during frying?
Very often, the key is in the oil temperature. Make sure the oil is hot enough before adding the rice pieces; they should sizzle as soon as they touch the oil. If they’re not browning, you might need to raise the heat slightly. Don’t overcrowd the pan, as that can lower the temperature too. Keep trying, and you’ll achieve that beautiful crunch in no time!
Are there any dietary considerations for crispy rice?
The more the merrier! If you’re looking for gluten-free options, choose gluten-free rice. Additionally, feel free to customize the toppings to accommodate any dietary preferences or allergies. For instance, you can add roasted vegetables for a nutritious topping or substitute rice vinegar with apple cider vinegar for a different flavor profile!

Crispy Rice: Transform Leftover Rice into a Crunchy Delight
Ingredients
Equipment
Method
- Rinse the rice under cold water until the water runs clear.
- Cook the rinsed sushi rice with water in a medium pot.
- Season the rice with a mixture of vinegar, sugar, and salt.
- Shape and chill the seasoned rice in a shallow dish.
- Cut the chilled rice into 2-inch square pieces.
- Heat neutral oil in a skillet over medium heat.
- Fry the cut rice pieces until golden brown on both sides.
- Serve your crispy rice with various toppings.

Leave a Reply