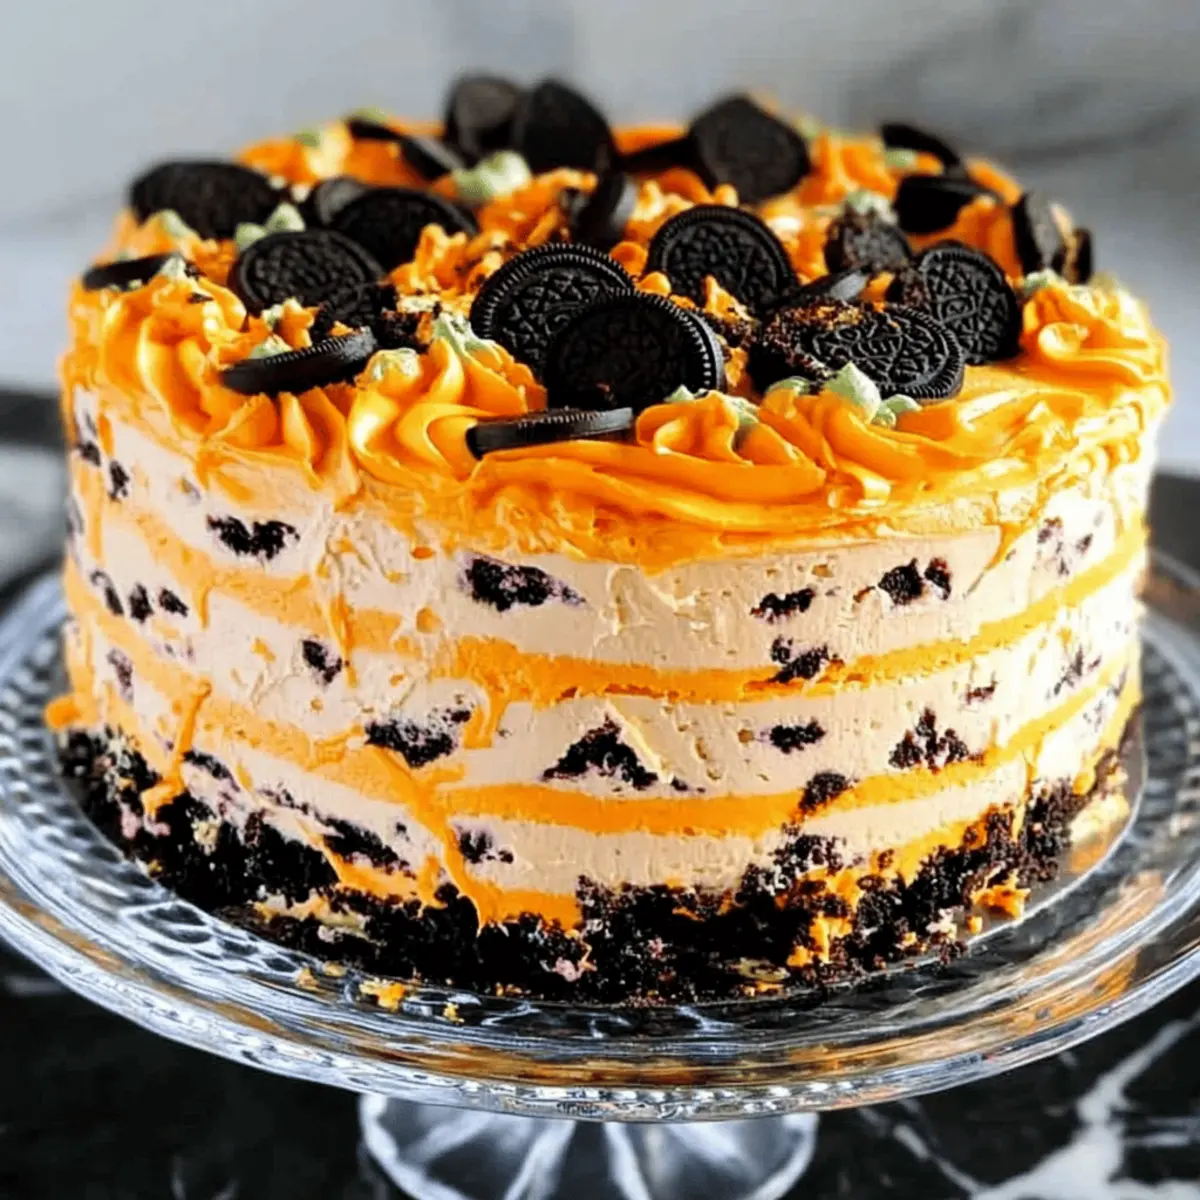
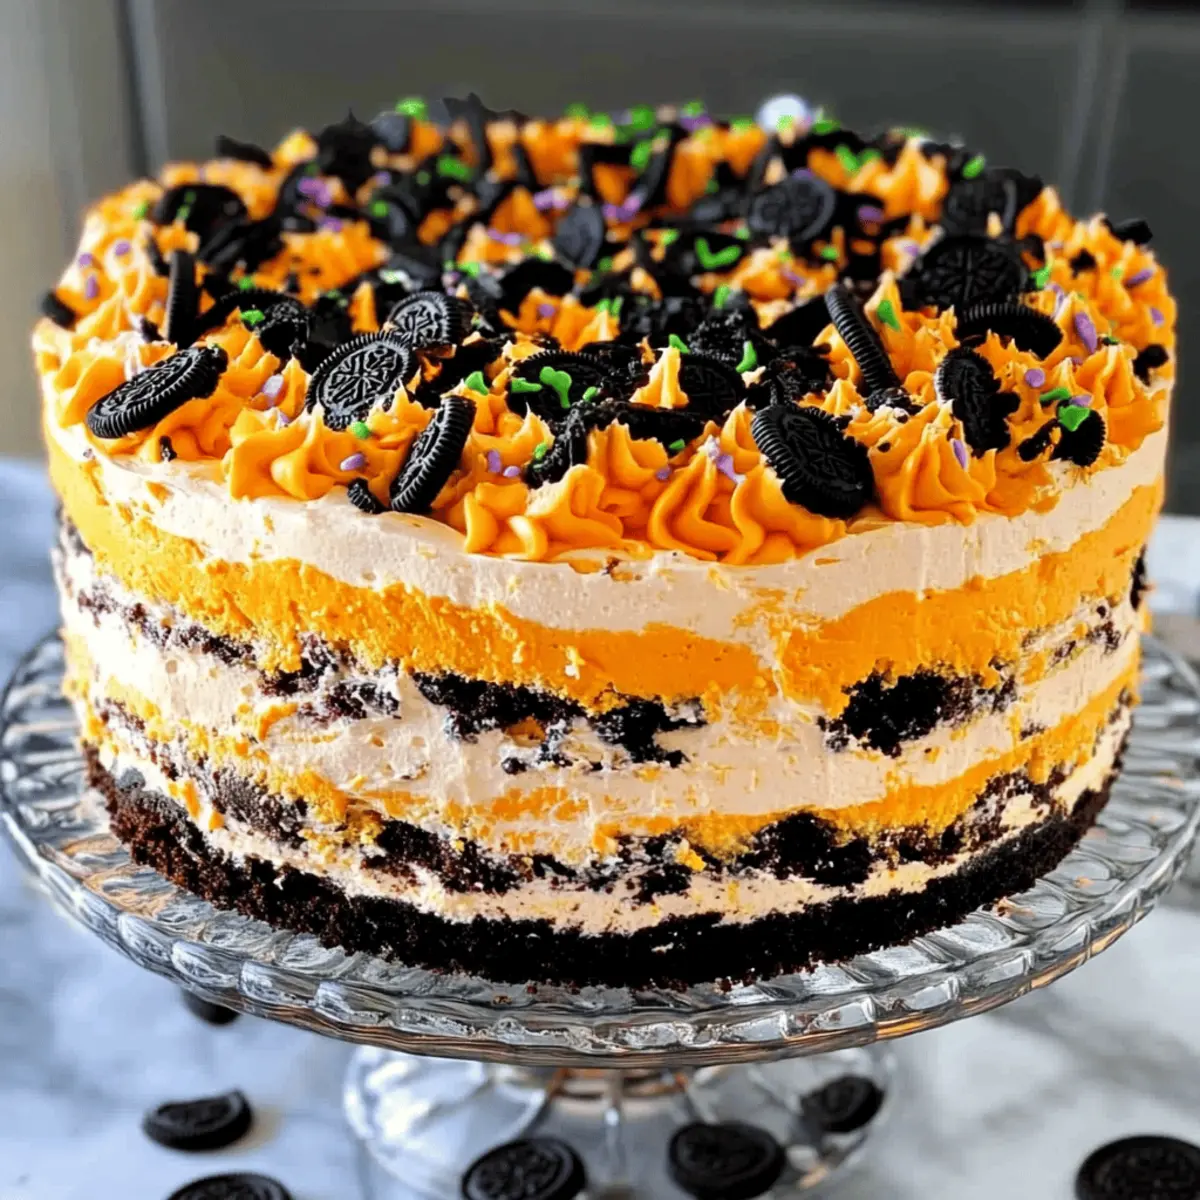
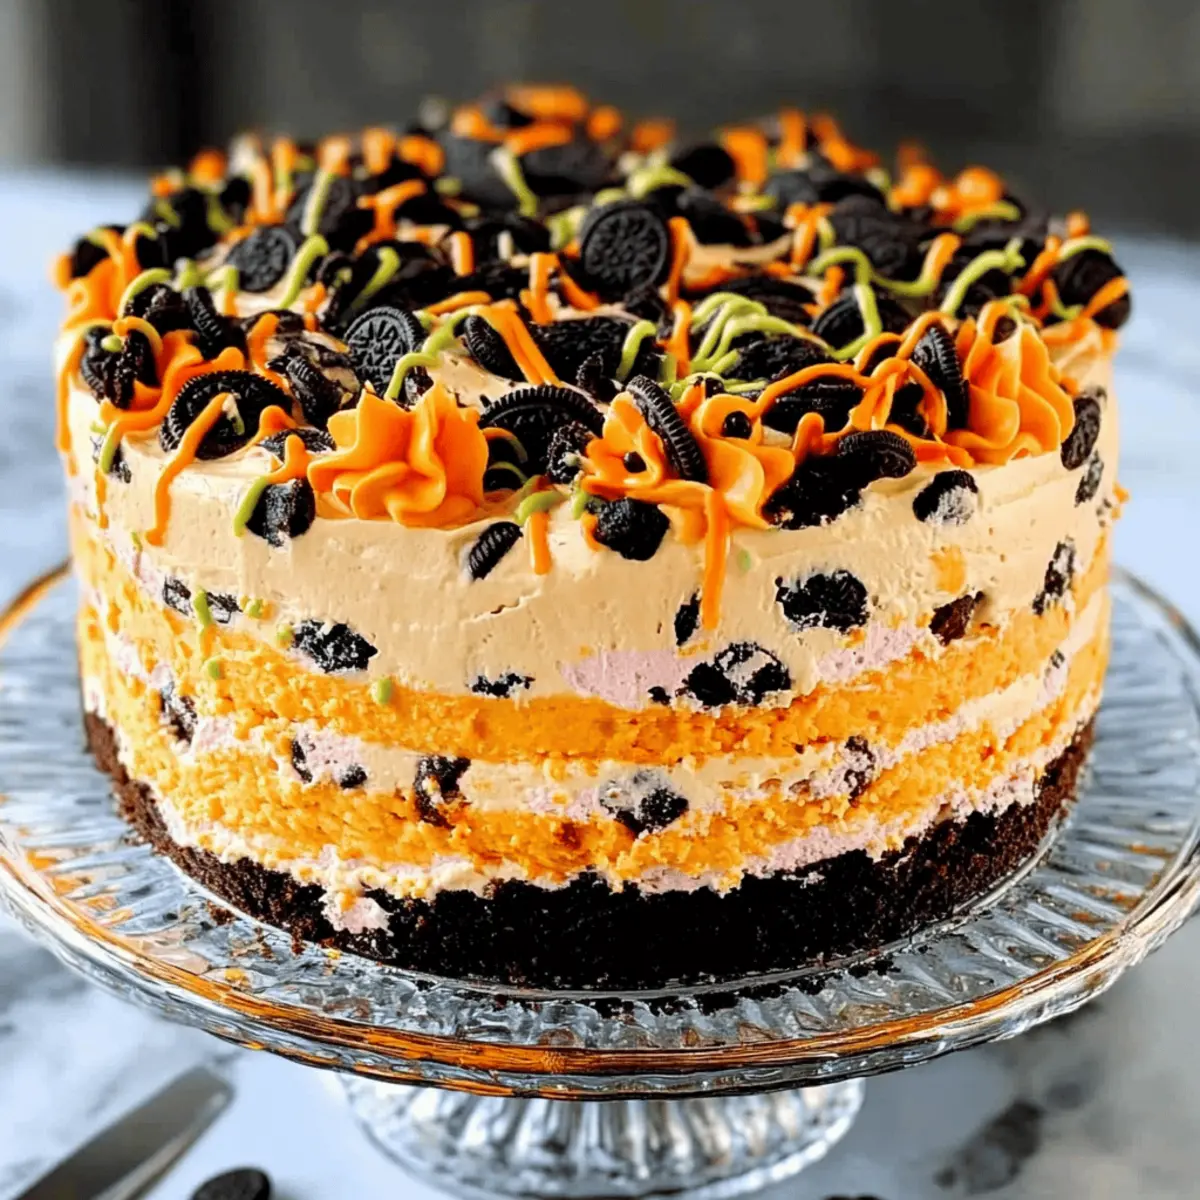
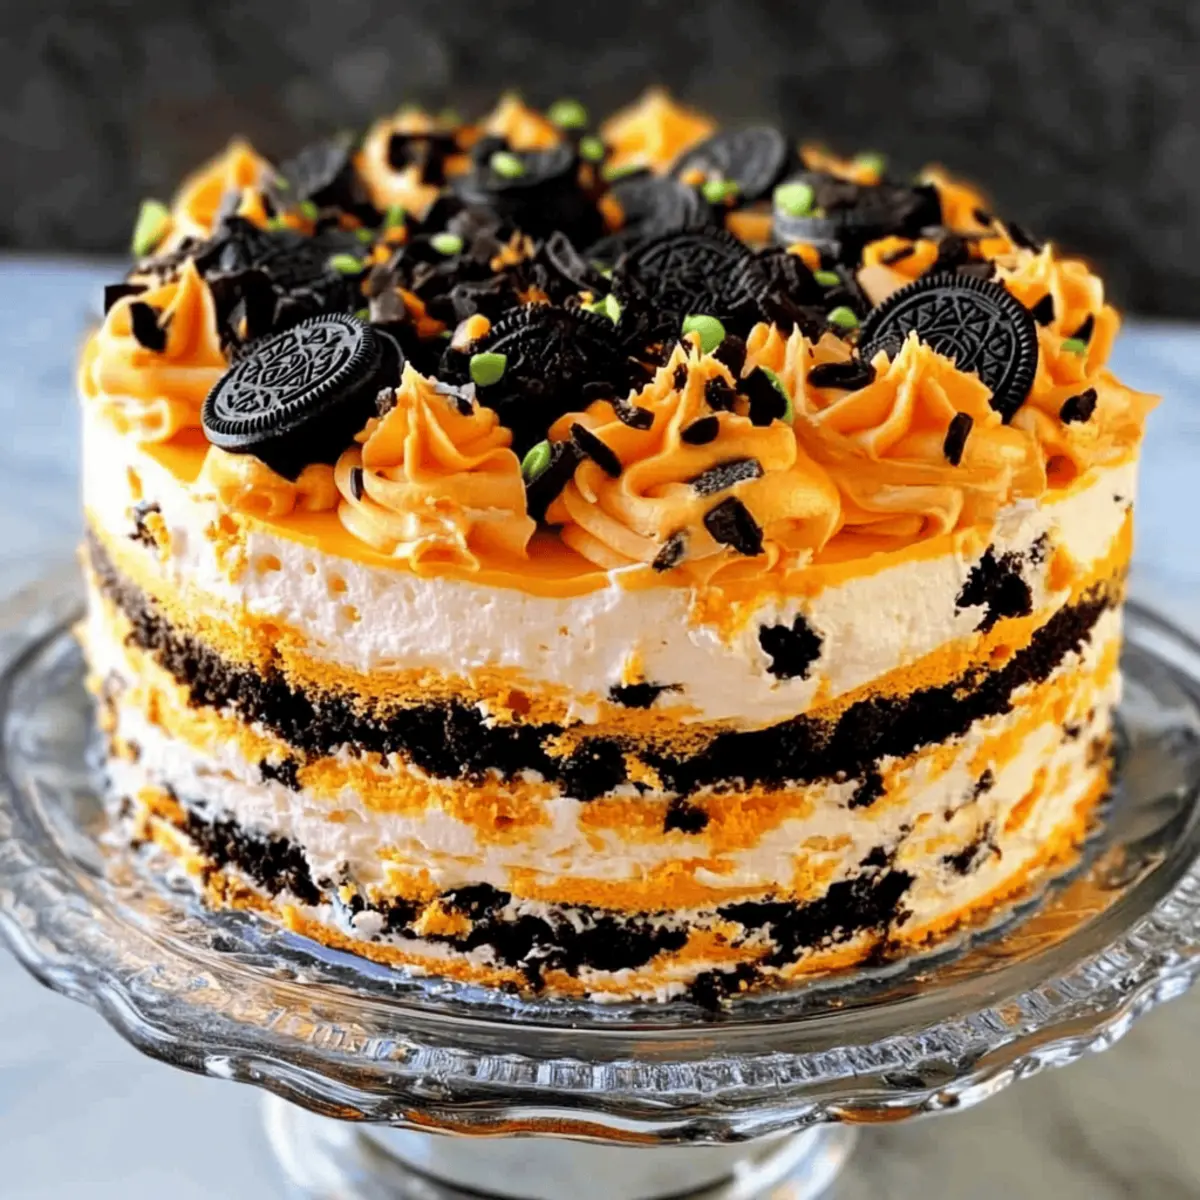
As I walked through the bustling aisles of the grocery store, a wave of nostalgia washed over me. With Halloween around the corner, I couldn’t help but think about the countless desserts that brought joy to our festivities. That’s when it hit me—it’s time for my decadent Halloween Icebox Cake! This no-bake delight serves up creamy layers of homemade whipped cream cuddled between chocolatey Oreo cookies, creating a dessert that’s as festive as it is irresistible. Not only is it quick to whip up, making it perfect for those busy autumn evenings, but it’s also a crowd-pleaser that you can customize with any spooky toppings your heart desires. Are you ready to create a show-stopping dessert that everyone will rave about? Let’s dive in!

Why is This Cake a Halloween Must-Try?
No-Bake Delight: This Halloween Icebox Cake requires zero baking, making it a fantastic option for those busy evenings when you want to impress without the fuss.
Layered to Perfection: The creamy, homemade whipped cream pairs beautifully with the crunchy Oreo layers, offering a delightful contrast in every bite.
Customization Options: Easily tailor this cake with colorful holiday sprinkles or spooky candies; the possibilities are endless, just like with our Cider Donut Cake!
Crowd-Pleaser: It’s a guaranteed hit at any Halloween gathering—your family and friends will be begging for seconds!
Time-Saving Treat: Assemble it the night before and let it chill—wake up to an elegant dessert ready to serve!
With every slice, you’ll enjoy a nostalgic taste of Halloween that’s perfect for any celebration.
Halloween Icebox Cake Ingredients
For the Whipped Cream
• Heavy Whipping Cream – Provides richness and creaminess to the filling; substitute with dairy-free whipped cream for a vegan option.
• Vanilla Extract – Adds flavor depth; opt for pure vanilla for the best taste.
• Powdered Sugar – Sweetens and stabilizes the whipped cream; you can use granulated sugar, but it will change the texture slightly.
• Orange Food Coloring – Used to tint whipped cream for a festive look; gel food coloring is preferred for better results.
For the Cake Layers
• Oreo Cookies – The base structure of the cake, offering a delicious chocolate flavor; gluten-free cookies can be used if needed.
• Orange Icing – For decoration; feel free to use store-bought or homemade icing for a personal touch.
• Sprinkles – Enhances presentation and festivity; choose Halloween-themed sprinkles to elevate the aesthetic.
Dive into making this fantastic Halloween Icebox Cake, and let the delightful layers bring joy to your celebration!
Step‑by‑Step Instructions for Halloween Icebox Cake
Step 1: Prepare the Pan
Begin by taking a 9-inch springform pan and line the bottom and sides with plastic wrap or parchment paper. This step ensures easy removal of your Halloween Icebox Cake later. Make sure the lining is smooth to prevent any creases in the final dessert.
Step 2: Whip the Cream
In a large mixing bowl, combine 2 cups of heavy whipping cream, 1 teaspoon of vanilla extract, and ½ cup of powdered sugar. Using a hand mixer or stand mixer, whip the mixture on medium-high speed until stiff peaks form, which should take about 5 minutes. Aim for a light, fluffy consistency that holds its shape beautifully.
Step 3: Color the Cream
Once your whipped cream is ready, divide it evenly into three separate bowls. Add orange food coloring to each bowl, creating varying shades by using more or less coloring. Stir each bowl gently until the color is uniformly blended, giving your Halloween Icebox Cake a festive appeal.
Step 4: Create the Base Layer
To assemble, start by placing a layer of Oreo cookies at the bottom of your prepared springform pan. Make sure the cookies are arranged tightly to create a solid base. Follow this layer with one-third of the whipped cream, starting with the darkest shade of orange, spreading it evenly over the cookies.
Step 5: Repeat the Layering
Repeat the layering process by adding another layer of Oreo cookies on top of the whipped cream. Continue with the next shade of orange whipped cream, ensuring an even layer. Press down gently to compact the layers slightly as you build each one, keeping the structure sturdy for your Halloween Icebox Cake.
Step 6: Finish with Whipped Cream
For the final layer, add the remaining Oreo cookies and top it off with the last batch of whipped cream, this time using the lightest shade of orange. Use a spatula to smooth the top nicely. This will serve as a beautiful canvas for your decorations.
Step 7: Chill the Cake
Cover the assembled cake with plastic wrap and place it in the refrigerator. Allow it to chill for at least 6 hours, but preferably overnight. This chilling time is crucial for the flavors to meld and the cake to set properly, which allows for clean, beautiful slices.
Step 8: Decorate and Serve
After chilling, carefully remove the cake from the springform pan and peel away the plastic wrap. Decorate the top with orange icing and sprinkle Halloween-themed decorations generously across the surface. Slice and serve this delightful Halloween Icebox Cake chilled for a refreshing treat at your festive gathering.

Expert Tips for the Best Halloween Icebox Cake
-
Chill the Cream: Ensure your heavy whipping cream is very cold before starting. This helps achieve the perfect fluffy texture when whipped.
-
Layer Evenly: While layering the cookies and whipped cream, make sure to spread each layer evenly. This will enhance the appearance and stability of your Halloween Icebox Cake.
-
Use Gel Color: Opt for gel food coloring when tinting the whipped cream. It delivers better, more vibrant color without altering the cream’s consistency.
-
Rest Time Matters: Be patient and let the cake chill for a minimum of 8 hours or overnight. This resting period is essential for the best flavor and sliceable texture.
-
Decorate Creatively: Have fun decorating with orange icing and sprinkles. Let your imagination run wild—think spooky candies and festive themes to make your cake truly shine!
What to Serve with Halloween Icebox Cake
Elevate your festive celebration with delightful compliments that enhance this creamy, no-bake dessert.
-
Pumpkin Spice Latte: This warm, spiced drink echoes autumnal flavors and will perfectly accompany the rich chocolate in your icebox cake.
-
Halloween Fruit Salad: Brightly colored fruits like melon, grapes, and berries offer a refreshing contrast to the rich layers of the cake and add a pop of freshness.
-
Ginger Snap Cookies: Their spicy crunch pairs beautifully with the smooth texture of the icebox cake, creating a fun contrast in both texture and flavor.
-
Chocolate-Covered Strawberries: These sweet treats bring an elegant touch to your table—fruity and decadent, they’ll tantalize every guest’s palate.
-
Caramel Sauce: Serve a drizzle of warm caramel on the side; its golden sweetness is a delicious complement to the Oreo layers, adding a gooey richness.
-
Cider Donuts: A festive nod to fall, these treats enhance the homemade warmth of the gathering, offering a delightful bite alongside the Halloween Icebox Cake.
With these delicious pairings, your dessert table will be a spectacular sight, inviting everyone to indulge in the festive spirit!
Make Ahead Options
These Halloween Icebox Cake preparations are a fantastic way to save time and reduce stress leading up to your festive gathering! You can whip up the homemade whipped cream and layer it with the Oreo cookies up to 24 hours in advance, allowing the flavors to meld beautifully and ensuring a dreamy creamy texture. Simply assemble the cake as directed, cover it tightly with plastic wrap, and refrigerate it overnight for the best results. When it’s time to decorate and serve, just add your charming orange icing and festive sprinkles before presenting this delightful dessert. With these make ahead options, your Halloween celebration will be a spooktacular success with minimal effort!
Halloween Icebox Cake Variations
Feel free to get creative with this Halloween Icebox Cake, ensuring it reflects your unique taste and spook-tacular spirit!
-
Vegan Version: Substitute heavy cream with coconut cream or dairy-free whipped topping for a delicious vegan alternative.
Coconut cream provides a rich texture and a subtle flavor that adds a delightful twist to the cake, making it equally enticing for everyone at the table. -
Fruit Layers: Incorporate sliced bananas, strawberries, or raspberries between the layers for a fresh burst of flavor.
The fruity freshness cuts through the richness, adding delightful surprises in each slice and making the dessert even more enjoyable for fruit lovers. -
Flavorful Cookies: Switch out regular Oreos for flavored varieties like peanut butter or mint for a unique taste.
This simple swap can elevate your cake and keep your guests guessing about the delightful flavors throughout each bite! -
Crunchy Texture: Add crushed cereal or nuts between the layers for added crunch.
A delightful twist to the classic Oreo layers, this texture enhancement not only brings a delightful contrast but also a new depth of flavor to your cake. -
Spicy Kick: For those who like it hot, add a hint of cinnamon or chili powder to the whipped cream for an unexpected kick.
It creates a warm, cozy flavor profile that balances the sweetness perfectly, making it a conversation starter at any gathering. -
Decadent Chocolate Drizzle: Drizzle melted chocolate over the top before serving for an extra indulgent treat.
It adds a lustrous finish to the cake that not only enhances its visual appeal but also offers an irresistible chocolate hit that chocolate lovers won’t resist! -
Alternative Frosting: Use cream cheese frosting instead of whipped cream for a tangy twist.
The cream cheese adds a delightful tartness, perfectly complementing the sweetness of the cake and providing a luscious texture throughout. -
Halloween Theme Accents: Decorate with gummy worms, candy corn, or themed edible decorations for a fun touch.
These playful additions enhance the festive spirit and truly bring Halloween to life in every serving.
With these variations, your Halloween Icebox Cake will be bursting with flavors, textures, and festive charm! Enjoy personalizing it to cater to everyone’s palate, just as we do with our yummy Pecan Pancakes and the delightful Churro Cheesecake!
How to Store and Freeze Halloween Icebox Cake
Fridge: Store your Halloween Icebox Cake in an airtight container in the refrigerator for up to 2 days for optimal freshness and flavor.
Freezer: For longer storage, wrap individual slices tightly in plastic wrap and then place them in a freezer-safe container. They can last for up to 2 months.
Thawing: When ready to enjoy, transfer your frozen slice to the fridge for several hours or overnight to thaw slowly. Refrain from microwaving, as it may alter the texture.
Presentation: After thawing, feel free to add fresh sprinkles or a dab of orange icing to revive its festive appearance before serving!

Halloween Icebox Cake Recipe FAQs
How do I select ripe ingredients for my Halloween Icebox Cake?
Absolutely! When choosing your heavy whipping cream, ensure it’s labeled “heavy” for maximum creaminess. Look for a fat content of at least 36%. For the best flavor, opt for pure vanilla extract rather than imitation. Stick to fresh Oreo cookies without dark spots, which indicates staleness!
How should I store my Halloween Icebox Cake?
Very simple! Store your Halloween Icebox Cake in an airtight container in the refrigerator. It will stay fresh for up to 2 days, keeping that whipped cream and cookie layers delightful. Remember, the flavors are best enjoyed fresh, so try to eat it within this timeframe!
Can I freeze my Halloween Icebox Cake?
Yes, you can! To freeze, wrap individual slices tightly in plastic wrap and place them in a freezer-safe container. They can last for up to 2 months. When you’re ready to indulge, take a slice out and thaw it in the fridge overnight. This way, it’ll retain its texture and flavor beautifully.
What should I do if my whipped cream doesn’t whip properly?
If your whipped cream isn’t whipping, it’s likely not cold enough. Make sure the heavy cream is chilled from the fridge, and try chilling your mixing bowl and beaters too. Whip vigorously until stiff peaks form—this usually takes around 5 minutes. Remember, don’t overwhip, as it can turn grainy!
Are there any dietary considerations for this Halloween Icebox Cake?
Certainly! If you’re catering to vegan dietary needs, I recommend substituting the heavy whipping cream with a dairy-free whipped cream alternative. Additionally, for those with gluten sensitivities, gluten-free Oreo cookies can be easily found as an option. Always check ingredient labels if allergy concerns arise!
How can I enhance the festive presentation of my Halloween Icebox Cake?
Have fun with the decorations! Once your cake is set, consider adding a mix of Halloween-themed sprinkles and candies on top. You could even make spider webs out of melted chocolate or add gummy worms for a playful touch. Let your creativity shine to make your dessert the highlight of the party!

Irresistible Halloween Icebox Cake with Oreo Layers
Ingredients
Equipment
Method
- Step 1: Prepare the Pan - Line a 9-inch springform pan with plastic wrap or parchment paper for easy removal.
- Step 2: Whip the Cream - In a mixing bowl, combine heavy whipping cream, vanilla extract, and powdered sugar. Whip until stiff peaks form, about 5 minutes.
- Step 3: Color the Cream - Divide whipped cream into three bowls and add orange food coloring to each, creating varying shades.
- Step 4: Create the Base Layer - Place a layer of Oreo cookies at the bottom of the pan, followed by one-third of the darkest shade of whipped cream.
- Step 5: Repeat the Layering - Add another layer of Oreo cookies and the next shade of whipped cream, pressing gently to compact.
- Step 6: Finish with Whipped Cream - Top with remaining Oreo cookies and the lightest shade of whipped cream, smoothing the top.
- Step 7: Chill the Cake - Cover the cake with plastic wrap and chill for at least 6 hours, preferably overnight.
- Step 8: Decorate and Serve - Remove the cake from the pan, decorate with orange icing and sprinkles, then serve chilled.

Leave a Reply