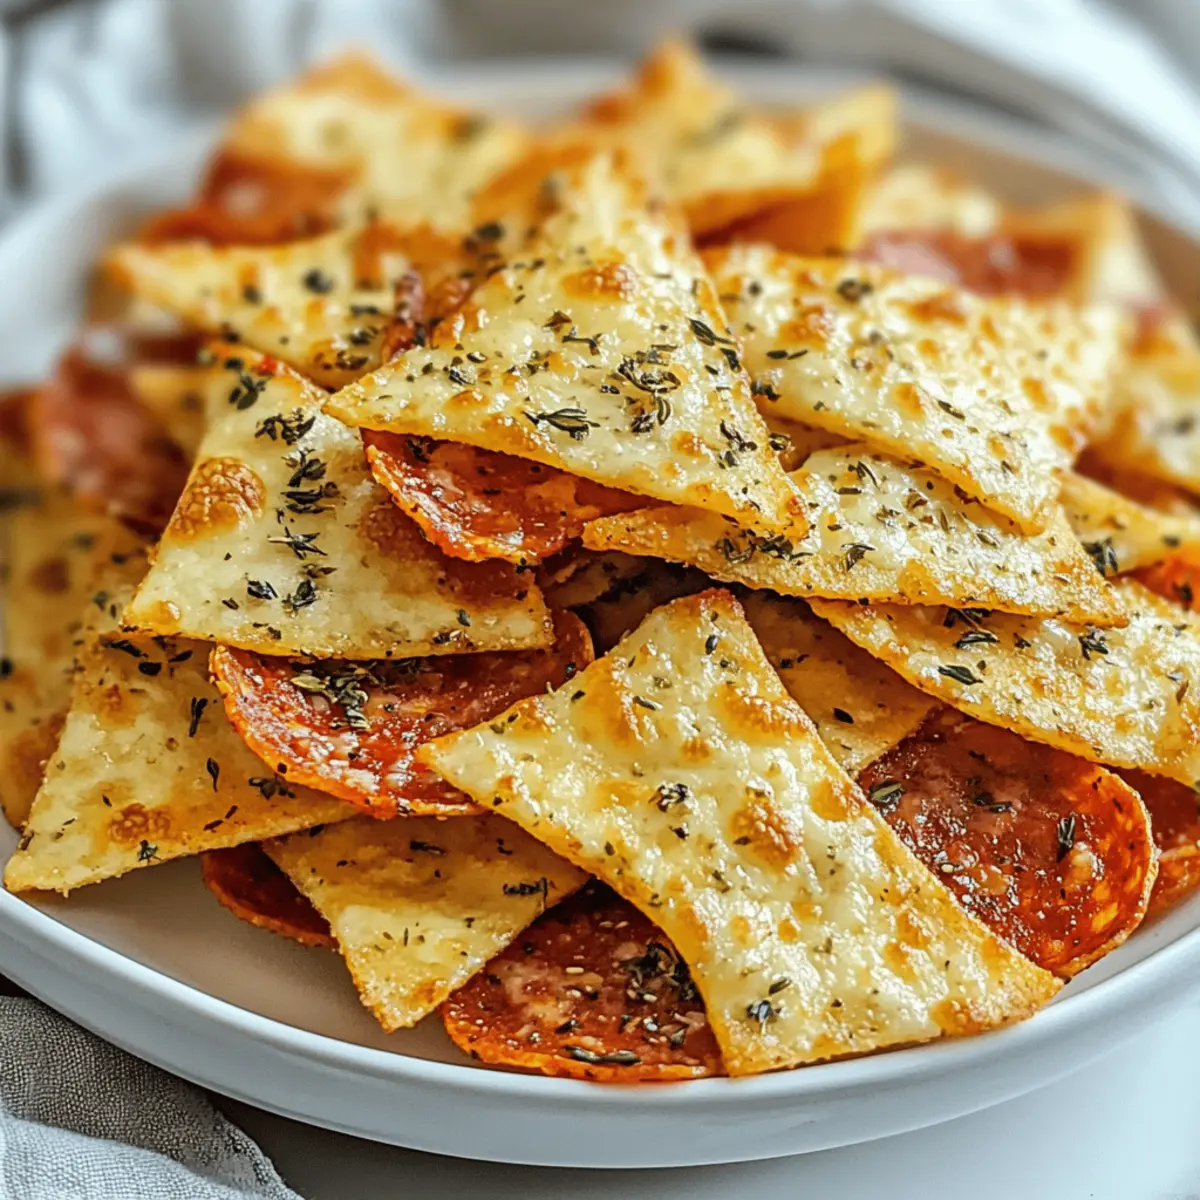
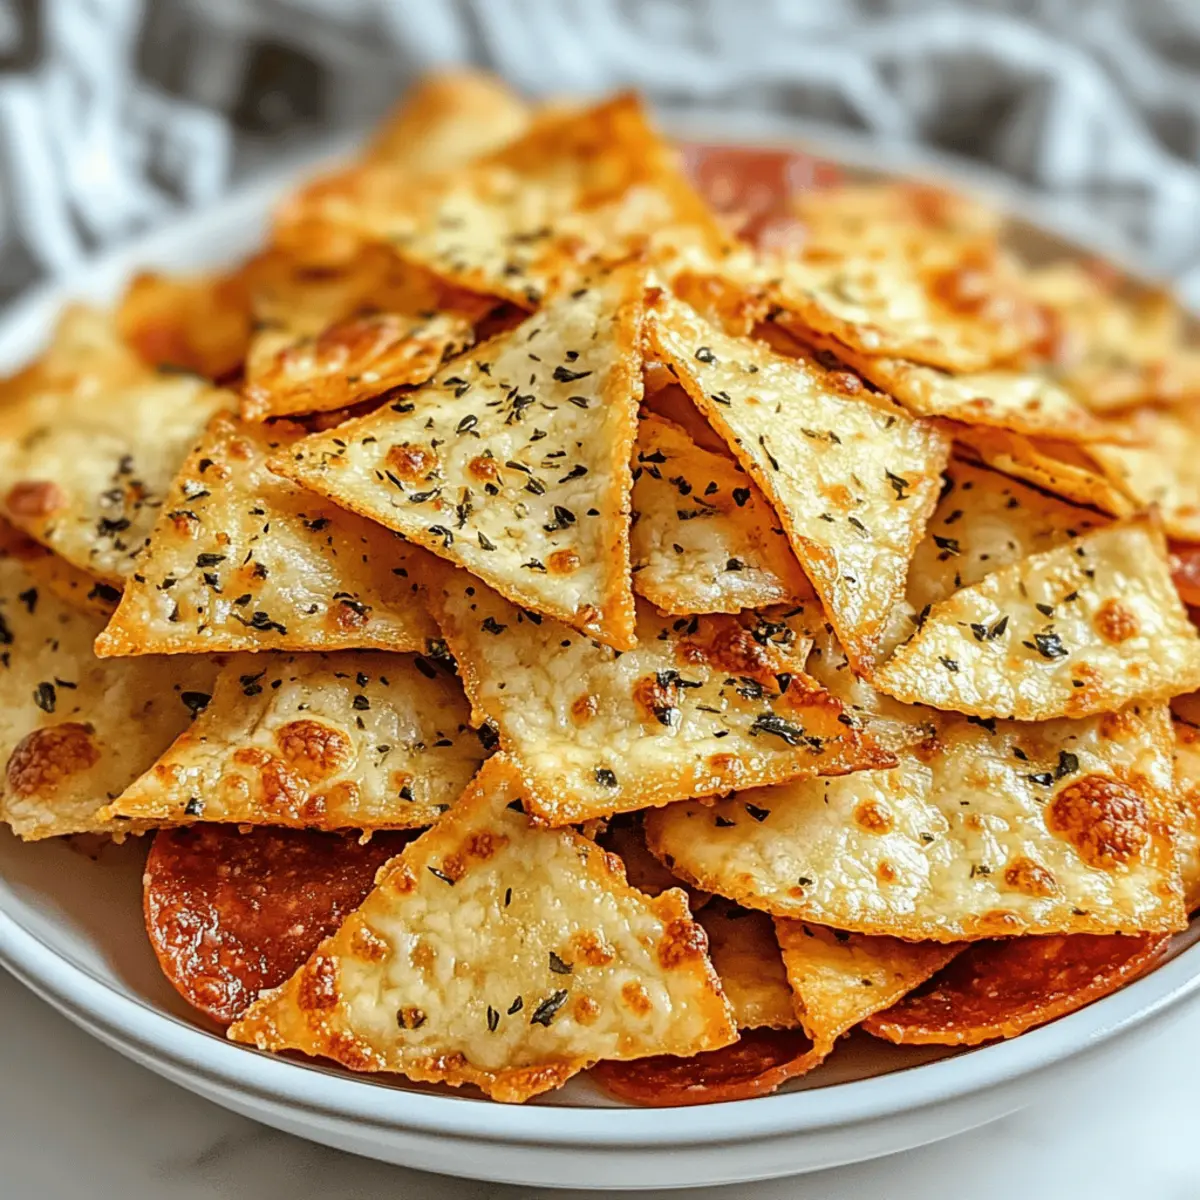
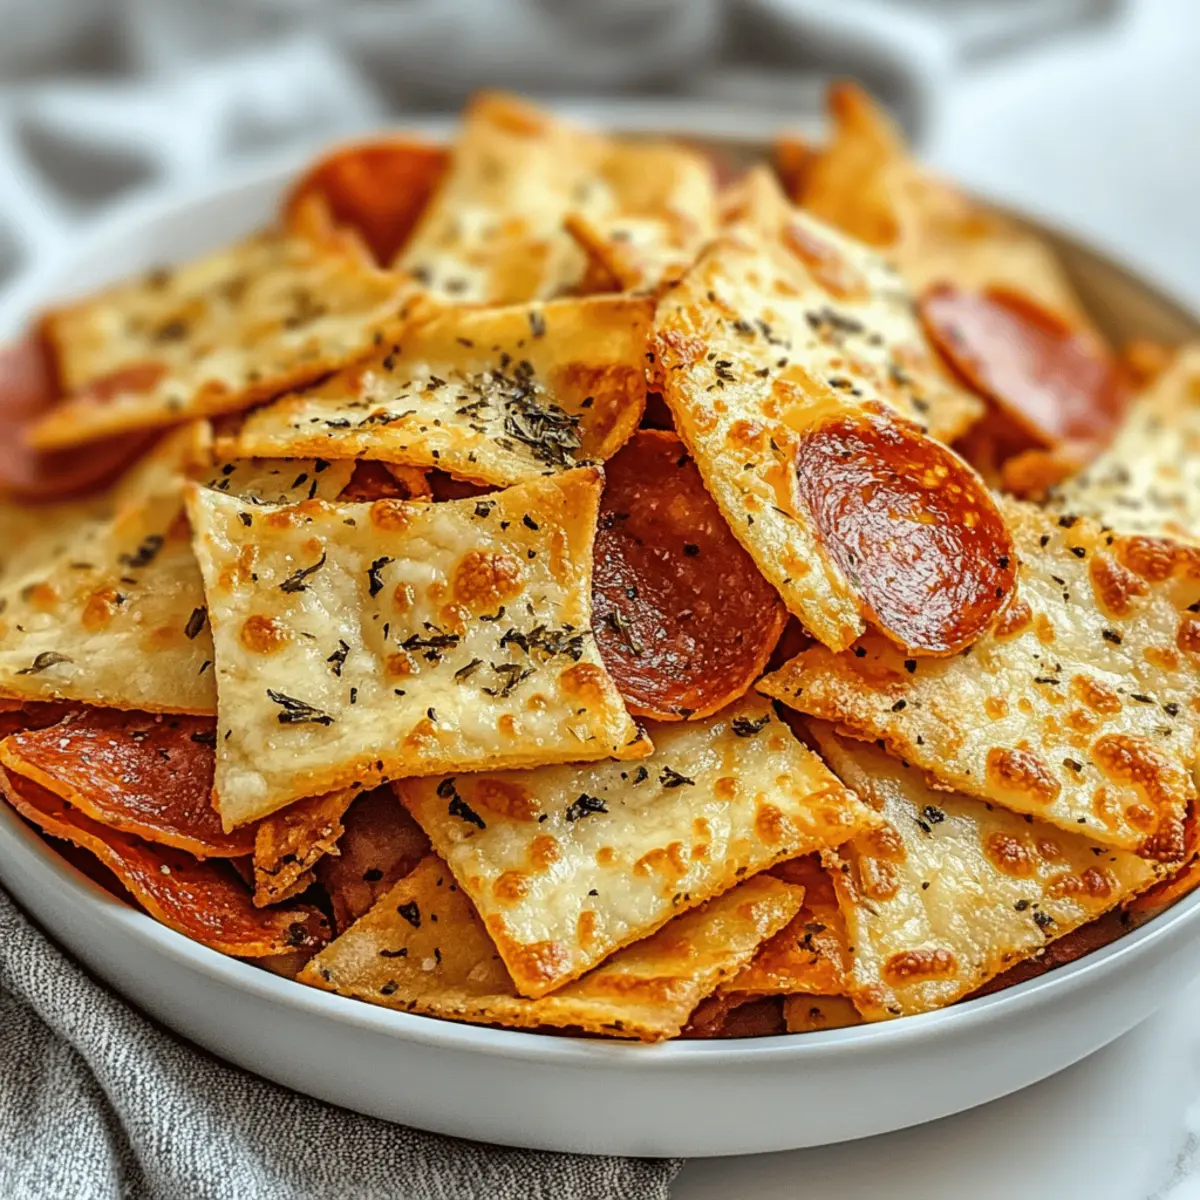
Walking through the bustling streets of Naples, the enticing aroma of fresh pizza wafts through the air, instantly igniting a craving for something crunchy and cheesy. If you share that longing, these 2-Ingredient Pizza Chips are about to become your new favorite snack! With just mozzarella cheese and a sprinkle of Italian seasoning, you can whip up a batch in under 10 minutes. Not only are these chips low-carb and gluten-free, but they’re also an exciting, kid-friendly addition to lunchboxes or parties. Whether you’re diving into them solo or sharing with loved ones, the delightful crunch and rich pizza flavor will make every bite feel like a mini celebration. Ready to discover how you can make these irresistible pizza chips at home? Let’s get cooking!

Why Are These Pizza Chips Irresistible?
Quick and Easy: With just two ingredients and a mere 10 minutes of your time, you can have a delicious snack ready to enjoy. Guilt-Free Indulgence: These pizza chips are low-carb and gluten-free, making them a healthier option for those looking to satisfy their cravings. Kid-Friendly Fun: They are perfect for kids, whether packed in lunchboxes or served at parties. Customizable Delight: Want to switch it up? Toss in your favorite toppings like diced bell peppers or a drizzle of hot sauce. For more quick snack ideas, don’t miss our Muffin Breakfast Pizzas or Air Fryer Pizza!
Pizza Chips Ingredients
• Here’s what you need for these delicious pizza chips!
For the Chips
• Mozzarella Cheese – This is the star of the show, providing a rich, cheesy flavor and satisfying crunch.
• Italian Seasoning (optional) – Adds a lovely pizza flavor, but feel free to omit it or use fresh herbs like basil for added freshness.
Enjoy crafting these delightful pizza chips right in your kitchen!
Step‑by‑Step Instructions for Pizza Chips
Step 1: Preheat the Oven
Begin by preheating your oven to 400°F (200°C). This temperature is perfect for achieving crispy pizza chips that are golden and delicious. While the oven warms up, you can prep your baking tray—this will set you up for success as you move through the steps.
Step 2: Prepare Baking Tray
Line a baking tray with parchment paper to ensure your pizza chips won’t stick. The parchment will help in keeping the cooking mess to a minimum while also making cleanup a breeze. Lay the parchment flat, ensuring it covers the entire surface of the tray.
Step 3: Melt Cheese
On the prepared parchment, create small, evenly spaced mounds of shredded mozzarella cheese, about 2 tablespoons each. Make sure to leave enough space between each pile for the cheese to expand as it melts. You’ll see the mozzarella begin to melt into a delightful layer as it bakes.
Step 4: Season
If desired, sprinkle each mound of melted cheese with your choice of Italian seasoning or fresh herbs like basil or oregano. This step adds an irresistible pizza flavor to your chips. The aroma will begin to waft through your kitchen, set to elevate your snack game.
Step 5: Bake
Carefully place the baking tray in the preheated oven and bake for approximately 10 minutes. Keep a close eye on the pizza chips as they bake, looking for the edges to turn golden and crispy. At this point, the cheese should bubble and spread, creating a delectable thin crisp.
Step 6: Cool
Once baked to perfection, remove the tray from the oven and allow the pizza chips to cool for a few minutes. This cooling period helps them firm up, giving you that satisfying crunch you desire. Relish the smell of your freshly baked pizza chips as they wait to be enjoyed.

Make Ahead Options
These 2-Ingredient Pizza Chips are perfect for meal prep enthusiasts! You can prepare the shredded mozzarella cheese and seasonings up to 24 hours in advance, storing them in separate airtight containers in the refrigerator to maintain quality. When you’re ready to enjoy your pizza chips, simply preheat the oven and follow the baking instructions. Just remember, it’s best to assemble the cheese mounds on the baking tray right before baking to ensure they crisp up beautifully. This way, you get the same delightful, crunchy result in a fraction of the time, making your busy weeknights a lot easier and tastier!
How to Store and Freeze Pizza Chips
-
Room Temperature: Store leftover pizza chips in an airtight container at room temperature for up to 2 days. This keeps them crisp and full of flavor.
-
Fridge: If you have additional chips, you can place them in the fridge for up to 3 days, but expect them to lose some crispiness. Reheat before consuming for better texture.
-
Freezer: Freezing pizza chips is not recommended, as it will affect their delightful crunch and make them soggy upon thawing.
-
Reheating: For best results, reheat in a toaster oven or oven at 350°F (175°C) for 5–7 minutes until crispy again. Enjoy your pizza chips fresh!
Pizza Chips Variations & Substitutions
Customize your pizza chips experience with these delightful twists, adding flavor and flair to your snacking.
- Spicy Kick: Drizzle your baked chips with your favorite hot sauce afterward for an exciting burst of heat.
- Veggie Boost: Toss in diced bell peppers, olives, or even spinach before baking to add color and nutrients.
- Cheddar Swap: Use cheddar cheese instead of mozzarella for a different cheesy flavor adventure.
- Herb Infusion: Try adding fresh basil or oregano instead of Italian seasoning for a fresh twist.
- Creamy Dip: Serve with homemade or store-bought marinara sauce for a delicious dipping option that complements the chips beautifully.
- Sweet Touch: For a fun dessert twist, sprinkle with cinnamon and serve with a side of cream cheese for a sweet snack.
- Extra Crunchiness: Allow the chips to sit out for a few minutes before enjoying to enhance their signature crunch.
Experimenting with these variations will make your pizza chips even more unforgettable! And don’t forget to explore more quick and tasty recipes like our Muffin Breakfast Pizzas or Air Fryer Pizza for an array of delicious ideas!
What to Serve with 2-Ingredient Pizza Chips
Imagine a gathering filled with laughter and joy, where your crispy, cheesy pizza chips play a starring role on the table.
-
Marinara Sauce: A classic pairing; its rich, tangy flavor will enhance every cheesy bite.
-
Garlic Herb Dip: A creamy dip adds a luxurious texture that beautifully complements the chips’ crunch. It’s a match made in culinary heaven!
-
Fresh Veggies: Crisp bell pepper strips or carrot sticks not only add freshness but provide a lovely contrast in texture. The crunch of the veggies serves as a delightful palette cleanser.
-
Caesar Salad: A small salad can balance out the richness of the pizza chips, offering a light, crunchy contrast that vibrantly pops with flavor.
-
Zesty Lemonade: A refreshing drink with a hint of tartness offsets the savory richness, creating a satisfying balance in flavors.
-
Chocolate-Covered Strawberries: For a sweet finish, this fruity dessert provides a delightful contrast to the savory snack and adds a touch of indulgence to your treat.
Tips for the Best Pizza Chips
-
Watch Closely: Keep an eye on your pizza chips while baking, as cheese can burn quickly. You want that perfect golden brown color!
-
Space it Out: Make sure to leave enough space between the piles of mozzarella cheese on the baking tray. This allows the cheese to melt and spread evenly for the best pizza chips.
-
Cooling Time: Don’t skip the cooling step! Allowing the chips to sit out for a few minutes enhances their crispiness, ensuring you get that satisfying crunch with every bite.
-
Seasoning Choices: Feel free to experiment with different toppings! In addition to Italian seasoning, consider crushed red pepper flakes or dried herbs to customize your pizza chips.
-
Serving Size Awareness: Typically, 3-5 pizza chips make a serving. Be mindful of portions, especially if you’re munching while watching a movie!

2-Ingredient Crispy Pizza Chips Recipe FAQs
What type of mozzarella cheese should I use for pizza chips?
Absolutely! It’s best to use fresh or low-moisture shredded mozzarella cheese, as it melts and crisps up beautifully. If you’re looking for a dairy-free option, you can try dairy-free mozzarella that melts well, like certain brands made from nuts or soy.
How long can I store leftover pizza chips?
You can store your leftover pizza chips in an airtight container at room temperature for up to 2 days. They’ll be at their crispiest right after baking. If you have any leftover after that, they can last in the fridge for up to 3 days, but keep in mind they may lose some of their crunchiness.
Can I freeze pizza chips for later?
Freezing pizza chips is not recommended since the cheese will lose its delicious crunch once thawed. If you need to store them for a longer period, make sure to keep them in a cool, dry place and enjoy them fresh whenever possible.
What should I do if my pizza chips end up soggy?
Very! If your pizza chips turn out soggy, there are a couple of ways to revive them. Reheat them in a toaster oven or standard oven at 350°F (175°C) for about 5–7 minutes until they crisp up again. This step should restore their delightful texture!
Are these pizza chips safe for kids with dairy allergies?
If your child has a dairy allergy, consider using a dairy-free mozzarella alternative. Always check the packaging for any potential allergens and consult with a healthcare professional if you’re unsure about specific ingredients.
How can I customize my pizza chips?
The more the merrier! Aside from Italian seasoning, you can add diced vegetables like bell peppers or olives before baking for extra flavor and texture. Additionally, sprinkle some crushed red pepper for a spicy kick or different cheeses like cheddar or Parmesan to explore unique taste profiles!

Crispy Pizza Chips: A Guilt-Free Snack Delight!
Ingredients
Equipment
Method
- Preheat your oven to 400°F (200°C).
- Line a baking tray with parchment paper.
- Create small, evenly spaced mounds of shredded mozzarella cheese on the parchment, about 2 tablespoons each.
- Sprinkle each mound with Italian seasoning or fresh herbs if desired.
- Bake for approximately 10 minutes until edges are golden and crispy.
- Allow chips to cool for a few minutes before enjoying.

Leave a Reply