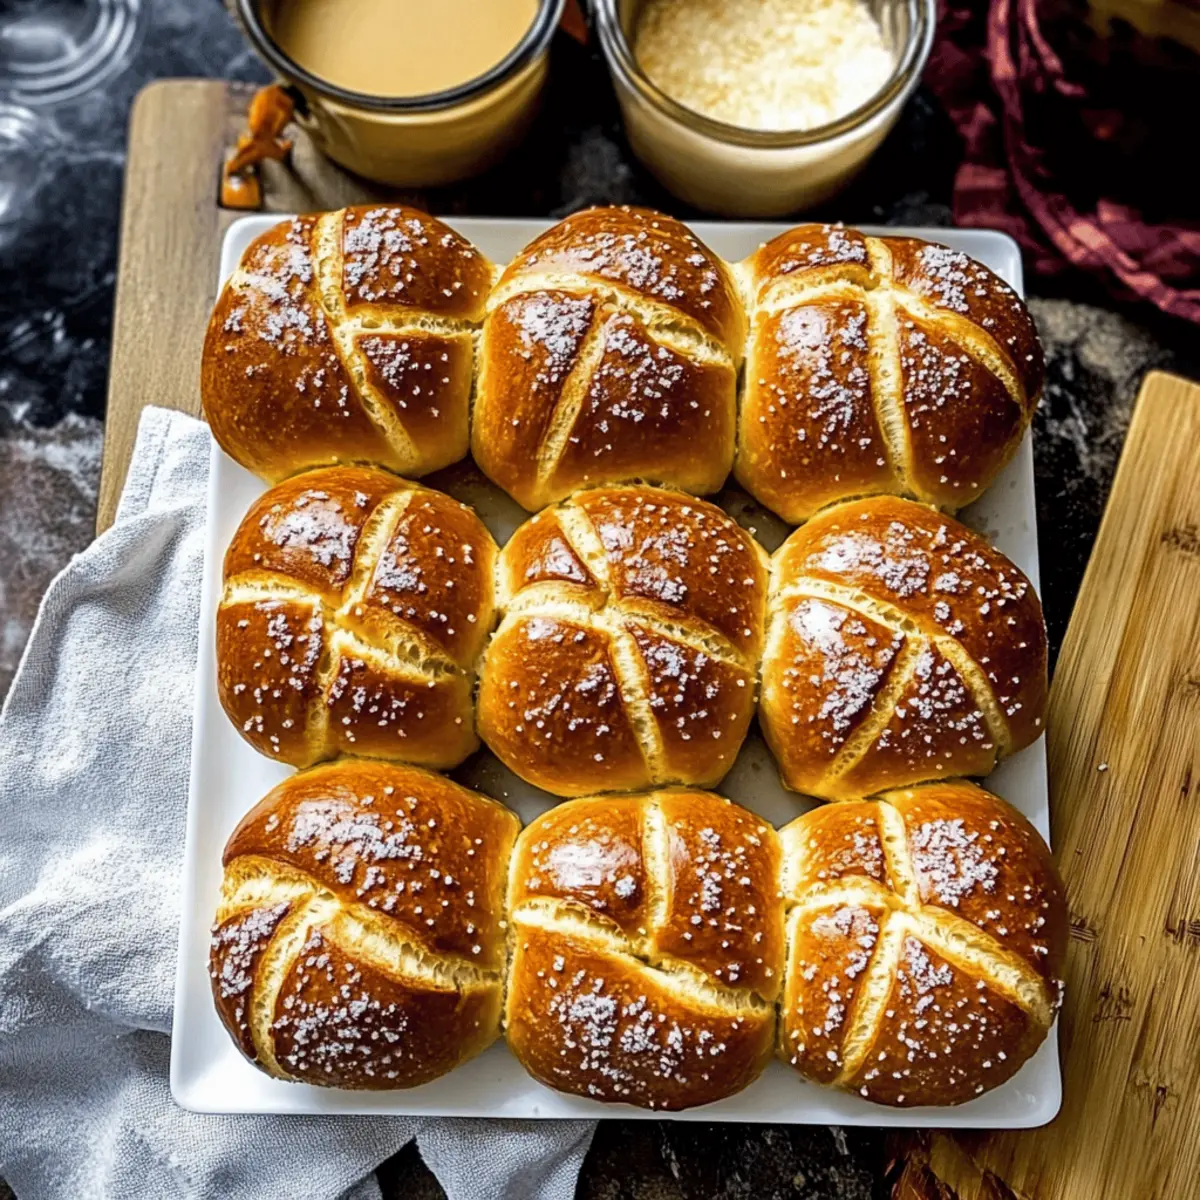
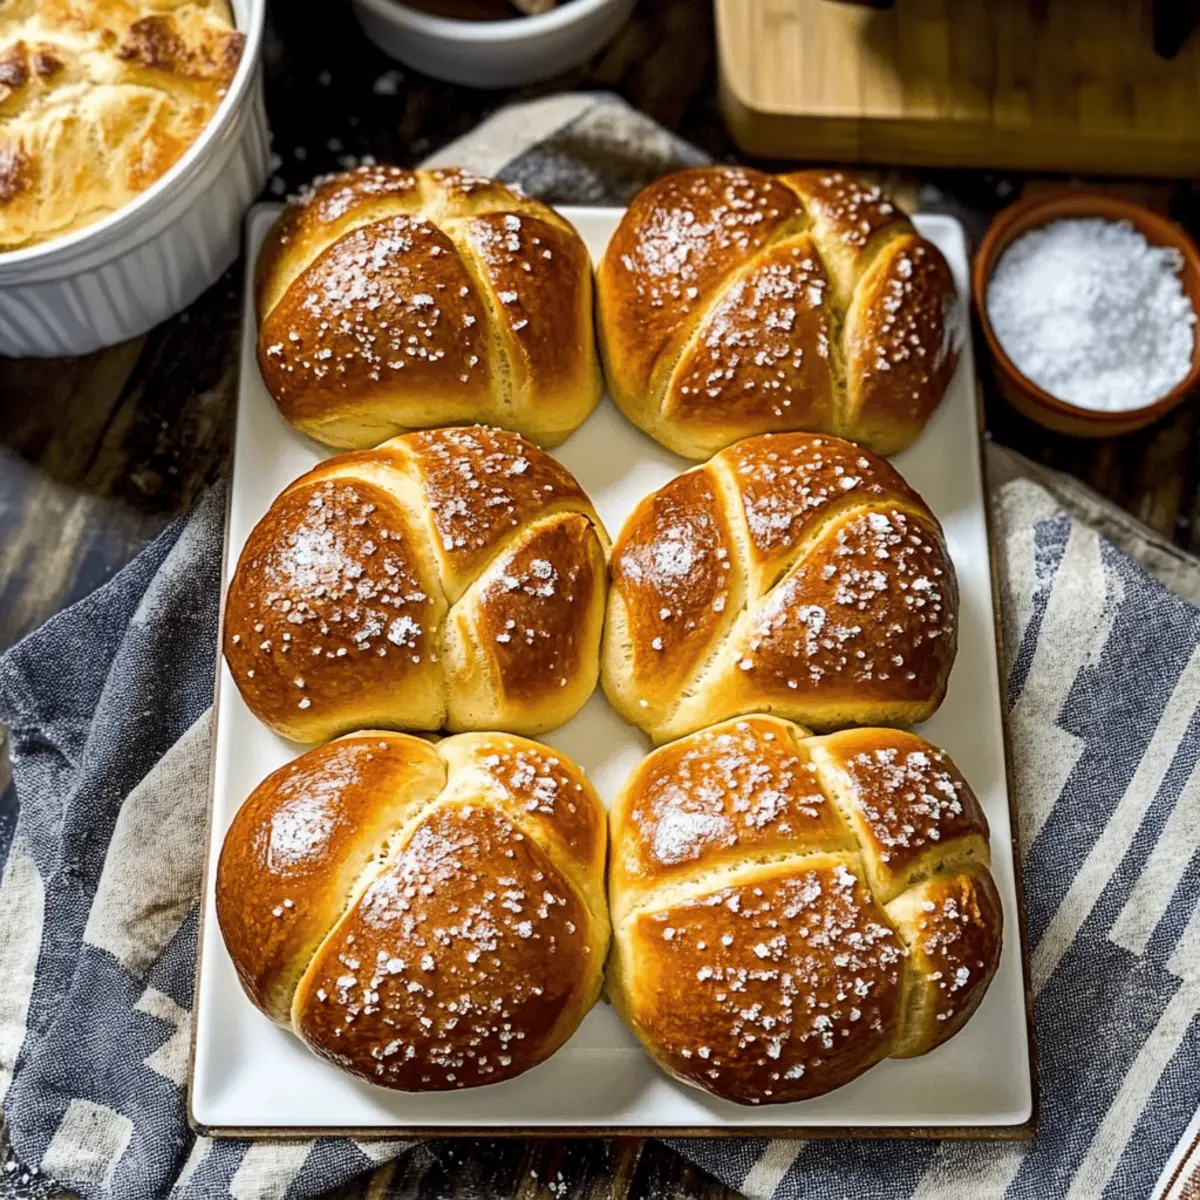
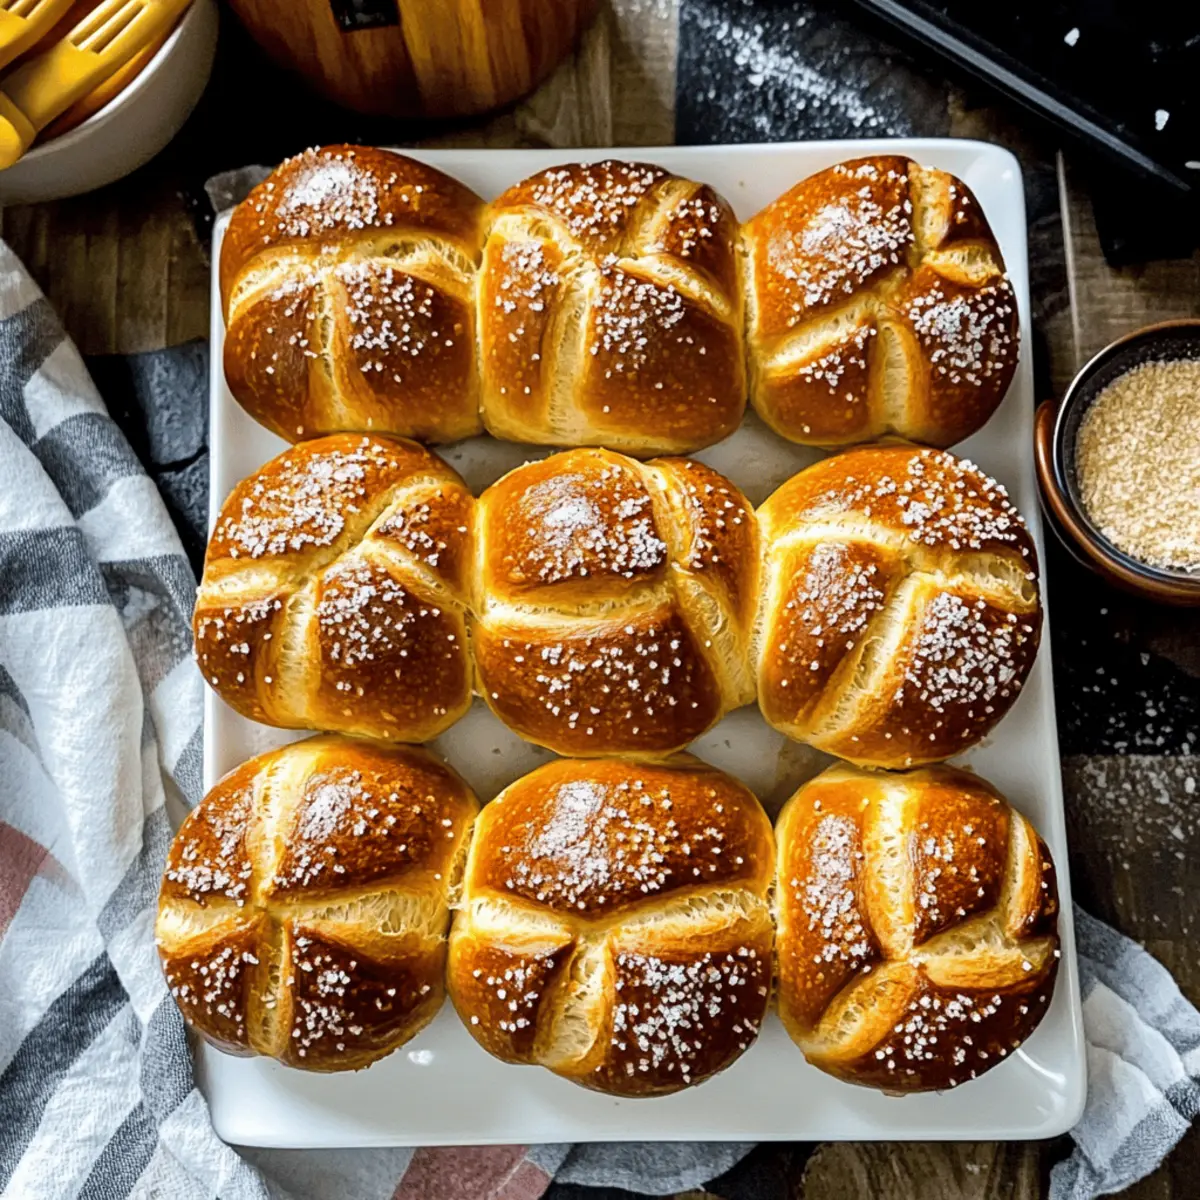
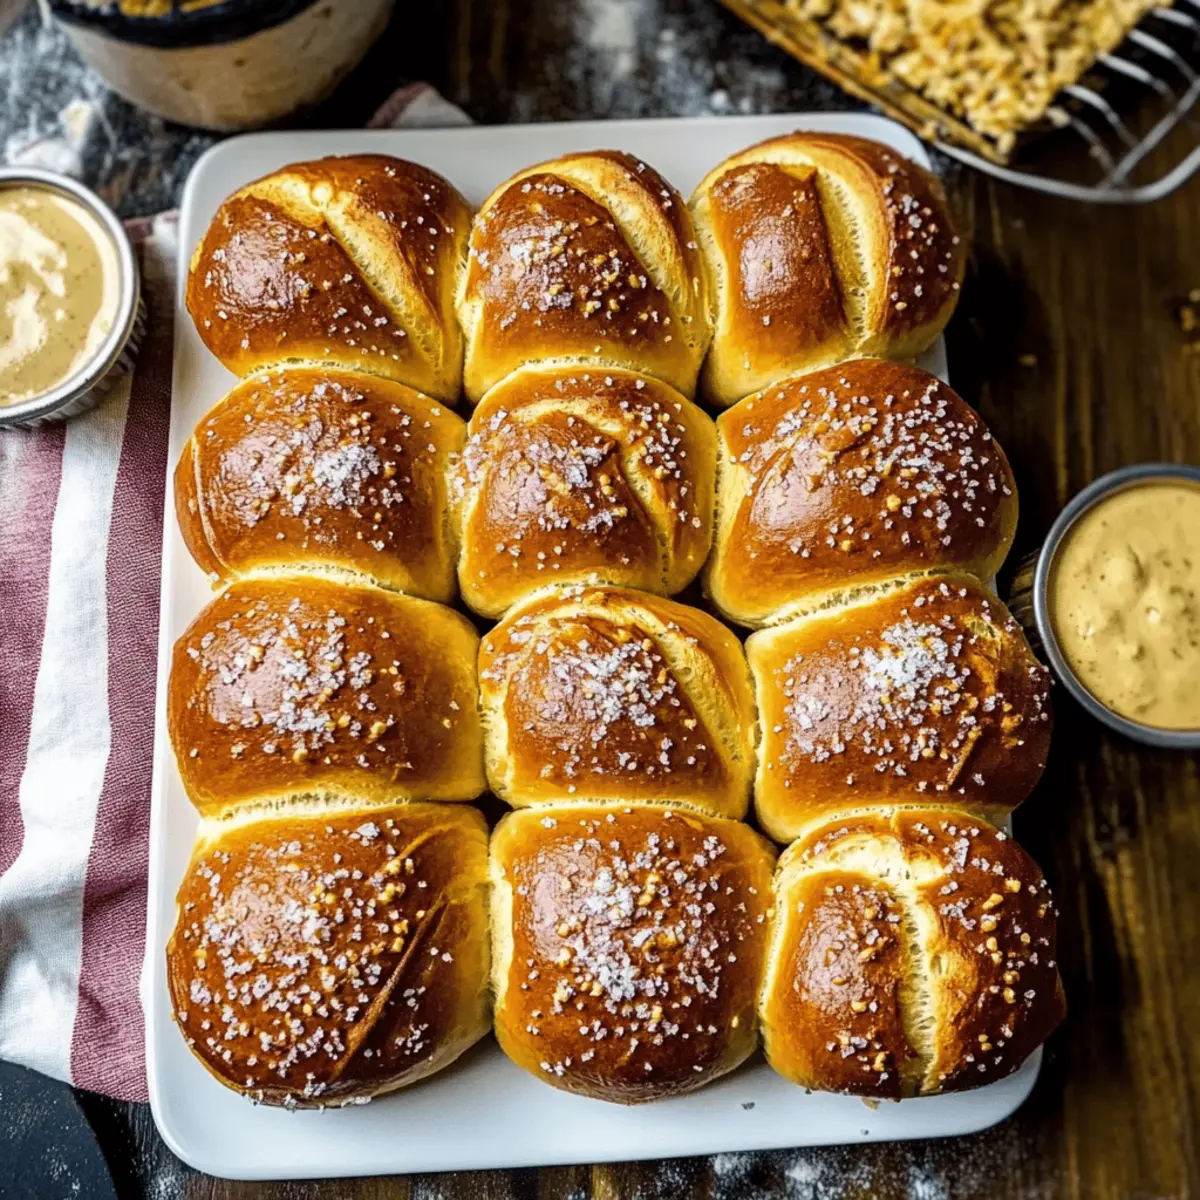
As I stood in my kitchen, the scent of warm, freshly baked bread wrapped around me like a cozy blanket, my craving for comfort food took shape. The magic of homemade pretzel rolls—with their soft, pillowy interiors and slightly crispy, salty crust—is unparalleled. This recipe offers not just a delightful baking adventure but also the joy of crafting something truly special for your loved ones. By using a simple baking soda bath instead of lye, these pretzel rolls become not only a fun project but also a quick and easy treat that can elevate any meal. Whether you’re serving them as slider buns, alongside a savory dip, or just enjoying them warm from the oven, these pretzel rolls are sure to please. Curious about how to achieve that perfect golden color and texture? Let’s dive into this tasty journey together!

Why are pretzel rolls so irresistible?
Soft, Chewy Texture: These pretzel rolls boast an incredibly soft and chewy interior that melts in your mouth.
Versatile Delight: Whether used as a slider bun or enjoyed as a snack with your favorite dip, these rolls easily adapt to any meal.
Quick and Easy: With a baking soda bath simplifying the process, you’ll have fresh rolls in no time, perfect for last-minute gatherings or family dinners.
Crowd-Pleasing Flavor: The salty, crispy crust is just right, making these rolls a hit with both kids and adults alike. Pair them with a bit of mustard for an authentic taste or check out some serving ideas like filling them with bratwurst, just like in our Southwest Egg Rolls.
Bake Ahead and Enjoy: These rolls can easily be frozen post-baking, giving you the flexibility to prep in advance without sacrificing flavor.
Pretzel Rolls Ingredients
• Perfect for crafting your own homemade delights!
For the Dough
- Water – 1½ cups at 110°F, helping to properly hydrate the dough for a perfect rise.
- Unbleached All-Purpose Flour – 4½ cups, providing essential structure; bread flour can create a chewier texture.
- Salt – 1 teaspoon, enhancing the overall flavor; kosher salt is ideal for a coarser bite.
For the Boiling Bath
- Baking Soda – ¼ cup, crucial for that classic pretzel flavor and crisp crust; don’t skip this step for achieving perfect pretzel rolls!
Optional Toppings
- Sea Salt – to sprinkle on top before baking for an extra savory kick.
- Sesame Seeds – for a nutty flavor; they add an appealing crunch and taste to your rolls.
Step‑by‑Step Instructions for Homemade Pretzel Rolls
Step 1: Dissolve & Activate Yeast
In a mixing bowl, combine 1½ cups of warm water (around 110°F) with 2¼ teaspoons of active dry yeast. Stir gently and let it sit for about 5–10 minutes, until the mixture becomes frothy and bubbly. This ensures your yeast is active, setting the foundation for your delicious pretzel rolls.
Step 2: Mix Dough
Once the yeast is activated, add 4½ cups of unbleached all-purpose flour and 1 teaspoon of salt to the bowl. Mix until a shaggy dough forms, using a wooden spoon or your hands. The dough should start to come together with a slightly tacky texture, getting you one step closer to those chewy pretzel rolls.
Step 3: Knead
Turn the dough out onto a floured surface and knead it for about 8–10 minutes. Use your palms to push the dough away, then fold it back towards you, turning it frequently. The dough should become smooth and elastic, indicating it’s ready for the first rise.
Step 4: First Rise
Place the kneaded dough into a greased bowl, turning it once to coat the surface. Cover it with a damp cloth or plastic wrap and let it rise in a warm spot for approximately 1-2 hours, or until it has doubled in size. This step is crucial for achieving the light, fluffy texture of the pretzel rolls.
Step 5: Shape Rolls
Once risen, gently punch down the dough to release air and turn it out onto a clean surface. Divide the dough into equal portions, shaping each into a ball, or create slider-sized rolls if desired. Ensure they are smooth and tight, as this helps them hold their shape during the second rise.
Step 6: Second Rise
Place the shaped rolls on a parchment-lined baking sheet, spacing them about 2 inches apart. Cover them with a cloth and allow them to rise for another 30 minutes. This final rise helps create the soft, pillowy inside of your pretzel rolls, so be patient!
Step 7: Prepare Bath
While the rolls are rising, bring a large pot of water to a gentle boil. Add ¼ cup of baking soda to the boiling water. This baking soda bath gives the pretzel rolls their distinctive flavor and chewy exterior, so don’t skip this essential step in the process.
Step 8: Boil Rolls
Carefully add 2-3 rolls to the boiling water, boiling each batch for about 30 seconds. Use a slotted spoon to flip them halfway through for an even bath. Once boiled, remove the rolls and let them drain on a wire rack. This crucial stage ensures that your pretzel rolls achieve a golden, crispy crust.
Step 9: Bake
Preheat your oven to 425°F. Place the boiled rolls back on the baking sheet, scoring the tops with a sharp knife if desired. Bake for 20-30 minutes, until they turn a lovely golden brown. Keep an eye on the color change, as this indicates they’re nearly ready to be enjoyed.
Step 10: Cool & Serve
Once baked, remove the pretzel rolls from the oven and let them cool on a wire rack for about 10 minutes. Serve them warm with your favorite dips or fillings. These homemade pretzel rolls are perfect for sliders or enjoyed on their own, bringing joy to every meal!

Expert Tips for Perfect Pretzel Rolls
-
Temperature Check: Ensure your water is at 110°F; too hot can kill the yeast, while too cold won’t activate it, leading to dense pretzel rolls.
-
Knead Well: Knead the dough until it’s smooth and elastic—this develops gluten, essential for that chewy texture you crave.
-
Boil Correctly: Don’t rush the boiling bath; each roll needs about 30 seconds to ensure the right crust forms. Skipping this step will affect the flavor.
-
Space Out Rolls: When shaping and placing the rolls on the baking sheet, leave enough space between them to allow for expansion during the second rise and baking.
-
Golden Finish: Watch for a deep golden brown color before taking them out of the oven; this indicates the perfect crispy exterior while ensuring a soft inside.
-
Flavor Boost: Experiment with toppings like coarse sea salt or sesame seeds before baking to add a delightful crunch and enhance the overall flavor of your pretzel rolls.
How to Store and Freeze Pretzel Rolls
Room Temperature: Store pretzel rolls in an airtight container for up to 3 days to maintain freshness; this prevents them from becoming stale.
Fridge: If you need to keep them longer, refrigerate for up to 1 week. Wrap them tightly in plastic wrap to preserve moisture and flavor.
Freezer: Freeze pretzel rolls for up to 3 months. Wrap each roll individually in plastic wrap, then place them in a freezer bag for extra protection.
Reheating: To reheat, warm frozen rolls in a preheated oven at 350°F for about 10-15 minutes, until heated through and crispy on the outside. Enjoy the delightful taste of homemade pretzel rolls even after freezing!
Pretzel Rolls: Delicious Twist Ideas
Embrace your creativity in the kitchen and customize these pretzel rolls to make them uniquely yours!
-
Garlic-Infused: Mix minced garlic or garlic powder directly into the dough for a flavor infusion that elevates your rolls.
A little garlic brings warmth and depth to each bite, enticing everyone at your table. -
Herb-Enhanced: Incorporate dried herbs like rosemary or thyme into the dough for a fragrant twist.
This adds a refreshing essence that complements the savory nature of the rolls beautifully. -
Cheesy Topping: Sprinkle shredded cheese on top before baking for a gooey, savory crust.
Imagine biting into a roll topped with melted cheddar or Parmesan; it’s heavenly! -
Sweet Cinnamon-Sugar Roll: Roll out the dough, sprinkle with cinnamon and sugar, reshape, and bake for a dessert twist.
These sweet rolls can be dipped in icing or served with coffee for a delightful treat. -
Spicy Kick: Add a pinch of cayenne pepper or red pepper flakes to the dough for a hint of heat.
The spice contrasts beautifully with the sweetness of the pretzel, making each bite an adventure. -
Sesame or Poppy Seeds: Top your pretzel rolls with sesame or poppy seeds before baking for a nutty crunch.
This subtle enhancement will delight your taste buds and add visual appeal. -
Mini Sliders: Shape the dough into smaller pieces to create slider-sized pretzel rolls, perfect for entertaining.
They pair wonderfully with savory fillings, like bratwurst, reminiscent of our Chicken Crescent Rolls. -
Dijon Mustard Wash: Brush a mix of Dijon mustard and melted butter on top before baking for an extra tangy flavor.
It adds a gourmet touch that turns your homemade rolls into a standout dish.
Feel free to explore these variations and make these pretzel rolls a canvas for your culinary imagination!
Make Ahead Options
These Homemade Pretzel Rolls are perfect for meal prep, allowing you to enjoy freshly baked goodness even on your busiest days! You can prepare the dough up to 24 hours in advance by following the first rising step. Once the dough has risen, simply shape it into rolls, cover tightly with plastic wrap, and refrigerate. When you’re ready to bake, let the dough come to room temperature before proceeding with the boiling bath and baking. This way, your pretzel rolls will still have their delightful softness and chewy texture, just as if they were made fresh that day! Feel free to bake them ahead and freeze for up to 3 months—just reheat in the oven for that freshly baked experience whenever you want!
What to Serve with Homemade Pretzel Rolls
As your warm, freshly baked pretzel rolls emerge from the oven, it’s time to think about the delicious pairings that will elevate your meal!
-
Creamy Mustard Dip: A tangy mustard dip perfectly complements the salty crust, adding a delightful kick that enhances every bite.
-
Savory Cheese Spread: Rich cheese spreads accentuate the rolls’ flavor, offering a creamy texture contrast that’s irresistible.
-
Fresh Salad: A zesty mixed green salad adds freshness and crunch, balancing the hearty rolls beautifully while brightening the meal.
-
Hearty Soup: Pair these rolls with a warm, comforting soup for dunking; their chewy texture makes them the ideal companion to soak up all the flavors.
-
Grilled Sausages: Sautéed bratwursts nestled in a pretzel roll create scrumptious sliders; the marriage of flavors is a crowd-pleaser.
-
Beer Pairing: A crisp lager or wheat beer harmonizes with the pretzel rolls’ taste, highlighting the salty sweetness while refreshing your palate.
-
Sweet Dessert: Serve a light fruit salad or vanilla custard afterward to cleanse the palate; the sweetness balances the savory flavors of the rolls.
Let your homemade pretzel rolls shine alongside these thoughtful additions, crafting a memorable and satisfying meal!

Homemade Pretzel Rolls Recipe FAQs
How do I know if my yeast is active?
To check if your yeast is active, combine warm water (about 110°F) with a little sugar and then add the yeast. After about 5-10 minutes, it should become frothy and bubbly. If it doesn’t, your yeast may be expired, and it’s best to start with fresh yeast.
What’s the best way to store leftover pretzel rolls?
Store pretzel rolls in an airtight container at room temperature for up to 3 days. This helps keep them fresh and prevents them from becoming stale. If you need to keep them longer, wrap them tightly in plastic wrap and refrigerate for up to 1 week.
Can I freeze pretzel rolls?
Absolutely! To freeze pretzel rolls, wrap each roll individually in plastic wrap and then place them in a freezer bag. They can be stored in the freezer for up to 3 months without losing flavor. To reheat, warm them in a preheated oven at 350°F for about 10-15 minutes until heated through and enjoying that crispiness!
What if my pretzel rolls didn’t rise properly?
If your rolls didn’t rise as expected, check the yeast’s activity and the rising environment. Make sure your water temperature for yeast activation is around 110°F. If your kitchen is too cold, try placing the dough in a slightly warm oven (turned off) or a warm spot, covered, to encourage rising.
Can I add ingredients for dietary restrictions?
Certainly! To make gluten-free pretzel rolls, substitute with a gluten-free all-purpose flour blend. If you’re dealing with allergies, you can omit the salt or experiment with other non-salt alternatives. Always check for specific allergens in your ingredients to ensure safety.
How can I achieve that perfect pretzel flavor?
The baking soda bath is key to achieving that classic pretzel flavor and texture. As you boil your rolls for about 30 seconds, ensure the water is at a rolling boil with the right amount of baking soda mixed in. This step creates the rich, deep flavor and shiny finish you’re aiming for!

Soft and Chewy Pretzel Rolls You'll Crave to Make at Home
Ingredients
Equipment
Method
- In a mixing bowl, combine 1½ cups of warm water with 2¼ teaspoons of active dry yeast and let it sit until frothy.
- Add 4½ cups of unbleached all-purpose flour and 1 teaspoon of salt to the yeast mixture and mix into a shaggy dough.
- Turn the dough onto a floured surface and knead for about 8-10 minutes until smooth and elastic.
- Place the kneaded dough in a greased bowl, cover, and let it rise for about 1-2 hours until doubled.
- Punch down the risen dough, divide it, and shape each piece into a tight ball.
- Place the shaped rolls on a parchment-lined baking sheet, cover, and let rise for another 30 minutes.
- Bring a large pot of water to a simmer, add ¼ cup of baking soda, and prepare for boiling the rolls.
- Boil 2-3 rolls at a time for about 30 seconds each, flipping halfway through to ensure even cooking.
- Preheat your oven to 425°F, place the boiled rolls on a baking sheet, and bake for 20-30 minutes until golden brown.
- Let the rolls cool on a wire rack for about 10 minutes before serving warm.

Leave a Reply