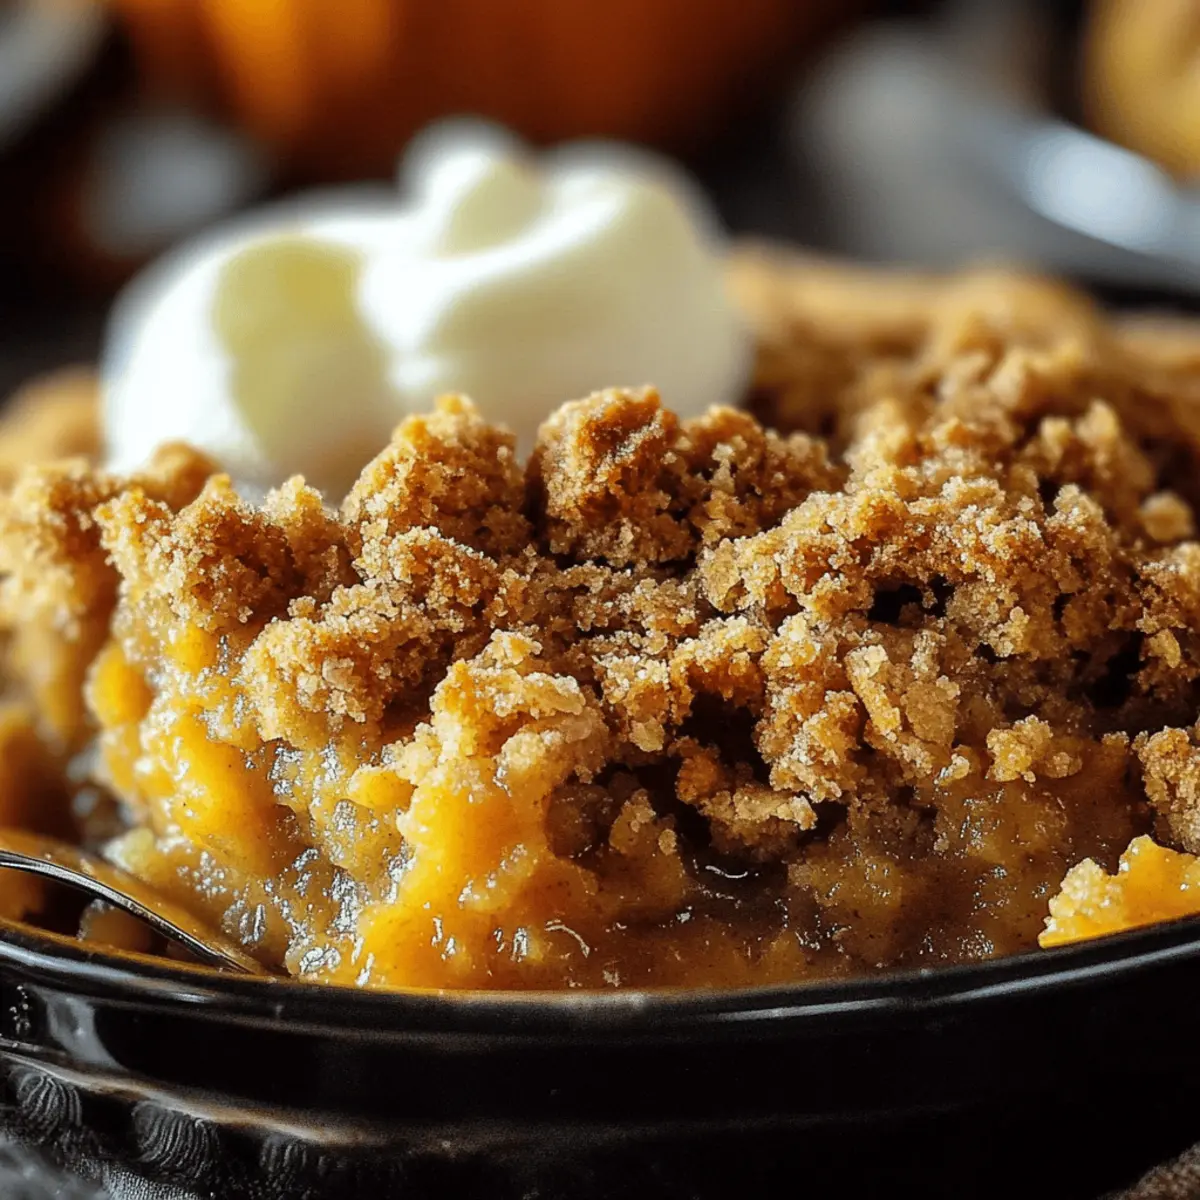
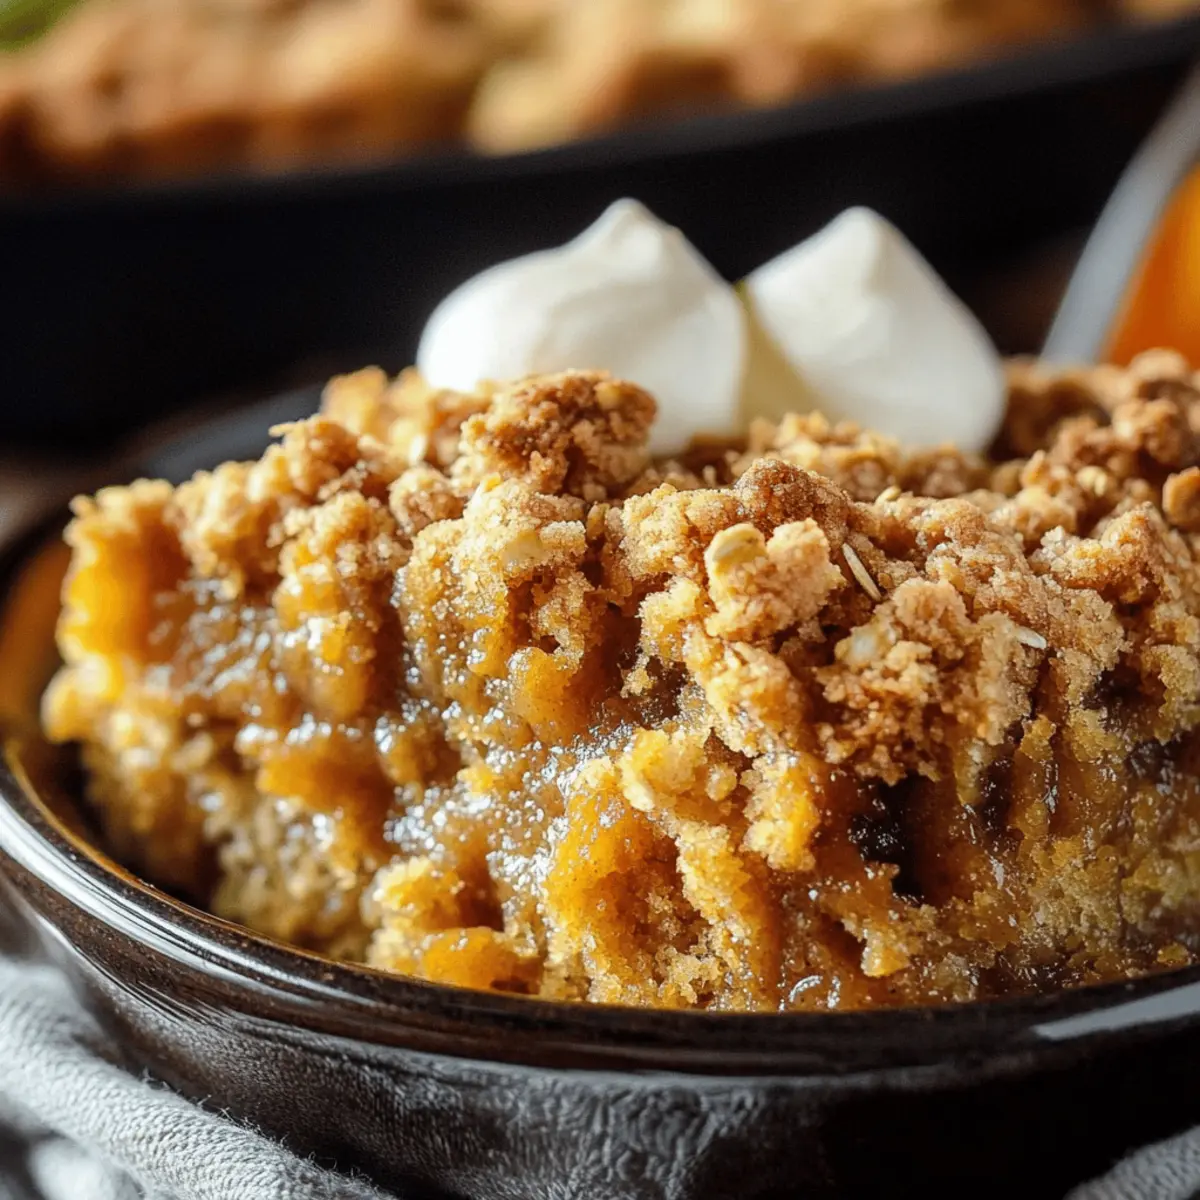
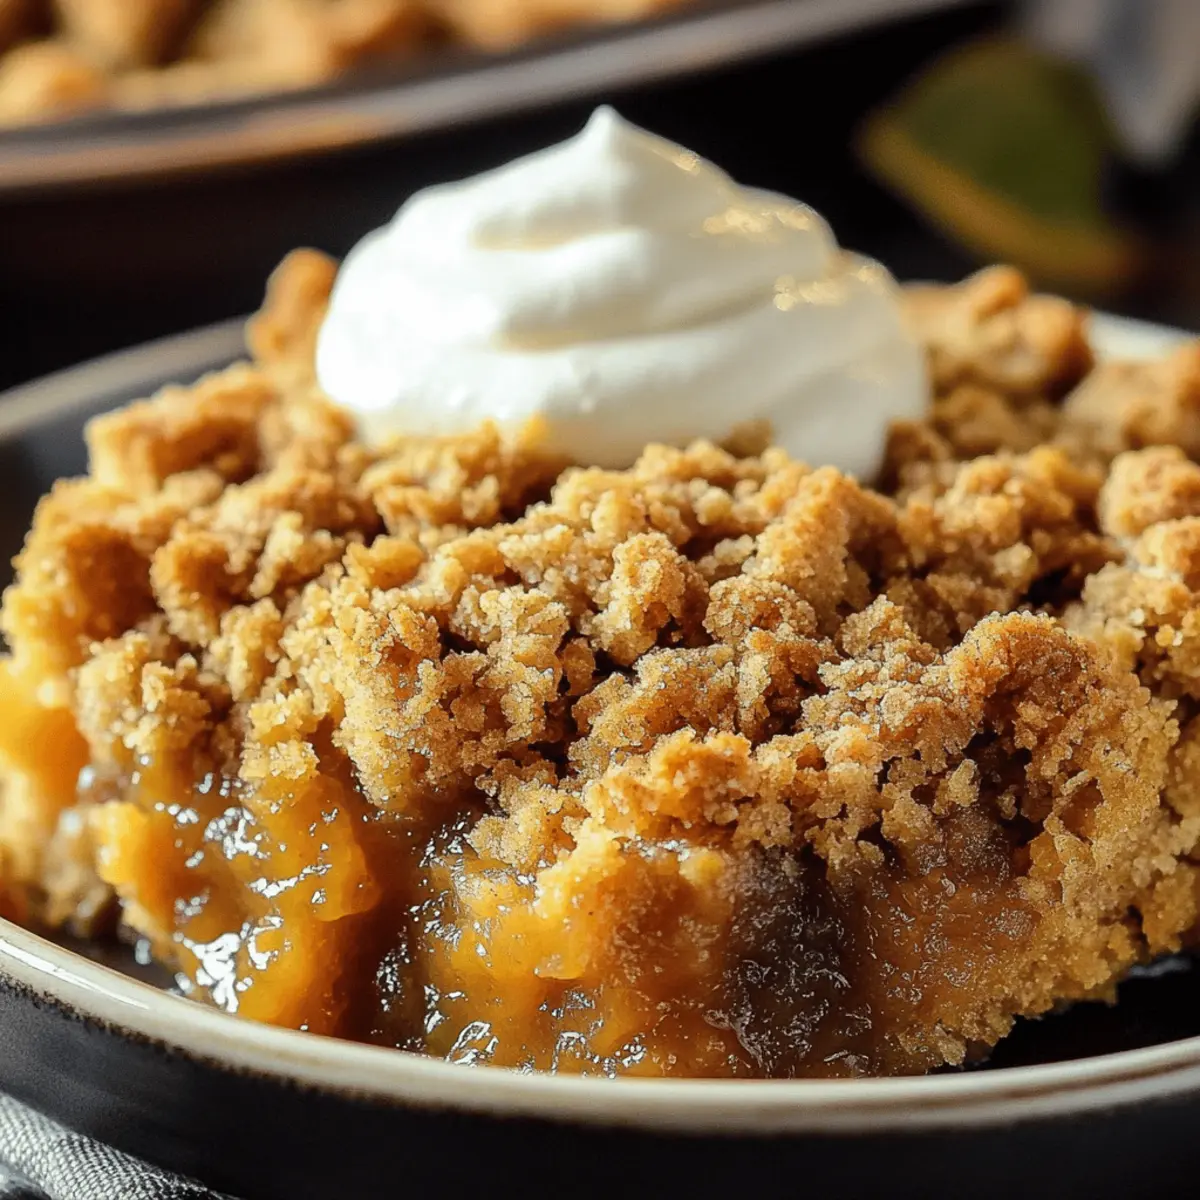
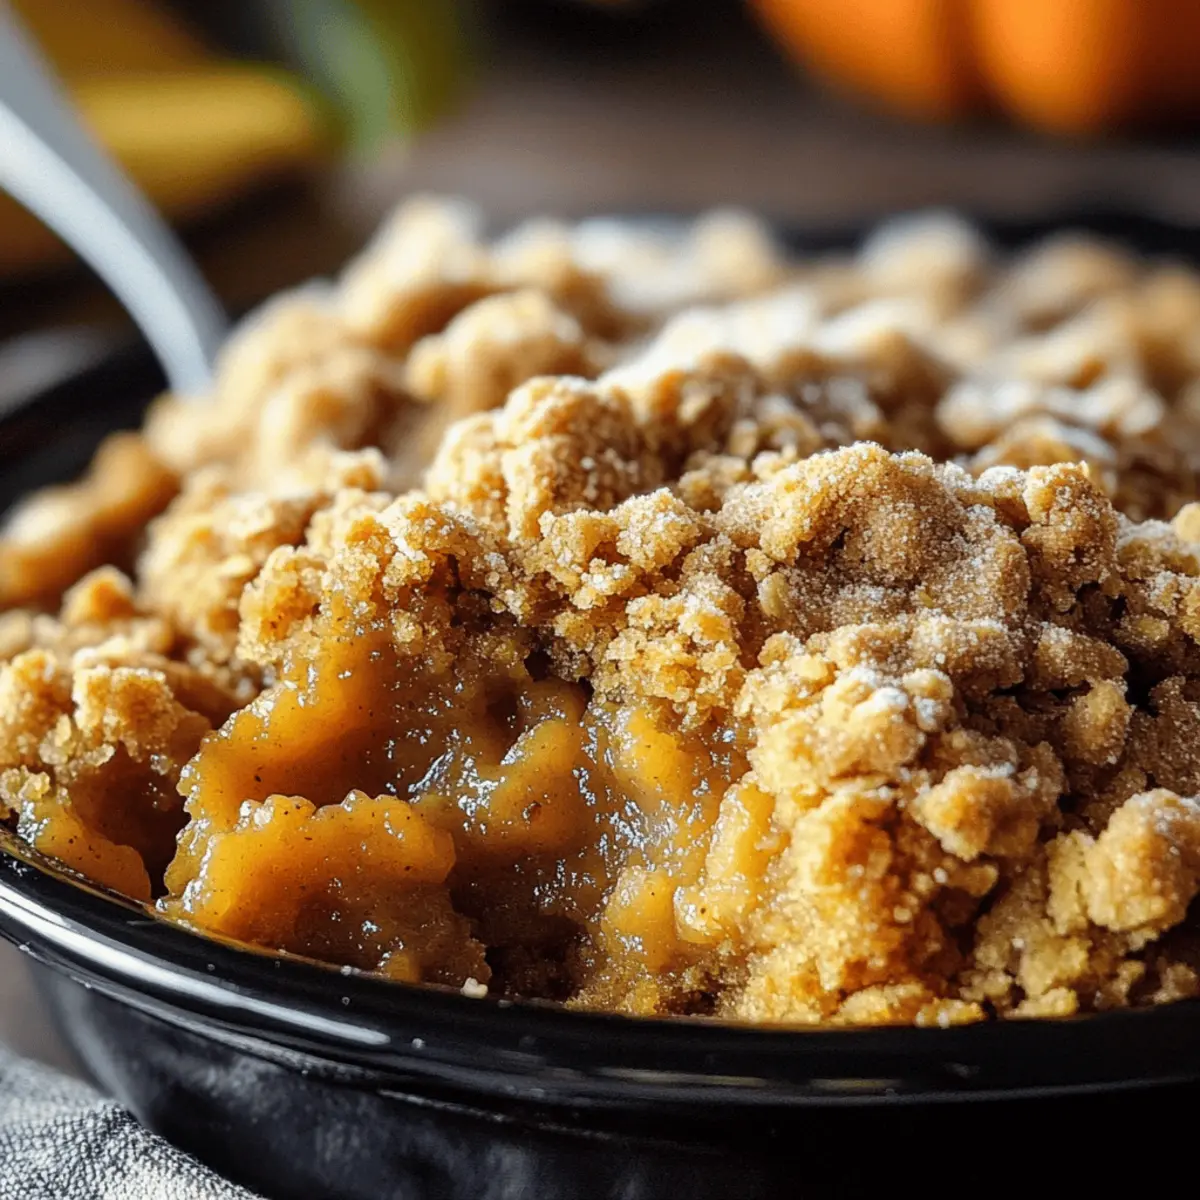
The aroma of spiced pumpkin wafting through your kitchen is one of the ultimate comforts of fall. As I stirred the creamy pumpkin puree, memories of cozy gatherings and laughter flickered to life. This Pumpkin Crisp isn’t just any dessert; it combines a velvety pumpkin filling with a buttery, crunchy oat topping that’s sure to steal the show at your dinner table. Not only is it a breeze to whip up, but it’s also a delightful crowd-pleaser, making it perfect for everything from last-minute weeknight treats to festive celebrations. Plus, it’s vegetarian and easily adaptable for gluten-free or vegan diets! Ready to fill your home with the heartwarming scents of autumn? Let’s dive into this irresistible recipe together!

Why is Pumpkin Crisp a Must-Try?
Comforting Warmth: This Pumpkin Crisp wraps you in a cozy embrace with its creamy filling and crunchy oat topping that perfectly symbolizes fall.
Versatility at its Finest: Easily customize this recipe! Try swapping pumpkin for butternut squash, or make it gluten-free with a simple flour substitute.
Quick and Simple: Minimal prepping time means you can dive straight into this deliciousness without stress—perfect for busy lives!
Crowd-Pleasing Delight: Your guests will rave about this dessert. Serve it warm with a scoop of ice cream or a dollop of whipped cream for an extra indulgence!
Whether you’re serving it at a gathering or enjoying it on a quiet night in, this Pumpkin Crisp will surely become a seasonal favorite. Don’t forget to check out my recipes for Pumpkin Cheesecake Bars and Pumpkin Cream Cheese if you’re looking for more autumn inspiration!
Pumpkin Crisp Ingredients
For the Pumpkin Filling
- Pumpkin Puree – Use pure pumpkin puree for an authentic flavor—not pie filling.
- Evaporated Milk – Adds a creamy texture; swap it with coconut milk for a dairy-free delight.
- Granulated Sugar – Sweetens the filling perfectly; organic cane sugar works well as a substitute.
- Eggs – Provide structure; for a vegan option, replace with flax eggs (1 tablespoon ground flaxseed mixed with 2.5 tablespoons water).
- Ground Cinnamon – Infuses a warm, spicy taste; can be replaced with a mixed spice blend if desired.
- Ground Ginger – Adds zesty warmth; fresh ginger offers a brighter flavor experience.
- Ground Cloves – Delivers aromatic depth; feel free to omit if you don’t have any on hand.
- Salt – Essential to enhance all the flavors in the dish.
For the Oat Topping
- All-Purpose Flour – Forms the crisp topping; use a gluten-free flour blend for a gluten-free version.
- Light Brown Sugar – Provides caramel notes; dark brown sugar can be used for a richer taste.
- Rolled Oats – Adds the perfect crunch; avoid instant oats for the best texture.
- Baking Powder – Helps the topping rise; ensure it’s fresh for optimal results.
- Unsalted Butter – Creates a crumbly topping; for a vegan version, opt for plant-based butter.
- Pecans or Walnuts (optional) – Introduces a nutty crunch; omit for a nut-free dish.
This delightful Pumpkin Crisp is packed with flavors and textures, perfect for cozy fall nights!
Step‑by‑Step Instructions for Pumpkin Crisp
Step 1: Preheat the Oven
Begin by preheating your oven to 350°F (175°C). This temperature is ideal for ensuring that the Pumpkin Crisp bakes evenly, creating that perfect balance of a golden crispy topping and creamy filling. While the oven warms, you can prepare your ingredients, which will save time.
Step 2: Mix the Pumpkin Filling
In a large mixing bowl, combine the pumpkin puree, evaporated milk, granulated sugar, eggs, ground cinnamon, ground ginger, ground cloves, and salt. Whisk these ingredients together until smooth and well-blended, ensuring the mixture is homogenous without any lumps. This rich filling sets the foundation for your delicious Pumpkin Crisp.
Step 3: Prepare the Oat Topping
Next, grab another bowl and mix together the all-purpose flour, light brown sugar, rolled oats, baking powder, and a pinch of salt. Stir until all dry ingredients are evenly distributed, creating a lovely blend that will become the crunchy topping. Each bite will have a delightful texture that complements the creamy pumpkin base.
Step 4: Incorporate the Butter
Take cold unsalted butter and cut it into the dry mixture using a pastry cutter or your fingertips until the mixture resembles coarse crumbs. This step is crucial as the cold butter creates that desired crumbly texture for the topping. Make sure not to overwork it; you want to maintain those little bits of butter for flakiness.
Step 5: Assemble the Layers
In a greased baking dish, carefully layer the creamy pumpkin filling at the bottom, spreading it out evenly. Once the filling is in place, sprinkle the oat topping generously over the pumpkin layer, making sure it covers the filling completely. This assembly gives the Pumpkin Crisp its signature look, with a luscious filling and a crunchy top.
Step 6: Bake Your Crisp
Place the baking dish in the preheated oven and bake for about 45 minutes. Keep an eye on it! The topping should turn a beautiful golden brown while the filling firms up. A toothpick inserted into the center should come out clean, indicating that your Pumpkin Crisp is perfectly baked and ready to enjoy.
Step 7: Cool Before Serving
After baking, remove the dish from the oven and allow the Pumpkin Crisp to cool for about 10-15 minutes. This step is important as it lets the filling set further, making it easier to serve. You’ll relish the warm, inviting aroma filling your kitchen while you wait to indulge in this delightful fall dessert.

Make Ahead Options
These Pumpkin Crisp desserts are perfect for busy home cooks who want to save time! You can prepare the pumpkin filling up to 24 hours in advance; simply mix all the filling ingredients and store it in an airtight container in the refrigerator. This helps maintain its creamy texture and flavors. The oat topping can also be made a day ahead; just mix the dry ingredients and keep them in a separate container. When you’re ready to bake, layer the pumpkin filling in your baking dish, top with the oat mixture, and pop it in the oven. You’ll enjoy a delightful dessert with minimal effort and just as delicious as if it were freshly made!
What to Serve with Pumpkin Crisp?
Imagine the sweet aroma of pumpkin filling your home as you create a warm, inviting meal to share with loved ones.
-
Vanilla Ice Cream: A scoop of creamy vanilla ice cream melts beautifully atop the warm Pumpkin Crisp, balancing the spice with a rich, cold contrast.
-
Whipped Cream: A dollop of freshly whipped cream adds a light and airy touch, enhancing the dessert’s comforting flavors without overpowering them.
-
Caramel Sauce: Drizzling warm caramel sauce over the crisp elevates each bite with a sweet, gooey goodness that complements the cinnamon and nutmeg.
-
Chai Tea: A steaming cup of spiced chai tea offers a fragrant, well-rounded pairing that mirrors the warm spices in the dessert, perfect for chilly evenings.
-
Pecan Pie: Continue the fall vibe with a slice of pecan pie. The nutty flavor and textures will create a delightful contrast with the smooth pumpkin filling.
-
Apple Cider: Enjoy a glass of warm apple cider for a seasonal drink that harmonizes beautifully with the Pumpkin Crisp, bringing a sweet and tangy balance.
-
Sparkling Water with Lemon: Refreshing sparkling water helps cleanse the palate while the lemon adds a zesty note, making it a charming accompaniment to a rich dessert.
-
Ginger Snap Cookies: Crunchy ginger snap cookies add an extra layer of spice, echoing the flavors in the Pumpkin Crisp while providing a delightful crunch.
-
Pecan Topping: Sprinkle crushed pecans on top of the warm dessert for added texture and a nutty flavor, enhancing the overall experience.
Expert Tips for Pumpkin Crisp
-
Use Cold Butter: Ensure your butter is cold when cutting it into the dry mixture. This helps achieve that perfect crumbly topping that everyone loves in a Pumpkin Crisp.
-
Don’t Overmix: When whisking the pumpkin filling, mix until smooth but avoid overmixing. This helps maintain a creamy texture without unwanted air bubbles.
-
Check Topping Color: If the oat topping starts browning too quickly, cover loosely with foil. This prevents burning while allowing the filling to set perfectly underneath.
-
Incorporate Nuts for Texture: Consider adding chopped pecans or walnuts to the oat topping. They not only enhance the crunch but also add a delightful nutty flavor to your Pumpkin Crisp.
-
Adjust Spices for Taste: Feel free to modify the spices according to your taste preferences. Cardamom or nutmeg can be lovely alternatives if you want a different flavor profile.
Pumpkin Crisp Variations & Substitutions
Feel free to get creative with this delightful recipe and make it your own!
- Dairy-Free: Substitute evaporated milk with coconut cream for a rich, dairy-free filling that’s equally delicious.
- Gluten-Free: Use a gluten-free flour blend in place of all-purpose flour for a crisp topping that everyone can enjoy.
- Nut-Free: Omit the pecans or walnuts entirely, or replace them with pumpkin seeds for a crunchy texture without the nuts.
- Sweetener Swap: Try maple syrup or agave nectar instead of granulated sugar for a unique twist and natural sweetness.
- Fruit Add-Ins: Fold in chopped apples or pears for an extra layer of flavor and moisture in the filling.
- Heat it Up: Add a pinch of cayenne pepper or hot paprika to the pumpkin filling for a surprising kick of warmth.
- Cheesy Richness: Create a luscious cream cheese layer by mixing softened cream cheese with a bit of sugar between the pumpkin and topping. It’s decadently good!
- Spice Variations: Swap ground cinnamon with nutmeg or allspice to elevate the spice profile and get those cozy, warm flavors.
Now, as you enjoy your Pumpkin Crisp, why not explore more fall-inspired treats? Check out my delightful Pumpkin Baked Oatmeal for a warm breakfast or indulge in the luscious Pumpkin Cheesecake Bars for dessert.
How to Store and Freeze Pumpkin Crisp
Fridge: Store your Pumpkin Crisp in an airtight container in the refrigerator for up to 4 days. This preserves its delicious flavors while keeping it moist.
Freezer: For longer storage, freeze Pumpkin Crisp in individual portions wrapped tightly in plastic wrap and then aluminum foil. It can be frozen for up to 3 months.
Reheating: When ready to enjoy, thaw in the fridge overnight before reheating. Warm in the oven at 350°F (175°C) for about 20 minutes or until heated through for a delightful fresh taste.
Serving Tip: Always serve warm, perhaps with a scoop of ice cream, for the best experience!

Pumpkin Crisp Recipe FAQs
What type of pumpkin puree should I use?
Absolutely! It’s essential to use pure pumpkin puree for your Pumpkin Crisp, as pie filling contains additional spices and sweeteners that might alter the taste and consistency. Look for cans labeled “100% pumpkin” without any added ingredients for the best flavor!
How should I store leftover Pumpkin Crisp?
You can store your Pumpkin Crisp in an airtight container in the refrigerator for up to 4 days. Just make sure it cools to room temperature before sealing it. Reheating is simple—just warm it in the oven at 350°F (175°C) for about 10-15 minutes to bring back that fresh taste.
Can I freeze Pumpkin Crisp?
Certainly! To freeze your Pumpkin Crisp, let it cool completely, then cut it into portions. Wrap each piece tightly in plastic wrap, stack them in a freezer bag or airtight container, and it will last for up to 3 months. When you’re ready to enjoy it, just let it thaw in the fridge overnight before reheating.
What if my Pumpkin Crisp topping is too dry?
If you find that your topping is too crumbly or dry, ensure that you’re using enough butter and that it’s cold when mixed in. If it’s already baked and seems dry, consider adding a scoop of whipped cream or a drizzle of warm maple syrup when serving for added moisture.
Is this Pumpkin Crisp suitable for dietary restrictions?
Absolutely! This recipe is vegetarian-friendly and can easily be adapted for gluten-free diets by substituting the all-purpose flour with a gluten-free blend. For a vegan version, swap out the eggs with flax eggs (1 tablespoon ground flaxseed mixed with 2.5 tablespoons of water) and use dairy-free milk. This way, everyone can enjoy a slice of this delightful dessert!

Delicious Pumpkin Crisp That's Perfect for Cozy Fall Nights
Ingredients
Equipment
Method
- Preheat your oven to 350°F (175°C).
- In a large mixing bowl, combine the pumpkin puree, evaporated milk, granulated sugar, eggs, ground cinnamon, ground ginger, ground cloves, and salt. Whisk until smooth.
- In another bowl, mix together the all-purpose flour, light brown sugar, rolled oats, baking powder, and a pinch of salt.
- Cut cold unsalted butter into the dry mixture until it resembles coarse crumbs.
- Layer the creamy pumpkin filling in a greased baking dish and sprinkle the oat topping over it.
- Bake for about 45 minutes until the topping is golden brown and the filling is firm.
- Allow to cool for 10-15 minutes before serving.

Leave a Reply