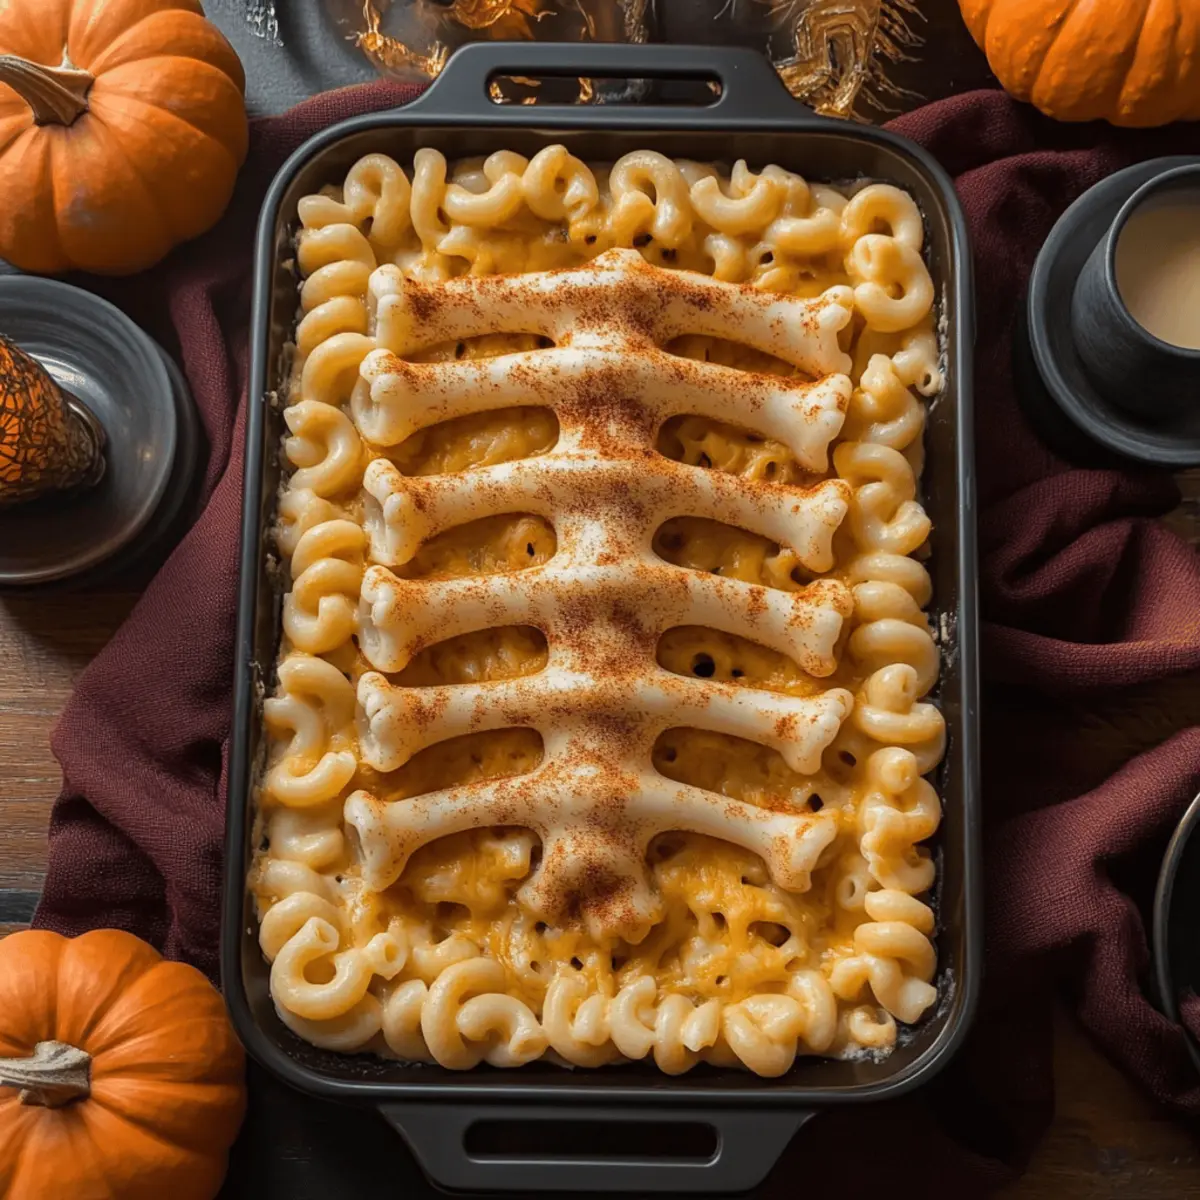
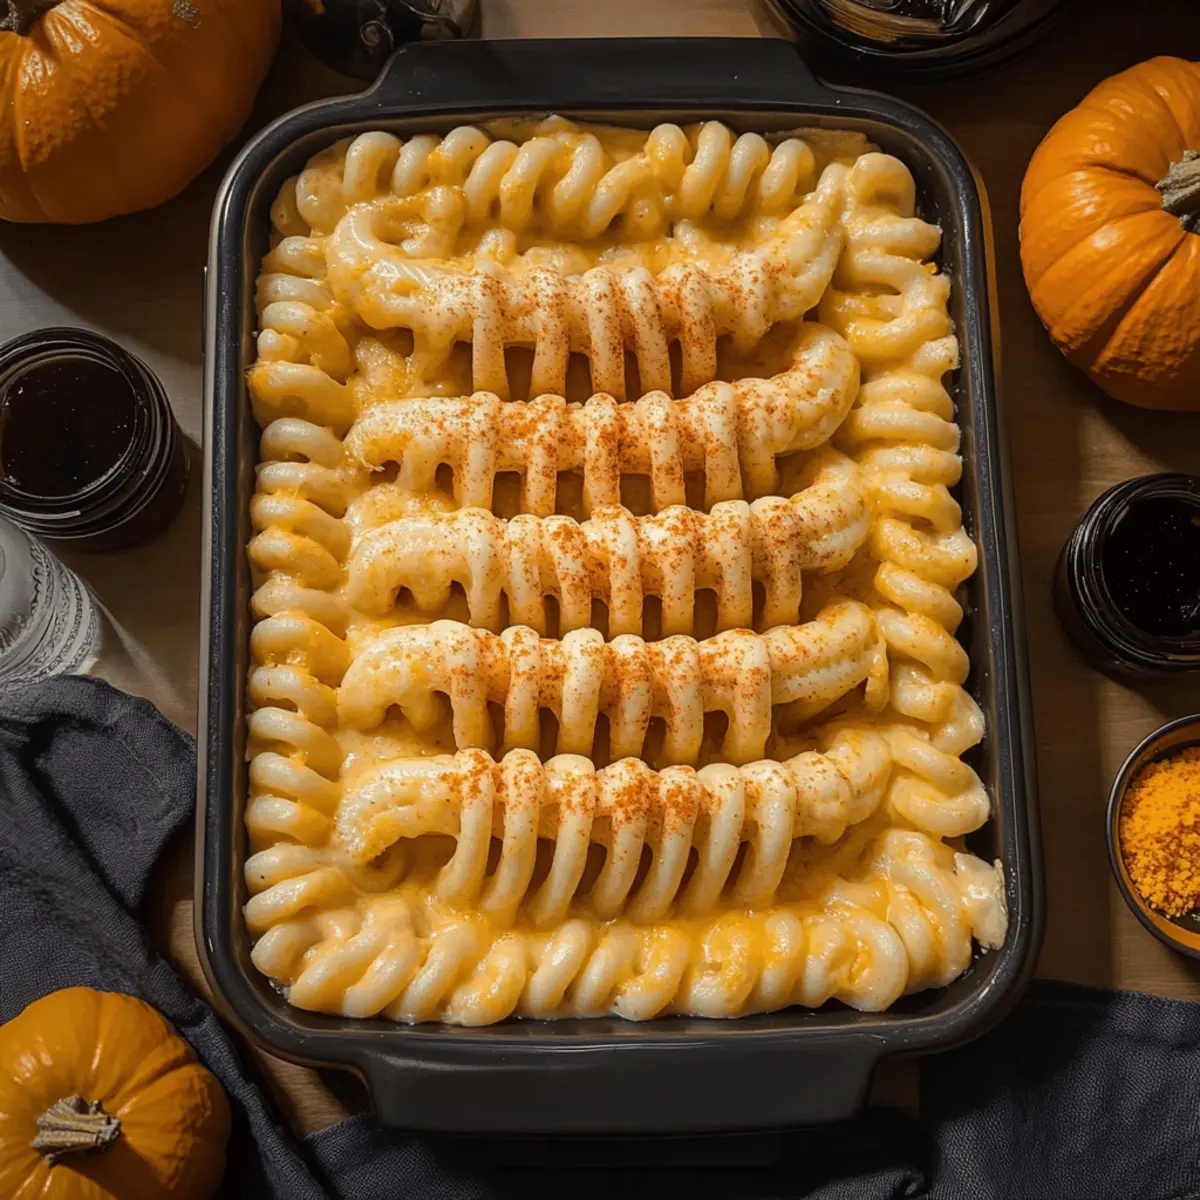
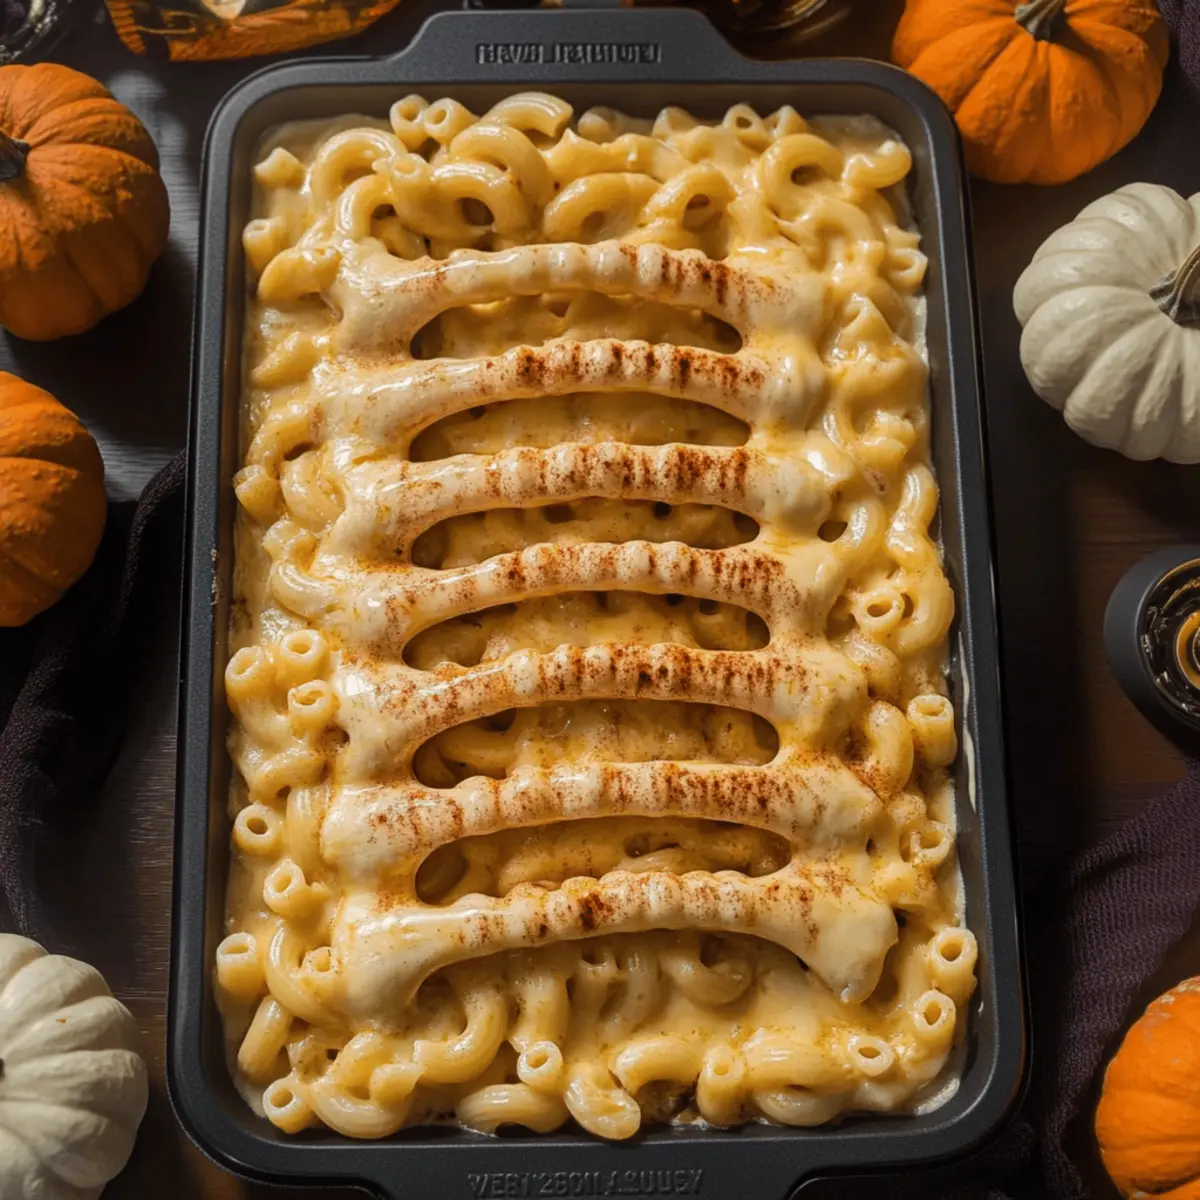
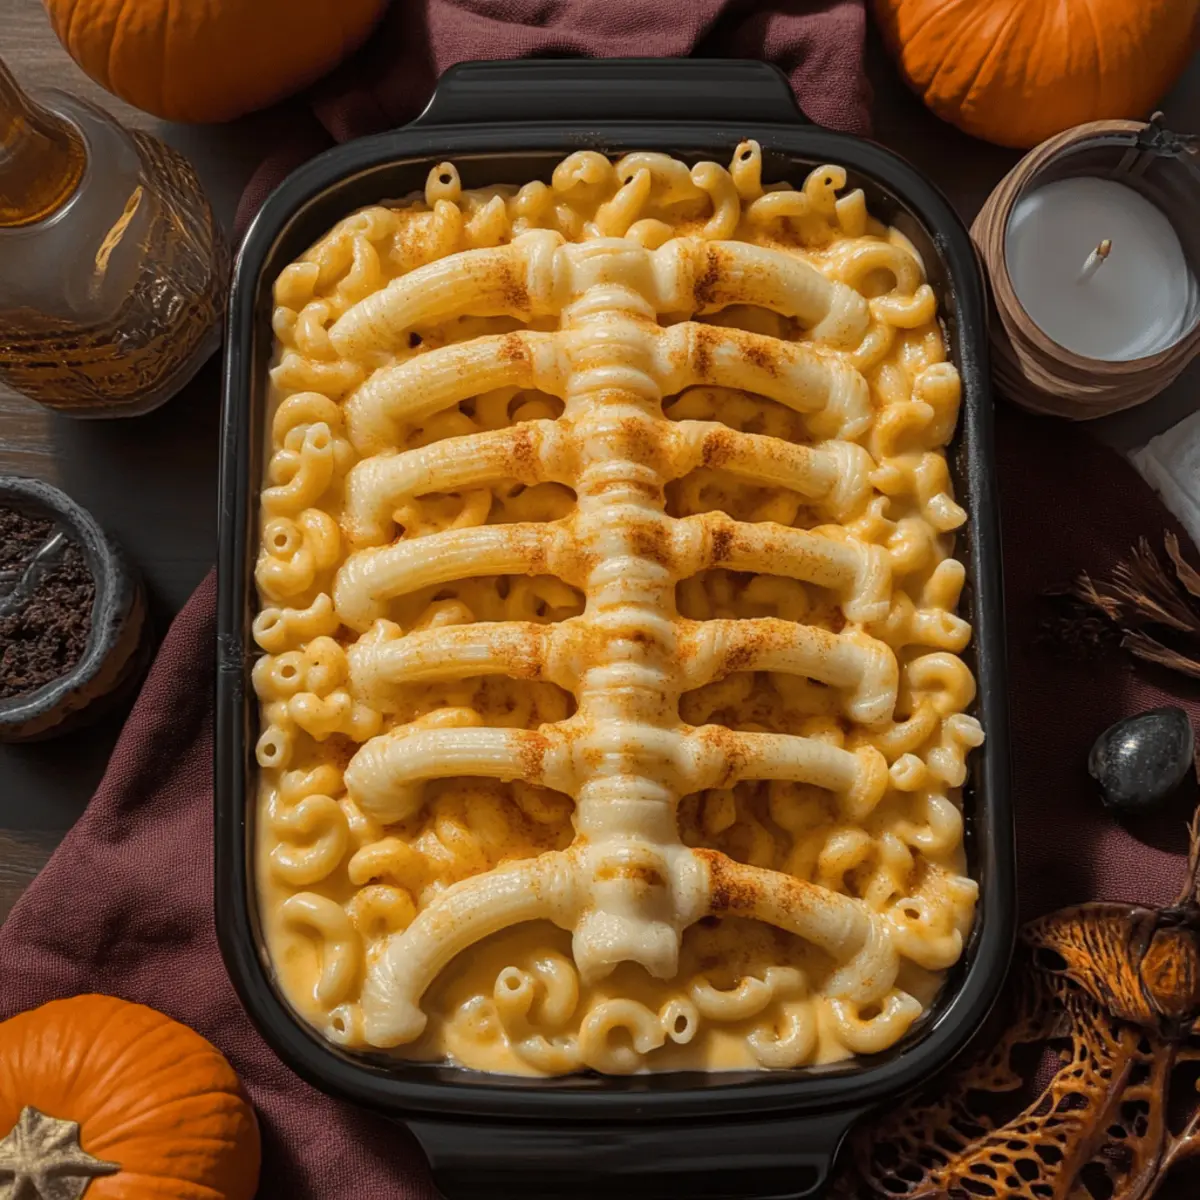
As I opened my fridge, the haunting whispers of Halloween inspiration filled the air. It’s that time of year when the culinary possibilities are as thrilling as a ghost story! Enter my Rib Cage Mac & Cheese—an extraordinary twist on a classic comfort food that will ignite your family’s imagination. This recipe features an ultra-creamy mac and cheese, topped with a whimsical rib cage crafted from crescent roll dough. Not only is it a playful nod to the holiday, but it also comes together quickly for a family-friendly meal that will satisfy both picky eaters and adventurous palates. With the perfect balance of comfort and creativity, are you ready to conjure up some spooky deliciousness in your kitchen?

Why is Rib Cage Mac & Cheese special?
Halloween Fun: This dish transforms a traditional meal into a festive masterpiece, making dinner feel like a celebration. Creamy Delight: With an ultra-creamy cheese sauce, each bite brings comforting flavors that warm your soul, perfect for chilly autumn nights. Family-Friendly: Kids will love the playful rib cage design, making it easy to impress even the pickiest of eaters. Quick Prep: Ready in no time, it’s an ideal recipe for busy evenings when you want to keep things spooky but simple. Bonus: if you’re craving more festive flavors, check out my Herbs Cheese Bread for a perfect side!
Rib Cage Mac & Cheese Ingredients
• If you’re ready to craft this spooky dish, here’s what you’ll need!
For the Pasta
- Macaroni Pasta – Use elbow macaroni for a traditional feel that holds the creamy cheese sauce perfectly.
For the Cheese Sauce
- Cheddar Cheese – The star of the dish, giving that rich and creamy character; mix sharp and mild cheddar for added depth.
- Milk – Whole milk or 2% is best for creaminess; almond milk can be a great non-dairy alternative.
- Butter – Adds that needed richness; feel free to substitute with margarine or olive oil for a lighter option.
- Flour – Acts as a thickener for the cheese sauce, with gluten-free flour as a suitable substitution.
For the Rib Cage Design
- Crescent Roll Dough – Essential for creating the playful rib cage; if not available, refrigerated biscuit dough can work as an alternative.
This Rib Cage Mac & Cheese combines delightful flavors with a playful presentation that the whole family will adore!
Step‑by‑Step Instructions for Rib Cage Mac & Cheese
Step 1: Cook the Pasta
Begin by bringing a large pot of salted water to a boil. Add the elbow macaroni and cook according to package instructions until al dente, about 8-10 minutes. Once cooked, drain the pasta in a colander and set it aside, allowing it to cool slightly while you prepare the cheese sauce.
Step 2: Prepare Cheese Sauce
In a medium saucepan, melt 4 tablespoons of butter over medium heat. Once melted, whisk in ¼ cup of flour and cook, stirring constantly for 1-2 minutes until golden and bubbly. Gradually whisk in 2 cups of milk, stirring continuously until the mixture thickens and bubbles, approximately 3-5 minutes. Stir in 2 cups of shredded cheddar cheese until fully melted and smooth, creating a luscious cheese sauce for your Rib Cage Mac & Cheese.
Step 3: Combine Ingredients
In a large mixing bowl or a baking dish, combine the cooked macaroni and the cheese sauce. Stir gently to thoroughly coat the pasta with the creamy mixture, ensuring every piece is enveloped in the cheesy goodness. This delightful blend sets the stage for the whimsical rib cage topping that will follow!
Step 4: Form the Rib Cage
Roll out a can of crescent roll dough on a clean surface or parchment paper. Cut the dough into long strips, about 1 inch wide, and create a rib cage design by layering the strips horizontally and vertically on top of the mac and cheese in the baking dish. Aim for an appealing presentation that mimics the shape of ribs, adding fun flair to your spooky dish.
Step 5: Bake
Preheat your oven to 350°F (175°C). Once heated, place the assembled Rib Cage Mac & Cheese in the oven and bake for 25-30 minutes. Keep an eye on it, watching for the crescent dough to turn golden brown and crispy, signaling that it’s ready to be taken out. The delightful aroma will fill your kitchen!
Step 6: Serve
After baking, allow the dish to cool for about 5-10 minutes. This helps the rib cage maintain its shape when serving. Slice through the golden crescent layers to reveal the creamy goodness inside before plating. Gather your family and enjoy this festive, flaky, and cheesy Rib Cage Mac & Cheese—perfect for a Halloween-themed meal!

Rib Cage Mac & Cheese Variations
Feel free to unleash your culinary creativity and customize this recipe with exciting twists that will tantalize your taste buds!
-
Bacon Boost: Add cooked bacon bits to the cheese sauce for a smoky flavor that elevates this comforting dish even further.
-
Cheesy Twists: Try using a mix of gouda and pepper jack for a delightful flavor surprise in your mac and cheese.
-
Spicy Kick: Include diced jalapeños or a splash of your favorite hot sauce in the cheese sauce to bring the heat, perfect for spice lovers!
-
Vegetarian Delight: Swap in sautéed mushrooms and spinach for added nutrition and earthy flavor, making this dish even more wholesome.
-
Nutty Flavor: For a unique twist, sprinkle in some toasted breadcrumbs mixed with parmesan cheese on top before baking for a crunchy texture.
-
Gluten-Free Option: Substitute traditional macaroni with gluten-free pasta and use almond milk instead of dairy for a friendly version that everyone can enjoy.
If you’re also in the mood for something sweet, why not check out my Piped Cream Cheese for a delightful dessert to balance your meal? It’s all about making this festive season one to remember!
How to Store and Freeze Rib Cage Mac & Cheese
Fridge: Store any leftovers in an airtight container for up to 3 days. This way, the creamy goodness remains intact for quick meals later in the week.
Freezer: Freeze the Rib Cage Mac & Cheese in a freezer-safe dish for up to 2 months. Wrap well with plastic wrap followed by aluminum foil to prevent freezer burn.
Reheating: When ready to enjoy, thaw overnight in the fridge, then reheat in the oven at 350°F (175°C) for 20-25 minutes or until heated through.
Make-Ahead: Prepare the dish a day in advance and store it in the fridge; simply bake it before serving for that fresh, comforting taste!
Make Ahead Options
These Rib Cage Mac & Cheese are perfect for busy home cooks looking to save time! You can prepare the creamy cheese sauce and cook the macaroni up to 24 hours in advance. Simply refrigerate the prepared sauce in an airtight container and keep the cooked pasta separate to prevent sticking. Additionally, you can assemble the entire mac and cheese mixture (without the crescent design) and store it in the fridge, covering it tightly for freshness. When you’re ready to serve, simply roll out the crescent dough, create the rib cage topping, and bake as directed for delightful, restaurant-quality results with minimal effort. Your spooky Halloween feast will be just as delicious!
Helpful Tricks for Rib Cage Mac & Cheese
-
Perfect Pasta: Avoid mushiness by cooking macaroni to al dente; it will hold up better during baking and provide a nice texture.
-
Cheese Choices: Don’t be afraid to mix cheeses; combining sharp and mild cheddar enhances flavor complexity in your Rib Cage Mac & Cheese.
-
Thickening Tips: Make sure to whisk the flour well in melted butter before adding milk; this prevents lumps in your creamy cheese sauce.
-
Crescent Precision: When forming the rib cage, cut the crescent dough evenly; this ensures a uniform and eye-catching design that’ll impress your guests.
-
Watch the Bake: Keep a close eye on the dish as it bakes; oven temperatures can vary, and you want the rib cage golden brown, not burnt.
What to Serve with Rib Cage Mac & Cheese?
The perfect Halloween centerpiece, this dish pairs beautifully with a variety of flavors to create a complete festive meal.
-
Crisp Green Salad: Fresh greens tossed with a light vinaigrette provide a refreshing contrast to the rich mac and cheese. The crunchiness adds texture that balances the creaminess.
-
Savory Garlic Bread: Warm, buttery garlic bread complements the cheesy goodness and enhances the overall comfort of the meal. It’s perfect for dipping into any leftover cheese sauce!
-
Roasted Veggies: A medley of seasonal veggies, roasted until caramelized, brings a hearty, earthy flavor that plays nicely with the dish’s more whimsical elements.
-
Spicy Pumpkin Soup: This creamy, spiced soup is a lovely starter that enriches your meal’s autumnal theme. Serve it alongside for a warming element that everyone will enjoy.
-
Apple Cider: A glass of chilled apple cider, either spiced or sweet, enhances the festive vibes while offering a nice balance to the savory flavors on your plate.
-
Candy Corn Cupcakes: These fun, themed desserts bring the essence of Halloween right to the table and are sure to delight kids and adults alike. Their sweetness complements the savory mac and cheese brilliantly!

Rib Cage Mac & Cheese Recipe FAQs
How do I choose the right macaroni pasta for Rib Cage Mac & Cheese?
Absolutely! For the best results, I recommend using elbow macaroni as it’s the traditional choice that holds the creamy cheese sauce perfectly. Look for pasta that has a firm texture and is free from dark spots or cracks, as these can affect the cooking quality.
What’s the best way to store leftover Rib Cage Mac & Cheese?
Sure! Store any leftovers in an airtight container in the fridge for up to 3 days. This helps maintain its creamy texture. When you want to reheat, simply pop it in the oven at 350°F for about 20-25 minutes until warmed through and enjoyable again.
Can I freeze Rib Cage Mac & Cheese for later use?
Yes, you can! To freeze, transfer the assembled Rib Cage Mac & Cheese to a freezer-safe dish. Cover it tightly with plastic wrap and then aluminum foil to prevent freezer burn. It can be frozen for up to 2 months. When ready to enjoy, thaw it overnight in the fridge and then bake it at 350°F for 20-25 minutes.
I’m concerned about nutritional values; how can I make this dish healthier?
Very good question! There are several ways to make Rib Cage Mac & Cheese healthier while still keeping it delicious. Use whole grain or legume-based macaroni for added fiber. For the cheese, consider using reduced-fat cheese options or mixing in some veggies like steamed broccoli for extra nutrients. If you want to lighten up the recipe further, you can substitute some of the butter with olive oil or even use low-fat milk instead of whole milk.
How do I ensure that the crescent roll rib cage comes out perfectly?
To create a beautiful rib cage, evenly cut your crescent dough into 1-inch strips. Layer the strips carefully on top of the mac and cheese to form a visually appealing design that mimics actual ribs. Keep an eye on the baking time; the goal is a golden brown color without burning. It’s all about striking that perfect balance!
Can I make Rib Cage Mac & Cheese ahead of time?
Absolutely! You can prepare the dish a day in advance. Simply assemble everything in a baking dish and store it in the fridge until you’re ready to bake. This makes it perfect for those busy Halloween nights, ensuring you have a fun yet stress-free meal ready to go!

Rib Cage Mac & Cheese: The Ultimate Halloween Comfort Dish
Ingredients
Equipment
Method
- Bring a large pot of salted water to a boil. Add the elbow macaroni and cook for 8-10 minutes until al dente. Drain the pasta and set aside.
- In a medium saucepan, melt 4 tablespoons of butter over medium heat. Whisk in ¼ cup of flour and cook for 1-2 minutes. Gradually whisk in 2 cups of milk, stirring continuously until thickened, about 3-5 minutes. Stir in 2 cups of shredded cheddar until smooth.
- In a large mixing bowl, combine the cooked macaroni and cheese sauce, stirring gently to coat the pasta.
- Roll out a can of crescent roll dough. Cut into long strips to form a rib cage design and place on top of the mac and cheese.
- Preheat the oven to 350°F (175°C) and bake for 25-30 minutes until golden brown.
- Allow to cool for 5-10 minutes before slicing and serving.

Leave a Reply