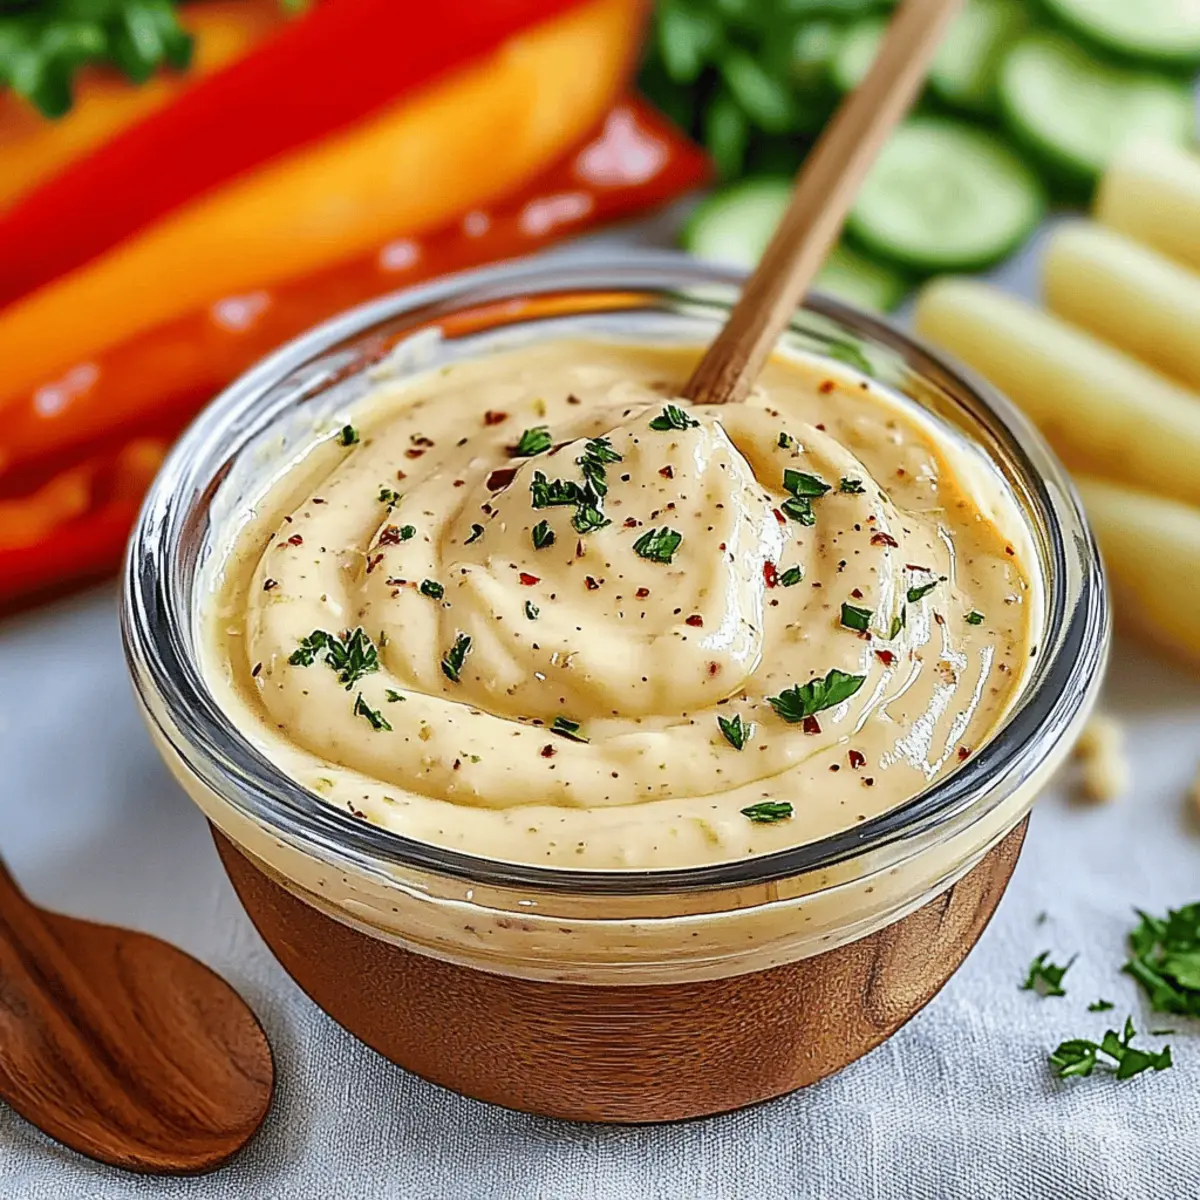
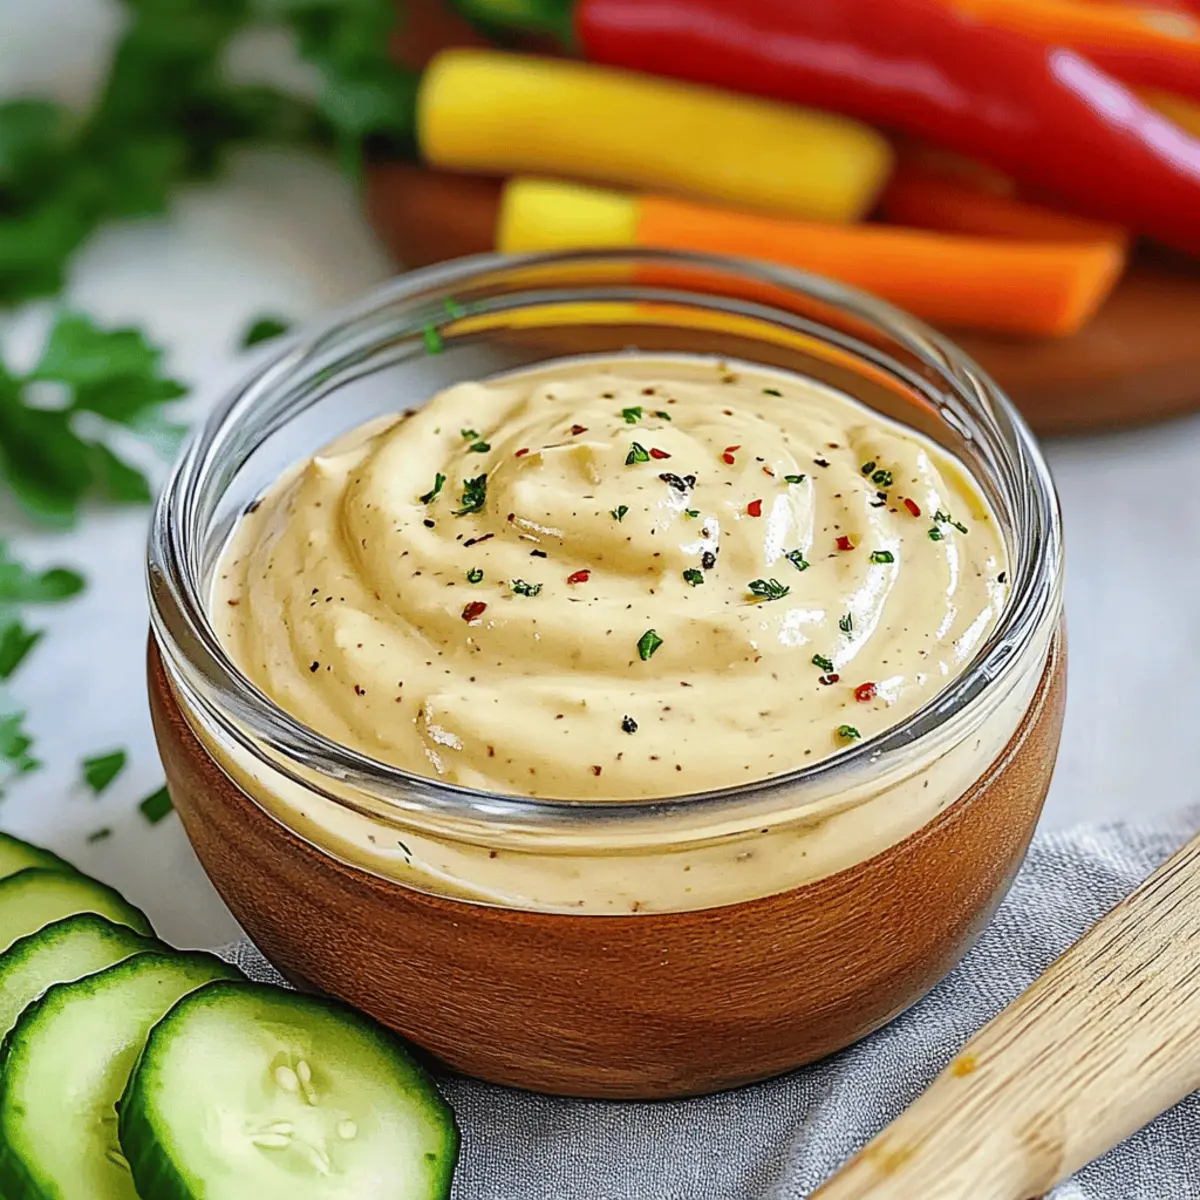
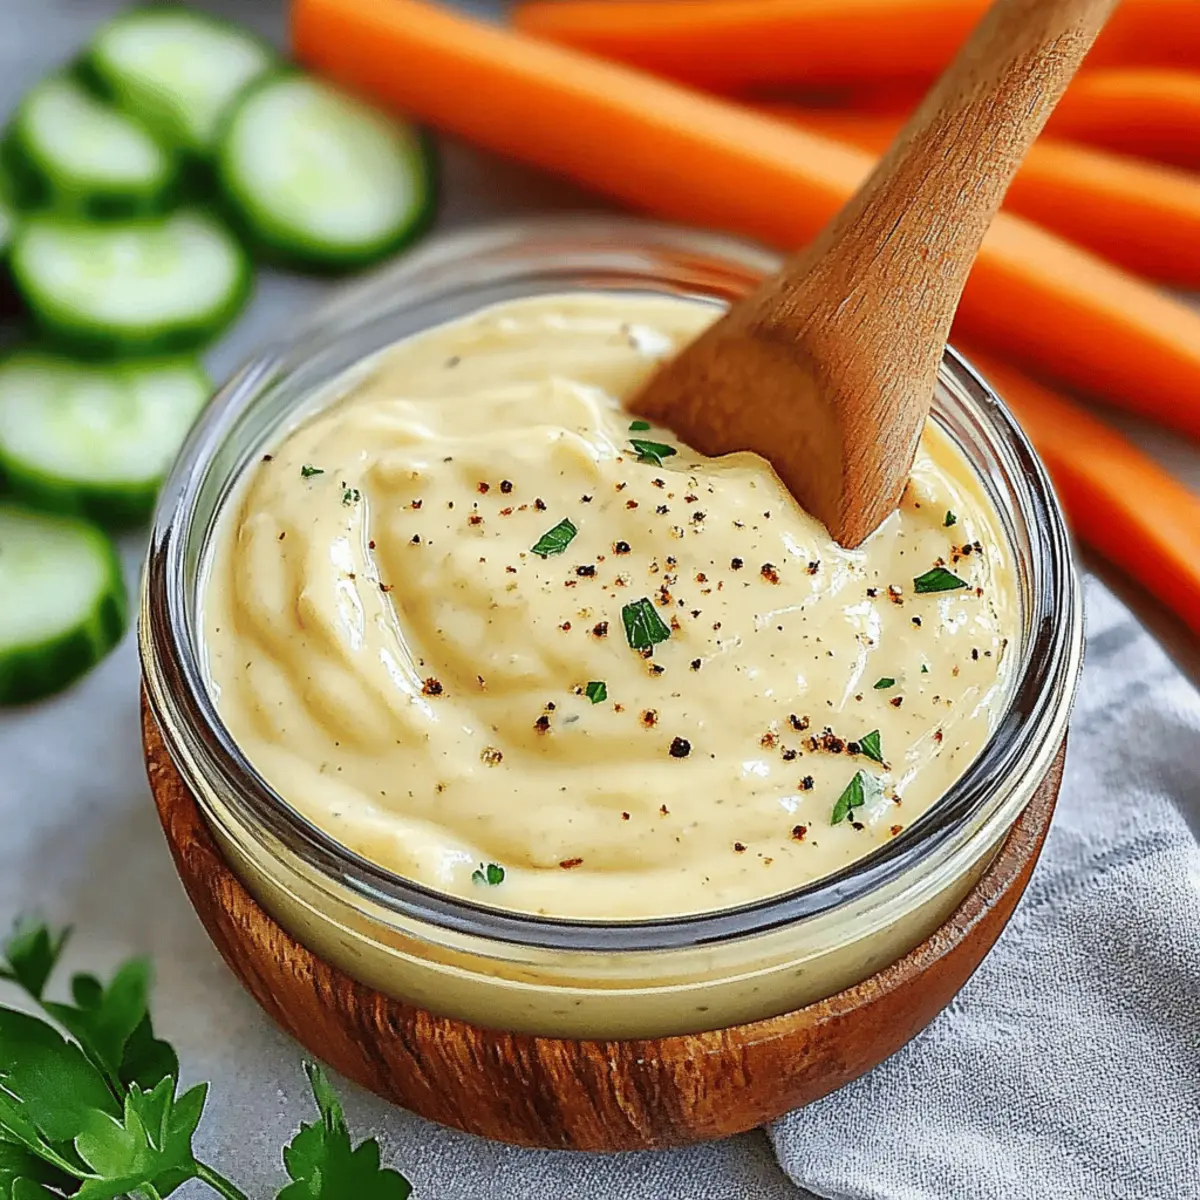
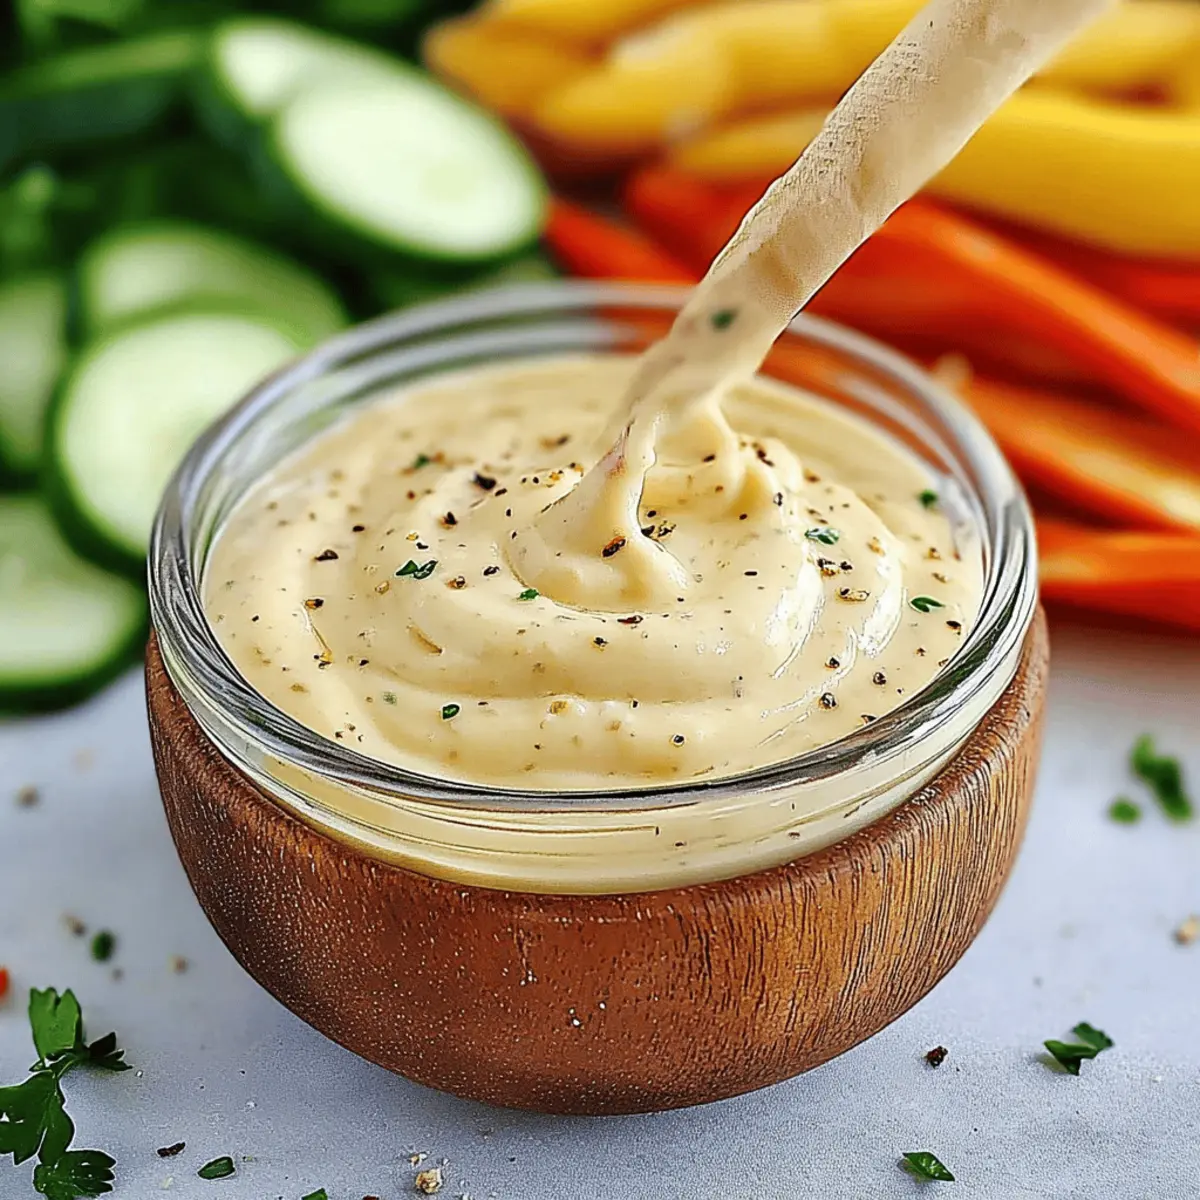
As I carefully peeled back the layers of linen-wrapped garlic, the sweet, nutty aroma wafted through my kitchen, instantly transporting me to the sun-drenched shores of the Mediterranean. Today, I’m excited to share my very own Roasted Garlic Aioli Sauce, a creamy concoction that’s as versatile as it is delicious. Perfect for slathering on sandwiches or as a dip for fresh veggies, this homemade delight will elevate any meal. Not only is it easy to whip up, but it also lends itself beautifully to healthy variations—think Greek yogurt instead of mayonnaise for a lighter twist! Ready to transform your everyday dishes? Let’s dive into this simple yet luxurious recipe and discover how a little roasted garlic can make a big difference!

Why Is Roasted Garlic Aioli Sauce So Special?
Versatile and Adaptable: This aioli isn’t just a dip—use it to elevate sandwiches, grilled seafood, or even roasted vegetables!
Creamy Delight: With a smooth texture and rich, roasted garlic flavor, every bite is a luxurious treat that delights the senses.
Easily Customized: Want a lighter option? Try using Greek yogurt instead of mayonnaise for a tangy twist.
Quick and Simple: In under 30 minutes, you can whip up this homemade sauce that’s a hit at any gathering.
Fresh Ingredients: Using freshly roasted garlic brings out a sweet, nutty flavor that jarred sauces just can’t match.
Give this roasted garlic aioli a try and see how it transforms your meals—it’s the ultimate companion to your culinary creations, just like my delicious Cheesy Garlic Chicken Wraps or Cheesy Garlic Ritz!
Roasted Garlic Aioli Sauce Ingredients
• Dive into the deliciousness of homemade flavor!
For the Aioli
- Garlic – Roasted until sweet and caramelized, it’s the heart and soul of your aioli.
- Mayonnaise – Acts as the creamy base; replace with Greek yogurt for a lighter version!
- Lemon Juice – Adds brightness and acidity, balancing the rich creaminess.
- Dijon Mustard – Offers a tangy kick; feel free to leave it out for a milder taste.
- Salt – Essential for enhancing all the flavors; adjust according to your preference.
- Black Pepper – Introduces mild heat and depth; crush your own for extra flavor.
- Olive Oil (optional) – For extra richness, though you can skip it for a lighter option.
- Fresh Herbs (optional) – Parsley or chives for that fresh pop of color and flavor!
Get ready to indulge in a creamy Roasted Garlic Aioli Sauce that promises to elevate your meals and delight your guests!
Step‑by‑Step Instructions for Roasted Garlic Aioli Sauce
Step 1: Preheat and Prepare Garlic
Begin by preheating your oven to 400°F (200°C). While it heats, take a head of garlic, peel away the outer layers, and slice off approximately 1/4 inch from the top to expose the individual cloves. This preparation allows the sweet, nutty aroma of roasted garlic to infuse your aioli sauce beautifully.
Step 2: Roast the Garlic
Drizzle a teaspoon of olive oil over the cut garlic, ensuring it’s evenly coated. Wrap the garlic head in aluminum foil, creating a sealed pouch, then place it directly onto the oven rack. Roast for 30-35 minutes, or until the cloves are soft and golden brown. You’ll know they’re ready when the sweet aroma fills your kitchen, promising delicious flavor for your roasted garlic aioli sauce.
Step 3: Make the Garlic Paste
Once the garlic is roasted and has cooled slightly, unwrap it carefully to avoid steam. Squeeze the roasted cloves out of their skins and into a mixing bowl, forming a smooth paste. Use the back of a fork or a small spatula to mash the cloves, as this released sweetness will be the foundation of your creamy roasted garlic aioli.
Step 4: Combine Ingredients
In a large mixing bowl, add your roasted garlic paste, followed by half a cup of mayonnaise, a tablespoon of lemon juice, and a teaspoon of Dijon mustard for some tang. Sprinkle in salt and freshly cracked black pepper to taste. Whisk the mixture together thoroughly until you achieve a creamy, smooth texture, ensuring all flavors meld together beautifully in your aioli sauce.
Step 5: Enhance with Olive Oil
If you desire an even richer flavor, gently stir in an extra tablespoon of olive oil into the mixture. This step is optional but adds depth and a luxurious touch to your roasted garlic aioli sauce. Taste and adjust the seasoning with more salt or pepper as desired to refine the flavor profile to your liking.
Step 6: Chill for Flavor Development
Cover your mixing bowl tightly with plastic wrap or transfer the aioli into an airtight container. Refrigerate for at least 30 minutes before serving; this chilling time allows the flavors to develop fully, resulting in a well-rounded roasted garlic aioli sauce that’s perfect for dipping or spreading.
Step 7: Serve and Garnish
When ready to serve, give your roasted garlic aioli a quick stir and taste again, adjusting seasoning if necessary. Present your aioli in a small bowl with an optional garnish of fresh herbs like chopped parsley or chives for an inviting pop of color. Serve alongside fresh vegetables, crispy bread, or drizzled over grilled meats for a delightful culinary experience.

How to Store and Freeze Roasted Garlic Aioli Sauce
Fridge: Store your roasted garlic aioli sauce in an airtight container for up to one week. Ensure it’s tightly sealed to maintain freshness and prevent absorption of other odors.
Freezer: For longer storage, you can freeze the aioli in ice cube trays. Once frozen, transfer the cubes to a zip-top bag and keep for up to 3 months. Thaw in the fridge before use.
Reheating: While aioli is typically served cold or at room temperature, if thawed, stir well to recombine before enjoying. The flavors will meld nicely as it comes to room temperature.
Make Ahead: You can prepare the aioli a day in advance; just remember to refrigerate for at least 30 minutes before serving to enhance the flavors.
Expert Tips for Roasted Garlic Aioli Sauce
-
Fully Roasted Garlic: Ensure your garlic is roasted until soft and golden; undercooked garlic will dominate the flavor, making your aioli taste harsh.
-
Custom Smokiness: To achieve a hint of smokiness, add a teaspoon of smoked paprika or a dash of liquid smoke—this complements the roasted garlic beautifully.
-
Use Fresh Ingredients: Always opt for fresh, high-quality ingredients. It’s essential for the best flavor, especially in your homemade roasted garlic aioli sauce.
-
Experiment with Flavors: Don’t hesitate to add different spices or flavors! A few drops of hot sauce or some sun-dried tomatoes can create a unique twist.
-
Chill for Best Taste: Allow the aioli to chill for at least 30 minutes before serving. This resting period helps the flavors meld together for a richer taste.
Make Ahead Options
These Roasted Garlic Aioli Sauce preparations are a lifesaver for busy weeknights! You can roast the garlic up to 24 hours in advance, allowing it to cool before squeezing it into a paste. Additionally, you can combine the garlic paste with the mayonnaise, lemon juice, Dijon mustard, salt, and pepper the night before, then store it in the refrigerator in an airtight container. This not only saves time but also allows the flavors to meld beautifully, resulting in a more robust taste. When you’re ready to serve, simply give it a quick stir to recombine, and enjoy the same deliciousness with minimal effort!
Roasted Garlic Aioli Sauce Variations
Feel free to make this recipe your own, exploring new flavors and textures that tantalize your taste buds!
- Greek Yogurt: Replace half of the mayonnaise with Greek yogurt for a lighter, tangy twist that adds a delightful creaminess.
- Flavor Boost: Stir in roasted red peppers or sun-dried tomatoes for a vibrant color and rich, smoky flavor. Their sweetness complements the aioli beautifully.
- Spicy Kick: Add a pinch of cayenne pepper or replace Dijon mustard with spicy mustard to turn up the heat for those who enjoy a little adventure.
- Herb-Infused: Mix in fresh basil or dill for a refreshing twist that brightens up the aioli, making it perfect for summer gatherings.
- Smoky Notes: Consider adding a teaspoon of smoked paprika for a hint of smokiness that contrasts wonderfully with the roasted garlic.
- Nutty Touch: Blend in a tablespoon of tahini for a nutty flavor that adds a unique depth to your aioli, perfect for dipping fresh veggies.
- Citrusy Twist: Squeeze in a bit more lemon juice or even add lime for a zesty freshness that can elevate your dish to new heights.
- Creamier Option: For an ultra-rich aioli, fold in 1-2 tablespoons of sour cream along with the mayonnaise, enhancing the creamy texture.
Experimentation is key! Try these variations to elevate your culinary experience, and pair your aioli with crisp veggies or a delectable spread on a sandwich! Want to explore more cheesy goodness? Check out my Cheesy Garlic Chicken Wraps!
What to Serve with Creamy Roasted Garlic Aioli Sauce
Elevate your culinary creations with mouthwatering sides that perfectly complement the rich flavors of this delightful sauce.
-
Crispy French Fries: The ultimate pairing, these golden fries become even more irresistible when dipped in creamy roasted garlic aioli, creating a tantalizing contrast of textures.
-
Grilled Asparagus: Fresh and slightly charred, the earthiness of asparagus pairs beautifully with the savory notes of aioli, transforming a simple vegetable into a gourmet treat.
-
Savory Sandwiches: Slather roasted garlic aioli on your favorite deli meats or veggie sandwiches for an added layer of creamy goodness that elevates every bite.
-
Roasted Chicken Skewers: These juicy, tender skewers infused with spices become a showstopper when dipped in the rich aioli, making dinner feel extra special and satisfying.
-
Fresh Crudités Platter: A vibrant mix of crunchy vegetables like bell peppers, carrots, and cucumbers provide a refreshing crunch that balances the richness of the aioli, promoting healthy snacking.
-
Grilled Shrimp Tacos: The zesty flavors of shrimp tacos are perfectly enhanced by a drizzle of creamy roasted garlic aioli, adding depth without overwhelming the dish.
-
Crusty Bread: Dip slices of warm, crusty artisan bread into the aioli for a comforting and indulgent appetizer that will keep your guests coming back for more!
-
Lemon Herb Quinoa Salad: This light and aromatic salad pairs wonderfully with garlic aioli, as the tangy aioli complements the freshness of herbs and lemon, enhancing the overall experience.
Tailor your meal with these pairings, and watch as your roasted garlic aioli takes center stage, inspiring joy at your dining table!

Roasted Garlic Aioli Sauce Recipe FAQs
What type of garlic should I use for the best flavor?
Absolutely! For the best flavor, always use fresh heads of garlic that are firm and free of dark spots. Look for bulbs that are tight and heavy; avoid any with soft spots or sprouting. Roasting enhances the sweet, nutty flavors, so quality garlic really makes a difference!
How long can I store roasted garlic aioli sauce?
Very good question! You can store your roasted garlic aioli sauce in an airtight container in the refrigerator for up to one week. Just make sure it’s sealed well to maintain its freshness and flavor. If you notice any separation, simply stir it well before using.
Can I freeze roasted garlic aioli sauce?
Yes, you can! To freeze, pour your aioli into ice cube trays and freeze until solid. Once frozen, transfer the cubes to a zip-top bag, and they will keep for up to 3 months. When you’re ready to use them, thaw in the fridge overnight and give it a good stir before serving.
What should I do if my aioli is too garlicky?
If your aioli tastes too garlicky, don’t worry! You can balance it out by adding more mayonnaise to dilute the garlic flavor. Mix in additional lemon juice to brighten it up and sprinkle more salt to enhance the overall taste. If you’re feeling adventurous, blend in some sour cream or Greek yogurt for a creamier, milder flavor.
Can I use this roasted garlic aioli sauce for my pets?
While garlic can be great for human consumption, it’s important to remember that garlic is toxic to dogs and cats. So, I wouldn’t recommend sharing any aioli containing garlic with your furry friends. Always keep their safety in mind when preparing food!
Can I make substitutions for the ingredients in the aioli?
For sure! You can easily substitute half of the mayonnaise with Greek yogurt for a lighter, tangier twist. If you’re looking to switch things up further, consider adding roasted red peppers or various spices like smoked paprika for a unique flavor. The more you experiment, the more delicious variations you’ll discover!

Roasted Garlic Aioli Sauce: A Creamy Delight You'll Love
Ingredients
Equipment
Method
- Preheat your oven to 400°F (200°C). Peel away the outer layers of a head of garlic and slice off 1/4 inch from the top.
- Drizzle a teaspoon of olive oil over the cut garlic and wrap it in aluminum foil. Roast for 30-35 minutes until soft and golden brown.
- Once roasted, unwrap and squeeze the garlic cloves into a mixing bowl to form a smooth paste.
- In a large bowl, combine the garlic paste, mayonnaise, lemon juice, Dijon mustard, and season with salt and pepper. Whisk together.
- Optional: Stir in an extra tablespoon of olive oil for richness. Adjust seasoning to taste.
- Cover tightly and refrigerate for at least 30 minutes to allow flavors to develop before serving.
- Serve your aioli with fresh vegetables, bread, or over grilled meats, garnishing with fresh herbs if desired.

Leave a Reply