
The sizzle of sweet corn hitting a hot skillet can ignite the best memories from summer barbecues—those delightful moments when everyone gathers around to share stories and laughter. With my Easy Skillet Blackened Corn, you can recreate that nostalgic experience any night of the week. This quick and easy side dish boasts a smoky flavor thanks to a homemade seasoning blend, making it perfect for busy weeknights or a festive gathering. Not only is it customizable to suit your taste, but it also comes together in minutes, leaving you more time to savor the culinary joy it brings. Are you ready to dive into the delightful world of blackened corn? Let’s cook!
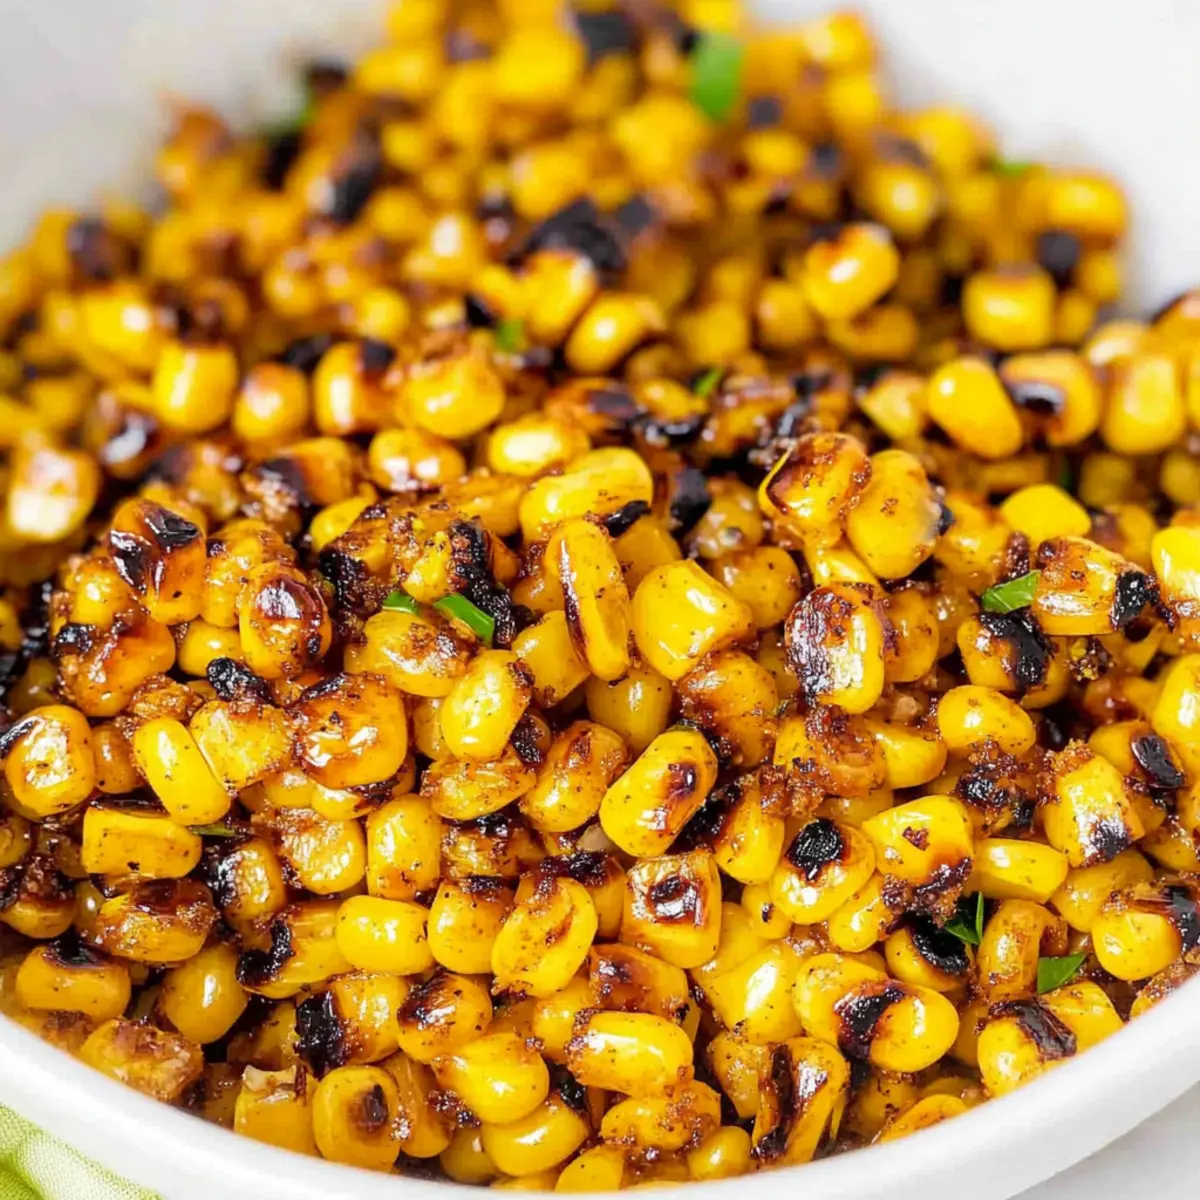
Why is Blackened Corn a Must-Try?
Simplicity at its Finest: This quick and easy dish requires minimal prep, making it perfect for hectic weeknights.
Smoky Flavor Explosion: Experience a delightful depth with homemade blackening seasoning, elevating plain corn to gourmet status.
Customizable Creations: Add your favorite spices or toppings like cotija cheese to tailor it to your taste, just like with Mexican Street Corn.
Versatile Side Dish: Whether paired with grilled meats or tossed in salads, this blackened corn complements any meal beautifully.
Perfect for Batch Cooking: Easily make a big batch, enjoy leftovers as a quick snack, or reheat in a skillet for maximum freshness.
With these fantastic features, you’ll be reaching for this recipe time and again!
Blackened Corn Ingredients
• The essential items you’ll need to create this delicious side dish.
For the Corn
- Sweet Corn – Fresh, frozen, or canned corn adds natural sweetness and satisfying texture. Drain canned corn if using.
- Olive Oil – Provides a rich base for sautéing the corn to perfection.
For the Seasoning
- Salt – Enhances the overall flavor for a delightful taste experience.
- Black Pepper – Adds mild heat and depth to the seasoning blend.
- Smoked Paprika – Essential for that rich, smoky flavor characteristic of blackened corn.
- Onion Powder – Imparts sweetness and savory notes that elevate the dish.
- Garlic Powder – Adds aromatic depth that complements the other flavors.
For the Finish
- Butter – Balances the flavor and is key for achieving that perfect charring effect.
This combination of ingredients ensures that your blackened corn delivers every time, providing a delicious and quick side dish you’ll love!
Step‑by‑Step Instructions for Easy Skillet Blackened Corn
Step 1: Prep Corn
Begin by preparing your corn for this blackened corn recipe. Pat dry the sweet corn kernels with a paper towel to remove excess moisture, ensuring a better char. This step is crucial as it allows the corn to caramelize beautifully in the skillet, unlocking those delightful flavors we all crave.
Step 2: Mix Seasonings
In a small bowl, combine salt, black pepper, smoked paprika, onion powder, and garlic powder. Whisk these spices together until well blended, creating a homemade blackening seasoning that will infuse the corn with a smoky flavor. This step enhances the taste of the corn and adds depth, making the dish truly exceptional.
Step 3: Heat Oil and Butter
Place a cast iron skillet over medium-high heat, allowing it to warm up for a couple of minutes. Once hot, add olive oil and a generous pat of butter to the skillet. Swirl the pan gently to combine the fats until melted and bubbly, creating a rich base for your blackened corn to thrive.
Step 4: Add Corn
Carefully introduce the dry corn kernels to the skillet, ensuring they are evenly spread across the surface. Sprinkle the mixed seasoning blend over the corn, stirring gently to coat every kernel uniformly. By mixing the spices well, you set the stage for that signature blackened flavor to develop beautifully.
Step 5: Brown Corn
Using a spatula, spread the corn evenly across the skillet and press down gently. Allow the corn to cook undisturbed for about 2-3 minutes. This will allow the kernels to develop a nice golden color with darkened edges, achieving that sought-after char that makes this blackened corn so irresistible.
Step 6: Stir and Press Again
After the initial browning, stir the corn to redistribute the kernels and press down once more. Cook for an additional 3-4 minutes, allowing the corn to develop more color and a deeper flavor. Continue to monitor it closely to avoid burning while achieving the perfect balance of crispness and tenderness.
Step 7: Garnish
Once the corn has reached a beautiful golden brown with deep charred edges, remove the skillet from heat. Optionally, sprinkle in fresh herbs like cilantro or chives for extra flavor and a pop of color. Serve your vibrant blackened corn immediately, as it’s best enjoyed fresh out of the skillet.
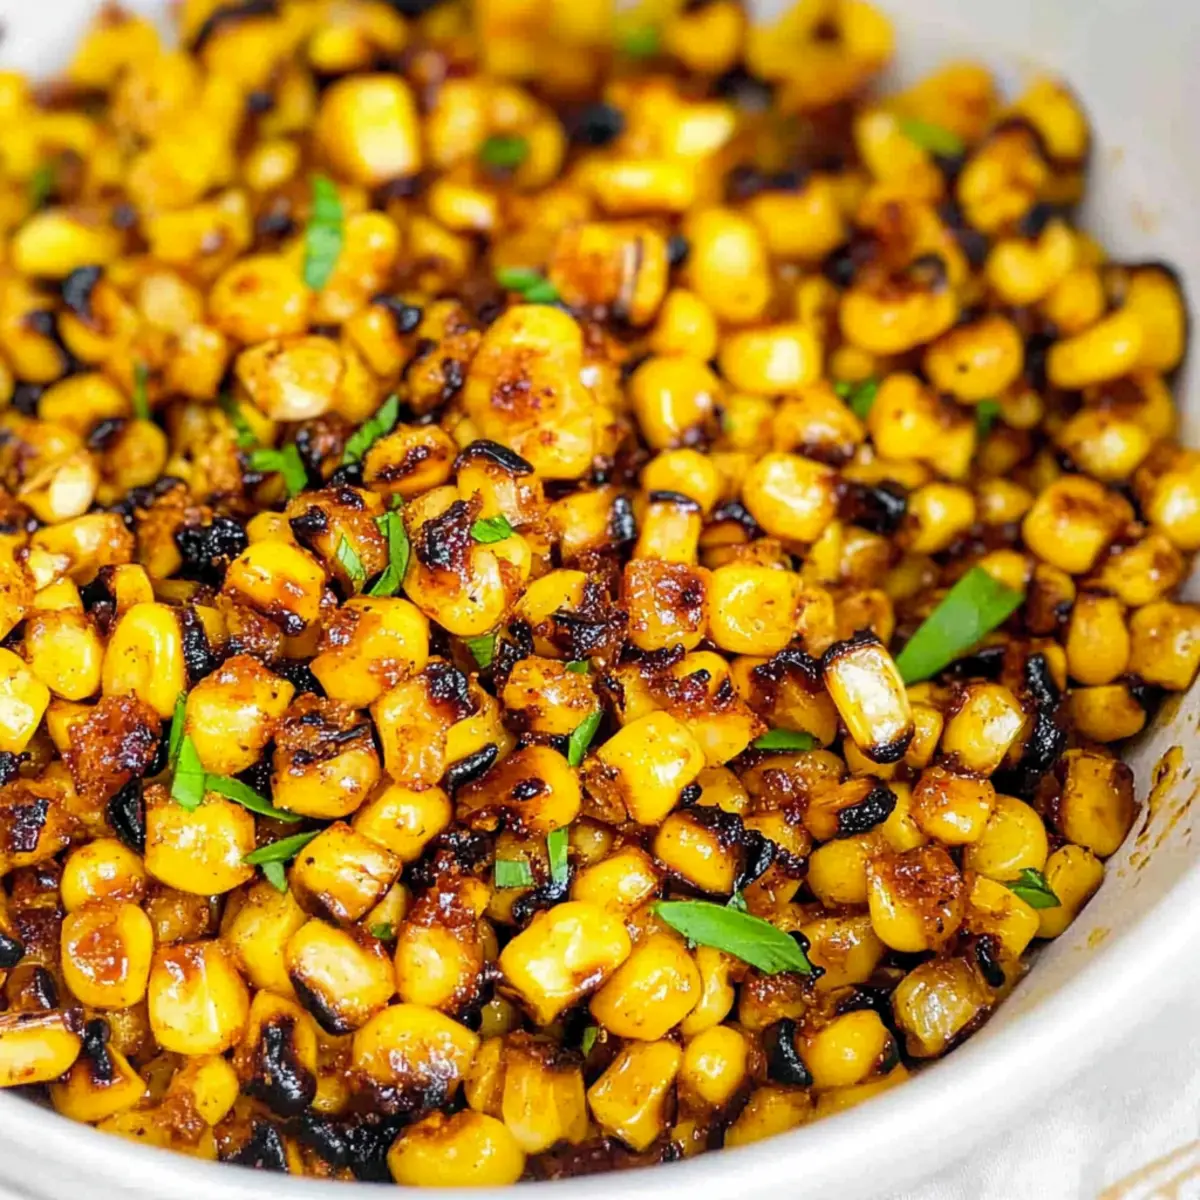
Helpful Tricks for Blackened Corn
-
Drying is Key: Patting the corn kernels dry ensures a crispier finish; moisture can prevent that beautiful char you’re after.
-
Seasoning Balance: Remember that smoked paprika is essential for achieving the classic blackened flavor; don’t skip this spice!
-
Don’t Rush Browning: Allow the corn to cook undisturbed initially; constant stirring can keep it from reaching that desired caramelization effect.
-
Taste as You Go: Depending on your spice tolerance, feel free to adjust the seasoning blend; a pinch of cayenne can bring extra heat if desired.
-
Serving Fresh: Blackened corn is best enjoyed straight from the skillet; leftovers can be reheated but may lose some of their delightful texture.
Embrace these tips for making perfect blackened corn that will elevate your home-cooked meals!
Make Ahead Options
Preparing Easy Skillet Blackened Corn in advance is a fantastic way to save time during busy weeknights! You can mix the homemade seasoning and store it in an airtight container for up to 3 days ahead; this prevents the spices from losing their potency. Additionally, pat dry and refrigerate the corn kernels—either fresh or frozen—for up to 24 hours before cooking. When you’re ready to enjoy your delicious blackened corn, simply heat your skillet with oil and butter, add the corn, and follow the cooking instructions as usual. This way, you’ll experience the rich, smoky flavors of homemade blackened corn without the last-minute rush!
How to Store and Freeze Blackened Corn
Fridge: Store leftovers in an airtight container in the refrigerator for up to 3 days to maintain their flavor and texture.
Freezer: If you want to freeze blackened corn, place it in a freezer-safe container or zip-top bag. It will stay fresh for up to 2 months; just remember to remove excess air to prevent freezer burn.
Reheating: Reheat in a skillet over medium heat, adding a little butter or olive oil to help restore that delicious char. Stir occasionally until heated through for the best taste and texture.
What to Serve with Easy Skillet Blackened Corn
Experience the delicious interplay of flavors and textures that elevate your meal when you pair the smoky charm of blackened corn with these enticing accompaniments.
-
Grilled Chicken: Juicy, tender grilled chicken marinated with lemon complements the corn’s richness, adding a zesty brightness to your plate.
-
Fresh Garden Salad: A crisp salad of mixed greens and tomatoes provides a refreshing contrast to the smoky corn, keeping your meal light and vibrant.
-
Tacos with Beef: The bold tones of seasoned beef tacos blend beautifully with blackened corn, enhancing the dish’s depth while offering delightful crunch.
-
Creamy Coleslaw: This creamy, tangy side adds a delightful crunch to balance the charred sweetness of blackened corn, creating a lovely textural contrast.
-
Cornbread Muffins: Sweet cornbread muffins echo the flavors of corn, delivering warmth and comfort while adding a pleasant, soft consistency.
-
Chilled White Wine: A chilled glass of Sauvignon Blanc enhances the meal’s summer vibes, refreshing your palate with each sip against the smoky corn.
-
Grilled Vegetable Skewers: Colorful bell peppers and zucchini elevate the freshness in your meal, making a beautiful presentation and flavor harmony alongside the blackened corn.
-
Lime Coconut Sorbet: For dessert, this light and zesty sorbet wonderfully complements the smoky corn, providing a sweet finish with a hint of tropical flair.
These pairings promise to transform a simple meal into a festive feast, exciting your taste buds and leaving everyone asking for more!
Blackened Corn Variations & Substitutions
Feel free to take this blackened corn recipe and make it your own with these delightful twists!
-
Spicy Kick: Add diced jalapeños to the skillet for a zesty pop of heat. You can control the spice level by adjusting the amount you use.
-
Creamy Addition: Stir in a dollop of crema or sour cream for a creamy texture that balances the smoky flavor brilliantly. This lusciousness takes it to a new level!
-
Grilled Flavor: Toss your corn in the grill pan for an even smokier taste. The char marks will add flavor while still keeping it super easy.
-
Herb-Infused: Mix in freshly chopped herbs like basil or dill for a refreshing flavor boost. They add brightness and a lovely touch of color!
-
Sweet and Savory: Drizzle with honey or maple syrup before serving for a wonderful sweet contrast. This makes for a beautiful flavor profile that’s perfect for entertaining.
-
Cheesy Delight: Sprinkle crumbled feta or cotija cheese right before serving for a salty tang that pairs wonderfully with the sweetness of the corn. Just like with a classic Mexican Street Corn, this addition is sure to impress.
-
Vegetarian Twist: Incorporate diced zucchini or bell peppers into the mix for added texture and nutrition. This gives your dish an extra colorful flair.
-
Nutty Crunch: Add toasted pecans or almonds for an unexpected crunch that elevates the dish. These nuts not only add texture but also a delightful contrast to the sweet corn.
Experiment with these variations, and make this blackened corn recipe a staple in your home-cooked meals!
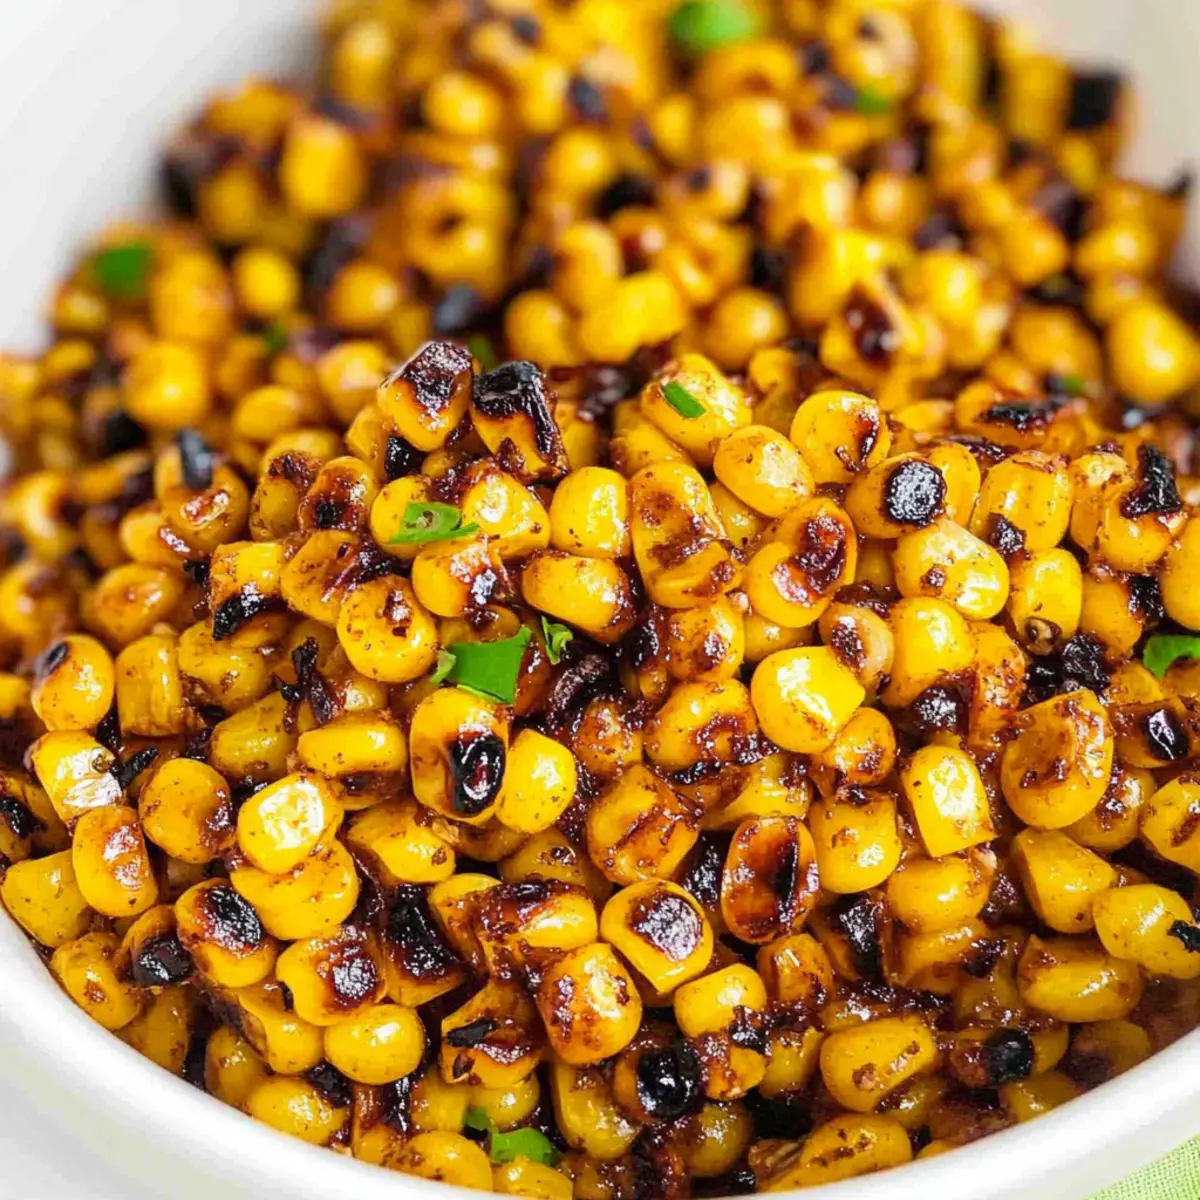
Blackened Corn Recipe FAQs
How do I choose the best corn for this recipe?
Absolutely! For the best flavor and texture, I recommend using fresh sweet corn if it’s in season. If not, frozen corn is a great alternative as it retains its firmness. If you opt for canned corn, make sure to drain it thoroughly to avoid excess moisture that can hinder the char.
How should I store leftover blackened corn?
Very simply! Leftovers can be stored in an airtight container in the refrigerator for up to 3 days. This helps maintain the fantastic flavors you’ve created. When you’re ready to enjoy them again, reheat in a skillet over medium heat, adding a small splash of olive oil to help restore that delightful crisp texture.
Can I freeze blackened corn?
Yes, you can! For freezing, allow the corn to cool completely before transferring it to a freezer-safe container or zip-top bag. Ensure to remove as much air as possible before sealing. Properly stored, it can last in the freezer for up to 2 months. When you’re ready to use it, thaw overnight in the fridge and reheat in a skillet for the best results.
What should I do if my blackened corn is burning?
If you notice that your corn is burning, reduce the heat immediately. The key to perfect blackened corn is allowing it to cook undisturbed for those crucial first few minutes to create that char. If it starts to burn, remove it from the heat and stir less frequently, letting the corn brown evenly for a more delicious result.
Is this dish safe for any allergies?
When considering dietary restrictions, it’s good to be cautious. This blackened corn recipe is inherently gluten-free but does contain seasonings—like smoked paprika—that some people may be sensitive to. Always check the labels of your ingredients, particularly if you have specific allergies to spices or additives. For those with dairy allergies, you can substitute the butter with additional olive oil for a deliciously dairy-free option.
Can I make this dish ahead of time?
Certainly! While blackened corn is best enjoyed fresh for its crispy texture, you can prepare it ahead by cooking it and storing it in the fridge. It will maintain its flavor for about 3 days. Just reheat in a skillet when you’re ready to serve. For optimal results, remember to add a touch of butter or oil to help restore the corn’s delicious char while reheating.
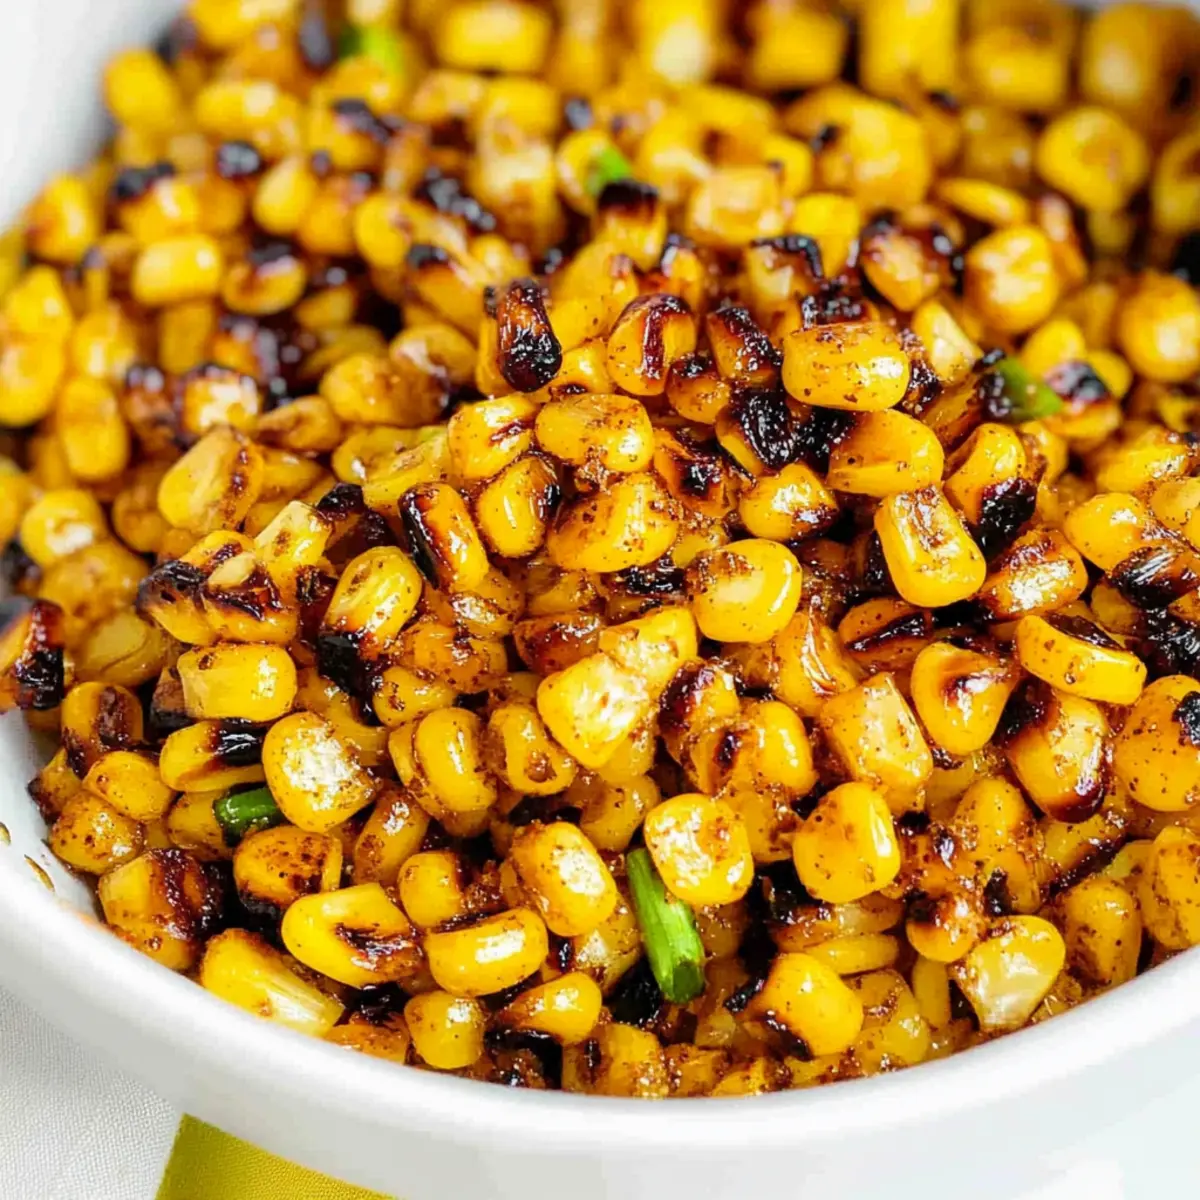
Mouthwatering Blackened Corn for Your Perfect Weeknight Side
Ingredients
Equipment
Method
- Prep Corn: Pat dry the sweet corn kernels with a paper towel to remove excess moisture.
- Mix Seasonings: In a small bowl, combine salt, black pepper, smoked paprika, onion powder, and garlic powder.
- Heat Oil and Butter: Heat the skillet, then add olive oil and butter, swirling to combine.
- Add Corn: Introduce the corn kernels to the skillet, seasoning evenly.
- Brown Corn: Cook undisturbed for 2-3 minutes for a golden color.
- Stir and Press Again: Stir corn and cook for an additional 3-4 minutes.
- Garnish: Remove from heat and optionally sprinkle fresh herbs before serving.
Leave a Reply