
As the crisp sound of frying chicken fills the air, my heart races with excitement for my latest culinary creation—Crispy Chicken Katsu Musubi! This delightful Japanese snack harmoniously combines juicy, golden chicken with perfectly seasoned sushi rice, all wrapped in a savory nori sheet. What I love about this recipe is its quick and easy preparation, making it a perfect companion for busy weekdays or spontaneous weekend gatherings. Plus, it’s not just a dish; it’s a comforting hug that keeps fast food cravings at bay. With endless variations to make it your own, like spicy enhancements or vegetarian alternatives, each bite promises to be a new adventure. Ready to step up your snacking game? Let’s dive in and make this impressive yet simple dish together!
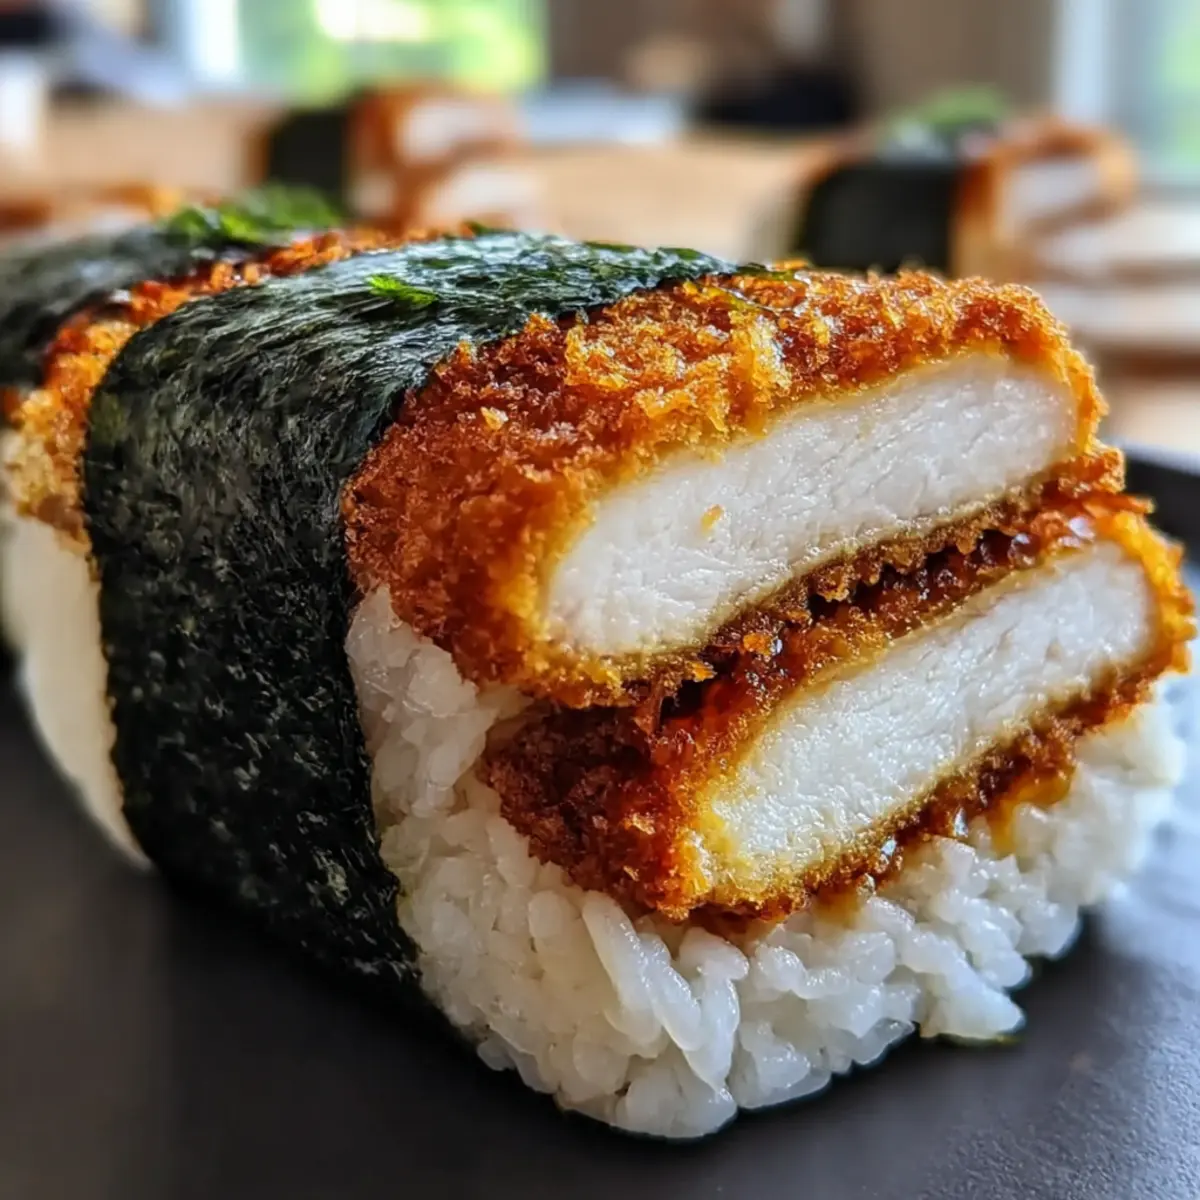
Why is Chicken Katsu Musubi a Must-Try?
Unmatched Flavor: This dish perfectly balances crispy chicken and fluffy sushi rice, wrapped in umami-rich nori for a delightful taste sensation.
Quick Preparation: With minimal cooking time, you can have delicious homemade musubi ready in under 30 minutes—perfect for the busy food lover!
Endless Adaptations: Whether you want a spicy kick with sriracha or a vegetarian twist with tofu, this recipe supports your culinary creativity.
Crowd-Pleasing Appeal: Serve it at gatherings and watch as your friends rave about this innovative take on sushi that’s sure to impress!
Comforting Nostalgia: Every bite evokes a sense of home and warmth, making it a favorite for families and those missing home-cooked meals.
Take your taste buds on a journey, and if you’re a fan of crispy textures, don’t miss out on Cheesy Garlic Chicken or Korean Fried Chicken as well!
Crispy Chicken Katsu Musubi Ingredients
• For the Chicken
- Boneless Skinless Chicken Thighs – The juicy star of the dish that offers rich flavor. Substitution: Chicken breasts for a leaner option.
- Large Eggs – Essential for binding the coating to the chicken, ensuring a crispy texture. Substitution: Vegan egg alternative if desired.
- All-Purpose Flour – Helps create a wet batter for dredging the chicken, adding texture. Substitution: Gluten-free flour works well.
- Salt – Enhances all flavors. Note: Adjust to dietary preferences.
- Ground Black Pepper – Adds warmth and depth. Note: Optional based on taste preference.
- Panko Breadcrumbs – Provides the deliciously crispy crust. Substitution: Regular breadcrumbs can be used.
- Neutral Oil – Crucial for frying the chicken. Note: Canola or vegetable oil are excellent options; use enough oil for proper frying.
• For the Rice
- Cooked Sushi Rice – The hearty base for musubi providing substance. Substitution: Brown rice for a healthier twist.
- Nori Sheets (cut into thirds) – Wraps the musubi, imparting umami flavor. Substitution: Soy paper for a gluten-free alternative.
- Tonkatsu Sauce – Adds delightful sweetness and tang. Substitution: Barbecue sauce in a pinch.
Gather these ingredients, and let the adventure of making your Crispy Chicken Katsu Musubi begin!
Step‑by‑Step Instructions for Crispy Chicken Katsu Musubi
Step 1: Pound the Chicken
Place the boneless skinless chicken thighs between two sheets of plastic wrap and gently pound them to about ½-inch thickness using a meat mallet. This helps the chicken cook evenly and become tender. Once the chicken is flattened, set it aside while you prepare the batter and coatings.
Step 2: Prepare the Batter
In a large bowl, whisk together the large eggs, all-purpose flour, salt, and ground black pepper until the mixture reaches a smooth, pancake batter consistency. This will create a solid base for the crispy coating on your chicken. Have your panko breadcrumbs ready in a separate shallow dish for coating.
Step 3: Coat the Chicken
Dip each pounded chicken thigh into the egg batter, ensuring it is fully coated, then roll it in the panko breadcrumbs to achieve a thick layer of crispy crust. Press the breadcrumbs lightly to adhere well to the chicken. Make sure all pieces are evenly coated for that irresistible crunch when frying.
Step 4: Fry the Chicken
In a large skillet, heat enough neutral oil (like canola or vegetable oil) to about 350°F. Carefully place the coated chicken thighs in the hot oil, ensuring not to overcrowd the pan. Fry each side for 4-6 minutes, or until golden brown and cooked through. Flip the chicken halfway for uniform cooking and a crispy exterior.
Step 5: Shape the Rice
Once the chicken is fried, it’s time to prepare the sushi rice. Using a musubi mold, press about ½ cup of warm cooked sushi rice into the mold, creating a compact layer at the bottom. Make sure it’s tightly packed to maintain its shape when layered with the chicken.
Step 6: Assemble the Musubi
Spread a thin layer of tonkatsu sauce over the rice layer in the musubi mold. Then, take the crispy chicken katsu and place it on top of the rice, pressing down slightly to help everything stick together. Carefully remove the mold to create a perfectly shaped musubi.
Step 7: Wrap with Nori
To complete your Crispy Chicken Katsu Musubi, take a piece of nori and cut it into thirds. Wrap one piece around the assembled musubi, ensuring that it adheres well. If desired, use a bit of water to seal the edges of the nori for a clean finish and to prevent it from unraveling.
Step 8: Serve and Share
Cut the assembled musubi into two or three pieces for easier handling. You can pair it with pickled vegetables for a bright and flavorful side. Enjoy your delicious, homemade Crispy Chicken Katsu Musubi as a snack, lunch, or at gatherings, delighting everyone with its amazing textures and flavors!
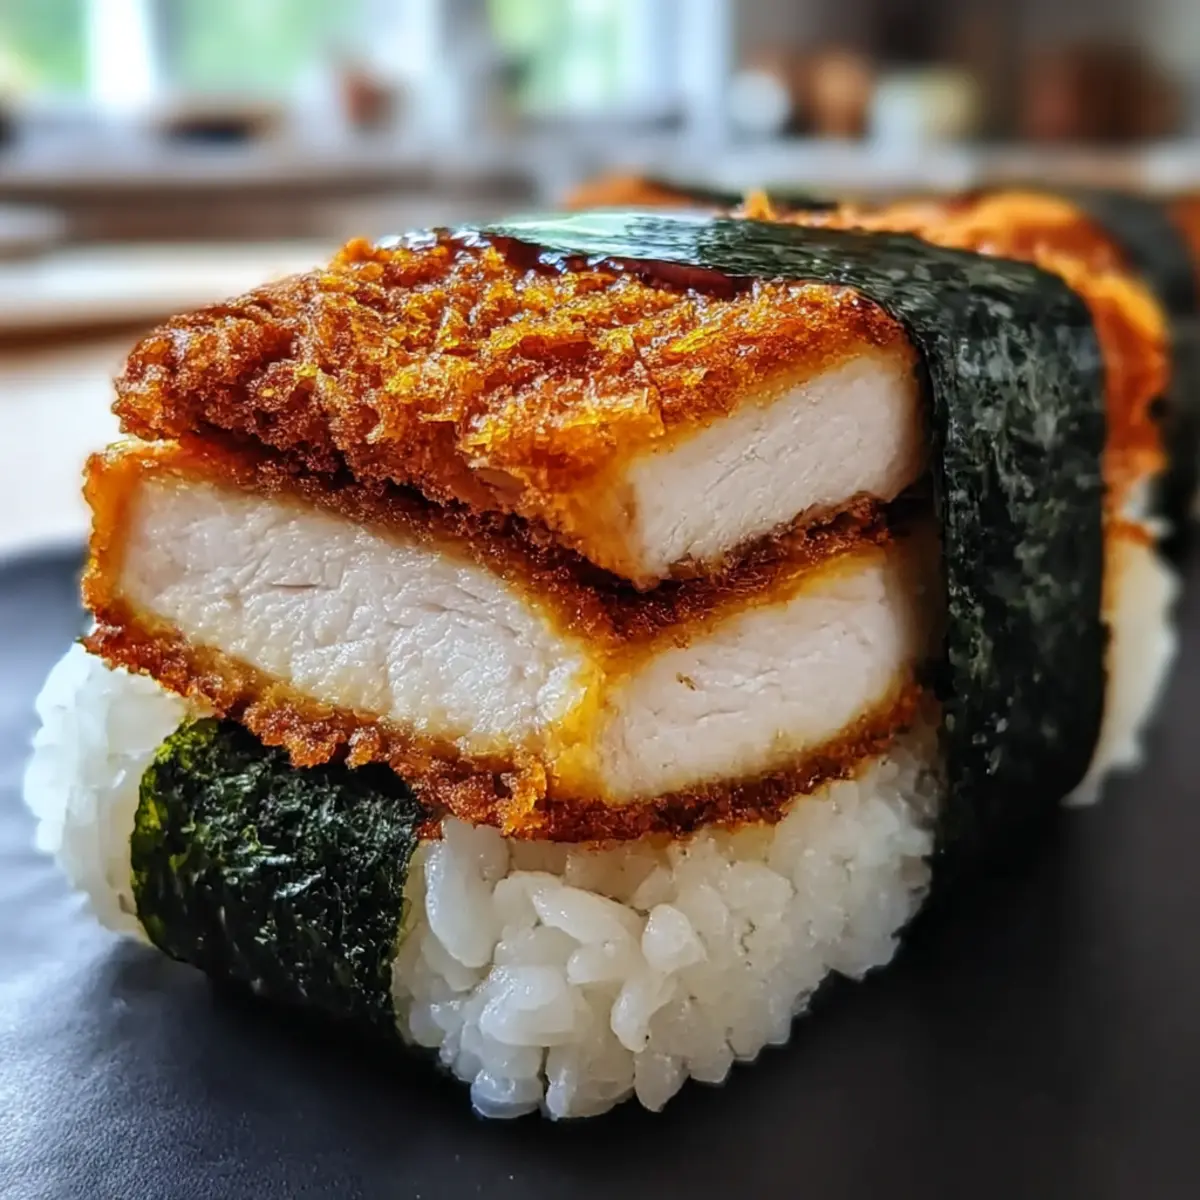
What to Serve with Crispy Chicken Katsu Musubi
Elevate your dining experience by discovering delightful pairings that complement the warm and crispy goodness of musubi.
-
Pickled Vegetables: These crunchy, tangy bites balance the savory flavor of the musubi, adding a vibrant touch to your plate.
A colorful assortment of pickled daikon, cucumbers, and carrots brightens up the meal while cleansing the palate. -
Edamame: Lightly salted and steamed, these green soybeans provide a healthy and hearty crunch that contrasts beautifully with the musubi.
A sprinkle of sea salt enhances their natural flavor and adds a delightful element to your spread. -
Miso Soup: A warm, comforting bowl of miso soup rounds out the meal perfectly, with its umami depth echoing the flavors of your crispy chicken.
The tender tofu and seaweed add nutritious charm while warming you from the inside out. -
Green Salad: A fresh salad with mixed greens, avocado, and a sesame-ginger dressing adds brightness and crunch, lightening the overall meal.
This perfect contrast highlights the rich flavors of the musubi. -
Teriyaki Glazed Brussels Sprouts: These roasted sprouts, drizzled with teriyaki, provide a sweet and savory depth, complementing the musubi’s crispy texture.
Their caramelized flavor creates a memorable harmony on the plate. -
Plum Wine or Sake: A chilled glass of plum wine or a warm cup of sake enhances the experience, matching the dish’s rich umami notes.
Sipping on these beverages elevates your culinary journey with a touch of elegance. -
Chocolate Mochi: To end on a sweet note, serve chocolate mochi for dessert. Its chewy texture and subtle sweetness provide a delightful contrast to the savory musubi.
Each bite concludes your meal with an irresistible treat that leaves everyone wanting more.
Expert Tips for Crispy Chicken Katsu Musubi
-
Oil Temperature Matters: Ensure your oil is heated to 350°F for crispy chicken. Inadequate heat will result in soggy coating instead of a delightful crunch.
-
Uniform Coating: Dip the chicken evenly in the batter and roll it well in panko breadcrumbs for a consistent and irresistible crispy exterior.
-
Don’t Overcrowd: Fry in batches to prevent overcrowding the pan, which can lower the oil temperature and lead to uneven cooking.
-
Rice Packing Technique: Press the sushi rice firmly in the mold, creating a solid base that will hold the layers together without falling apart.
-
Clean Cutting: Use a wet knife to slice your musubi. This avoids sticking, ensuring clean cuts that maintain the beautiful presentation of your Crispy Chicken Katsu Musubi.
How to Store and Freeze Crispy Chicken Katsu Musubi
Fridge: Store leftover musubi in an airtight container for up to 3 days. This helps retain flavor and texture, keeping your homemade delight fresh.
Freezer: For longer storage, freeze musubi wrapped in plastic wrap and sealed in a freezer bag for up to 1 month. Thaw in the refrigerator overnight before reheating.
Reheating: For optimal crispness, reheat in a toaster oven or preheated skillet over medium heat for about 5-7 minutes. Enjoy your Crispy Chicken Katsu Musubi just as if it were freshly made!
Crispy Chicken Katsu Musubi Variations
Feel free to get creative and customize your Crispy Chicken Katsu Musubi with these delightful variations! Each option elevates flavor or caters to dietary preferences.
-
Vegetarian: Substitute chicken with tofu or another meat alternative and marinate for flavor. This twist keeps it hearty and satisfying while being meat-free.
-
Flavored Rice: Add furikake or sesame seeds to the sushi rice for added umami. This simple enhancement brings a pop of flavor and color to each bite.
-
Spicy Kick: Drizzle sriracha or spicy mayo on the chicken before assembling. A little heat can go a long way in transforming the dish into an exciting culinary experience.
-
Crispy Addition: Mix tempura flakes with panko for extra crunch. This texture twist brings even more delightful crispiness and a fun surprise with each mouthful.
-
Sauce Alternatives: Experiment with sweet chili sauce instead of tonkatsu. It’s a fun way to incorporate a different sweet and tangy flavor profile that will certainly impress.
-
Garnish Upgrades: Top with green onions or avocado slices before wrapping for freshness. Adding a vibrant garnish not only looks gorgeous but also elevates taste!
-
Rice Substitution: Use quinoa or cauliflower rice for a low-carb version. These alternatives still offer a great base while catering to specific dietary needs.
If you’re looking for more crunchy delights, consider trying Ranch Chicken Tenders or for something with a unique twist, check out Korean Fried Chicken!
Make Ahead Options
These Crispy Chicken Katsu Musubi are perfect for busy weeknights and make-ahead meal planning! You can prepare the chicken by frying it up to 24 hours in advance; just let it cool completely before storing it in an airtight container in the refrigerator. The rice can also be cooked and shaped up to 3 days ahead—simply refrigerate it and rewarm it with a splash of water to maintain its moisture. When you’re ready to serve, reheat the chicken in a toaster oven to restore its crunch, then assemble the musubi with freshly sliced nori and sauce. This way, you’ll enjoy delicious, homemade musubi that tastes just as fresh as the day you made it!
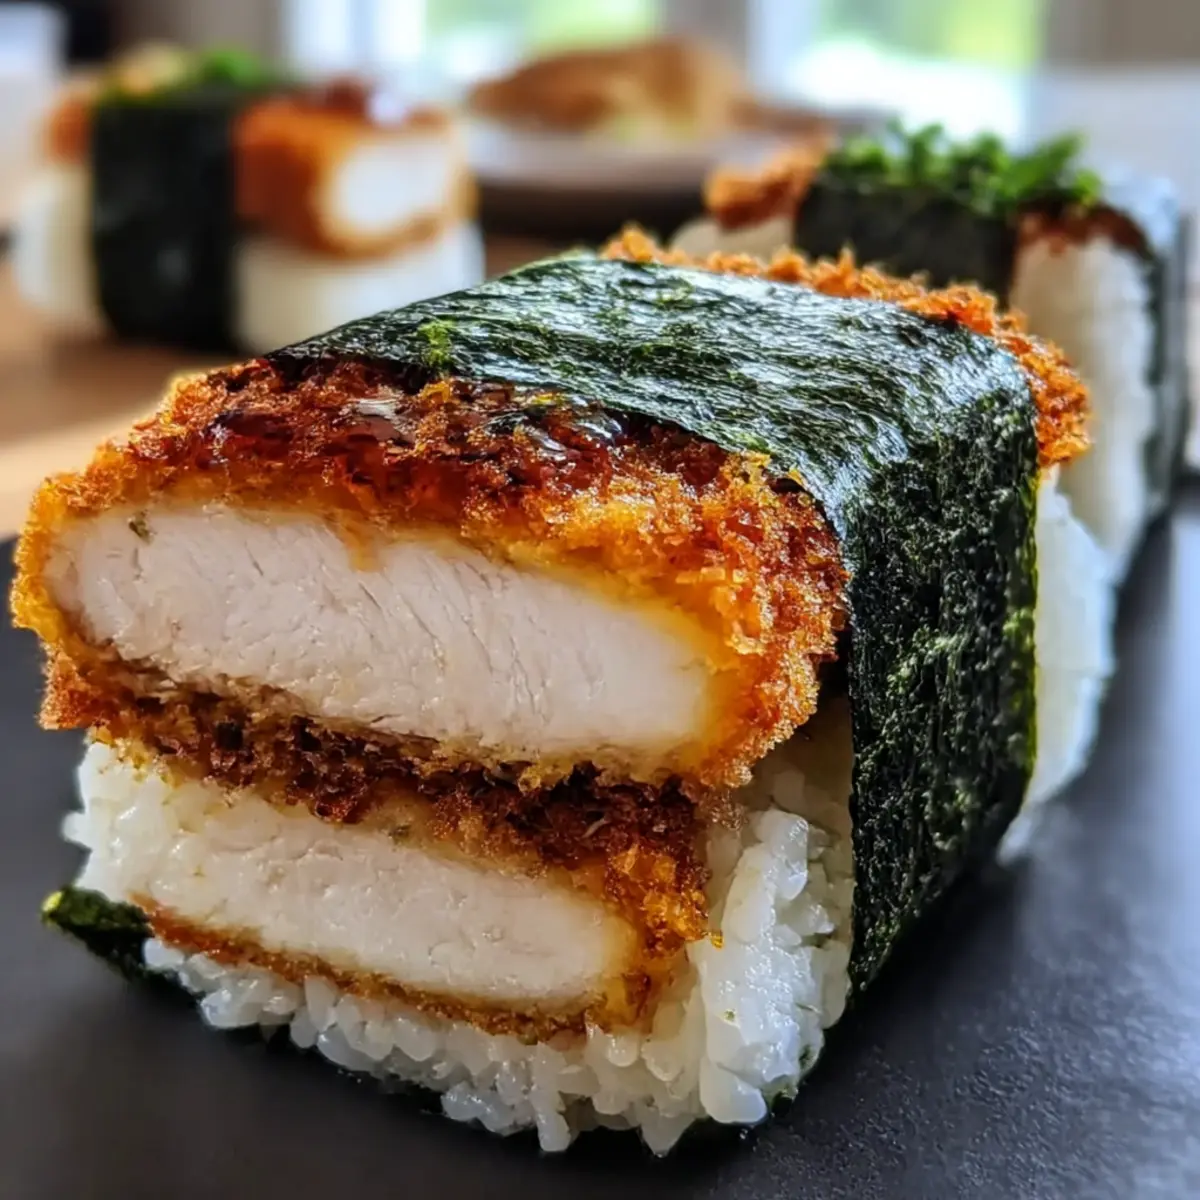
Crispy Chicken Katsu Musubi Recipe FAQs
How do I choose the right chicken for this recipe?
Absolutely! For Chicken Katsu Musubi, I recommend using boneless skinless chicken thighs, as they provide a juicy and flavorful result. If you prefer a leaner option, chicken breasts work well too. Just ensure they are pounded to the right thickness for even cooking!
What’s the best way to store leftover musubi?
For fridge storage, place leftover musubi in an airtight container and consume within 3 days for the best taste and texture. If you have more to save, freezing is an option—just wrap them tightly in plastic wrap and place in a freezer bag for up to 1 month.
Can I freeze Chicken Katsu Musubi, and how should I do it?
Yes! To freeze your Crispy Chicken Katsu Musubi, wrap each piece individually in plastic wrap. After that, place them into a freezer bag to prevent freezer burn and store for up to 1 month. When you’re ready to eat, thaw in the refrigerator overnight and reheat in a toaster oven or skillet for that fresh-out-of-the-fryer crunch!
What if my chicken coating doesn’t stay crispy?
Very! To achieve that golden, crispy coating, ensure your oil is heated to around 350°F before frying. Avoid overcrowding the pan, as this can lower the oil temperature leading to soggy chicken. Additionally, make sure you coat the chicken evenly with egg and panko breadcrumbs to lock in that crunch.
Can I make this recipe gluten-free?
Absolutely! You can easily make gluten-free Chicken Katsu Musubi by using gluten-free flour and panko breadcrumbs. Also, opt for soy paper instead of nori if you have gluten sensitivities. Just substitute these ingredients, and you’ll still enjoy all the wonderful flavors!
Could I use alternatives to tonkatsu sauce?
Yes! If you run out of tonkatsu sauce or just want to vary the flavor, barbecue sauce, or even sweet chili sauce, make perfect substitutes. Each will give your musubi a unique twist while keeping it delicious!
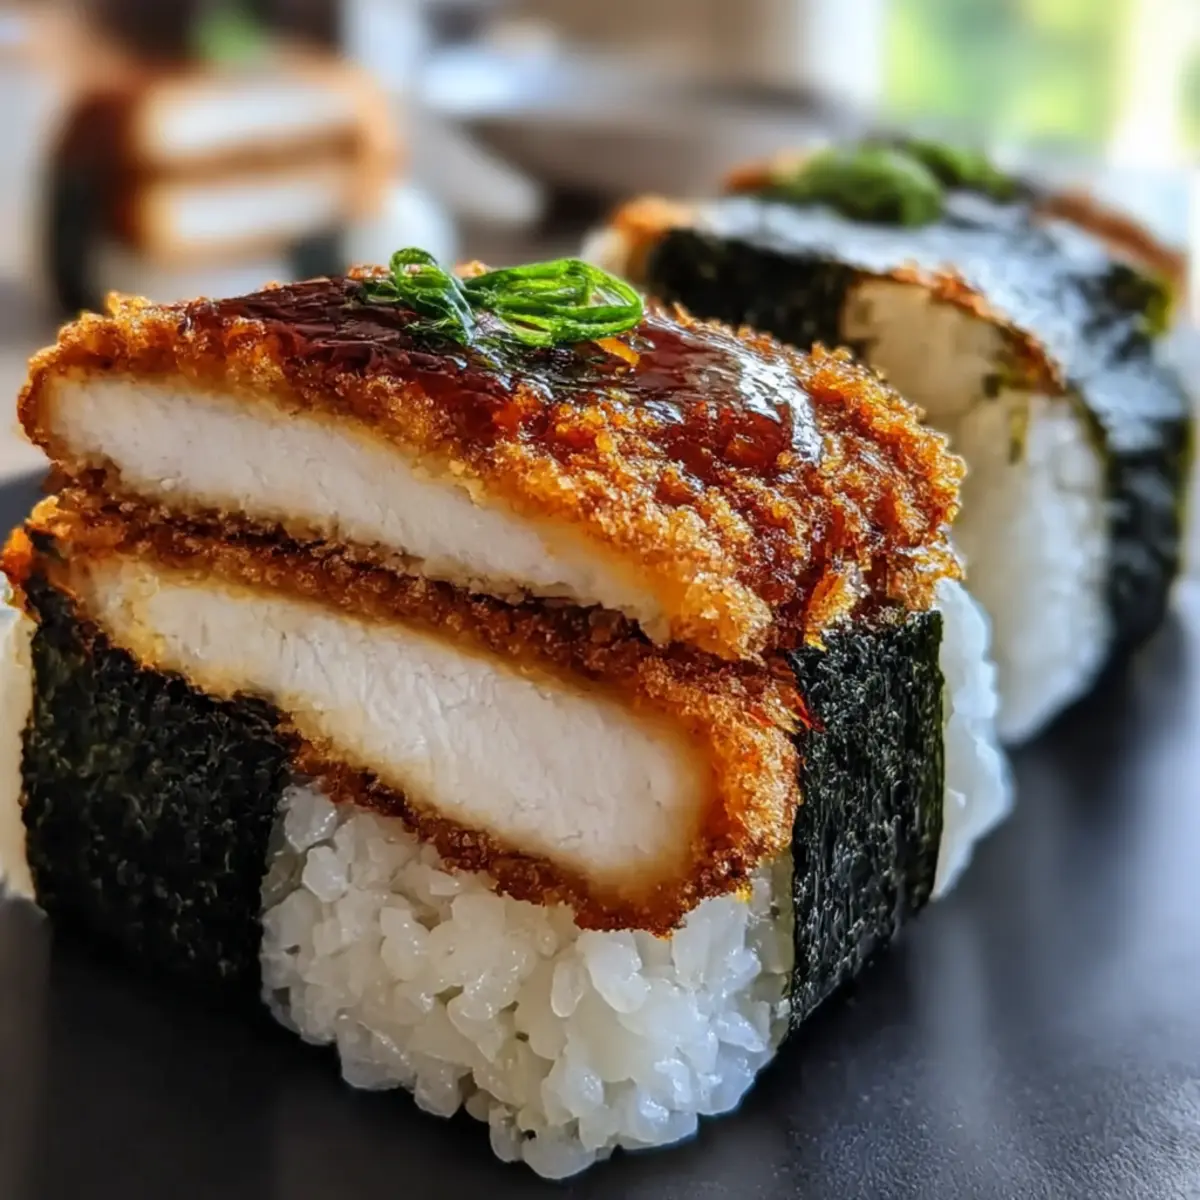
Crispy Chicken Katsu Musubi: Homemade Joy in Every Bite
Ingredients
Equipment
Method
- Place the boneless skinless chicken thighs between two sheets of plastic wrap and gently pound them to about ½-inch thickness using a meat mallet.
- In a large bowl, whisk together the large eggs, all-purpose flour, salt, and ground black pepper until the mixture reaches a smooth, pancake batter consistency.
- Dip each pounded chicken thigh into the egg batter, then roll it in the panko breadcrumbs to achieve a thick layer of crispy crust.
- In a large skillet, heat enough neutral oil to about 350°F. Fry each side for 4-6 minutes until golden brown.
- Using a musubi mold, press about ½ cup of warm cooked sushi rice into the mold, creating a compact layer.
- Spread a thin layer of tonkatsu sauce over the rice layer in the musubi mold. Place the crispy chicken katsu on top of the rice.
- Take a piece of nori and wrap one piece around the assembled musubi, sealing the edges with a bit of water if desired.
- Cut the assembled musubi into two or three pieces for easier handling. Serve with pickled vegetables.
Leave a Reply