
As the fragrance of sizzling garlic wafts through your kitchen, you can’t help but feel like you’ve been transported to a sun-soaked Hawaiian beach. This recipe for Hawaiian Garlic Shrimp brings that vibrant culinary culture right to your table, showcasing bright flavors in a quick and easy recipe that anyone can whip up in under 20 minutes. Perfect for a busy weeknight yet impressive enough for your next gathering, this dish is high in protein and guaranteed to delight even the pickiest eaters. Just imagine a plate of succulent shrimp swimming in a rich, buttery garlic sauce, ready to be served with a side of fluffy jasmine rice. Are you prepared to indulge in a tropical escape with every bite?
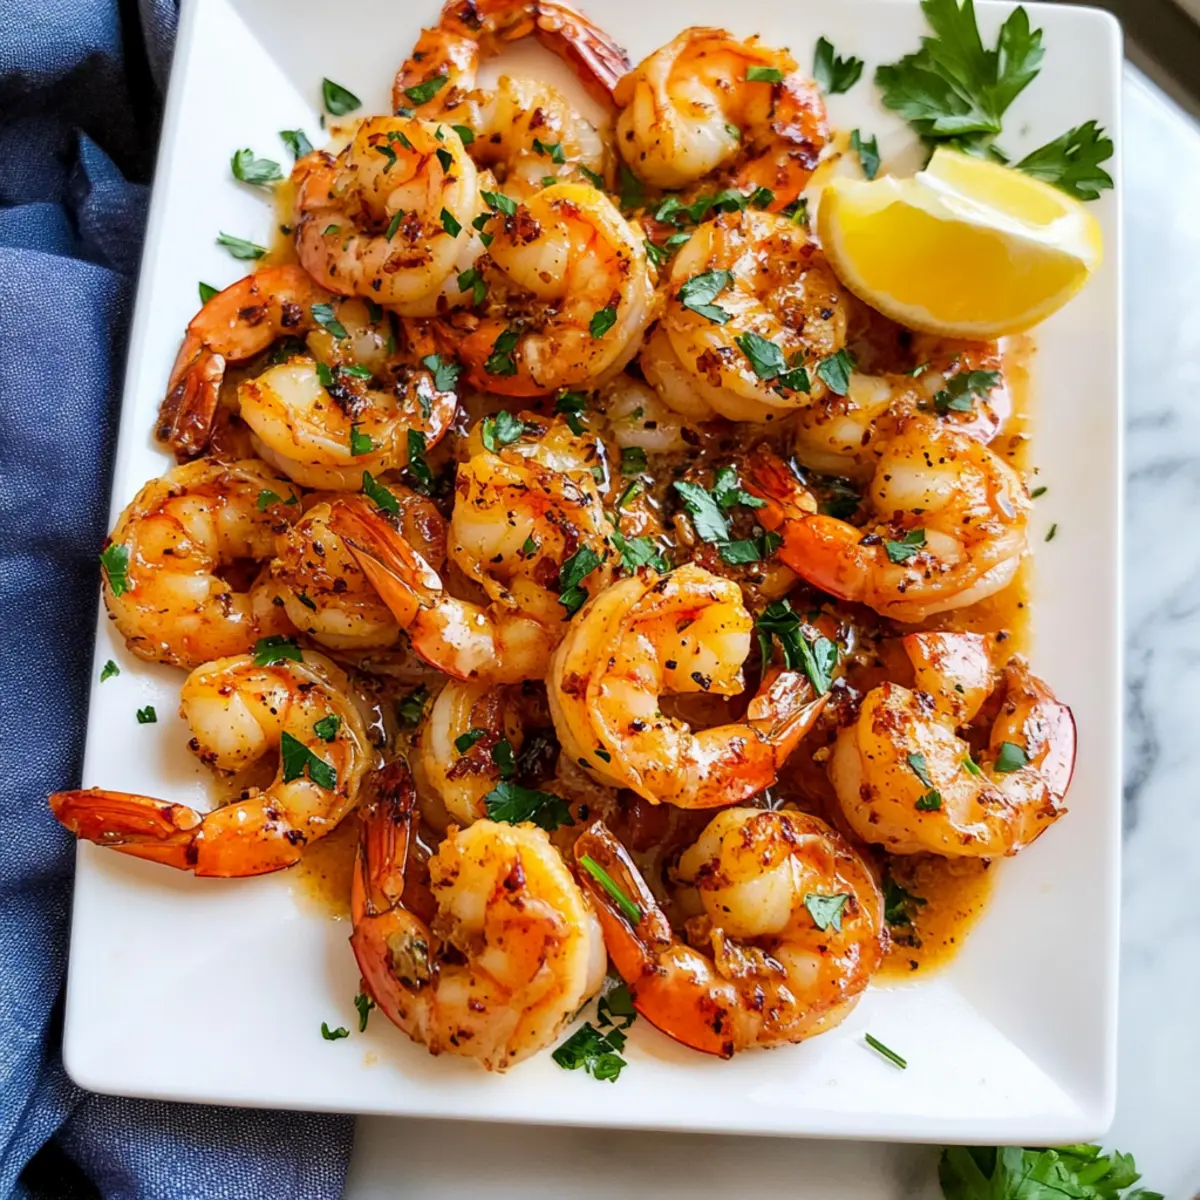
Why is This Garlic Shrimp Recipe a Must-Try?
Quick and Easy: You can whip up this delicious Garlic Shrimp in just 20 minutes, making it the ultimate go-to for busy evenings. Flavor Explosion: Every bite is packed with aromatic garlic and rich buttery goodness that will transport you straight to the shores of Hawaii. Versatile Options: Swap the shrimp for chicken or scallops, or add veggies like bell peppers for an extra burst of color and flavor. Healthy Choice: Loaded with protein and lower in calories, this dish is both nutritious and satisfying. For more savory ideas, try pairing it with Garlic Parmesan Focaccia or serve alongside our Cheesy Garlic Ritz to round out your meal.
Garlic Shrimp Ingredients
For the Shrimp
• Extra-large shrimp – use peeled and deveined for the best texture and flavor.
• All-purpose flour – helps the seasoning adhere; gluten-free flour can be a suitable alternative.
For the Seasoning
• Garlic – nearly 1 medium head, minced; fresh garlic enhances the aroma and flavor.
• Paprika – 1 ½ tsp for warmth and color; smoked paprika offers a delightful twist.
• Cayenne pepper – optional, use 1/8 tsp for a kick; omit for a milder dish.
• Salt and black pepper – essential for elevating the dish’s flavors; adjust to your taste.
For Cooking
• Unsalted butter – 6 tbsp, diced, adds richness; substitute with vegan butter for a dairy-free option.
• Olive oil – 2 tbsp for sautéing; avocado oil can be used for higher heat applications.
For Brightness
• Lemon juice – 1 tbsp, fresh is best to enhance the flavor profile; lime juice can substitute for a different zest.
• Fresh parsley – 1 tbsp minced for a fresh garnish; cilantro can be used for an herbal twist.
Indulge in this mouthwatering Garlic Shrimp dish, where every savory bite evokes the flavors of Hawaii!
Step‑by‑Step Instructions for Garlic Shrimp
Step 1: Prepare the Shrimp
Pat the extra-large shrimp dry with paper towels to ensure a good sear. In a mixing bowl, combine the shrimp with all-purpose flour, paprika, cayenne pepper, salt, and black pepper. Toss gently to coat the shrimp evenly. This step is crucial for achieving a deliciously crisp exterior and helps the seasoning adhere beautifully.
Step 2: Heat the Skillet
In a large non-stick skillet, melt the unsalted butter along with the olive oil over medium heat. Allow the butter to become bubbly, which should take about 1-2 minutes. The mixture should be shimmering but not browned, signaling it’s ready for the next step. This rich base will add unparalleled flavor to your garlic shrimp.
Step 3: Sauté the Garlic
Add the minced garlic to the skillet and sauté it for about 30 seconds, stirring constantly. Watch for the garlic to become fragrant—it should not brown, as this can lead to bitterness. The garlic should be softly sizzling and aromatic, creating a wonderful foundation for your Hawaiian Garlic Shrimp.
Step 4: Cook the Shrimp
Carefully add the seasoned shrimp in a single layer to the skillet. Cook for approximately 2 minutes, allowing the bottom of the shrimp to turn pink. Once ready, flip the shrimp and continue cooking for another 2 minutes, until they are just cooked through and opaque. This quick cooking brings out the shrimp’s natural sweetness, enveloped in garlic goodness.
Step 5: Finish with Citrus
Remove the skillet from heat and drizzle the shrimp with fresh lemon juice, tossing gently to combine. The acidity from the citrus brightens the flavors, making each bite even more vibrant. You’ll see the shrimp glisten in the buttery garlic sauce, adding an irresistible sheen to the dish.
Step 6: Serve Immediately
Transfer the garlic shrimp to a serving platter, making sure to spoon over the luscious buttery sauce from the pan. This dish is best enjoyed fresh, so pair your Garlic Shrimp with fluffy jasmine rice or crusty garlic bread to soak up the flavors. Enjoy the aromas and celebrate your Hawaiian culinary adventure!
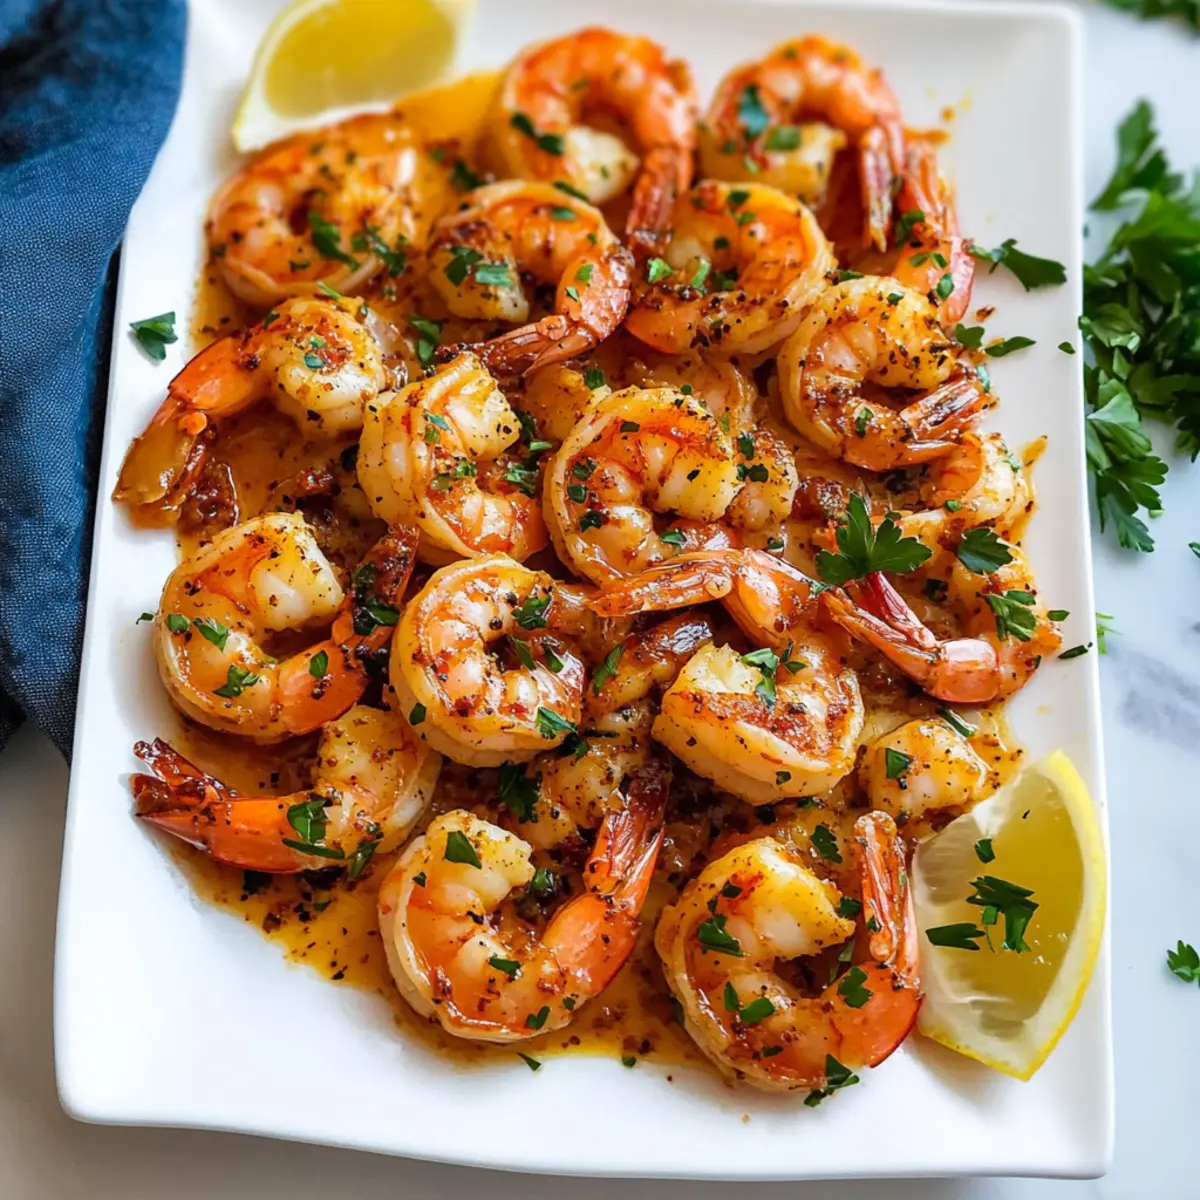
What to Serve with Hawaiian Garlic Shrimp
As the tantalizing aroma fills your kitchen, imagine a meal that perfectly complements the succulent shrimp embracing that rich, buttery garlic sauce.
- Steamed Jasmine Rice: The fluffy rice absorbs the luscious sauce, making every bite a delightfully satisfying experience.
- Garlic Bread: Crusty and warm, it’s perfect for soaking up the flavorful garlic sauce left on your plate. Each bite is a taste of comfort.
- Sautéed Vegetables: Bright bell peppers and zucchini add a refreshing crunch, balancing the richness of the shrimp with their vibrant colors.
- Simple Green Salad: A light salad with crisp greens and a tangy vinaigrette provides a refreshing contrast, enhancing the overall meal experience.
- Coconut Rice: Infused with coconut milk, this dish adds a hint of sweetness that brings out the tropical flavors of the garlic shrimp beautifully.
- Pineapple Coleslaw: The sweet and tangy slaw introduces a crunchy texture and bright flavor, pairing wonderfully with the savory shrimp.
- Mango Salsa: This zesty topping elevates the dish with freshness and sweetness, providing a delicious fruity contrast to the garlic notes.
- Chilled White Wine: A crisp Sauvignon Blanc or a slightly sweet Riesling complements the richness of the shrimp without overpowering it, making for a perfect pairing.
Expert Tips for Garlic Shrimp
- Pat Dry for Searing: Ensure shrimp are thoroughly patted dry before seasoning to achieve a beautiful sear instead of steaming.
- Watch the Garlic: Sauté minced garlic just until fragrant; overcooking leads to bitterness. It’ll be perfect when it starts to puff and sizzle.
- Don’t Overcrowd: Cook shrimp in a single layer to ensure even cooking and that delightful color; crowded pans lead to steaming, not sautéing.
- Use Fresh Ingredients: Fresh garlic and lemon juice elevate the dish’s flavor; opt for these when possible for the ultimate Garlic Shrimp experience.
- Substitution Caution: When using different proteins or veggies, adjust cooking times accordingly to prevent overcooking the shrimp.
Storage Tips for Garlic Shrimp
-
Fridge: Store leftover Garlic Shrimp in an airtight container for up to 2 days. The flavors will meld beautifully, but enjoy them quickly for the best taste.
-
Freezer: While it’s best fresh, you can freeze Garlic Shrimp for up to 3 months. Portion it into freezer-safe bags and remove as much air as possible to prevent freezer burn.
-
Reheating: To reheat, place the shrimp in a skillet over low heat, adding a splash of olive oil or a little butter to keep them moist. Avoid microwaving, as it can make the shrimp rubbery.
-
Serving Reminder: Always serve the reheated Garlic Shrimp immediately for the best texture and flavor, remembering to drizzle with fresh lemon juice to brighten the dish!
Garlic Shrimp Variations & Substitutions
Feel free to get creative with this Garlic Shrimp recipe and make it your own with these exciting modifications!
- Dairy-Free: Substitute unsalted butter for vegan butter to enjoy the same rich flavor without dairy.
- Gluten-Free: Use gluten-free flour instead of all-purpose flour to ensure everyone can indulge in this delight!
- Vegetable Additions: Toss in some sautéed bell peppers or zucchini for a colorful veggie boost that adds both nutrition and crunch.
- Different Proteins: Try substituting shrimp with scallops or thinly sliced chicken for a new protein twist that brings a different texture.
- Heat Levels: For those who love a kick, increase the cayenne pepper to 1/4 tsp for a bolder flavor journey.
- Citrus Variation: Exchange lemon juice for fresh lime juice to impart a zesty brightness that is equally refreshing.
- Asian Flair: Incorporate some minced fresh ginger along with the garlic for an aromatic twist that nods to Asian cuisine traditions.
Whichever variation you choose, you can enjoy this Garlic Parmesan Focaccia alongside to soak up that delicious sauce! For another garlic treat, don’t forget to try our Cheesy Garlic Ritz for a delightful side. Enjoy!
Make Ahead Options
These Hawaiian Garlic Shrimp are perfect for meal prep enthusiasts! You can season the shrimp by tossing them in flour, paprika, cayenne pepper, salt, and black pepper up to 24 hours ahead. Just store them in an airtight container in the refrigerator to maintain their flavor and texture. Additionally, you can mince the garlic and combine it with the butter and olive oil in advance, storing it in the fridge to keep it fresh. When you’re ready to enjoy, simply heat the skillet, sauté the garlic mixture for 30 seconds, add the shrimp, and cook until they’re just pink and opaque. This way, you’ll achieve restaurant-quality results with minimal effort on busy weeknights!
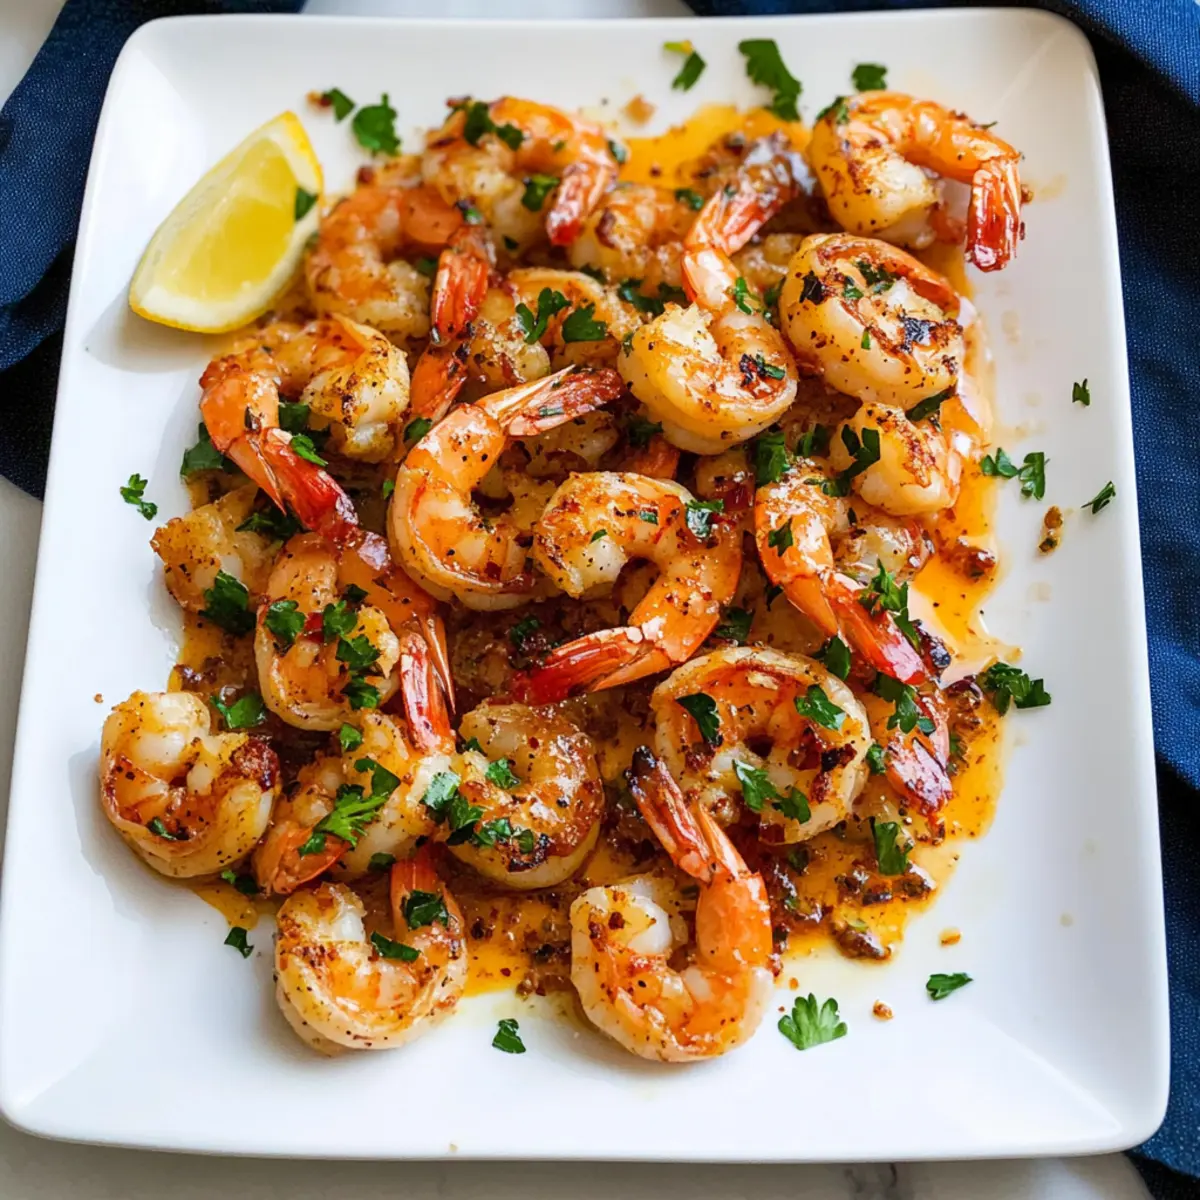
Garlic Shrimp Recipe FAQs
What type of shrimp should I use for this recipe?
Absolutely! For the best results, use extra-large, peeled, and deveined shrimp. The size will ensure they cook evenly and provide that delightful texture that pairs perfectly with the garlic sauce.
How can I store leftover Garlic Shrimp?
You can keep leftover Garlic Shrimp in an airtight container in the fridge for up to 2 days. Be sure to reheat them gently on the stove to maintain their juiciness and prevent them from becoming rubbery.
Can I freeze Garlic Shrimp?
Very! If you want to freeze Garlic Shrimp, first let it cool completely. Then, portion it into freezer-safe bags, removing as much air as possible to avoid freezer burn. It can be stored for up to 3 months. When you’re ready to enjoy, thaw it in the fridge overnight and reheat gently in a skillet.
What should I do if my garlic burns while cooking?
If your garlic starts to brown, it can become bitter, which isn’t desirable. Keep the heat on medium-low, and sauté it for just 30 seconds until it’s fragrant. If you do burn it, it’s best to start over with fresh garlic to avoid that unpleasant taste.
Are there any dietary considerations I should keep in mind?
Absolutely! If you’re cooking for someone with allergies, be mindful of the shrimp itself, as shellfish can trigger reactions. You can also substitute unsalted butter with vegan butter for a dairy-free option. If you’re looking for gluten-free, swap all-purpose flour with a gluten-free variety, and you can still enjoy this delicious dish!
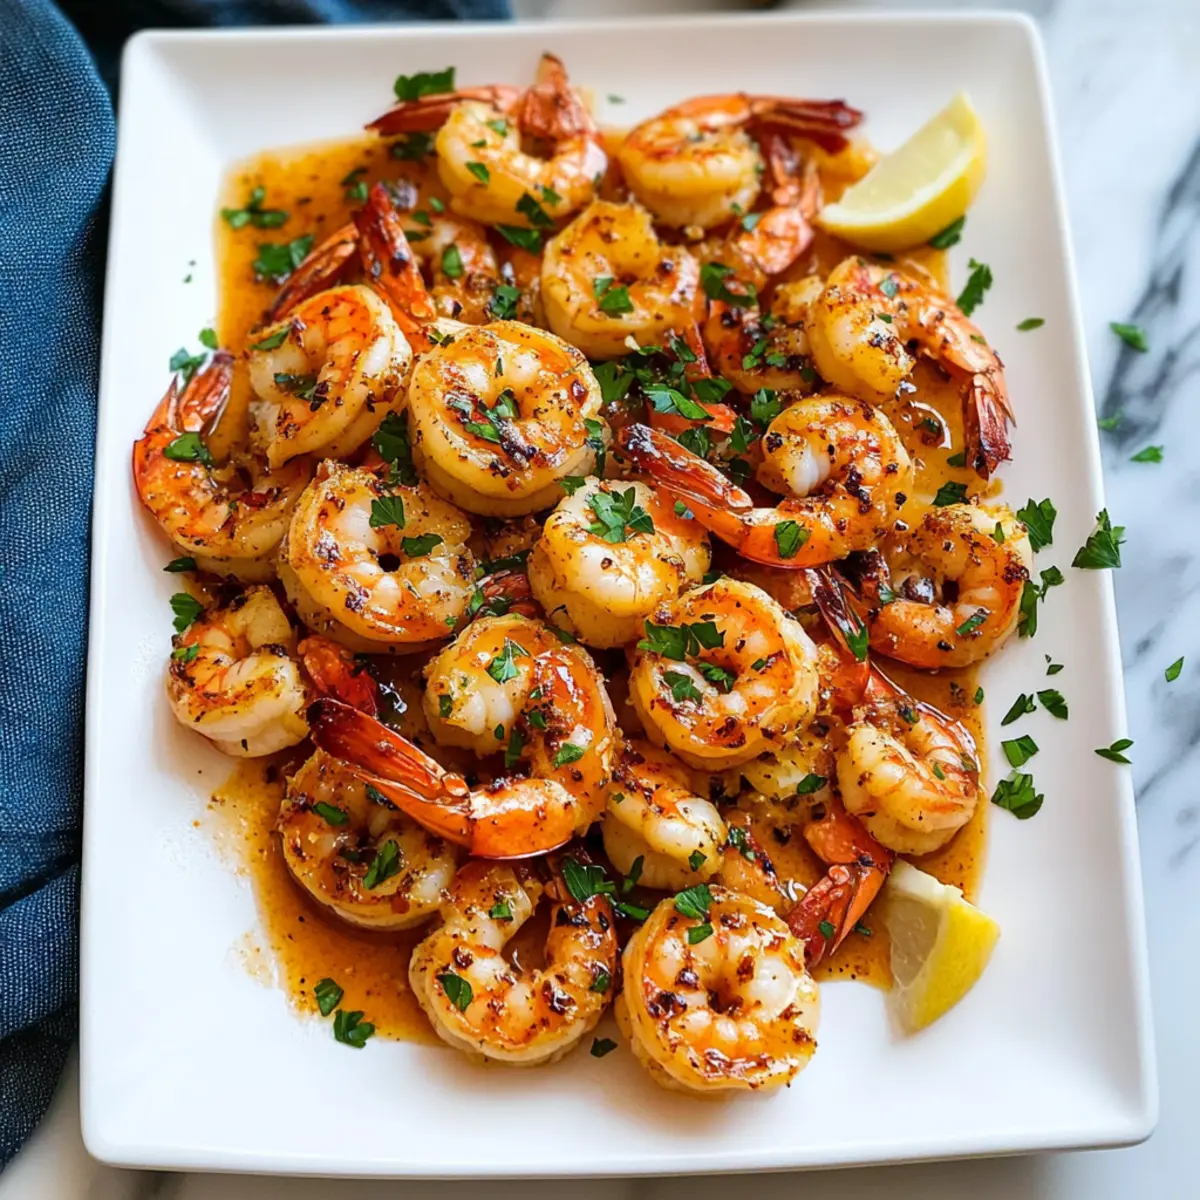
Savory Garlic Shrimp: A Taste of Hawaii in 20 Minutes
Ingredients
Equipment
Method
- Pat the extra-large shrimp dry with paper towels. In a mixing bowl, combine the shrimp with all-purpose flour, paprika, cayenne pepper, salt, and black pepper. Toss gently to coat the shrimp evenly.
- In a large non-stick skillet, melt the unsalted butter along with the olive oil over medium heat until bubbly, about 1-2 minutes.
- Add the minced garlic to the skillet and sauté for about 30 seconds until fragrant. Do not let it brown.
- Carefully add the seasoned shrimp in a single layer and cook for approximately 2 minutes, flip and cook for another 2 minutes until they are just cooked through and opaque.
- Remove the skillet from heat and drizzle the shrimp with fresh lemon juice, tossing gently to combine.
- Transfer the garlic shrimp to a serving platter, spooning over the buttery sauce. Serve immediately with jasmine rice or garlic bread.
Leave a Reply