
As I sat crunching away on store-bought snack options, a thought struck me—why not make a healthier version of something so irresistible? Enter Healthier Homemade Corn Nuts, where guilt-free meets crunchy delight. Baked to perfection, these little nuggets are not just a satisfying snack; they’re the perfect alternative to the traditional fried varieties. With simple ingredients like dried hominy and a sprinkle of spices, you can whip them up in no time. Plus, they’re gluten-free and vegan, making them suitable for nearly any dietary preference. Whether you’re hosting a movie night or just need a crunchy companion for your afternoon tea, these baked corn nuts will keep your cravings in check without sacrificing flavor. Are you ready to revolutionize your snacking game? Let’s dive into the recipe!
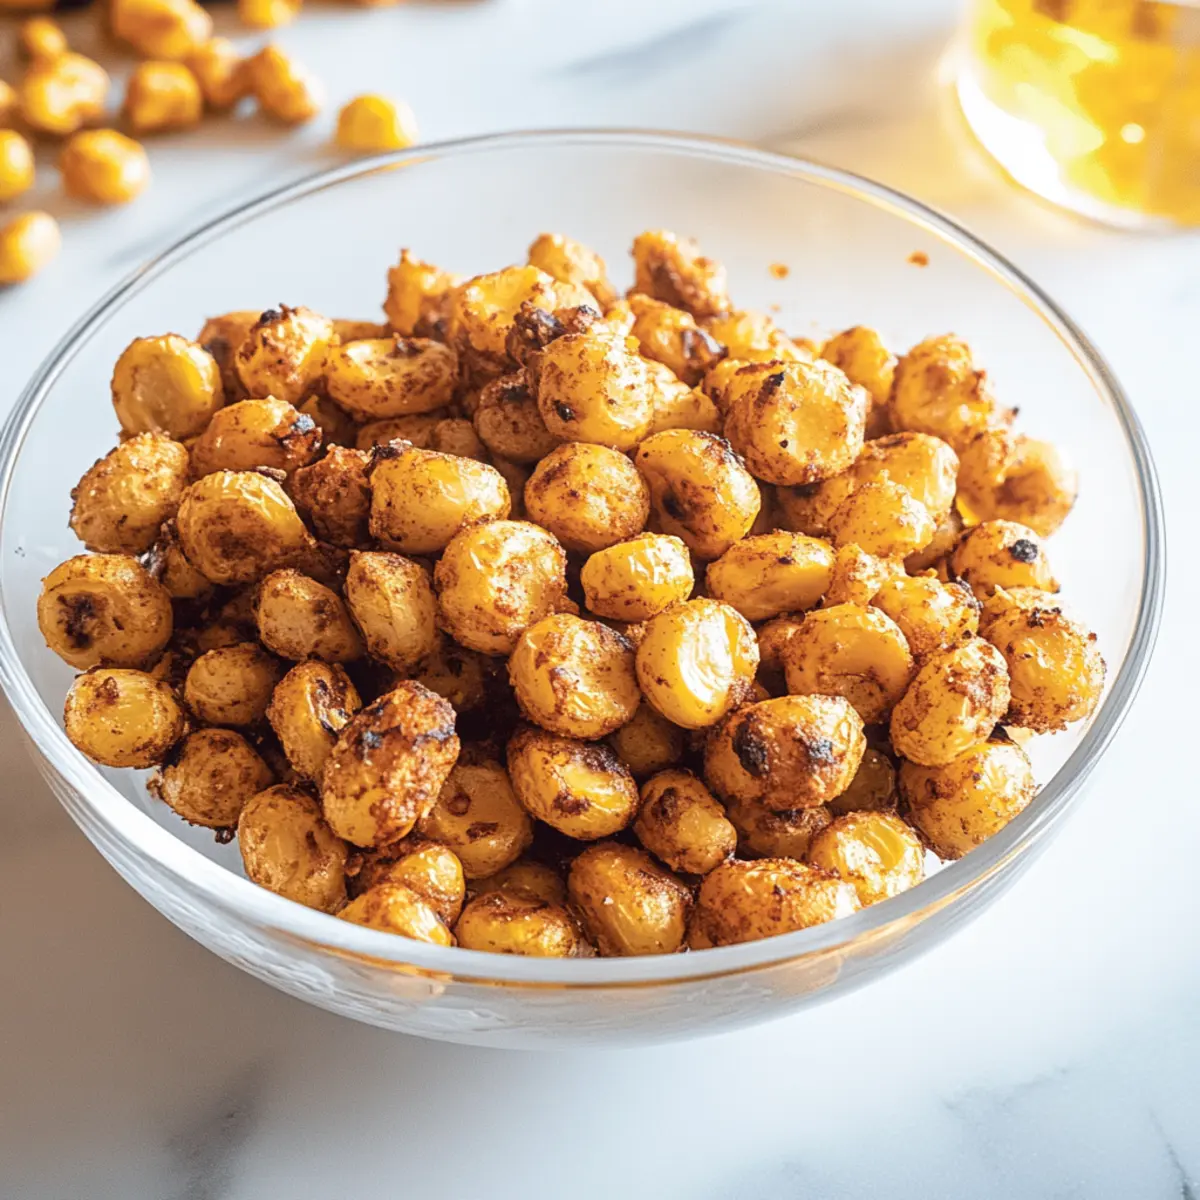
Why Make Healthier Corn Nuts?
Crunchy Satisfaction: Experience the bliss of a snack that celebrates texture without the guilt! These homemade corn nuts deliver a delicious crunch that can rival any fried variety.
Healthy Alternative: Baked instead of fried, they’re a gluten-free and vegan option, so you can indulge without the extra calories.
Simple Ingredients: Made from just dried hominy and spices, whipping these up requires minimal effort.
Versatile Snack: Perfect for movie nights, game days, or as a standalone treat—these corn nuts fit any occasion.
Endless Flavor Options: Experiment with different seasonings to suit your taste, from savory garlic to smoky paprika. For another twist on delight, check out our Mexican Street Corn Salad for an equally tasty and unique option!
Homemade Corn Nuts Ingredients
Here’s everything you need to create your guilt-free, crunchy delight!
For the Corn Nuts
• Dried Hominy – This ingredient is crucial for texture; ensure it’s dried for the best crunch.
• Peanut Oil – Helps in achieving that perfect golden-brown finish; you can swap it for avocado or vegetable oil if preferred.
• Fine Ground Salt – Key for enhancing flavors; avoid coarse salt as it won’t coat the nuts evenly.
For the Seasoning
• Garlic Powder – Adds a depth of flavor; feel free to substitute with onion powder or omit if desired.
• Paprika – Brings a hint of smokiness; for a spicy kick, you could try using chili powder.
• Onion Powder – Provides savory notes; this is optional depending on your flavor preferences.
With these simple ingredients, you’re just a few steps away from enjoying Homemade Corn Nuts that will revolutionize your snacking experience!
Step‑by‑Step Instructions for Healthier Baked Corn Nuts
Step 1: Soak Hominy
Begin by submerging 15 oz of dried hominy in a large bowl, covering it with enough water to rise 1-2 inches above the hominy. Let it soak for 6-10 hours, allowing the grains to absorb moisture and expand, which will contribute to the desired texture of your Homemade Corn Nuts.
Step 2: Dry Hominy
Once the soaking time is complete, drain the hominy using a colander and spread it out on a baking sheet lined with paper towels. Pat the hominy dry gently with another paper towel, allowing it to sit for about 1 hour. This step is crucial, as removing excess moisture will help achieve that satisfying crunch when baking.
Step 3: Preheat Oven
While the hominy is drying, preheat your oven to 375°F if you’re using convection or 400°F for regular baking. This ensures that your oven is ready to create the perfect environment for your Homemade Corn Nuts. Meanwhile, gather your baking sheets and other equipment for the next steps.
Step 4: Mix Seasonings
In a small bowl or jar, combine your fine ground salt with garlic powder, paprika, and onion powder to create a flavorful seasoning mix. Stir well until thoroughly blended. This mix will elevate the taste of your corn nuts, imparting a delicious flavor that’s essential for your homemade snack.
Step 5: Coat Hominy
In a large mixing bowl, drizzle the dried hominy with peanut oil, tossing to coat evenly. Gradually sprinkle your prepared seasoning mixture over the hominy, mixing thoroughly after each addition until every piece is evenly coated. This step is key to ensuring that each bite of your Homemade Corn Nuts is packed with flavor.
Step 6: Bake
Spread the seasoned hominy in a single layer on a dry baking sheet, ensuring pieces aren’t overlapped to facilitate even cooking. Bake in the preheated oven for 20 minutes, then give them a good stir. Bake for an additional 20-25 minutes, checking frequently towards the end to avoid over-browning, until they turn golden and crispy.
Step 7: Cool
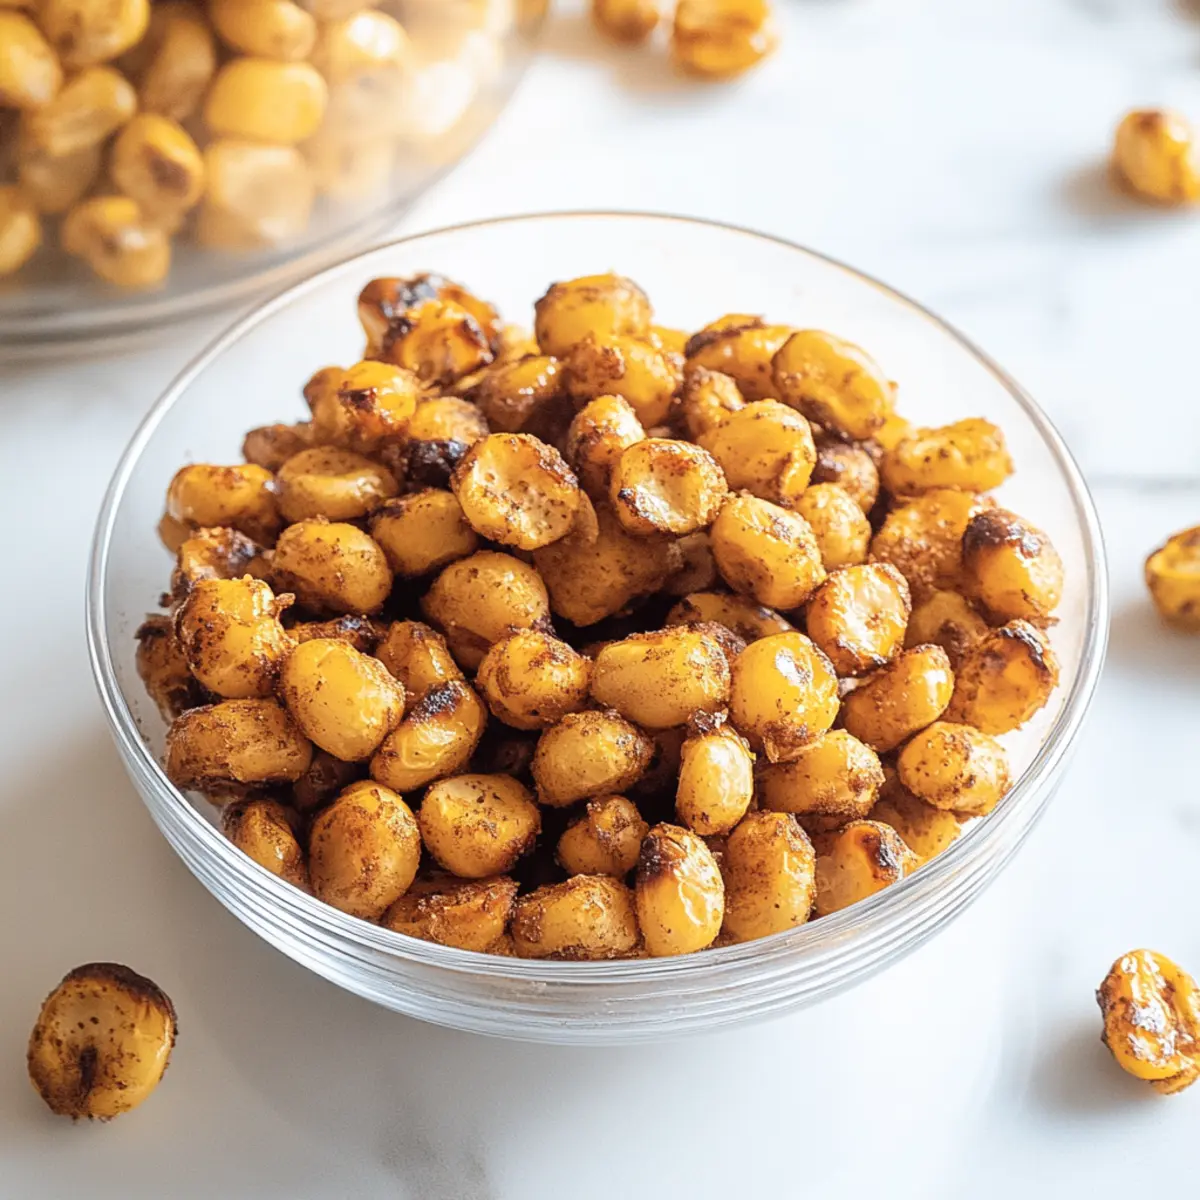
After removing the baking sheet from the oven, allow the healthier baked corn nuts to cool for at least 15 minutes before serving. This cooling period will help them firm up further and reach that perfect crunch you’re aiming for. Store any leftovers in an airtight container to keep them fresh!
Make Ahead Options
These Healthier Homemade Corn Nuts are fantastic for meal prep, helping you save time during busy weeks! You can soak the 15 oz of dried hominy up to 24 hours in advance to prepare it for baking. After soaking, make sure to dry the hominy thoroughly (allow it to sit for about 1 hour) so you achieve that perfect crunch when baked. You can also mix your seasonings ahead of time and store them in an airtight container for flavor on the go. When you’re ready to bake, simply coat the dried hominy with peanut oil and your seasoning mix, then bake as instructed for irresistibly crunchy snacks that are just as delicious as when they’re made fresh!
Expert Tips for Healthy Homemade Corn Nuts
-
Perfectly Dried Hominy: Ensure the hominy is thoroughly dried before baking; excess moisture can lead to a chewy texture instead of the satisfying crunch you desire.
-
Watch the Clock: Monitor the corn nuts closely during the last minutes of baking; they can go from golden to burnt quickly, especially when you’re making homemade corn nuts.
-
Air Frying Option: If you prefer a quicker method, you can use an air fryer at 400°F, checking for doneness around the 24-minute mark, shaking halfway through for even cooking.
-
Flavor Customization: Don’t be afraid to experiment! Swap out peanut oil for other high smoke point oils or try different seasonings for unique flavors tailored to your taste.
-
Storage Secrets: Store your homemade corn nuts in an airtight container at room temperature to maintain their desirable crunch for up to 2-3 weeks.
How to Store and Freeze Homemade Corn Nuts
Airtight Container: Keep your homemade corn nuts in an airtight container at room temperature to maintain their crispiness for up to 2-3 weeks.
Avoid Moisture: Ensure the container is completely dry before storing to prevent any moisture from compromising the crunchy texture of your corn nuts.
Freezing: For long-term storage, you can freeze the corn nuts in a freezer-safe bag. They can last for up to 3 months but are best enjoyed fresh for that satisfying crunch.
Reheating: If you’re reheating frozen homemade corn nuts, place them on a baking sheet at 350°F for about 10 minutes. This will help bring back their original crunch!
Homemade Corn Nuts Variations
Feel free to unleash your creativity and tailor your corn nuts to match your personal taste and dietary needs!
-
Oil Substitution: Experiment with avocado oil or sesame oil for a unique flavor twist, both have high smoke points for baking.
-
Spicy Kick: Add cayenne pepper or chipotle powder to the seasoning mix for a mouthwatering heat that tantalizes the taste buds.
-
Cheesy Flavor: Sprinkle in nutritional yeast for a cheesy, vegan-friendly vibe that adds a delightful umami flavor.
-
Sweet Touch: For a fun change, toss in a pinch of cinnamon and a touch of maple syrup before baking for a sweet and spiced treat.
-
Herb Infusion: Mix in dried herbs like thyme or oregano for an aromatic touch that elevates the overall flavor profile.
-
Garlic Lovers: Increase the amount of garlic powder for a deeper savory punch—perfect for those who can’t get enough of that garlic goodness!
-
Zesty Twist: Add a splash of lemon zest or a sprinkle of citric acid to your seasoning for a bright, tangy note that adds zing to each bite.
For even more inspiration on using corn in your meals, try our Corn Chicken Bowl or the refreshing Corn Salad Zesty for fantastic flavor pairings!
What to Serve with Healthier Baked Corn Nuts?
Transform your snacking affair into a delightful experience that balances flavor and texture in perfect harmony.
-
Creamy Guacamole: The rich, creamy texture of guacamole beautifully contrasts the crunch of corn nuts, creating a satisfying bite.
-
Spicy Salsa: A refreshing kick of salsa elevates the flavors, making every crunch of your corn nuts even more vibrant and tantalizing.
-
Savory Hummus: Smooth and velvety, hummus pairs wonderfully with corn nuts, providing both health benefits and a burst of flavor that will keep you coming back for more.
-
Mixed Greens Salad: A light and fresh salad brings a burst of color to your table, balancing the crunchy snack with nutritious greens and a zesty dressing.
-
Pico de Gallo: This fresh salsa adds a burst of zest and freshness, enhancing the overall snacking experience with every satisfying crunch.
-
Nutty Trail Mix: Elevate your corn nuts to a whole new level with a crunchy trail mix filled with nuts and seeds—perfect for satisfying both protein and texture cravings.
-
Chilled Beer or Sparkling Water: For those looking to enjoy their snacks with a drink, a refreshing beer or bubbly water perfectly complements the salty crunch of corn nuts, enhancing your snacking pleasure.
Healthier Baked Corn Nuts Recipe FAQs
What should I look for when selecting dried hominy?
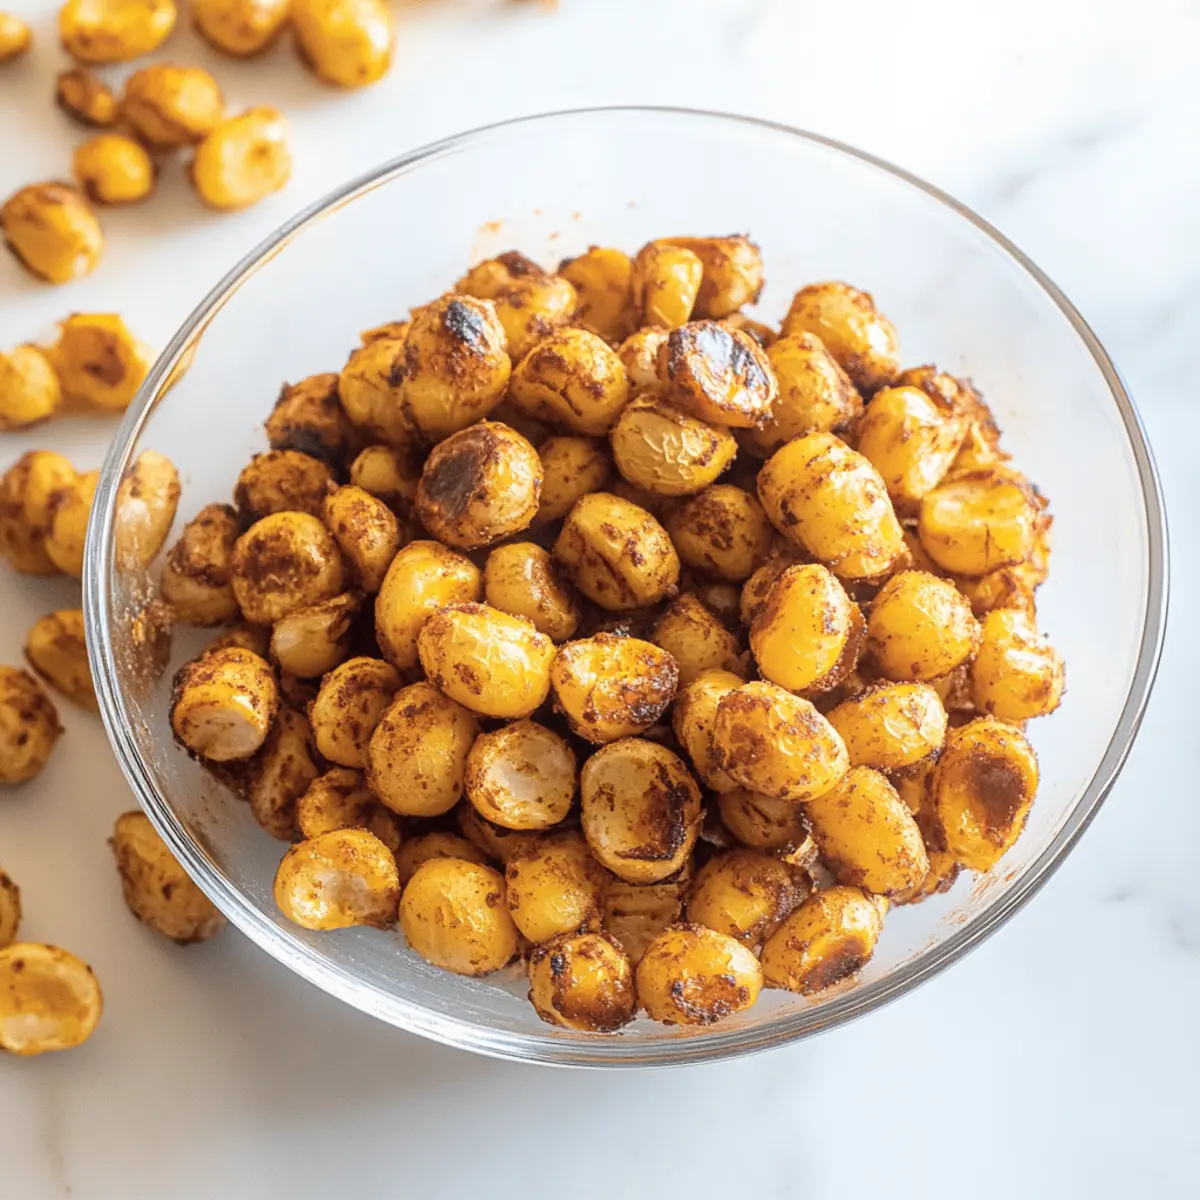
Look for dried hominy that is firm, with no dark spots or blemishes. The grains should be a consistent color and free of cracks. Properly dried hominy will give you the best crunch when baked.
How should I store leftovers, and how long will they last?
Store your homemade corn nuts in an airtight container at room temperature for optimal freshness. They will stay crunchy for about 2-3 weeks if stored properly, but they are best enjoyed within the first week for peak flavor and texture.
Can I freeze my homemade corn nuts?
Absolutely! For long-term storage, place your corn nuts in a freezer-safe bag and remove as much air as possible. They can be frozen for up to 3 months. Just remember, they are best enjoyed fresh to retain that delightful crunch!
What should I do if my corn nuts aren’t crispy enough after baking?
If your corn nuts are a bit chewy after baking, it could be due to excess moisture. Ensure you pat them dry thoroughly before baking. For a little fix, spread them out on a baking sheet and return to the oven at 350°F for an additional 5-10 minutes to enhance crispiness.
Are these corn nuts suitable for people with dietary restrictions?
Yes, these homemade corn nuts are gluten-free and vegan, making them a suitable snack for various dietary needs. Just be mindful of using oils or seasonings that align with specific dietary preferences, especially if you’re serving them to guests with allergies or sensitivities.
Can I use different oils or seasonings in the recipe?
Very! Feel free to swap peanut oil for other high smoke-point oils like avocado or canola oil. When it comes to seasonings, don’t hesitate to experiment! Use chili powder for heat, nutritional yeast for a cheesy taste, or try various herb blends that suit your palate.
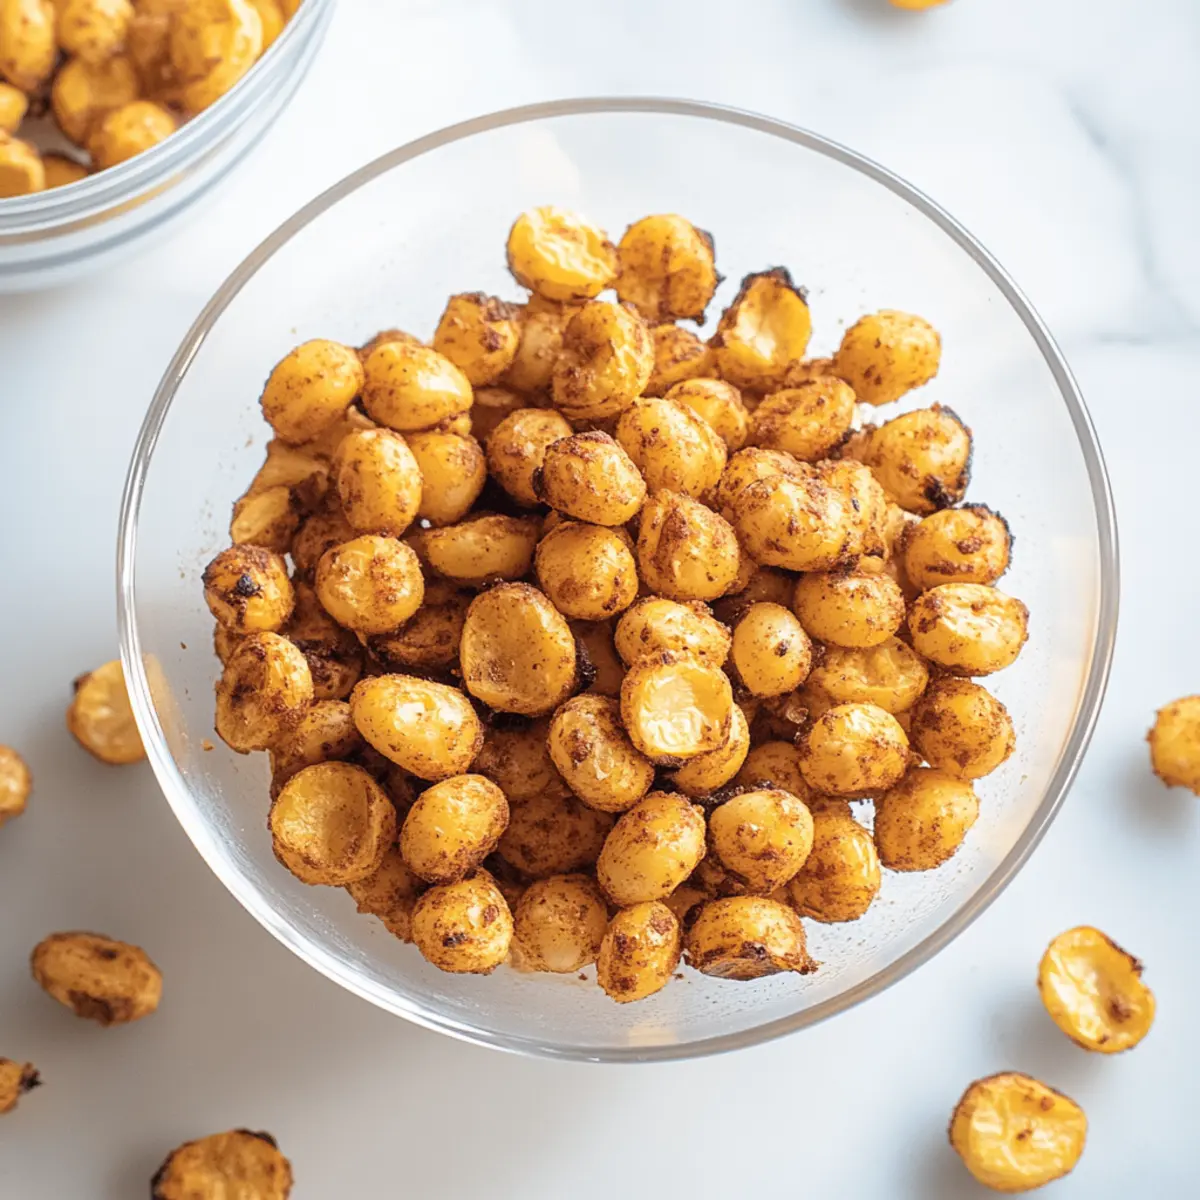
Crispy Homemade Corn Nuts for Guilt-Free Snacking Bliss
Ingredients
Equipment
Method
- Soak 15 oz of dried hominy in a large bowl, covering it with enough water to rise 1-2 inches above.
- Drain the hominy and spread it out on a baking sheet lined with paper towels. Pat dry for about 1 hour.
- Preheat your oven to 375°F for convection or 400°F for regular baking.
- Combine fine ground salt, garlic powder, paprika, and onion powder to create the seasoning mix.
- Drizzle dried hominy with peanut oil and coat evenly. Gradually sprinkle the seasoning mix over the hominy, mixing thoroughly.
- Spread the seasoned hominy in a single layer on a baking sheet and bake for 20 minutes, then stir and bake for an additional 20-25 minutes.
- Let the corn nuts cool for at least 15 minutes before serving.
Leave a Reply