
As I stood in my kitchen, the sizzle of chicken hitting oil filled the air, transporting me to a bustling izakaya in Tokyo. With each crispy bite of my irresistibly crispy karaage, I was reminded that fast food doesn’t have to come from a drive-thru. This flavorful Japanese fried chicken is a delightful way to satisfy your cravings while making the experience at home. It’s quick to whip up and perfect for impressing family and friends or simply indulging in a cozy night in. In just 45 minutes, you can serve up a plate that’s not only a crowd-pleaser but also offers gluten-free options for those who need them. Are you ready to discover the secret to the crispiest karaage you’ll ever make?
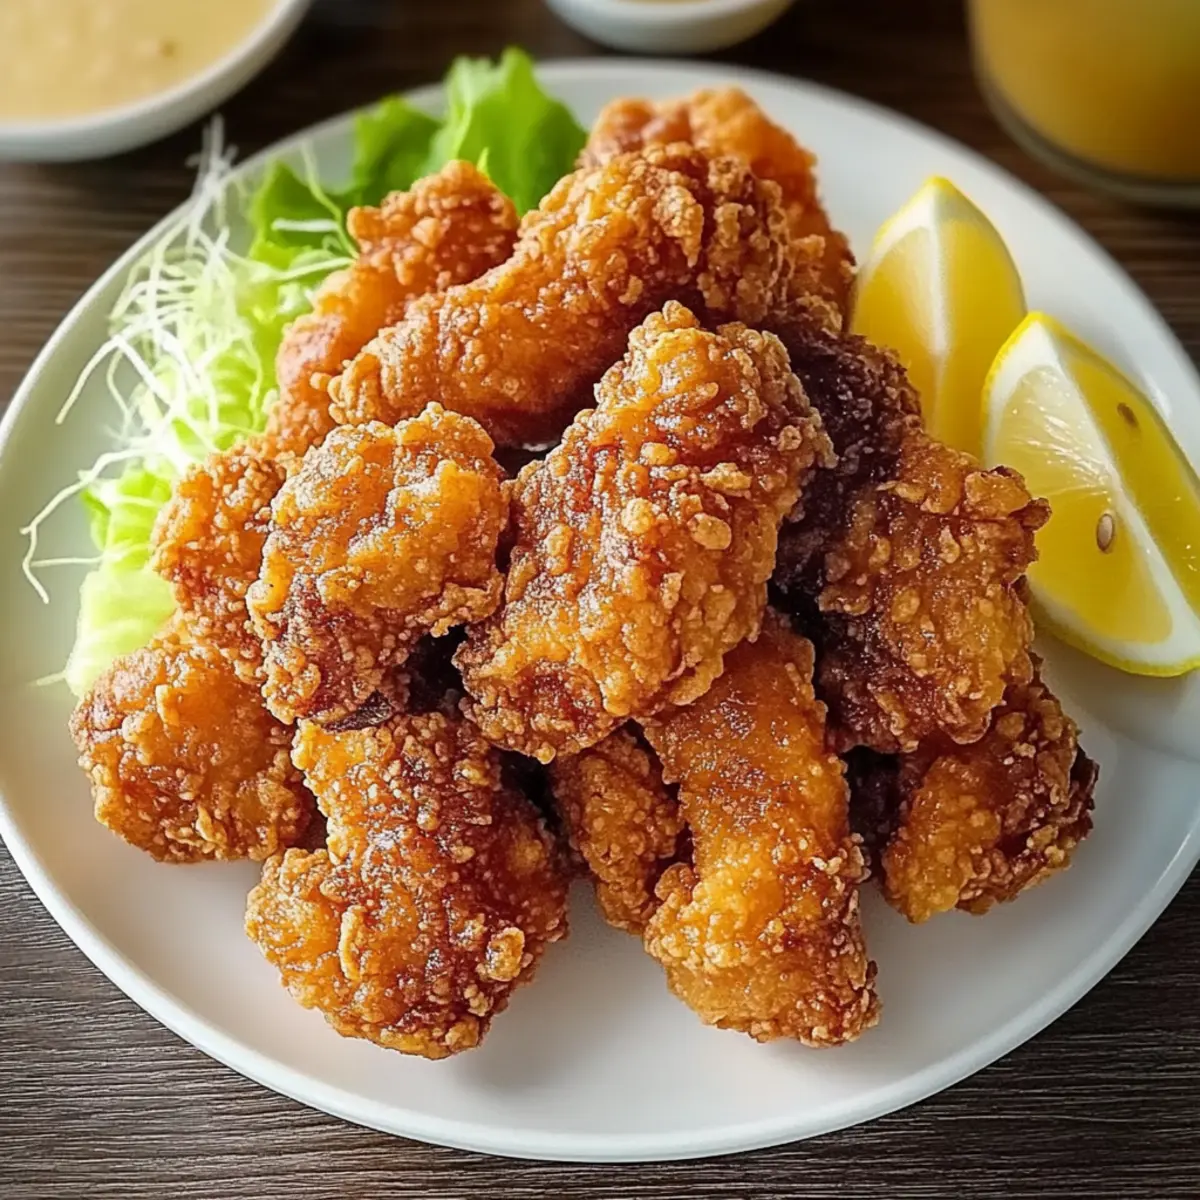
Why is this karaage recipe a must-try?
Unmatched Flavor: Every bite bursts with savory notes from fresh ginger and garlic, creating a mouth-watering experience that rival fast food.
Easy Preparation: With just a few simple steps, you’ll transform juicy chicken thighs into a crunchy delight in under an hour!
Versatile Options: Want a spicy kick? Add sriracha to the marinade. Prefer a fresh twist? Mix in herbs for an aromatic flair.
Crowd-Pleasing Appeal: Serve this crispy karaage at gatherings, and watch as it quickly disappears—you’ll be the star of the kitchen!
Gluten-Free Friendly: Easily swap out ingredients to cater to different dietary needs without sacrificing taste, similar to my beloved Chicken Tenders.
Treat yourself and your loved ones to this delightful dish that promises to elevate any meal!
Irresistibly Crispy Karaage Ingredients
• Get ready to create a culinary masterpiece with these essential ingredients that bring flavor and crunch to your plate!
For the Chicken Marinade
- Chicken Thighs – Juicy and perfect for soaking up flavors; don’t hesitate to use these for the best results.
- Ginger – Finely grated for a zesty kick; fresh ginger is a must for unbeatable taste.
- Garlic – Adds rich aroma and depth; ramp it up if you’re a garlic enthusiast!
- Soy Sauce – Provides savory umami flavor; swap with tamari for a gluten-free option.
- Sake – Tenderizes the chicken and adds complex flavor; substitute with dry sherry if you’re out.
- Kosher Salt – Enhances flavors remarkably; sea salt can work if you’re looking for alternatives.
- Black Pepper – Infuses hints of warmth; adjust to your spice preference for that perfect balance.
For the Coating
- Cornstarch – Crucial for achieving that signature crunch; potato starch can be used as a substitute.
- All-Purpose Flour – Creates a delicious golden crust; use a gluten-free flour blend if needed.
- Egg – Binds the coating effectively; consider a flax egg for vegan versions!
For Frying
- Neutral Frying Oil – Use canola or vegetable oil for the best frying results; steer clear of olive oil due to its low smoke point.
For the Dipping Sauce
- Kewpie Mayo/Regular Mayo – Adds creamy richness to your dipping sauce; plain yogurt works as a lighter alternative.
- Lemon Juice – Brightens up the flavor balance; freshly squeezed will give you the best taste.
- Garlic for Sauce – Another layer of flavor; feel free to skip if you want it milder.
- Fine Sea Salt – Ties all the flavors together; adjust to your liking for the perfect dip.
Dive into this delectable adventure and explore how these ingredients come together to create your new favorite dish – irresistibly crispy karaage!
Step‑by‑Step Instructions for Irresistibly Crispy Karaage
Step 1: Marinate the Chicken
In a large mixing bowl, whisk together freshly grated ginger, garlic, soy sauce, sake, black pepper, and kosher salt. Next, add the boneless chicken thighs, ensuring each piece is thoroughly coated in the marinade. Cover the bowl with plastic wrap and refrigerate for at least 30 minutes, allowing the flavors to penetrate the chicken. For an even richer taste, consider marinating for up to 2 hours.
Step 2: Prepare the Cornstarch Crumble
While the chicken is marinating, take a shallow bowl and mix cornstarch with a tablespoon of water until a sandy texture forms. This crumbly mixture is crucial for the signature crunch of your crispy karaage. Ensure it’s not too wet; it should easily clump together but not be soggy. Set this crumbling mixture aside as you prepare to coat the marinated chicken.
Step 3: Combine the Coating
After marinating, remove the chicken from the refrigerator. In the same mixing bowl, add the all-purpose flour and egg to the chicken, ensuring each piece is evenly coated. This step creates a sticky layer that holds onto the crispy coating that will follow. Be sure to work quickly and thoroughly to ensure every nook and cranny is covered for optimal crunch.
Step 4: Coat the Chicken
Gently press each piece of marinated chicken into the prepared cornstarch crumble, shaking off any excess. This is where the magic begins! As you coat each piece, place them on a wire rack to ensure they don’t stick together and keep that lovely crisp texture. Let them rest for about 10 minutes while you prepare the frying oil.
Step 5: Heat the Oil
In a deep, heavy-bottomed pot, pour in enough neutral frying oil (about 2-3 inches deep) to allow for even frying. Heat the oil to 350°F, using a kitchen thermometer for accuracy. This temperature is critical for the first fry, as it will create that initial crunchy shell while keeping the chicken juicy on the inside.
Step 6: First Fry
Carefully add 4-5 pieces of the coated chicken to the hot oil, making sure not to overcrowd the pot. Fry for about 2-3 minutes or until the chicken turns a light golden brown. This step is just the beginning, as it sets up the crispy texture without overcooking. Once cooked, remove the chicken and drain on a wire rack to maintain crispiness.
Step 7: Second Fry
Increase the oil temperature to 380°F, allowing it to reach this higher heat for the final fry. Return the chicken to the pot in batches and fry for an additional 1-2 minutes or until beautifully golden brown and crispy. This double-frying technique is what makes the karaage irresistibly crunchy. Drain again on the wire rack, and let the chicken rest briefly.
Step 8: Serve and Enjoy
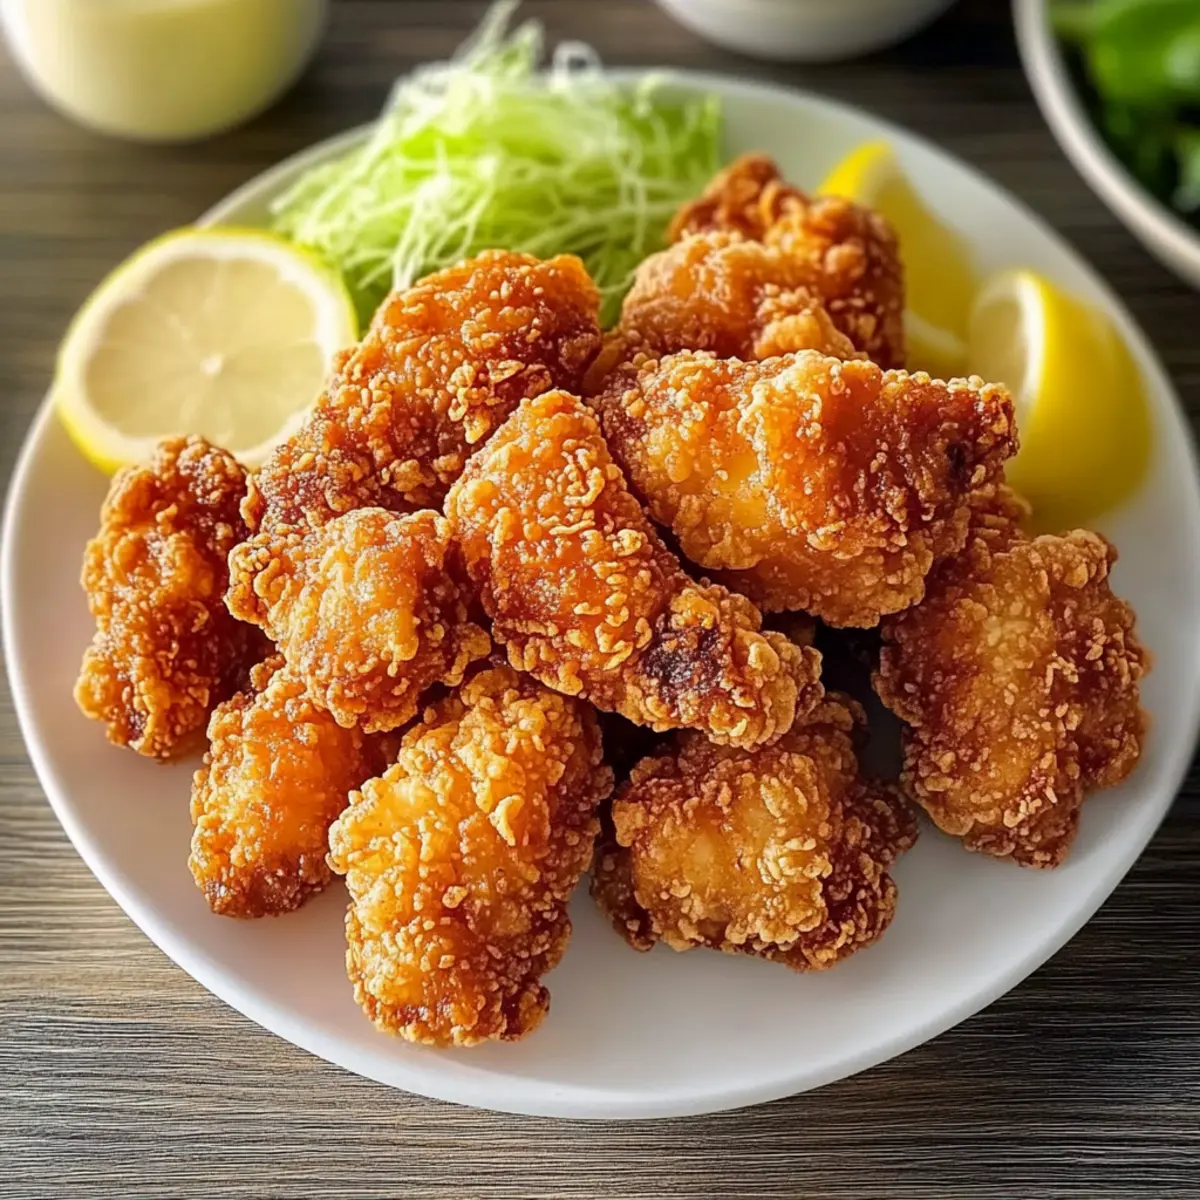
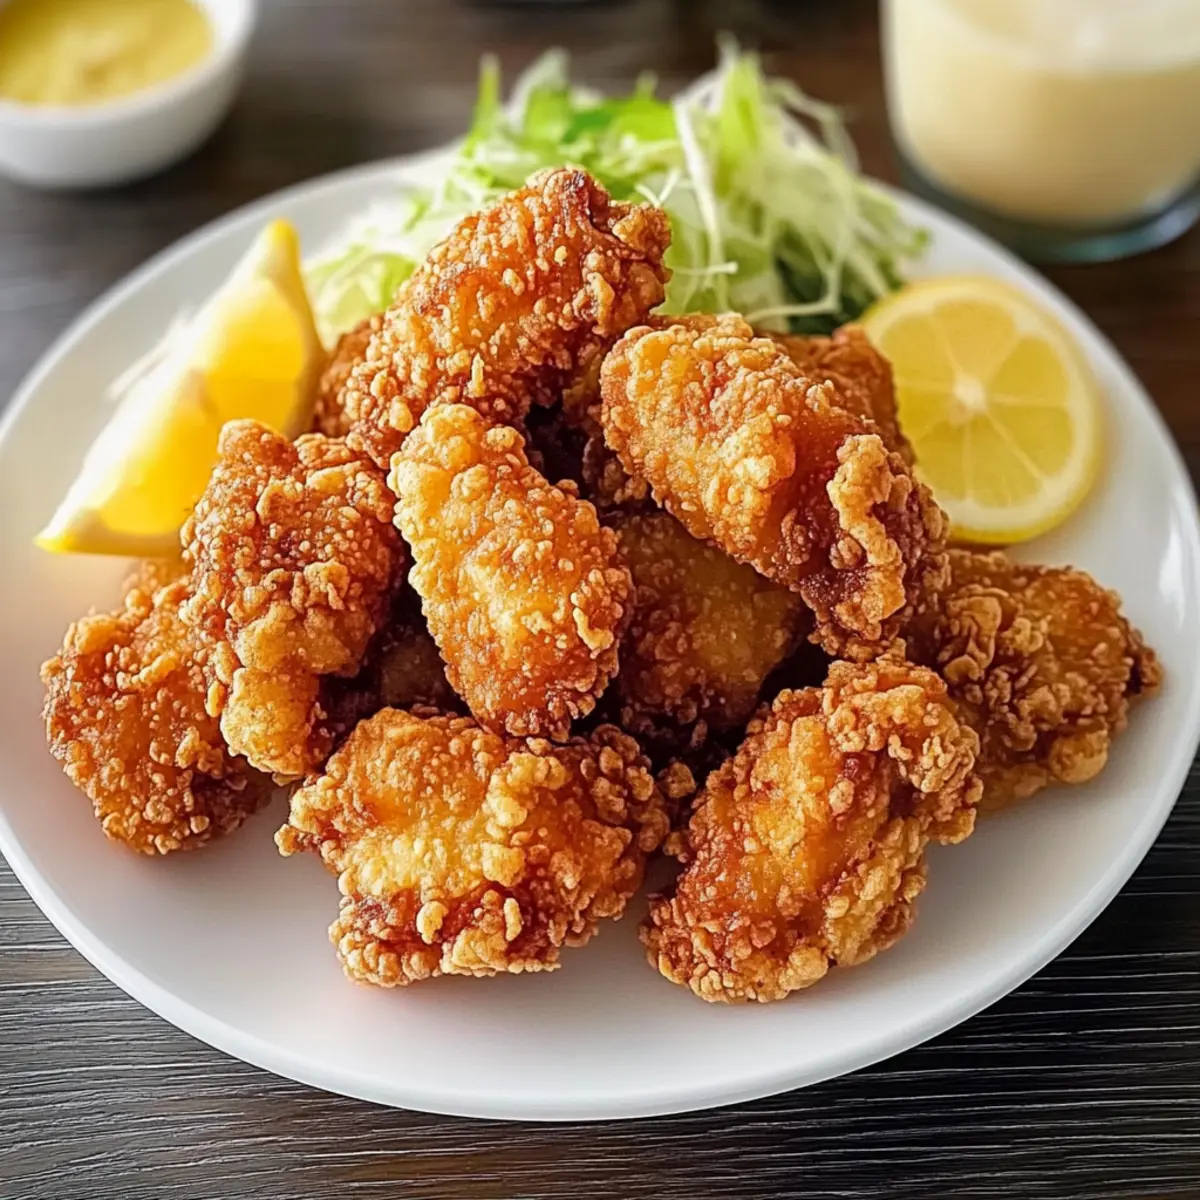
Your irresistibly crispy karaage is ready to be served! Present it hot alongside wedges of fresh lemon for a zesty kick and your favorite dipping sauce—kewpie mayo is highly recommended for that creamy finish. Gather your loved ones around and relish in this homemade delight that perfectly satisfies any craving for fried chicken.
Irresistibly Crispy Karaage Variations
Feel free to get creative and make this dish your own with these delightful twists that promise to elevate your karaage experience!
-
Spicy Kick: Add chili paste or sriracha to the marinade for a fiery twist. This will give each bite a tantalizing heat that lingers delightfully.
-
Herb Infusion: Mix fresh herbs like cilantro or basil into the marinade for an aromatic flourish. These vibrant flavors can transform a simple dish into something extraordinary!
-
Coconut Twist: Substitute coconut cream for mayo in the dipping sauce for a tropical flavor explosion. Just imagine the creamy richness paired with the crispy chicken!
-
Smoky Flavor: Incorporate a few drops of liquid smoke into the marinade for a unique depth. This variation adds a fascinating twist, reminiscent of outdoor barbecues.
-
Crispy Sesame: Add sesame seeds to the cornstarch for an added crunch and nutty flavor. This simple inclusion brings an exciting texture and taste, making each bite more enjoyable.
-
Gluten-Free Delight: Use a gluten-free flour blend and tamari sauce for a fully gluten-free version without losing any of the flavors or textures loved in traditional karaage.
-
Zesty Lemon Pepper: Mix grated lemon zest and cracked black pepper into your marinade for a bright and zesty flair. This elevates the dish with a refreshing layer of flavor.
-
Asian Fusion: Serve your karaage in a wrap with pickled vegetables and a drizzle of spicy mayo for a unique fusion experience. It’s an exciting way to enjoy this beloved classic!
Pair your delicious crispy karaage with your favorite sides or witness its magic in a bowl of warm rice or crunchy salads, similar to what you’d find in a delightful Chicken Caesar Sandwich or alongside some comforting Marry Me Chicken Soup. Enjoy!
How to Store and Freeze Irresistibly Crispy Karaage
- Fridge: Store leftover karaage in an airtight container in the refrigerator for up to 3 days. To reheat, place in a preheated oven at 350°F for about 10-15 minutes to regain crispiness.
- Freezer: For longer storage, freeze cooked karaage in a single layer on a baking sheet until solid, then transfer to a freezer-safe bag. It will keep well for up to 2 months.
- Reheating from Frozen: When ready to enjoy your frozen karaage, bake it straight from the freezer in a preheated oven at 375°F for about 20-25 minutes, checking for crispiness.
- Make-Ahead Tip: You can marinate the chicken thighs up to 24 hours in advance and coat them, storing in the fridge until ready to fry, ensuring maximum flavor and convenience.
Make Ahead Options
These irresistibly crispy karaage are perfect for busy home cooks looking to save time without compromising on flavor! You can marinate the chicken thighs up to 24 hours in advance, ensuring they soak up all the delicious flavors from the ginger and garlic. For added convenience, after coating the chicken, store it in the refrigerator for up to 3 days before frying. To maintain quality, make sure to keep the coated chicken covered to prevent it from drying out. When you’re ready to serve, just fry as directed, and you’ll end up with that same irresistible crunch and juicy chicken, making your meal prep feel effortless and rewarding!
Expert Tips for Crispy Karaage
-
Marinate Longer: Let the chicken marinate for longer than 30 minutes to enhance flavors and tenderness. Try 2 hours for maximum impact!
-
Correct Crumble Texture: Ensure your cornstarch crumble is sand-like; too much water can lead to sogginess and less crunch.
-
Monitor Oil Temperature: Keep a close eye on oil temperature; frying at the right heat ensures distinctly crispy karaage without being greasy.
-
Fry in Batches: Avoid overcrowding the pot during frying. Frying in smaller batches helps maintain oil temperature and enhances crispiness.
-
Serve Immediately: For the best texture, serve karaage right after frying. If storing leftovers, reheat in the oven to regain some crispness.
What to Serve with Irresistibly Crispy Karaage
Elevate your dining experience by pairing this delightful fried chicken with simple yet complementary sides that tantalize the taste buds.
- Steamed White Rice: Light and fluffy rice acts as a perfect canvas for the karaage’s savory flavors, allowing you to savor each bite.
- Cabbage Slaw: Crunchy, tangy slaw adds freshness and a pop of color to your plate, balancing the rich taste of the chicken beautifully.
- Miso Soup: A warm, comforting bowl of miso soup offers umami depth, enhancing the overall flavor profile of your meal.
- Pickled Vegetables: Bright, tangy pickles provide a refreshing contrast and cleanse the palate between bites of crispy chicken for a delightful dining rhythm.
- Curry Dipping Sauce: A mildly spiced curry sauce brings warmth and a different flavor nuance, creating an exciting twist to your dipping experience.
- Sake or Green Tea: Sip on a chilled sake or a warm cup of green tea, both of which harmonize with the flavors while adding an authentic Japanese touch.
With these pairings, you’ll create a harmonious feast that truly celebrates the wonderful taste of irresistibly crispy karaage.
Irresistibly Crispy Karaage Recipe FAQs
How do I select the best chicken for karaage?
When making karaage, I recommend using boneless, skinless chicken thighs for the juiciest results. They soak up the marinade best and remain tender during frying. If you opt for chicken breasts, be mindful that they might turn out drier, so consider marinating them longer to maintain flavor and moisture.
What’s the best way to store leftover karaage?
To store your delicious leftovers, place them in an airtight container in the refrigerator, where they will stay fresh for up to 3 days. Reheating in the oven at 350°F for about 10-15 minutes is the best way to restore their crispiness—quick and easy!
Can I freeze crispy karaage?
Absolutely! You can freeze the cooked karaage for up to 2 months. Let it cool completely, then place it in a single layer on a baking sheet until solid. After that, transfer it into a freezer-safe bag for easy storage. To reheat, bake it straight from the freezer at 375°F for about 20-25 minutes until crispy.
What should I do if my karaage is soggy?
If your karaage ends up soggy, there are a few things you might want to check. Ensure that your oil temperature is hot enough; frying at 350°F is crucial for achieving that wonderful crunch. Also, don’t overcrowd the frying pot, as this can lower the oil temperature and prevent proper frying. If the cornstarch crumble is too wet, it may lead to sogginess, so aim for a sandy texture when preparing it!
Are there any dietary considerations for this recipe?
Absolutely! If you’re looking for gluten-free options, simply swap out regular soy sauce with tamari sauce, and use a gluten-free flour blend instead of all-purpose flour. For those who are vegan, replace the egg with a flax egg—a mixture of 1 tablespoon of ground flaxseed with 2.5 tablespoons of water—to bind the coating without using animal products.
How long can I marinate the chicken, and does it make a difference?
You can definitely marinate the chicken thighs for up to 24 hours for maximum flavor and tenderness. The longer you marinate, the more deeply the flavors infuse into the chicken. I often find that marinating for 2 hours is ideal for balancing flavor and texture, but don’t hesitate to experiment and see what works best for you!
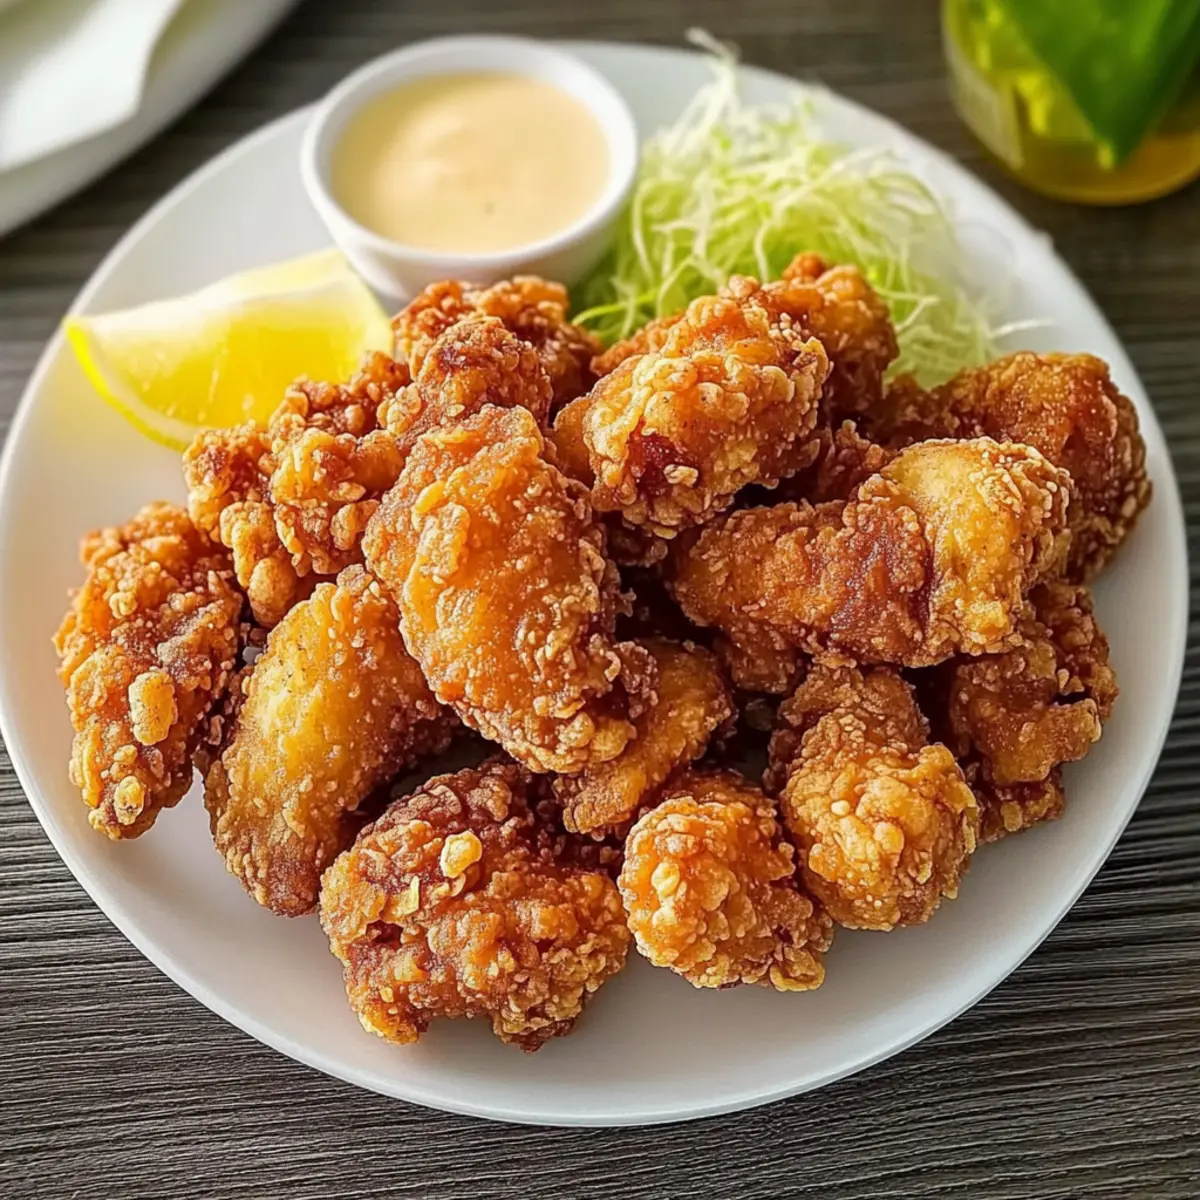
Irresistibly Crispy Karaage: Your New Favorite Fried Chicken
Ingredients
Equipment
Method
- In a large mixing bowl, whisk together freshly grated ginger, garlic, soy sauce, sake, black pepper, and kosher salt. Add chicken thighs and coat thoroughly. Cover and refrigerate for at least 30 minutes, up to 2 hours.
- In a shallow bowl, mix cornstarch with a tablespoon of water until sand-like. Set aside.
- Remove chicken from refrigerator. In the same bowl, add all-purpose flour and egg to chicken, coating each piece evenly.
- Press each piece of chicken into cornstarch mixture, shaking off excess. Place on a wire rack and let rest for 10 minutes.
- Heat enough neutral frying oil in a deep pot to 350°F.
- Fry 4-5 pieces of chicken for 2-3 minutes until light golden brown. Drain on a wire rack.
- Increase oil temperature to 380°F. Fry chicken in batches for an additional 1-2 minutes until golden brown and crispy. Drain again.
- Serve hot with lemon wedges and dipping sauce, preferably Kewpie mayo.
Leave a Reply