
As I stood in my kitchen, zesting fresh lemons, a wave of citrusy sunshine enveloped me like a long-lost hug. This Lemon-Ginger Chili Sunshine Jam captures that very essence—an uplifting blend of tangy lemons, fiery ginger, and a hint of chili heat that dances on your palate. No longer will your mornings be dull; this homemade jam brightens even the gloomiest toast and turns everyday meals into delightful experiences. With its quick preparation and forgiving nature, this jam is a perfect project for both novice cooks and seasoned food lovers alike. Plus, if you’re in the mood to explore, there are easy substitutions like honey for sugar that can make your creation uniquely yours. So why not add a splash of sunshine to your kitchen? What will you try it on first?
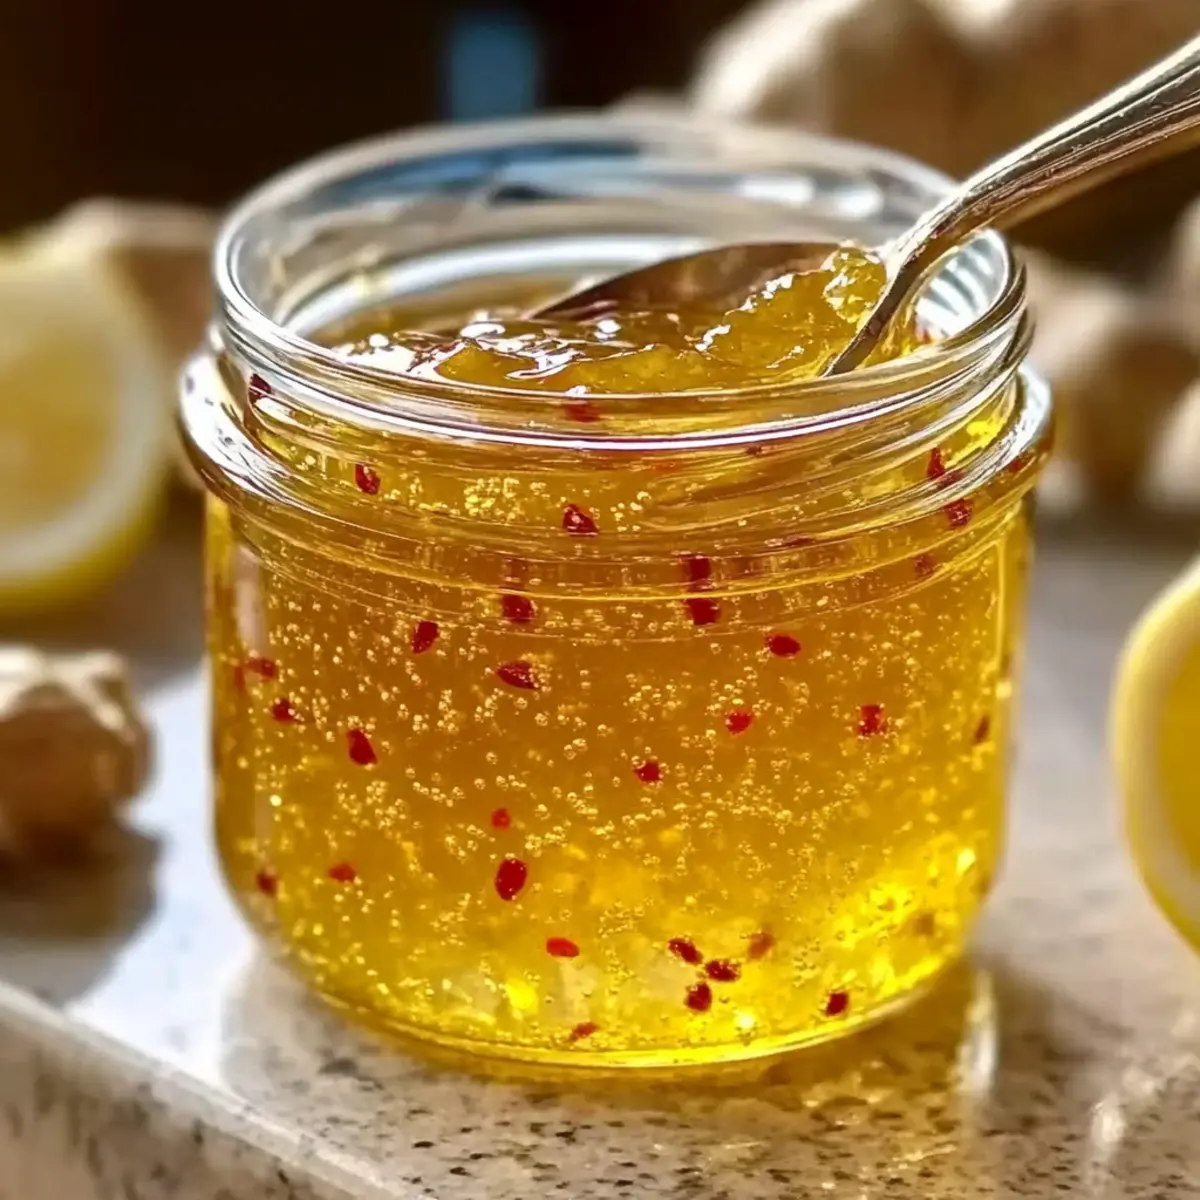
Why is this jam a must-try?
Vibrant Flavor Explosion: The Zesty Lemon Ginger Jam combines the zing of fresh lemons with spicy ginger and a kick of chili, creating a taste sensation that awakens your senses.
Quick and Simple: With straightforward steps, you can whip up this delightful jam in no time—ideal for busy kitchens.
Versatile Use: Enjoy it on toast, as a glaze for grilled meats, or paired with cheese. Your culinary creativity will shine!
Unique Twists: Feel free to experiment with unique flavors using honey instead of sugar or trying different citrus fruits for a refreshing twist.
Perfect Gift Idea: Share some joy by gifting this homemade jam in cute jars—everyone loves a personal touch!
Lemon Ginger Jam Ingredients
For the Jam Base
• Lemons – Freshly zested and juiced for a burst of tangy brightness.
• Granulated Sugar – 1.5 cups; essential for creating that perfect jam body.
• Water – 0.5 cups; helps dissolve sugar and balances the consistency of the jam.
• Apple Cider Vinegar – 1 tablespoon; provides acidity to counterbalance sweetness.
• Salt – A pinch; enhances the overall flavor profile.
For the Flavor Boosters
• Fresh Ginger – 2 tablespoons, finely grated; adds a warm, spicy note that elevates the jam.
• Red Chili – 1 small, finely minced; infuses a gentle heat throughout the jam.
Optional Additions
• Turmeric – 0.5 teaspoon; adds a beautiful golden color and earthy flavor.
• Lemon Peel – optional, can be added during simmering for an aromatic boost; remember to remove it before jarring.
With these Lemon Ginger Jam ingredients, you’re set for a delightful jam-making adventure that promises a sweet and spicy kick!
Step‑by‑Step Instructions for Lemon Ginger Jam
Step 1: Prepare the Lemons
Begin by zesting and juicing the fresh lemons, ensuring to capture the vibrant zest while avoiding the bitter white pith. Combine both the zest and juice in a medium-sized pot over medium heat. This creates a bright base for your Lemon Ginger Jam, bringing sunshine into the mix from the get-go.
Step 2: Dissolve the Sugar
Add 1.5 cups of granulated sugar and 0.5 cups of water to the pot with the lemon mixture. Stir continuously over medium heat until the sugar fully dissolves and the mixture becomes clear, which should take about 5-7 minutes. This step is crucial for achieving that perfect jam texture, so keep an eye on it!
Step 3: Add Flavor Boosters
Once the sugar has dissolved, stir in 2 tablespoons of finely grated fresh ginger, 1 small finely minced red chili, and the optional 0.5 teaspoon of turmeric. Add 1 tablespoon of apple cider vinegar and a pinch of salt as well. These ingredients will elevate the flavor of your Lemon Ginger Jam, introducing warmth and a delicate spice.
Step 4: Simmer the Mixture
Bring the pot to a gentle boil, then reduce the heat to low and let it simmer uncovered for about 35 minutes. Stir occasionally to prevent sticking and monitor the thickness; the jam should start to coat the back of a spoon, signifying it’s getting close to completion.
Step 5: Test for Doneness
To check if the Lemon Ginger Jam is ready, dip a spoon into the mixture. It should coat the spoon and leave a clear line when drawn with a finger. If it hasn’t reached this stage after 35 minutes, continue simmering for a few more minutes, keeping a close watch on its consistency.
Step 6: Jar the Jam
Once the jam has thickened to your desired texture, remove it from the heat. Carefully pour the hot Lemon Ginger Jam into pre-sterilized jars while still warm, filling them to the brim. Seal the jars immediately to create a vacuum, preserving the delicious flavors for later enjoyment.
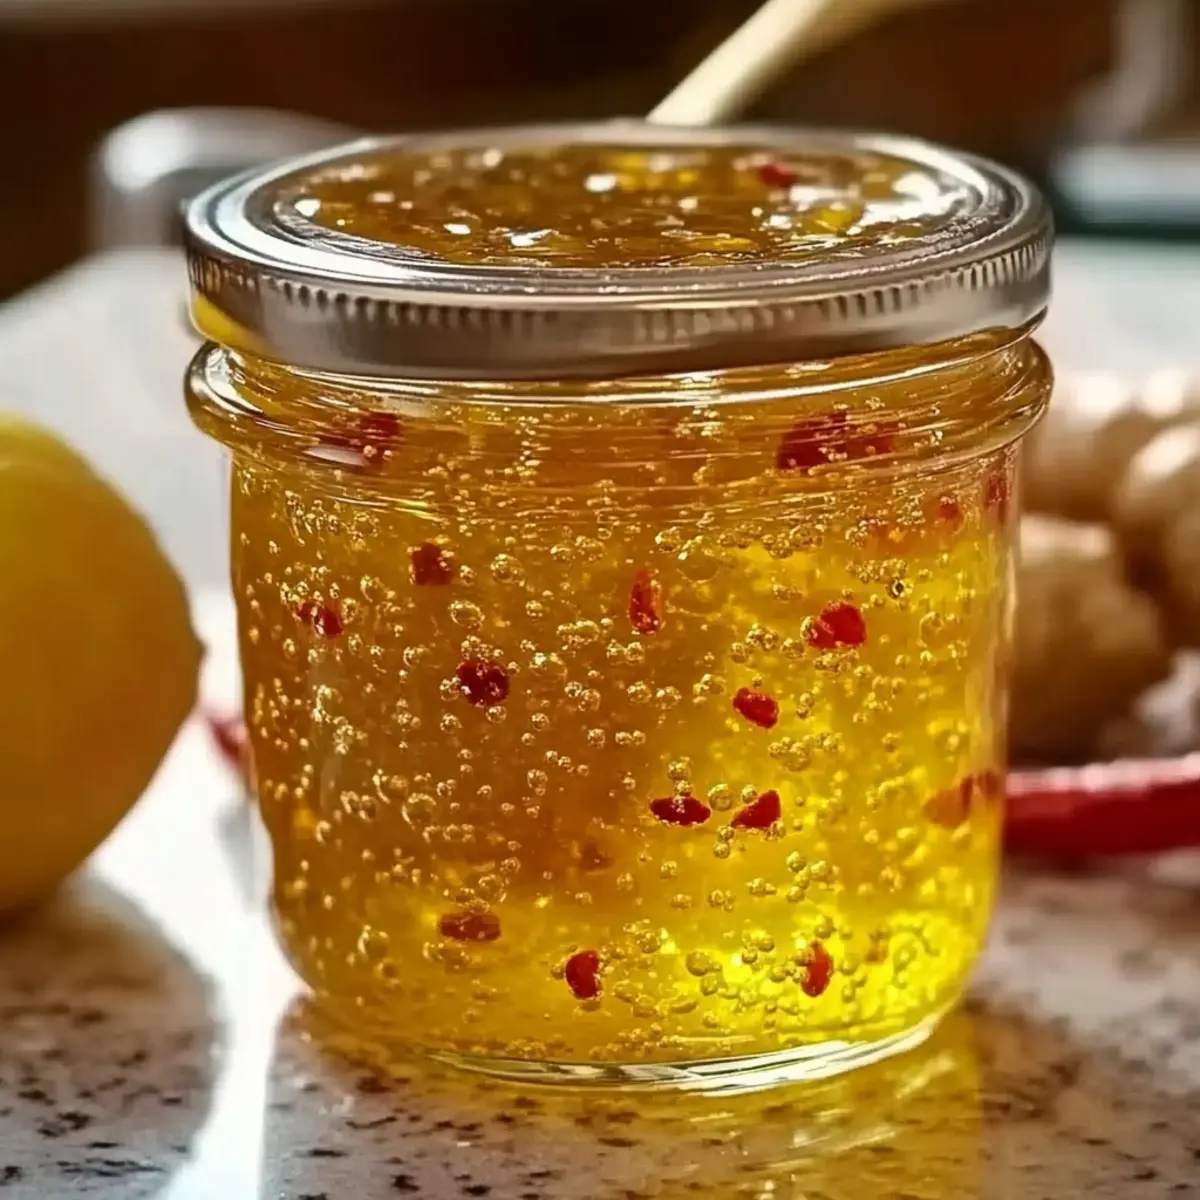
Lemon Ginger Jam Variations & Substitutions
Feel free to play around and make this wonderful Lemon Ginger Jam your own; each variation offers a unique twist that could surprise your taste buds!
- Honey Swap: Replace granulated sugar with honey—just reduce cooking time and keep an eye on the texture.
- Citrus Mix: Substitute lemons with limes or oranges for a refreshing twist. A burst of different flavors can transform your jam into a citrus medley!
- Spice It Up: Add a dash of ground cinnamon or a pinch of clove for a warm, fragrant flavor that balances the jam beautifully. It’s like giving your jam a cozy hug with spices!
- Chili Heat: Adjust heat by using jalapeños instead of red chili for a milder kick. The change introduces a new depth without overwhelming spice lovers.
- Fresh Herbs: Include a few sprigs of fresh thyme or mint during cooking for an herby aroma. Just remember to strain them out before jarring—that herbal note can elevate the experience.
- Fruit Fusion: Stir in finely chopped berries or peaches during the last few minutes of simmering for a fruity jam that adds color and sweetness. This combo is perfect for summer!
- Liquid Gold: Drizzle in a bit of maple syrup instead of sugar for a deep caramel note that complements the citrus and spice beautifully. It’s like swapping sunshine for golden warmth!
- Simple White: Switch red chili for a pinch of white pepper for a gentler heat. This alternative works wonders if you prefer a milder flavor without losing that essence.
With these variations, you can find endless ways to customize your jam. Whether you enjoy sharing it on toast or pairing it with a cheese platter, your unique creation will brighten anyone’s day! If you’re in the mood for another refreshing drink, consider trying our Pink Lemonade Refreshing or the delightful twist of Citrus Lemonade Refreshing. Enjoy your culinary journey!
What to Serve with Lemon-Ginger Chili Sunshine Jam
Elevate your meals and snacks with delightful accompaniments that enhance the vibrant flavors of your homemade jam.
-
Creamy Goat Cheese: The tanginess of goat cheese beautifully balances the sweet-spicy notes, creating a luscious spread for crackers or bread.
-
Savory Grilled Chicken: Brush the jam onto grilled chicken for a sticky glaze that marries sweetness with savory smoky flavors. It’s a match made in heaven!
-
Crusty Baguette: Spread a generous layer of the jam on warm, crusty baguette for a simple yet elegant appetizer that invites conversation.
-
Oatmeal or Yogurt: Stir a spoonful of jam into warm oatmeal or yogurt for a refreshing breakfast that welcomes a bright start to your day.
-
Cheese Platter Addition: Pair it with sharp cheddar or creamy brie on a cheese board. The contrasting flavors will delight guests and spark joy at gatherings.
-
Spicy Shrimp Tacos: Use the jam as a zesty drizzle on shrimp tacos, adding a refreshing heat that brightens the whole dish.
-
Dessert Toasts: Top sweet toast or pancakes with the jam for a breakfast treat that feels like a cheerful hug with every bite.
-
Sparkling White Wine: A crisp sparkling white pairs wonderfully, accentuating the jam’s bright flavors, and making your meal feel extra special.
-
Dark Chocolate Treats: For dessert, dip dark chocolate pieces into the jam for an unexpected burst of sweet heat, creating a decadent finish to a delightful meal.
How to Store and Freeze Lemon Ginger Jam
Fridge: Store your Lemon Ginger Jam in a sealed jar in the refrigerator for up to 3 weeks to maintain its fresh taste and vibrant flavor.
Freezer: For longer storage, freeze the jam in small airtight containers for up to 3 months. Leave a little space for expansion as it freezes.
Reheating: To enjoy frozen jam, simply transfer it to the fridge overnight to thaw. You can also reheat it gently in a saucepan over low heat until warm.
Jar Prep: Always ensure your jars are properly sterilized before pouring in the jam to prevent spoilage, allowing you to enjoy this delightful homemade preserve for longer.
Make Ahead Options
These Lemon-Ginger Chili Sunshine Jam options are perfect for busy home cooks looking to save time in the kitchen! You can prepare the jam up to 3 days in advance, allowing the flavors to meld beautifully overnight in the refrigerator. Simply follow the steps to make the jam, and once cooled, transfer it to sterilized jars, sealing them tightly. For the best quality, store the jars in the fridge, and remember to keep them sealed until you’re ready to enjoy. When you’re set to serve, just give the jars a gentle shake to mix the ingredients again, and your delicious Lemon-Ginger Chili Sunshine Jam will be just as vibrant and flavorful as when you made it!
Expert Tips for Lemon Ginger Jam
Flavorful Aroma Boost: Add a strip of lemon peel during the simmering process for an aromatic flair, removing it before jarring to prevent bitterness.
Perfect Consistency: If your jam hasn’t thickened after 35 minutes, continue simmering while stirring, as the right texture is crucial for your Lemon Ginger Jam.
Storage Know-How: Ensure jars are properly sterilized before pouring in the jam to prevent spoilage; store sealed jars in the fridge for up to three weeks.
Sweetness Balance: If using honey instead of sugar, reduce cooking time and monitor closely for ideal consistency—honey can alter the texture!
Flavor Experimentation: Don’t be afraid to adjust the chili levels to match your heat preference, ensuring your Lemon Ginger Jam suits your taste buds perfectly.
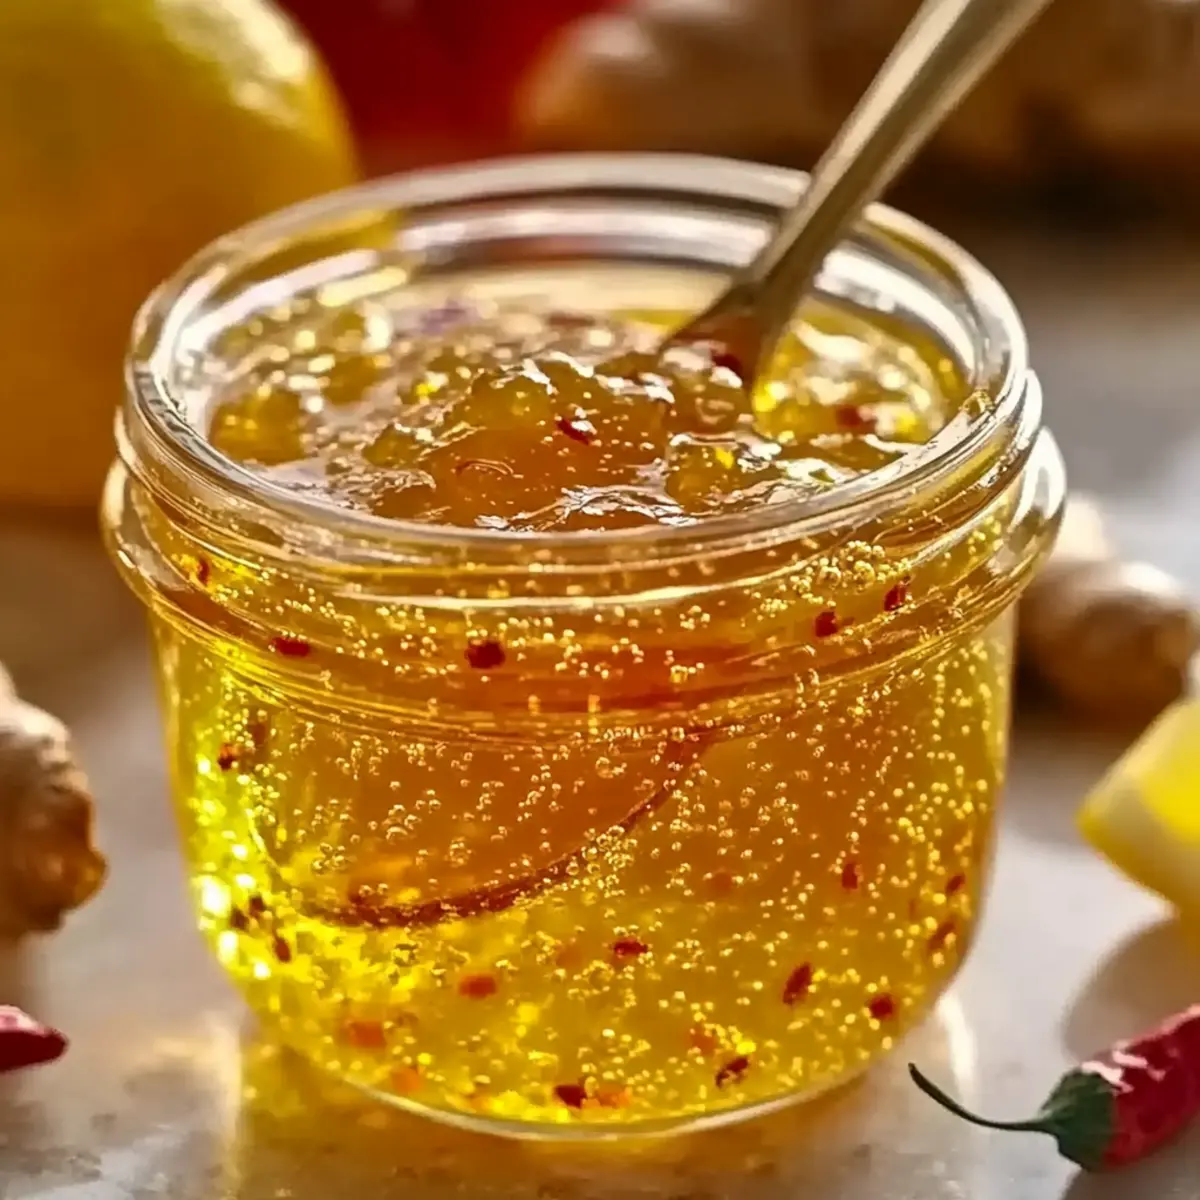
Lemon-Ginger Chili Sunshine Jam Recipe FAQs
What type of lemons should I use?
Absolutely! For the best flavor and acidity in your Lemon-Ginger Chili Sunshine Jam, I recommend using fresh, ripe lemons. Look for lemons that are bright yellow with a slight sheen and are firm to the touch. Avoid ones with dark spots or wrinkles, as these can indicate over-ripeness.
How should I store my jam after making it?
You can store your Lemon-Ginger Chili Jam in sterilized jars in the refrigerator for up to 3 weeks. Be sure to seal the jars tightly after each use to maintain freshness. If you’d like to keep it longer, freezing is also a great option!
Can I freeze this jam? How do I do it?
Yes, you can absolutely freeze your Lemon-Ginger Chili Jam! Pour the cooled jam into small airtight containers, leaving a bit of space at the top for expansion, and freeze for up to 3 months. When you’re ready to enjoy it, transfer it to the fridge overnight to thaw, or gently reheat in a saucepan over low heat until warm and spreadable.
What if my jam isn’t thickening properly?
No worries! If you find your jam isn’t thickening after around 35 minutes of simmering, continue cooking and stir frequently. To speed things up, you can increase the heat slightly, but keep a close eye to prevent burning. The jam should thicken and coat the back of a spoon, leaving a clear line when touched with a finger.
Are there any dietary considerations for this jam?
Very! This Lemon-Ginger Chili Jam is generally safe for most diets, but if you have specific allergies or dietary restrictions, note that it contains sugar and vinegar. If you’d like to make it a bit healthier, using honey as a sweetener is a great alternative—just reduce the cooking time slightly to achieve the desired consistency.
Can I modify the spice level?
The more the merrier! If you prefer a milder jam, simply reduce the amount of red chili used, or substitute it with chili flakes that allow you to control the heat better. For a more spicy kick, feel free to add extra chili or even experiment with different types of peppers to match your taste.
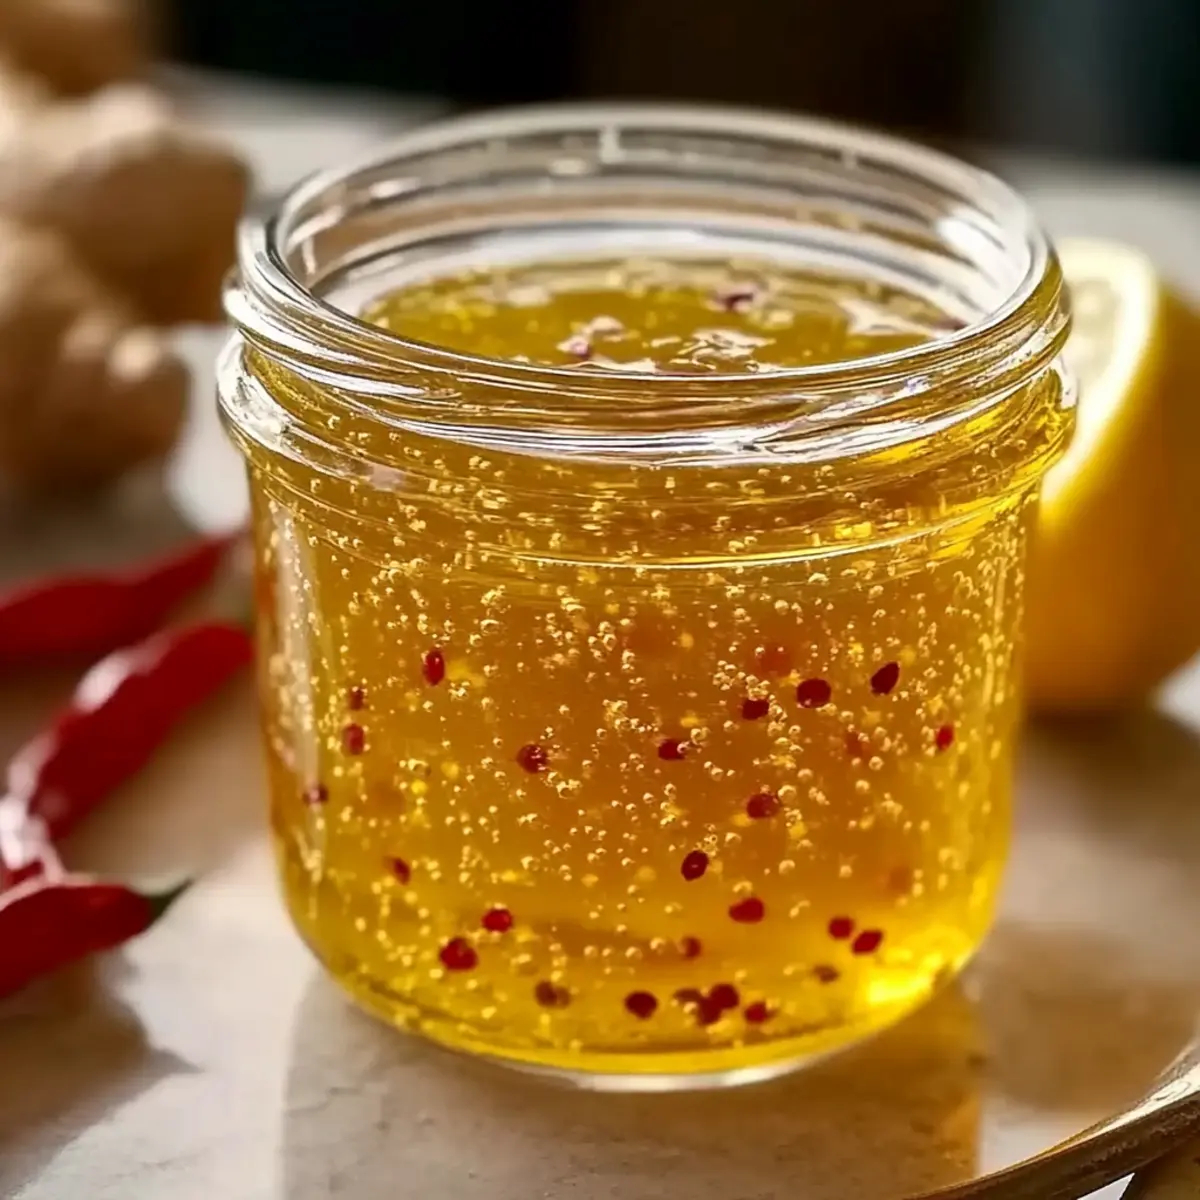
Zesty Lemon Ginger Jam for a Sweet Spicy Kick
Ingredients
Equipment
Method
- Zest and juice the fresh lemons, combining both in a medium pot over medium heat.
- Add sugar and water to the pot, stirring continuously until the mixture becomes clear.
- Stir in fresh ginger, red chili, turmeric, vinegar, and salt once sugar dissolves.
- Bring to a gentle boil, then reduce heat and simmer uncovered for about 35 minutes.
- Test for doneness by dipping a spoon into the mixture to see if it coats the back.
- Remove from heat and pour into sterilized jars, sealing immediately.
Leave a Reply