
As I rummaged through my childhood memories, the image of those adorable little teddy bear cookies came rushing back, igniting a wave of nostalgia. Today, I’m thrilled to share my twist on those beloved snacks with these delectable Vegan Homemade Teddy Grahams, featuring three delightful flavors: honey cinnamon, cocoa, and chocolatey chip. Not only are these treats irresistibly fun to make, but they’re also a healthier alternative, being both vegan and gluten-free. Picture a cozy afternoon spent baking alongside your little ones, crafting these sweet critters with love. Whether you’re craving a guilt-free snack or looking for that perfect lunchbox surprise, these teddy grahams are the answer. Ready to bring a touch of sweetness to your kitchen? Let’s dive into this easy baking project together!
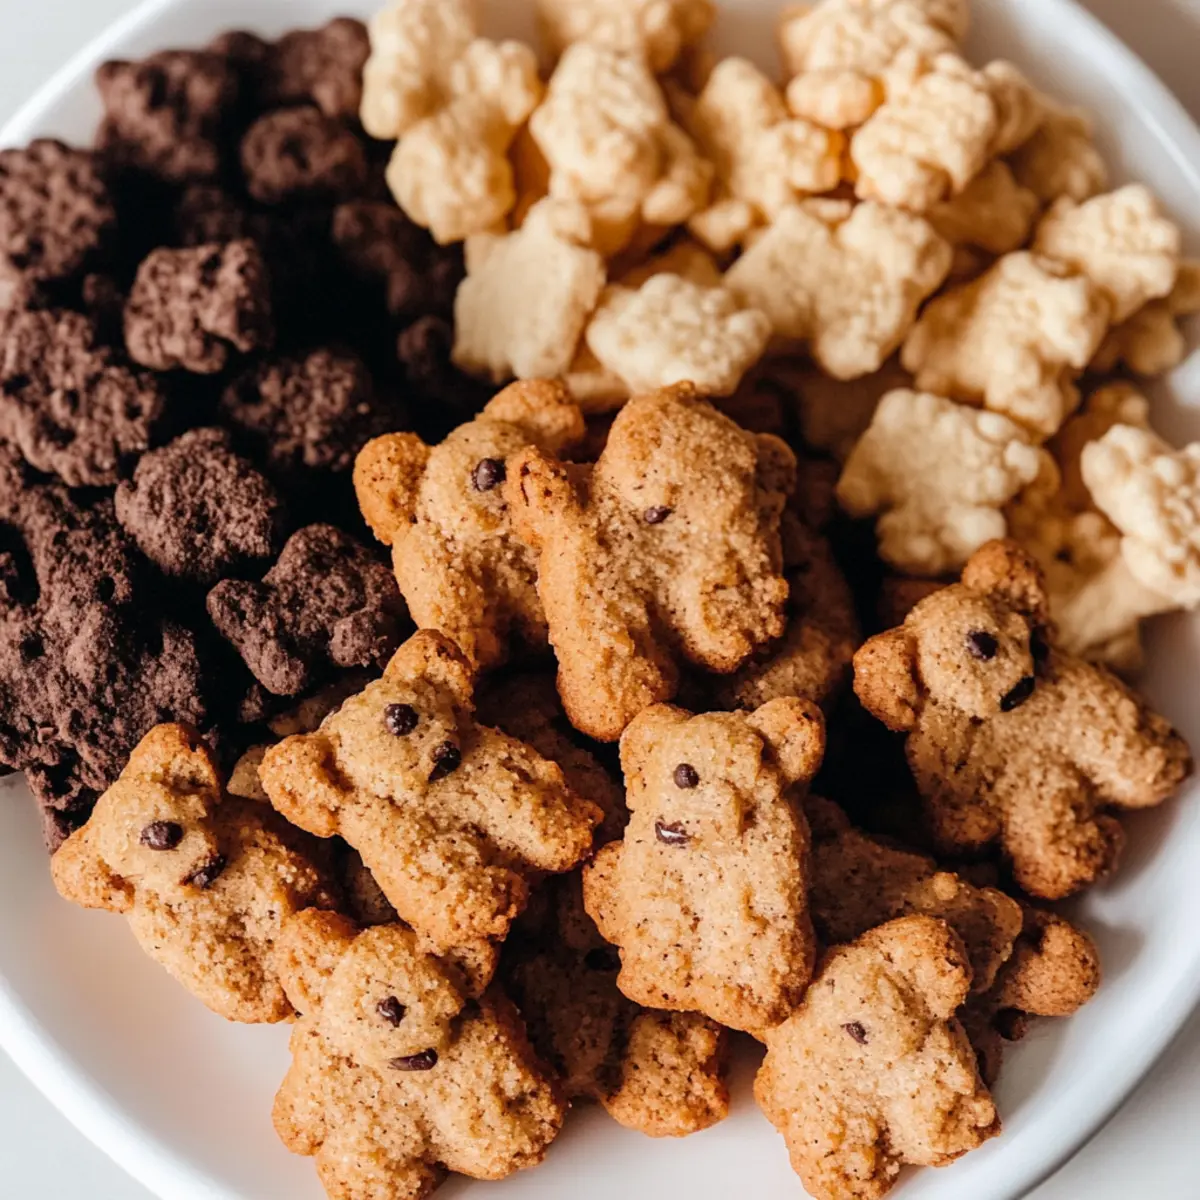
Why Are Teddy Grahams So Fun to Make?
Nostalgic Appeal: These Homemade Teddy Grahams capture the joy of childhood in every bite, making them a hit with both kids and adults.
Three Irresistible Flavors: Choose from Honey Cinnamon, Cocoa, or Chocolatey Chip—it’s hard to pick a favorite!
Healthy Twist: Enjoy guilt-free snacking with a vegan and gluten-free recipe that’s as wholesome as it is delicious.
Easy and Fun: This is the perfect baking project for kids, inviting them to unleash their creativity while learning in the kitchen.
Versatile Treat: These adorable cookies can be paired with fruit spreads or enjoyed with a glass of plant-based milk for dipping—ideal for snack time!
Quick to Bake: In just about 30 minutes, you’ll have fresh, delightful treats ready to share or stash away for a sweet craving.
Teddy Grahams Ingredients
• Let’s gather what we need to create these cute and tasty cookies!
For the Dough
- Vegan Butter – provides richness and structure; substitute with regular butter if not vegan.
- All-Purpose Flour (or Gluten-Free Flour) – the main structure for the cookies; try almond or oat flour for a different flavor, but textures may vary.
- Brown Sugar (or Coconut Sugar) – adds delightful sweetness and moisture; regular sugar can be used, or omit for less sweetness.
- Baking Powder – the leavening agent that ensures fluffiness; make sure it’s fresh for the best results.
For Flavoring
- Cocoa Powder – essential for the cocoa flavor; opt for unsweetened for a deeper taste, and consider carob powder as a substitute for a unique twist.
- Cinnamon – brings warmth to the Honey Cinnamon flavor; can be omitted for other variations.
- Maple Syrup or Agave – a natural sweetener that fits your preference; honey can be a substitute but won’t keep the recipe vegan.
- Chocolate Chips – add for the Chocolatey Chip flavor; go for dairy-free chips to maintain vegan status.
Enjoy making your own Teddy Grahams, and let the fun of baking begin!
Step‑by‑Step Instructions for Vegan Homemade Teddy Grahams
Step 1: Prepare Dough
In a mixing bowl, cream together the vegan butter and brown sugar until the mixture is light and fluffy, about 2-3 minutes. Gradually add in the all-purpose flour, baking powder, and your chosen flavorings—cocoa for chocolatey bears, cinnamon for honey cinnamon, along with maple syrup or agave. Mix until just combined for a soft dough.
Step 2: Chill
Once your dough is mixed, form it into a disc and wrap it tightly in plastic wrap. Refrigerate for about 30 minutes to allow it to firm up, making it easier to handle. This step is key; a chilled dough will yield perfectly shaped Vegan Homemade Teddy Grahams when you cut or mold it.
Step 3: Shape Cookies
After chilling, remove the dough from the fridge and place it on a lightly floured surface. If using a teddy bear mold, roll out the dough to about 1/4 inch thick and press into the mold. Alternatively, shape small bears by hand, ensuring uniform thickness for even baking. Preheat your oven to 350°F (175°C) during this process.
Step 4: Bake
Arrange your shaped Teddy Grahams on a lined baking sheet, leaving slight space between each cookie. Bake in the preheated oven for 10-12 minutes, or until they turn golden brown at the edges. Keep an eye on them; they should be crisp on the outside yet soft on the inside, capturing that homemade essence.
Step 5: Cool
Once baked, carefully transfer the cookies onto a wire cooling rack using a spatula. Allow them to cool completely for at least 10 minutes. This crucial step will help your Vegan Homemade Teddy Grahams crisp up and enhance their delightful texture, perfect for snacking.
Make Ahead Options
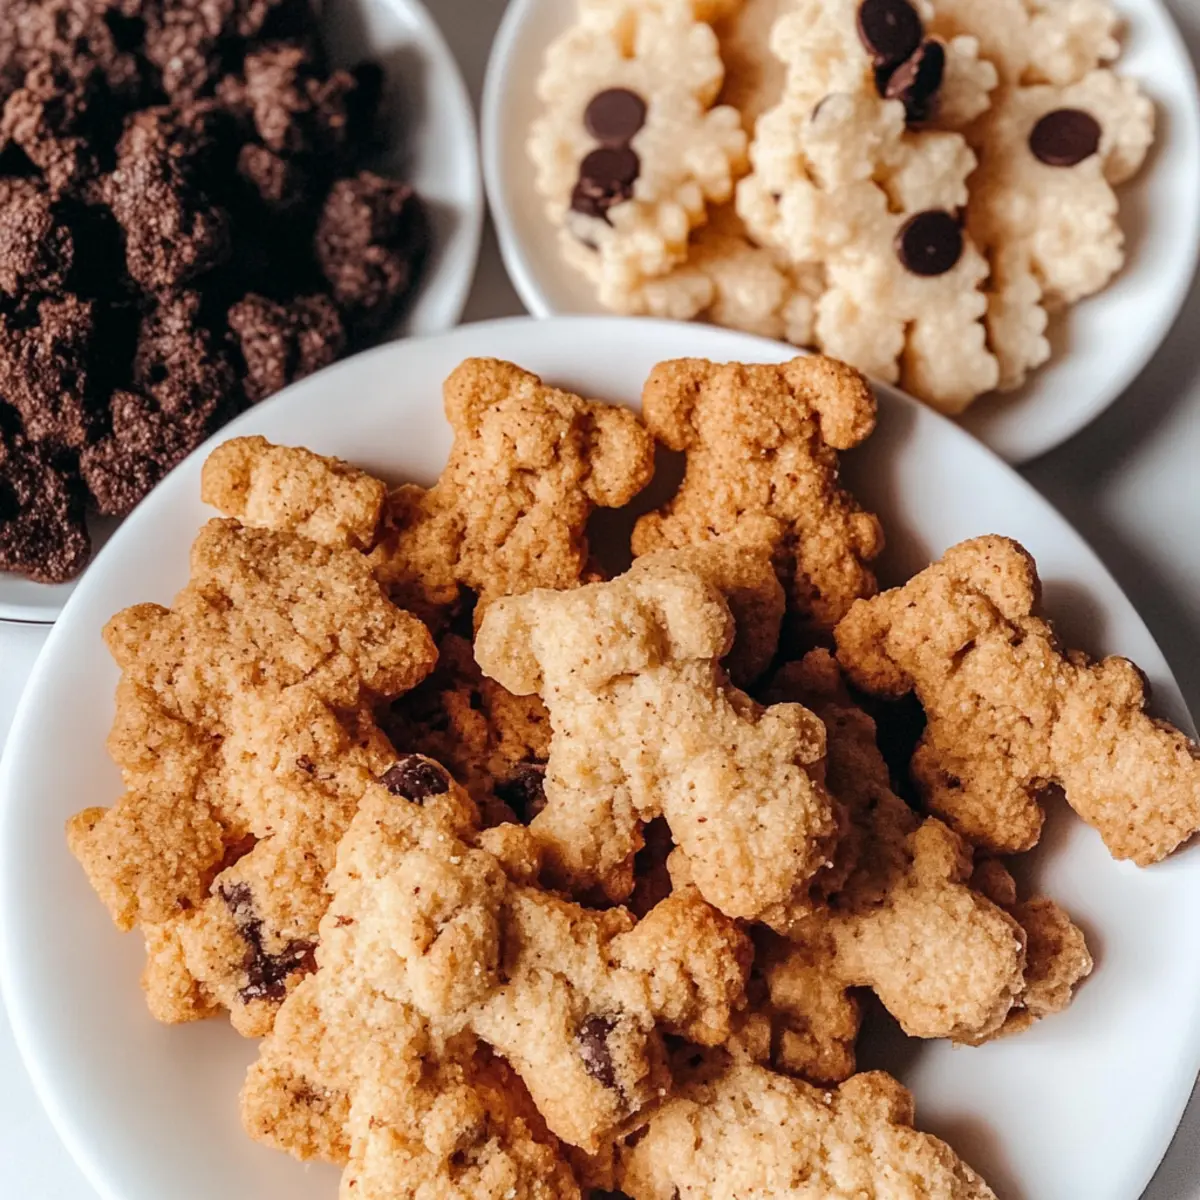
These Vegan Homemade Teddy Grahams are perfect for meal prep, making snack time a breeze on busy days! You can prepare the dough up to 24 hours in advance by following step 1, then wrap it tightly in plastic wrap and refrigerate it. The dough will firm up, ensuring easy shaping when you’re ready to bake. Additionally, you can shape the cookies into bears and refrigerate them on the baking sheet for up to 3 days before baking. Just remember to cover them lightly with plastic to keep them fresh. When you’re ready to enjoy these delightful treats, simply preheat your oven and bake as directed, ensuring just as delicious results!
What to Serve with Vegan Homemade Teddy Grahams
Imagine a cozy afternoon filled with the delightful crunch of these adorable teddy bear cookies, perfect for pairing with comforting accompaniments.
-
Creamy Fruit Spreads: These spreads complement the sweetness of the teddy grahams, adding a fruity explosion. They are perfect for dipping or spreading for an extra treat!
-
Dairy-Free Milk: Almond, oat, or coconut milk provide a refreshing drink that enhances the nostalgic cookie experience. Dip them for a fun twist!
-
Nut Butter Delight: Peanut or almond butter adds a rich, nutty flavor. This pairing brings a satisfying texture and makes for a more filling snack.
-
Fresh Fruit Salad: A mix of berries, bananas, and apples lends freshness and balances the sweetness. Their crisp textures create a delightful contrast.
-
Non-Dairy Ice Cream: Scoop on some vegan ice cream for an indulgent dessert. The creaminess and chill enhances the sweet flavor of the Teddy Grahams.
-
Herbal Tea: A warm cup of chamomile or peppermint tea brings a soothing element, perfect for a cozy snack time with the kids.
-
Chocolate Fondue: For a fun dessert experience, serve with a warm chocolate fondue for dipping, elevating the playful nature of your teddy grahams.
These enticing pairings turn your teddy grahams into a delightful feast, ensuring plenty of smiles around the table.
Expert Tips for Perfect Teddy Grahams
-
Uniform Shapes: Make sure to roll out the dough evenly to maintain a consistent thickness. This helps the Teddy Grahams bake uniformly without some being overcooked and others underbaked.
-
Avoid Overmixing: After adding flour, mix just until combined. Overmixing can lead to tough cookies instead of the desired chewy texture.
-
Check Baking Powder Freshness: Always use fresh baking powder to ensure proper leavening. Expired baking powder can cause dense Teddy Grahams, ruining the light, fluffy texture.
-
Adjust Dough Consistency: If your dough feels too dry, add a splash of non-dairy milk a little at a time until it reaches a workable consistency. This makes shaping your Teddy Grahams much easier.
-
Creative Flavor Variations: Don’t be afraid to play with flavors! Add a touch of vanilla extract or experiment with spices like nutmeg to customize your Teddy Grahams even further.
How to Store and Freeze Teddy Grahams
Airtight Container: Store your Vegan Homemade Teddy Grahams in an airtight container at room temperature for up to 5 days to keep them fresh and crunchy.
Fridge: If you prefer, you can refrigerate them for up to 10 days. Just make sure to allow them to return to room temperature before enjoying, as they may harden slightly.
Freezer: For longer storage, freeze the cookies in a single layer on a baking sheet until solid, then transfer to a freezer-safe bag. They can be stored for up to 3 months—simply thaw before enjoying!
Reheating: If they lose some crunch after refrigeration or freezing, pop them back in a preheated oven at 350°F (175°C) for about 5-7 minutes to refresh their texture.
Teddy Grahams Variations & Substitutions
Feel free to let your creativity run wild with these variations that elevate your Homemade Teddy Grahams into delicious new territories!
-
Nut-Free: Substitute almond flour with oat flour or sunflower seed flour for a nut-free option that’s safe for schools.
-
Dairy-Free: Use banana or apple sauce instead of butter for a fruitier, moist cookie, if you’re seeking a lighter heart.
-
Gluten-Free: Opt for a store-bought gluten-free blend instead of all-purpose flour for a completely gluten-free delight, ensuring everyone can partake.
-
Chocolate Dipped: Dip the baked and cooled Teddy Grahams in melted dairy-free chocolate for an indulgent twist. This adds decadence and a delightful contrast in texture.
-
Superfood Boost: Toss in ground flaxseed or chia seeds before baking for added nutritional benefits without altering the flavor dramatically. These tiny seeds will sneak in extra fiber and omega-3s!
-
Heat Level: For a spicy kick, incorporate a pinch of cayenne pepper into the cinnamon dough—the unexpected warmth will spark delightful conversations!
-
Flavor Extracts: Use vanilla extract or mint extract to enhance the dough’s flavor profile; this can lead to a delightful aroma that fills your kitchen as they bake. Pair with a healthful smoothie for a perfect afternoon snack!
-
Fruit & Nut: Mix in dried fruits like cranberries or raisins, and chopped nuts to the dough to create a chewy texture bursting with flavors. This variation works beautifully as a heartier snack option to enjoy on your afternoon hike.
With these variations in hand, your Teddy Grahams will never be boring! If you’re in need of more inspiration, consider serving them with some delightful fruit spreads or try a refreshing plant-based milk for dipping. Happy baking!

Vegan Homemade Teddy Grahams Recipe FAQs
What type of flour should I use for Vegan Homemade Teddy Grahams?
I recommend using all-purpose flour for the best texture, but you can easily substitute it with gluten-free flour for a gluten-free version. If you’re feeling adventurous, almond or oat flour can also be used, but the texture may vary slightly.
How should I store my Teddy Grahams?
To keep your Teddy Grahams fresh, store them in an airtight container at room temperature for up to 5 days. If you prefer, they can also be stored in the refrigerator for up to 10 days, but make sure to let them return to room temperature before enjoying for optimal texture.
Can I freeze Vegan Homemade Teddy Grahams?
Absolutely! To freeze, place your Teddy Grahams in a single layer on a baking sheet and freeze until they’re solid. Then, transfer them to a freezer-safe bag. They can stay in the freezer for up to 3 months. When you’re ready to enjoy them, just thaw at room temperature!
What if my dough is too dry?
If you find that your dough is too dry and crumbly, don’t worry! Simply add a splash of non-dairy milk gradually until it reaches a workable consistency. This will help make the dough easier to shape and ensure your Teddy Grahams turn out perfectly.
Are there any common allergies I should be aware of?
Yes, it’s always good to be cautious with allergies! These Vegan Homemade Teddy Grahams are free from dairy and eggs, making them suitable for vegans. However, if you’re baking for someone with nut allergies, make sure to opt for oat flour or regular all-purpose flour instead of almond flour, and check that your chocolate chips are nut-free as well.

Vegan Teddy Grahams: Three Irresistible Flavors to Love
Ingredients
Equipment
Method
- In a mixing bowl, cream together the vegan butter and brown sugar until light and fluffy, about 2-3 minutes. Gradually add in the flour, baking powder, and flavorings. Mix until just combined.
- Form the dough into a disc, wrap it in plastic wrap, and refrigerate for about 30 minutes.
- Remove the dough from the fridge and roll it out on a floured surface; use a mold or shape small bears by hand. Preheat oven to 350°F (175°C).
- Place shaped cookies on a lined baking sheet; bake for 10-12 minutes until golden brown around the edges.
- Transfer cookies to a wire rack to cool for at least 10 minutes before enjoying.
Leave a Reply