
As I stood by my kitchen window, the scent of toasty oats mingled with rich chocolate, instantly transporting me back to cherished moments of my childhood. Today, I’m excited to share my latest creation: 4-Ingredient Crispy Chocolate Oat Cookies. These delightful treats combine chewy and crunchy textures, offering a satisfying dose of nostalgia with every bite. Perfect for those hectic days when time is short, this recipe is not only quick to prepare, but it’s also gluten-free, making it a smart choice for those watching their diets. With just four wholesome ingredients, you can whip up these cookies in no time and satisfy your sweet tooth without the guilt. Are you ready to discover how simple it is to enjoy a homemade snack that delights both the taste buds and the soul?
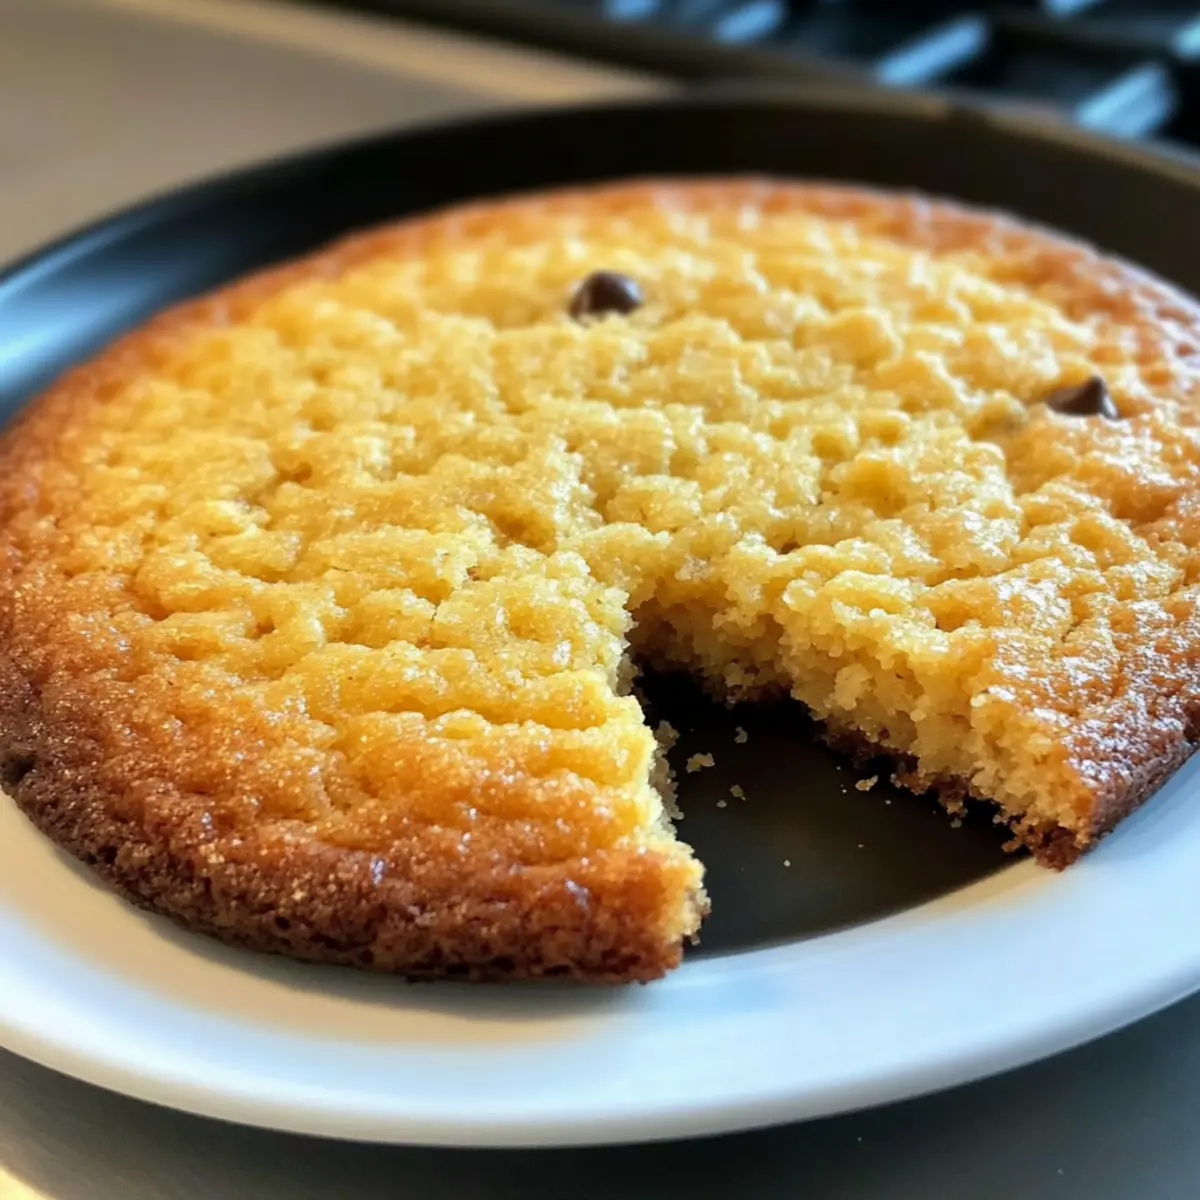
Why Are These Cookies a Must-Try?
Simplicity: With just four ingredients, this recipe is a breeze to whip up, making it perfect for both novice and seasoned bakers.
Guilt-Free Indulgence: These cookies are gluten-free and made with wholesome ingredients, allowing you to enjoy a sweet treat without the worry.
Versatility: Don’t be afraid to mix things up! You can easily substitute nut butters or sweeteners, and even add nuts or dried fruits for an extra twist.
Crowd-Pleasing: Whether for a snack break or an after-school treat, these cookies are sure to please family and friends alike.
Quick to Make: In under 30 minutes, you can have a batch of delightful cookies ready to enjoy. Perfect for busy lifestyles!
Flavorful Nostalgia: Each bite transports you to warm kitchens filled with the smell of baking, reminding you of those cherished homemade moments.
Chocolate Oat Cookies Ingredients
For the Cookies
• Oats – The base structure; use rolled or quick oats for ideal texture.
• Peanut Butter – Adds richness and binds the cookies; almond or sunbutter can replace it for allergies.
• Honey (or Maple Syrup) – Sweetens the mix; choose maple syrup for a vegan treat.
• Chocolate Chips – Provides flavor and texture; dark chocolate can be switched out for milk chocolate or omitted for a less sweet option.
Step‑by‑Step Instructions for 4-Ingredient Crispy Chocolate Oat Cookies
Step 1: Preheat the Oven
Begin by preheating your oven to 350°F (175°C). This essential step ensures that your cookies bake evenly, achieving that perfect crispy edge. While the oven warms up, take a baking sheet and line it with parchment paper, creating a non-stick surface for your delicious 4-ingredient crispy chocolate oat cookies.
Step 2: Mix the Ingredients
In a medium-sized mixing bowl, combine your oats, peanut butter, and honey. Use a sturdy spoon or spatula to stir the mixture together until a thick and cohesive dough forms. The consistency should be sticky yet manageable, perfect for shaping later. This step comes together quickly, bringing the rich, nutty aroma of peanut butter into your kitchen.
Step 3: Incorporate Chocolate Chips
Once your dough is ready, stir in the chocolate chips until they’re evenly distributed throughout the mixture. This addition not only enhances the cookies’ flavor but also adds delightful chunks of melty chocolate, making each bite a sweet surprise. Keep mixing until every morsel of chocolate is coated in the dough for even flavor.
Step 4: Scoop the Dough
Next, use a tablespoon to scoop out the dough, placing heaping portions onto the prepared baking sheet. Make sure to leave enough space between each scoop to allow for spreading while baking; about two inches should do the trick. Each mound should be well-rounded – they will spread slightly during baking, creating those classic cookie shapes.
Step 5: Bake Until Golden
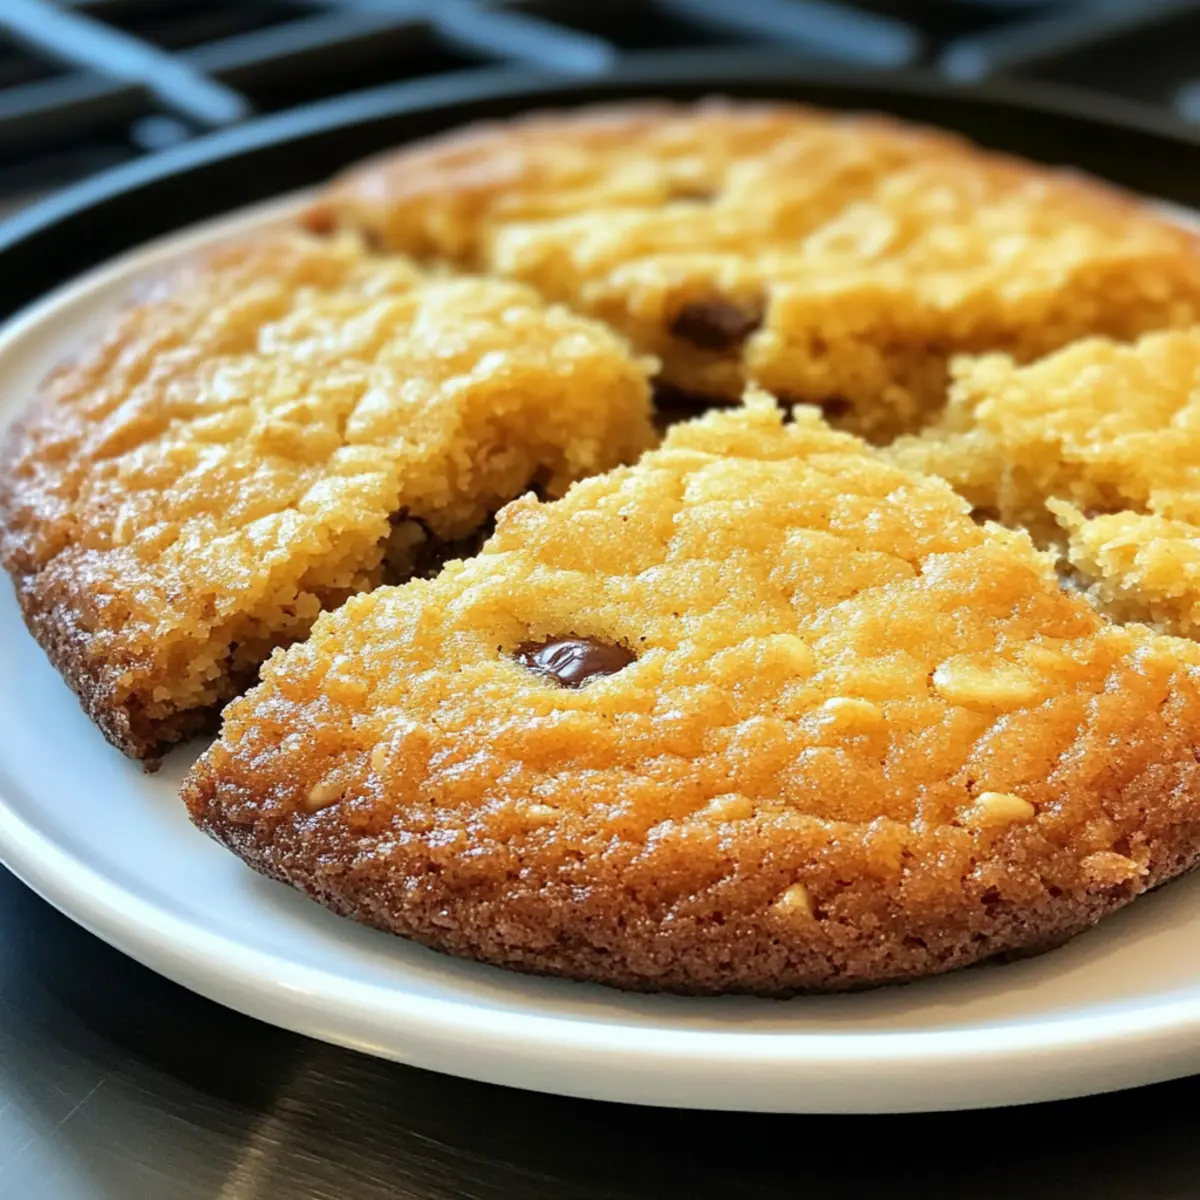
Slide the baking sheet into your preheated oven and let the cookies bake for 10 to 12 minutes. Keep an eye on them, and you’ll know they’re done when the edges turn a lovely golden brown and the tops look just set. This is the moment when your kitchen will fill with the irresistible scent of warm cookies, drawing everyone in.
Step 6: Cool the Cookies
After baking, remove the cookies from the oven and allow them to cool on the baking sheet for about 5 minutes. This resting time is crucial, as it lets them firm up a bit before moving. Then, use a spatula to transfer the cookies to a wire rack, where they will cool completely, maintaining their crispy texture and delightful chewiness.
Make Ahead Options
These 4-Ingredient Crispy Chocolate Oat Cookies are perfect for meal prep enthusiasts! You can prepare the cookie dough up to 24 hours in advance, allowing you to enjoy fresh-baked cookies on demand. Simply mix the oats, peanut butter, honey, and chocolate chips as instructed, then scoop the dough onto a baking sheet, cover it tightly, and refrigerate. This prevents the dough from becoming too sticky while maintaining its quality. When you’re ready to bake, just let it sit at room temperature for about 15 minutes and then scoop and bake as usual. With this make-ahead strategy, you can easily squeeze homemade treats into your busy schedule, ensuring they are just as delicious when served!
Storage Tips for Chocolate Oat Cookies
Room Temperature: Store cookies in an airtight container at room temperature for up to 1 week for optimal freshness, enjoying that delightful crunch and chew.
Freezer: For longer storage, freeze cookies in a single layer, then transfer to a zip-top bag or container. They can last up to 3 months without losing flavor or texture.
Reheating: When ready to indulge again, simply heat your frozen chocolate oat cookies in the microwave for about 10-15 seconds to restore their warmth and soften the chocolate.
Make-Ahead Tip: Prepare the dough in advance and chill it for up to 3 days in the fridge before baking; this makes it easy to whip up freshly baked cookies whenever cravings strike!
What to Serve with 4-Ingredient Crispy Chocolate Oat Cookies
There’s something special about pairing cookies with thoughtful accompaniments to create a cozy snack experience.
-
Glass of Milk: Nothing beats the classic combination of cookies and milk; the cool creaminess complements the richness of chocolate beautifully.
-
Herbal Tea: A soothing herbal tea, like chamomile or peppermint, brings a calming effect to your delightful cookie breaks while adding a fragrant touch.
-
Fresh Fruit Salad: Bright and refreshing, a mix of juicy fruits balances the sweetness of the cookies, creating a light and fulfilling contrast.
-
Creamy Yogurt: Serve with a dollop of yogurt for added creaminess, giving each bite a delightful tang that elevates the cookie enjoyment.
-
Nutty Granola: Add crunch and texture by pairing your cookies with a bowl of nutty granola, enhancing the nutty flavors from the peanut butter.
-
Chocolate-Covered Strawberries: Indulge in a sweet treat that mirrors the chocolate in the cookies, creating a perfectly decadent dessert duo for any occasion.
Expert Tips for Crispy Chocolate Oat Cookies
• Oat Selection: Choose certified gluten-free oats if necessary. This ensures your cookies are safe for gluten-sensitive diets.
• Dough Consistency: If the dough feels too wet, add an extra tablespoon of oats to achieve the ideal thick consistency for baking.
• Baking Time Alert: Keep a close eye on your cookies while they’re baking; removing them too late can lead to burnt edges while they cool.
• Chill for Ease: For easier scooping, refrigerate the dough for 15 minutes before baking; this helps the cookies maintain their shape.
• Experiment with Flavors: Feel free to mix in chopped nuts or dried fruits for added texture and taste variations in your chocolate oat cookies.
Variations & Substitutions
Customize your cookie experience with these delightful twists that elevate your baking game!
- Nut-Free: Substitute peanut butter with sunflower seed butter for a nut-free alternative that is just as creamy and delicious.
- Vegan: Use maple syrup in place of honey and any plant-based chocolate chips to keep this treat vegan-friendly.
- Add-Ins: Stir in chopped walnuts or pecans for a satisfying crunch that adds a different dimension to your cookies.
- Spice It Up: Sprinkle in a dash of vanilla extract or almond extract for an aromatic flavor boost that will make your cookies irresistible.
- Fruity Surprise: Add a handful of dried cranberries or raisins to the dough for a chewy contrast and a pop of fruity flavor.
- Cinnamon Boost: A teaspoon of ground cinnamon can introduce a warm, cozy spice that reminds you of fall baking.
- Coconut Lovers: Mix in unsweetened shredded coconut for added texture and tropical sweetness that complements the chocolate beautifully.
- Adjust Sweetness: For a less sweet option, reduce the honey or maple syrup by a tablespoon to suit your taste while still enjoying delicious cookies.
Feel free to experiment with these ideas, and don’t hesitate to explore more about how to incorporate flavors from Nana’s cornbread or try a mix of textures with chocolate oat cookies. Happy baking!

Chocolate Oat Cookies Recipe FAQs
How do I choose the best oats for this recipe?
Absolutely! For these cookies, I recommend using rolled or quick oats for the best texture. If you’re following a gluten-free diet, it’s crucial to select oats labeled as gluten-free to ensure they’re safe for consumption.
What’s the best way to store the cookies?
Store your chocolate oat cookies in an airtight container at room temperature for up to 1 week. This keeps them fresh, chewy, and delicious. If you find them disappearing quickly, you may want to double the recipe!
Can I freeze the cookies?
Very! To freeze your chocolate oat cookies, first let them cool completely. Then, place them in a single layer on a baking sheet and freeze for about an hour. Once frozen, transfer them to a zip-top bag or airtight container. They can last up to 3 months in the freezer. When you’re ready to enjoy, just pop one in the microwave for 10-15 seconds to bring back their warmth and gooey chocolate goodness.
What should I do if the dough is too wet?
If you encounter a wet dough while mixing, don’t worry! Simply add an extra tablespoon of oats at a time until the consistency thickens. You’re aiming for a sticky but manageable dough that holds together nicely when scooped.
Are there any allergy considerations for this recipe?
Of course! If there are nut allergies in your household, substitute peanut butter with sunflower seed butter for a nut-free version. Also, ensure that your chocolate chips are dairy-free if needed, especially for those sensitive to lactose!
Can I make these cookies in advance?
Absolutely! You can prepare the dough and refrigerate it for up to 3 days before baking. This way, you can enjoy freshly baked cookies whenever the cravings hit, making it a convenient option for busy schedules!

Nana's Cornbread: A Cozy, Soul-Warming Family Favorite
Ingredients
Equipment
Method
- Preheat your oven to 350°F (175°C) and line a baking sheet with parchment paper.
- In a mixing bowl, combine oats, peanut butter, and honey until a thick dough forms.
- Stir in the chocolate chips until evenly distributed throughout the dough.
- Scoop out the dough onto the prepared baking sheet, leaving space between scoops.
- Bake for 10 to 12 minutes or until edges are golden and tops are set.
- Allow cookies to cool on the baking sheet for about 5 minutes before transferring to a wire rack.
Leave a Reply