
As the 4th of July approaches, the scent of summer and sweet celebrations fills the air. There’s nothing quite like gathering friends and family for barbecues and fireworks, and what better way to add a festive touch than with these irresistible 4th of July cake pops? These delightful treats combine soft, moist vanilla cake with creamy frosting and a glossy white chocolate coating, making them a hit with both kids and adults. One of my favorite perks? They’re quick to make and perfect for little hands, ensuring everyone can enjoy a sweet bite without the fuss of traditional desserts. Plus, they can be prepped in advance, allowing you to spend more time mingling and less time baking. Were you looking for a fun dessert to elevate your holiday gathering? Look no further!
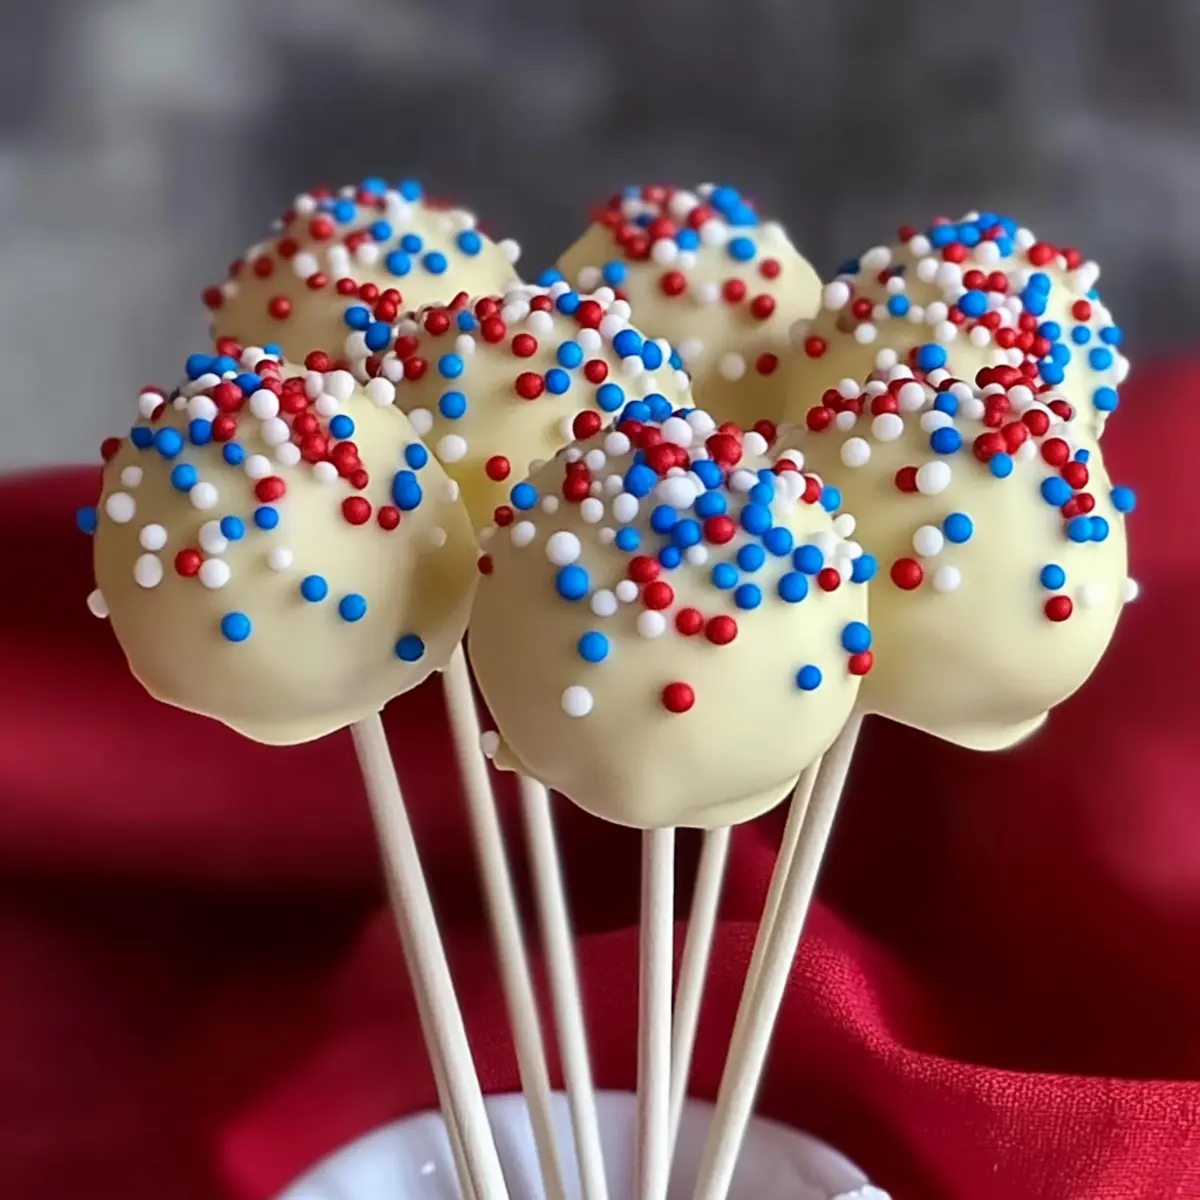
Why Are These Cake Pops a Must-Try?
Festive Flavors: Bursting with vibrant red, white, and blue colors, these cake pops are the essence of 4th of July celebrations!
Quick and Easy: Your family will love how simple it is to whip these up, making them perfect for last-minute party treats.
Kid-Friendly Fun: Little hands can help roll and decorate, creating unforgettable bonding moments in the kitchen.
Make-Ahead Magic: Prep a batch in advance and store in the fridge, giving you more time to enjoy the festivities with loved ones.
Versatile Treats: Customize your pops by swapping cake flavors or chocolate types; these can be tailored to suit any taste!
With their delicious taste and eye-catching presentation, these 4th of July cake pops are bound to be the highlight of your summer gatherings!
4th of July Cake Pops Ingredients
For the Cake
• Cake Mix – This forms the delightful base; feel free to choose any flavor like vanilla, red velvet, or chocolate.
• Cream Cheese Frosting – Our secret to luscious moisture and sweetness; you can substitute with any store-bought or homemade frosting you prefer.
For the Coating
• White Chocolate Wafers – Creates the glossy finish that makes these cake pops shine; dark or milk chocolate can also work beautifully.
• Coconut Oil – Enhances the smoothness of your chocolate coating; it’s optional but highly recommended for that perfect texture.
For Decoration
• Sprinkles – Add these for a festive touch; choose patriotic colors like red, white, and blue to make your cake pops truly pop!
With these ingredients, you’re all set to bring the sweet, aromatic spirit of 4th of July cake pops right into your kitchen!
Step-by-Step Instructions for 4th of July Cake Pops
Step 1: Bake the Cake
Start by preparing your cake mix according to the package instructions, usually combining the mix with eggs, oil, and water. Pour the batter into a greased baking pan and bake in a preheated oven at 350°F (175°C) for about 25-30 minutes, or until a toothpick inserted in the center comes out clean. Once done, allow the cake to cool completely on a wire rack.
Step 2: Crumble the Cake
Once cooled, transfer the cake to a large mixing bowl and use your hands or a fork to crumble it into fine pieces. The texture should resemble coarse sand, ensuring there are no large chunks left. This crumbled cake will serve as the base for your 4th of July cake pops, allowing for a smooth mixing process in the next step.
Step 3: Mix Ingredients
Add the cream cheese frosting into the crumbled cake gradually. Use a spatula or your hands to mix until the ingredients are combined thoroughly, forming a dough-like consistency. The mixture should be moldable but not too sticky, allowing you to easily shape it into balls for your festive cake pops.
Step 4: Form Balls
Scoop about 1 tablespoon of the cake mixture and roll it between your palms to form a smooth ball. Place each cake ball on a parchment-lined baking sheet, leaving some space between them. Aim for uniformity in size to ensure even coating later on. This step is crucial as the shape contributes to the overall look of your 4th of July cake pops.
Step 5: Freeze
Once all the cake balls are formed, place the baking sheet in the freezer for about 30 minutes. This will help the cake balls firm up, making them easier to dip into the melted chocolate later. When ready, they should be slightly hard to the touch but not frozen solid, which helps maintain their shape during coating.
Step 6: Melt Chocolate
Using a microwave-safe bowl, add your white chocolate wafers and heat them in the microwave in 20-30 second intervals, stirring gently between each heating until fully melted and smooth. If desired, stir in a tablespoon of coconut oil to enhance the sheen of the chocolate. The consistency should be fluid and glossy, ready for dipping.
Step 7: Insert Sticks
Remove the chilled cake balls from the freezer and take a lollipop stick; dip the end of the stick into the melted chocolate about half an inch deep. Quickly push the stick into the center of each cake ball and place them back on the parchment-lined baking sheet. The melted chocolate helps secure the stick, ensuring your cake pops hold together well.
Step 8: Dip and Decorate
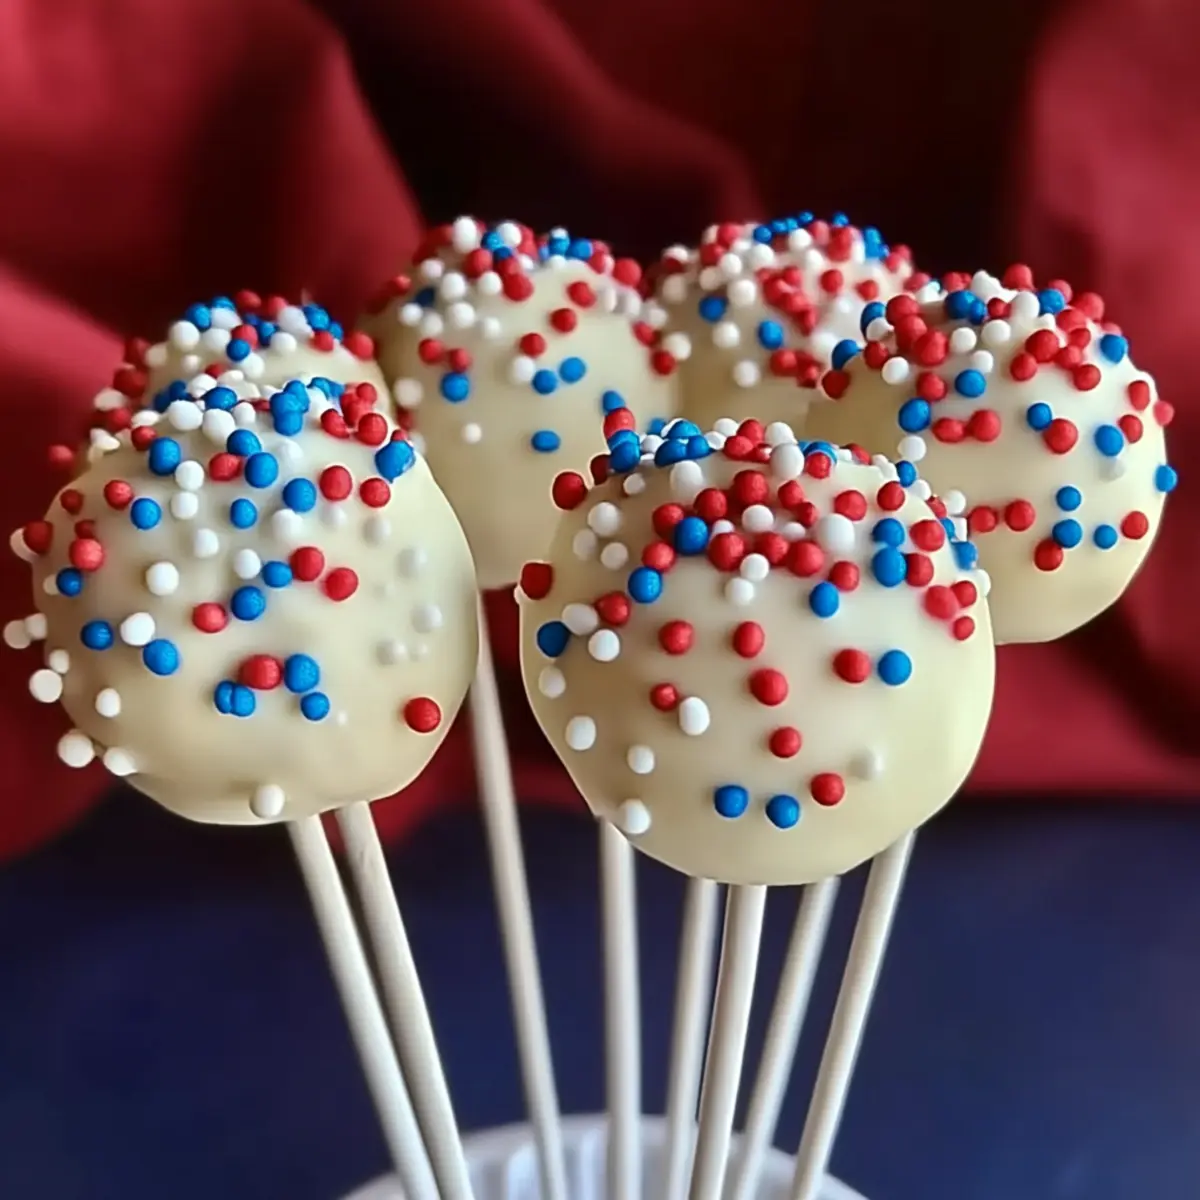
Dip each cake pop into the melted white chocolate, ensuring they are fully coated. Use a gentle twisting motion to remove excess chocolate, creating a smooth finish. While the chocolate is still wet, sprinkle your festive sprinkles over the top, making sure to cover evenly for that classic 4th of July look!
Step 9: Dry
Carefully place the coated cake pops upright into a holder or a cup filled with cling wrap to keep them from touching one another. Allow them to dry at room temperature for about 30 minutes, or until the chocolate is set and firm. Once dried, your vibrant 4th of July cake pops are ready to delight both family and friends!
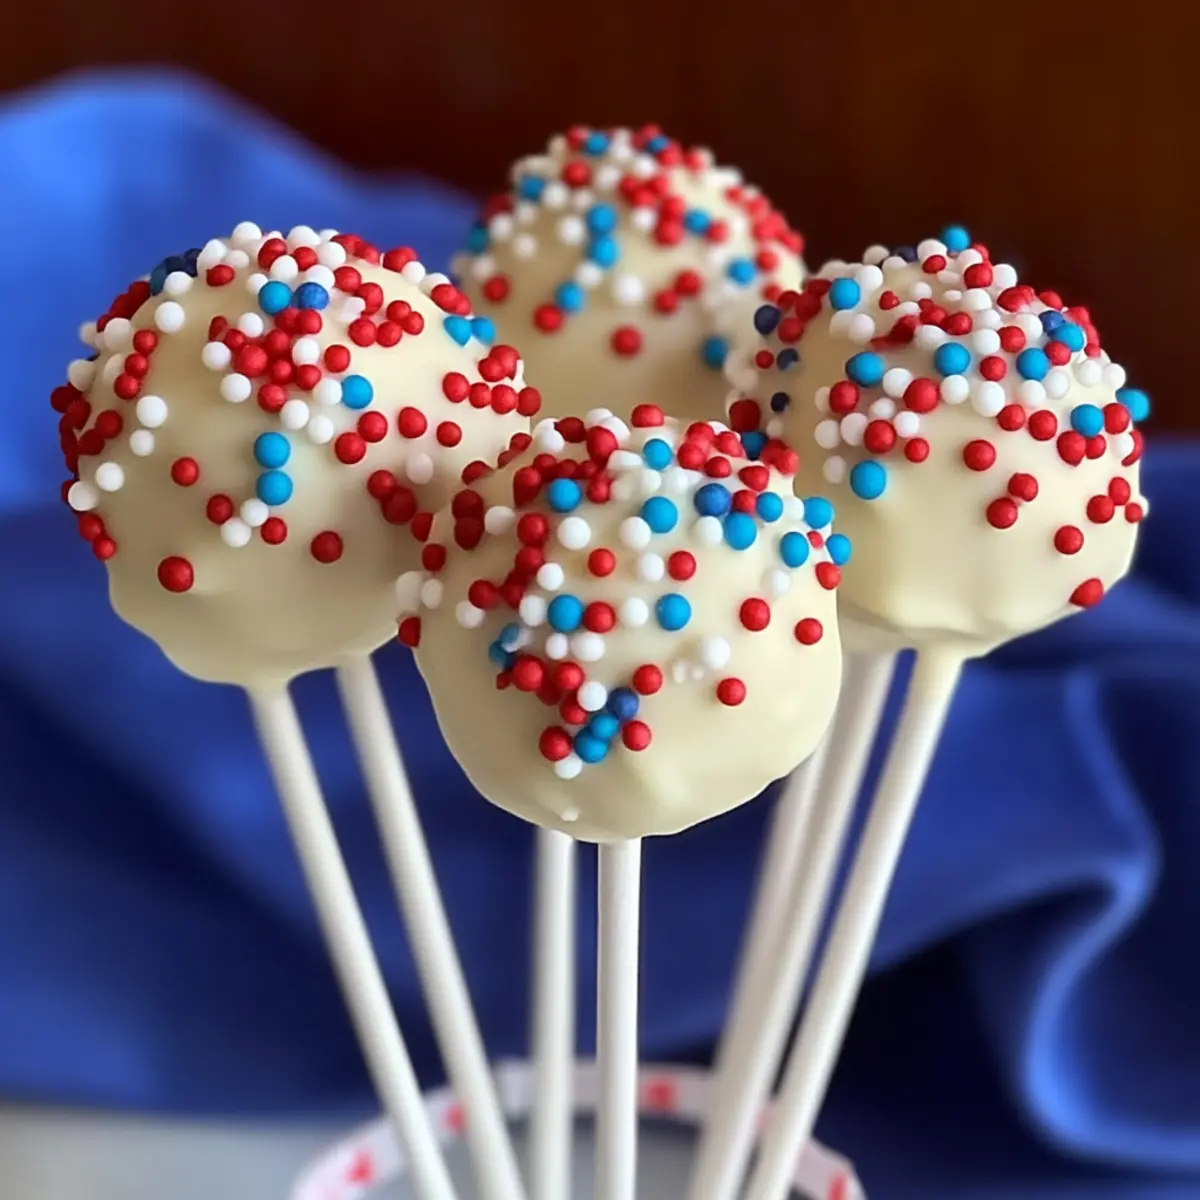
How to Store and Freeze 4th of July Cake Pops
Fridge: Store your cake pops in an airtight container in the refrigerator for up to 1 week. Let them come to room temperature before serving for the best taste and texture.
Freezer: If you want to make them ahead, freeze cake pops before decorating by placing them in a single layer in an airtight container for up to 3 months. Thaw in the fridge before dipping in chocolate.
Reheating: These cake pops are best enjoyed chilled or at room temperature. If you attempt to reheat them, do so gently in the microwave in short intervals to avoid melting the chocolate coating.
Make-Ahead Tips: Preparation can be done a day in advance. Simply prepare the cake balls, freeze, and then coat and decorate just before your gathering for a fresh, festive treat!
4th of July Cake Pops Variations
Feel free to get creative and make these cake pops uniquely yours with these fun ideas!
-
Chocolate Swap: Use chocolate or red velvet cake mix instead of vanilla for a richer flavor. The darker color will create a striking contrast with the white chocolate coating.
-
Flavored Frosting: Try different frosting flavors like chocolate, strawberry, or lemon to add a delightful twist. Each variation offers a unique taste that enhances the overall cake pop experience.
-
Fun Chocolate Colors: Add food coloring to your melted white chocolate for vibrant blue, red, or even striped designs. You can turn these treats into a stunning visual masterpiece that’s sure to impress!
-
Flavored Coatings: Replace white chocolate wafers with flavored options like mint or orange for added zest. This simple change infuses each bite with a burst of unexpected flavor, making them even more delightful!
-
Mix-In Extras: Fold in mini chocolate chips, crushed nuts, or candy pieces into the cake mixture for a delightful crunch. These add a new layer of texture, making every bite an adventure.
-
Spice It Up: For a kick, add some finely chopped chili or a sprinkle of cayenne pepper to your chocolate coating. This creates a thrilling combination of sweet and spicy that adventurous eaters will love!
-
Decorative Toppings: Instead of traditional sprinkles, try crushed graham crackers or coconut flakes for a fun twist. These alternatives provide not just flavor but also extra visual appeal for your festive pops.
-
Mini Pops: Make smaller cake balls if you’re looking for bite-sized treats for kids’ parties. They’re perfect for little hands and will ensure everyone gets to indulge without overdoing it!
As you dive into creating your 4th of July cake pops, don’t forget to check out other festive delights, like the delicious Peach Cake Brown or the refreshing Strawberry Cake Moist that can add delightful variety to your summer gatherings!
What to Serve with 4th of July Cake Pops?
Turn your holiday gathering into a festive feast by pairing these colorful delights with complementary sides and treats!
-
Grilled BBQ Chicken: Juicy, smoky chicken is a family favorite and balances the sweetness of the cake pops perfectly. Serve it hot off the grill for that summer vibe.
-
Classic Coleslaw: Crunchy and creamy, this refreshing side offers a palate-cleansing contrast to the cake pops’ sweetness, making for a delightful bite each time.
-
Watermelon Feta Salad: Sweet watermelon paired with tangy feta is not only vibrant but also brings a refreshing burst of flavor to your plate, echoing the festive vibe.
-
Corn on the Cob: Grilled or boiled, this buttery treat adds a sweet crunch that pairs well with the playful cake pops. It’s a seasonal must-have that everyone will enjoy.
-
Patriotic Punch: A vibrant drink made from mixed berries and lemonade will enhance your theme and keep guests cool, creating a refreshing accompaniment to the decadent treats.
-
Ice Cream Sundae Bar: Allow guests to customize their desserts with cake pops and assorted toppings. This leads to a fun, interactive dessert experience, tying everything together beautifully.
Elevate your 4th of July celebration with these delightful pairings that enhance the joy of your festive cake pops!
Expert Tips for 4th of July Cake Pops
-
Chill for Success: Keep cake balls in the freezer until you’re ready to dip; this helps prevent them from falling apart during coating.
-
Melt Carefully: Heat white chocolate in short intervals and stir gently to avoid burning. A smooth texture ensures a beautiful coating for your cake pops.
-
Immediate Sprinkles: Decorate your dipped cake pops with sprinkles right away. Waiting too long might lead to them not sticking properly.
-
Evenly Sized Balls: Make sure your cake ball sizes are uniform for consistent cooking and presentation. This creates a visually appealing batch of 4th of July cake pops.
-
Creative Coatings: Try experimenting with different chocolate types or colors to customize the pops for various celebrations beyond the 4th of July!
-
Storage Solutions: Store any leftover cake pops in an airtight container in the refrigerator for up to a week, allowing them to come to room temperature before serving.
Make Ahead Options
These 4th of July cake pops are perfect for busy home cooks who want to save time without compromising on flavor! You can prepare the cake balls and freeze them up to 3 days in advance, keeping them securely in an airtight container to ensure freshness. The coated cake pops can also stay in the refrigerator for up to a week before serving, just remember to let them come to room temperature for the best taste and texture. When you’re ready to enjoy, simply dip them into melted white chocolate and add sprinkles for that festive touch. By prepping early, you’ll free up your time to focus on celebrating with friends and family!
4th of July Cake Pops Recipe FAQs
What type of cake mix should I use for the cake pops?
Absolutely! You can use any flavor of cake mix to create your cake pops, but for a festive touch, I recommend vanilla, red velvet, or even chocolate. The flavor is completely up to your preference and what your family enjoys!
How long can I store the cake pops, and what’s the best way to keep them?
You can store your cake pops in an airtight container in the refrigerator for up to 1 week. Make sure to let them reach room temperature before serving for the best flavor and texture. If you’re making them ahead of time, this ensures that they remain fresh while you spend more time enjoying the festivities!
Can I freeze the cake pops, and how should I do it?
Yes, you can definitely freeze your cake pops! I suggest freezing them before decorating. After forming the cake balls, place them in a single layer in an airtight container, separating layers with parchment paper to prevent sticking. They can be frozen for up to 3 months. When you’re ready to decorate, just thaw them in the fridge overnight.
What if my cake pops are falling apart during dipping?
That’s a common concern! If your cake pops are falling apart when you dip them, it’s usually because they’re not chilled enough. Make sure to freeze the cake balls for at least 30 minutes before dipping in chocolate. For extra stability, you can dip the sticks in chocolate before inserting them into the cake balls, which acts like glue.
Are there any dietary considerations I should be aware of?
Definitely! Be mindful of allergies related to gluten (from the cake mix) and dairy (in the cream cheese frosting). If you’re making them for people with specific dietary needs, consider using gluten-free cake mixes and dairy-free frosting to ensure everyone can join in the fun!
How can I decorate my cake pops differently for various occasions?
Very! You can switch up your cake pop designs by using colored chocolate melts or themed sprinkles related to different holidays or events. For example, for Halloween, you might use orange and black sprinkles, or for Christmas, red and green! It’s a fun way to customize your cake pops for any celebration!

Colorful 4th of July Cake Pops Perfect for Summer Celebrations
Ingredients
Equipment
Method
- Bake the Cake: Prepare cake mix per package instructions and bake at 350°F (175°C) for 25-30 minutes. Cool completely.
- Crumble the Cake: Transfer cooled cake to a bowl and crumble into fine pieces.
- Mix Ingredients: Add cream cheese frosting to crumbled cake and mix until combined.
- Form Balls: Roll 1 tablespoon of mixture into smooth balls and place on a parchment-lined sheet.
- Freeze: Freeze cake balls for about 30 minutes.
- Melt Chocolate: Heat white chocolate wafers in the microwave until fully melted, optionally stir in coconut oil.
- Insert Sticks: Dip ends of lollipop sticks in chocolate and insert into each cake ball.
- Dip and Decorate: Dip each cake pop into melted chocolate and sprinkle with decorations while still wet.
- Dry: Place cake pops upright to dry for about 30 minutes until chocolate is set.
Leave a Reply