
As I stood in my kitchen, colors of the flag swirling in my mind, I realized it was the perfect time to whip up a batch of festive Red, White & Blue Cake Pops. These little indulgences are not only a fun treat but also a moist and fluffy delight thanks to Greek yogurt. Imagine bringing a vibrant pop of color to your Fourth of July celebration with treats that are egg-free and oil-free! They are incredibly easy to make, making them perfect for both novice and seasoned home-chefs. Plus, they’re a guaranteed crowd-pleaser, capturing the spirit of the holiday in each cheerful bite. Ready to join me in creating these delightful cake pops? Let’s dive into a baking adventure that celebrates flavor and festivity!
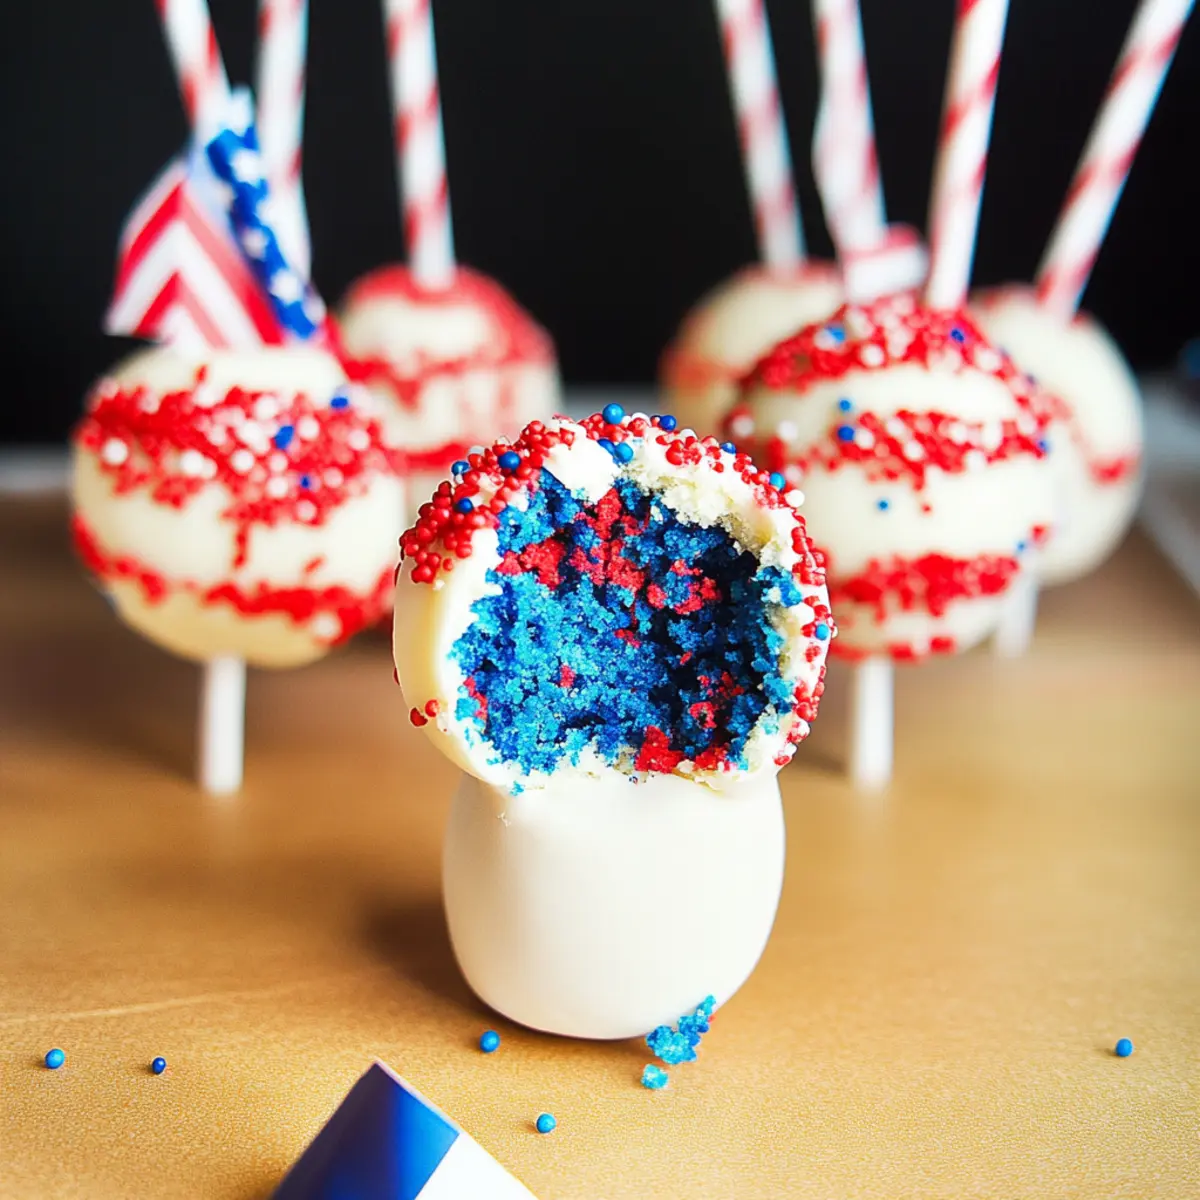
Why Are These Cake Pops Irresistible?
Festive Appeal: These Red, White & Blue Cake Pops are the epitome of holiday fun, bringing cheer to any gathering with their vibrant colors.
Health-Conscious Choice: Made egg-free and oil-free, they’re a guilt-free treat you can enjoy without sacrificing flavor!
Easy to Make: With simple ingredients like Greek yogurt to keep things moist, this recipe is perfect for bakers of all levels, whether you’re a novice or a pro.
Customizable Fun: Want to switch it up? You can easily adapt the flavors by swapping in chocolate cake mix or even using applesauce for a fruity twist!
Perfect for Sharing: These pops look fabulous on any dessert table, making them a great conversation starter at your Fourth of July festivities! Pair them with other festive treats like White Chocolate Cupcakes or Strawberry Cake Moist for a delightful spread.
Red, White & Blue Cake Pops Ingredients
Here’s everything you need to create these festive and delicious Red, White & Blue Cake Pops!
For the Cake Batter
• White Cake Mix – This serves as the foundation for your cake pops, making the process super easy!
• Plain Greek Yogurt – Provides moisture and helps bind the ingredients, allowing you to skip eggs and oil.
• Water – Use cold water to hydrate the cake mix for a fluffier texture.
For the Coating
• White Candy Melts – Perfect for coating; substitute with dark chocolate for a different flavor!
• Vegetable Shortening – Helps achieve a smooth consistency for easy dipping and coating.
For the Color
• Food Coloring (Red & Blue) – Essential for that festive look; gel options yield more vibrant colors!
• Red, White & Blue Sprinkles – Sprinkle joy on top! These add a cheerful touch, but they’re optional if you prefer plain pops.
These cake pops are sure to be a hit at any celebration, from backyard barbecues to Fourth of July parties! Enjoy baking!
Step‑by‑Step Instructions for Red, White & Blue Cake Pops
Step 1: Prepare Batter
Preheat your oven to 350°F (175°C). In a large mixing bowl, combine the white cake mix, plain Greek yogurt, and cold water until you achieve a smooth, sticky batter. Divide the batter into three separate bowls; color one with red food gel and the other with blue, leaving the third bowl plain. The vibrant colors will create a festive look for your Red, White & Blue Cake Pops.
Step 2: Bake Cakes
Pour the colored cake batter into greased baking dishes, ensuring an even layer. Bake in the preheated oven for 12 to 15 minutes or until a toothpick inserted in the center comes out clean. Once baked, remove from the oven and allow the cakes to cool completely on a wire rack. Chilling them will help when you form cake balls later.
Step 3: Form Cake Balls
Once the cakes are completely cooled, crumble them into a large mixing bowl, mixing until finely crumbed. Using your hands, take 1 to 2 tablespoons of the mixture and roll it into balls, inserting a straw into the center of each. Place the formed cake balls on a lined baking sheet and chill in the refrigerator for about 1 hour, as this will help maintain their shape for the next step.
Step 4: Melt Coating
In a microwave-safe bowl, combine the white candy melts and vegetable shortening. Heat in the microwave in 30-second intervals, stirring in between, until the mixture is smooth and fully melted. The shortening helps create a smoother consistency, perfect for dipping your Red, White & Blue Cake Pops. Keep the melted mixture warm while you prepare to dip.
Step 5: Dip Cake Pops
Take each chilled cake ball and dip it into the melted candy coating. Make sure to cover the entire ball, allowing any excess to drip off. To ensure an even coating, twist the cake ball gently while lifting it out. Before the coating sets, sprinkle your choice of red, white, and blue sprinkles on top for a festive touch, making these pops truly eye-catching!
Step 6: Set
Place the dipped cake pops back onto a lined baking sheet and chill in the refrigerator for about 30 minutes or until the coating has fully hardened. Once set, you can either serve them chilled or let them come to room temperature before enjoying your delightful Red, White & Blue Cake Pops at your festive gathering!
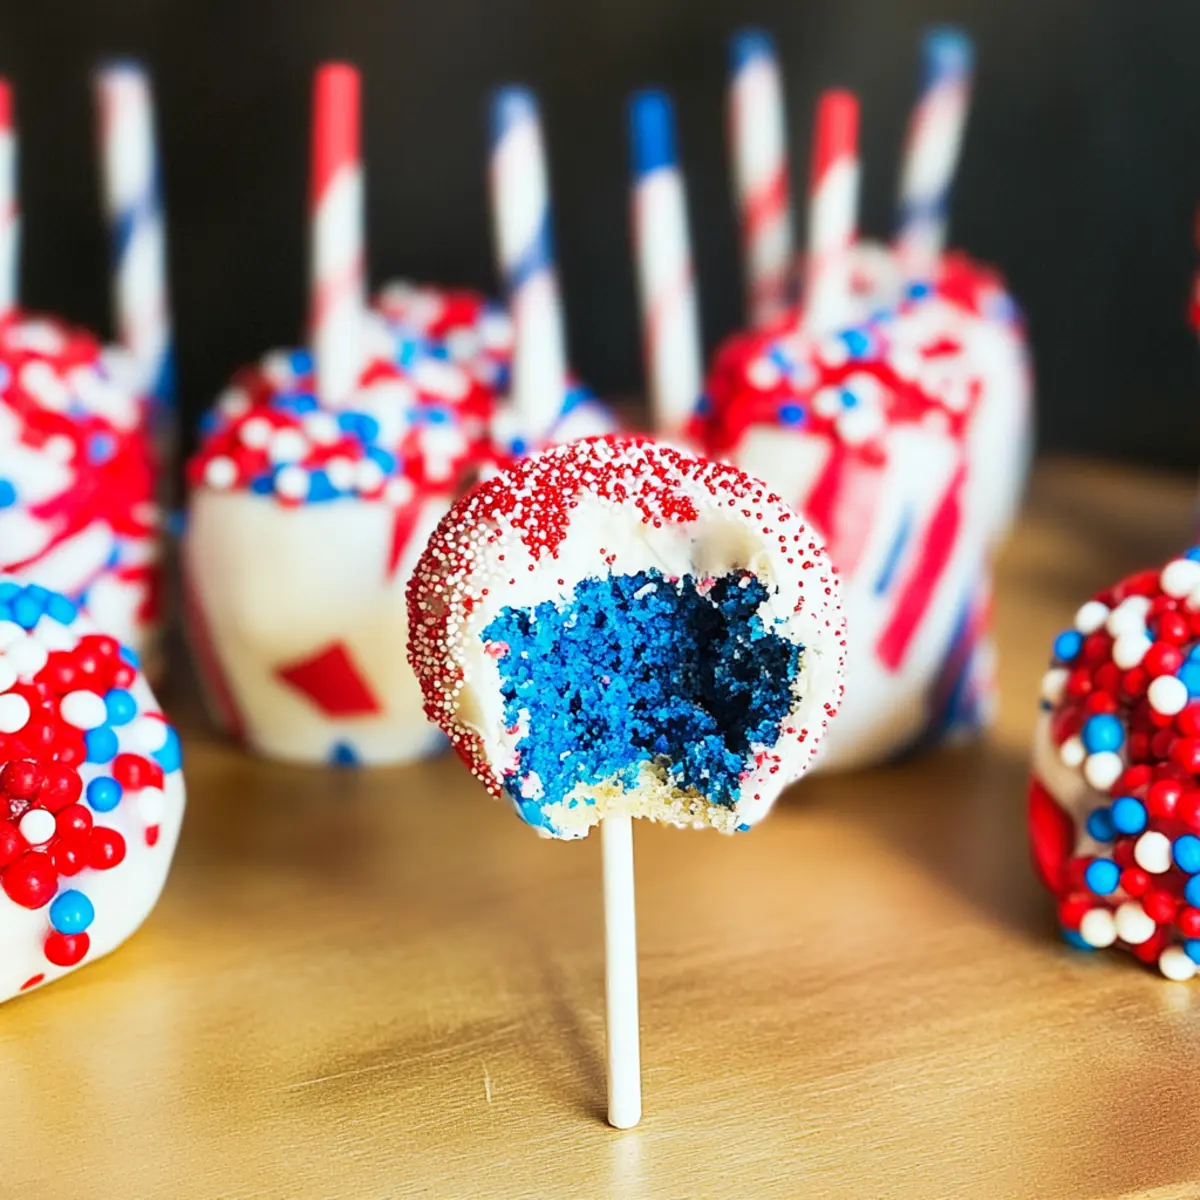
What to Serve with Red, White & Blue Cake Pops?
Bring your holiday table to life with delightful pairings that complement the vibrant spirit of these sweet treats.
-
Vanilla Ice Cream: Creamy and smooth, this classic flavor offers a delicious counterbalance to the vibrant cake pops. Each bite will feel like a celebration!
-
Fresh Berries: Juicy strawberries and blueberries not only enhance the festive theme but also add a refreshing contrast to the sweetness of the cake pops.
-
Lemonade Spritzers: A bubbly, citrusy drink will quench your thirst while perfectly balancing the rich flavors of the cake pops. The refreshing fizz brings bright cheer!
-
Charcuterie Board: Include salami, cheeses, and nuts for a savory touch. This combo offers a lovely contrast and rounds out your spread beautifully.
-
Chocolate Dipped Pretzels: Crunchy and sweet, they provide a fun snack option that complements the cake pops’ festive appearance with their own array of flavors.
-
Brownie Bites: The fudgy richness pairs well with the fluffy texture of the cake pops, creating a delightful dessert experience for your guests.
-
Fruit Punch: A vibrant drink infused with seasonal fruits not only matches the color scheme but also refreshes the palate, making it a perfect all-around beverage.
-
Mini Cheesecakes: A creamy, rich treat that echoes the celebratory vibe of your dessert table while providing a deliciously different texture and flavor.
These pairings will surely make your Fourth of July gathering unforgettable!
Red, White & Blue Cake Pops Variations
Feel free to get creative and customize your cake pops for a unique twist that tantalizes the taste buds!
- Applesauce Swap: Replace Greek yogurt with unsweetened applesauce for a fruity and moist twist. It’s a great alternative that keeps the pops lighter!
- Chocolate Lovers: Use chocolate cake mix instead of white for a rich, deep flavor. Just imagine those dark pops peeking out in festive colors!
- Vegan Delight: For a plant-based treat, ensure your cake mix is vegan-friendly and switch the Greek yogurt for a plant-based yogurt. These pops will be inclusive for everyone!
- Nutty Crunch: Mix in some finely chopped nuts or mini chocolate chips to the cake batter for added texture and surprise in every bite. Who doesn’t love a little crunch?
- Spicy Kick: Add a pinch of cayenne pepper or chili powder to the batter for a warm twist. This unexpected heat will wow your guests!
- Lemon Zest: Brighten things up with a touch of lemon zest in the batter for a citrusy aroma and flavor that balances the sweetness beautifully.
- Coconut Flakes: Incorporate shredded coconut into the cake mixture for an exotic, tropical touch that pairs delightfully with the festive colors.
- Sprinkle Variations: Experiment with different sprinkle themes for various occasions. Want an autumn flair? Use fall-colored sprinkles alongside your cake pops.
Combine these variations for a truly personalized experience! Now that you have plenty of options, explore the joyful realm of baking and pair these delights with a Peach Cake Brown or a creamy Churro Cheesecake Sweet to create a mouthwatering dessert spread. Happy baking!
Make Ahead Options
These Red, White & Blue Cake Pops are perfect for busy home cooks looking to save time while preparing for their festive gatherings! You can prepare the cake balls up to 3 days in advance by forming them and chilling them in the refrigerator. Once chilled, just dip them in the melted candy coating on the day of your event for the best texture and freshness. To maintain their quality, store the cake balls in an airtight container to prevent drying out. When you’re ready to serve, simply follow the dipping instructions and allow them to set for about 30 minutes. This way, you’ll enjoy those delightful cake pops with the least amount of last-minute fuss!
How to Store and Freeze Red, White & Blue Cake Pops
Fridge: Store in a sealed container in the refrigerator for up to 1 week. This keeps the cake pops moist and fresh for your next celebration.
Freezer: For longer storage, freeze cake pops individually wrapped in plastic wrap, then place them in an airtight container. They can last up to 3 months!
Thawing: When ready to enjoy, transfer frozen cake pops to the fridge for a few hours to thaw. Avoid microwaving, as it can affect the texture.
Serving: Enjoy the pops chilled or at room temperature after removing them from the fridge, maintaining their festive appeal!
Expert Tips for Red, White & Blue Cake Pops
-
Chill Before Dipping: Ensure your cake balls are chilled to maintain their shape and prevent them from falling apart during the dipping process.
-
Use Gel Coloring: For vibrant holiday colors, opt for gel food coloring instead of liquid. It gives a richer hue without affecting the batter’s consistency.
-
Be Patient with Coating: Dip slowly and allow excess coating to drip off before setting them down, ensuring a smooth, even layer on your Red, White & Blue Cake Pops.
-
Sprinkle While Wet: Apply sprinkles immediately after dipping when the coating is still wet. This ensures they stick perfectly for an eye-catching finish.
-
Test Chocolate Consistency: If using dark chocolate instead of candy melts, make sure to temper it properly for a glossy finish and to prevent it from cracking after setting.
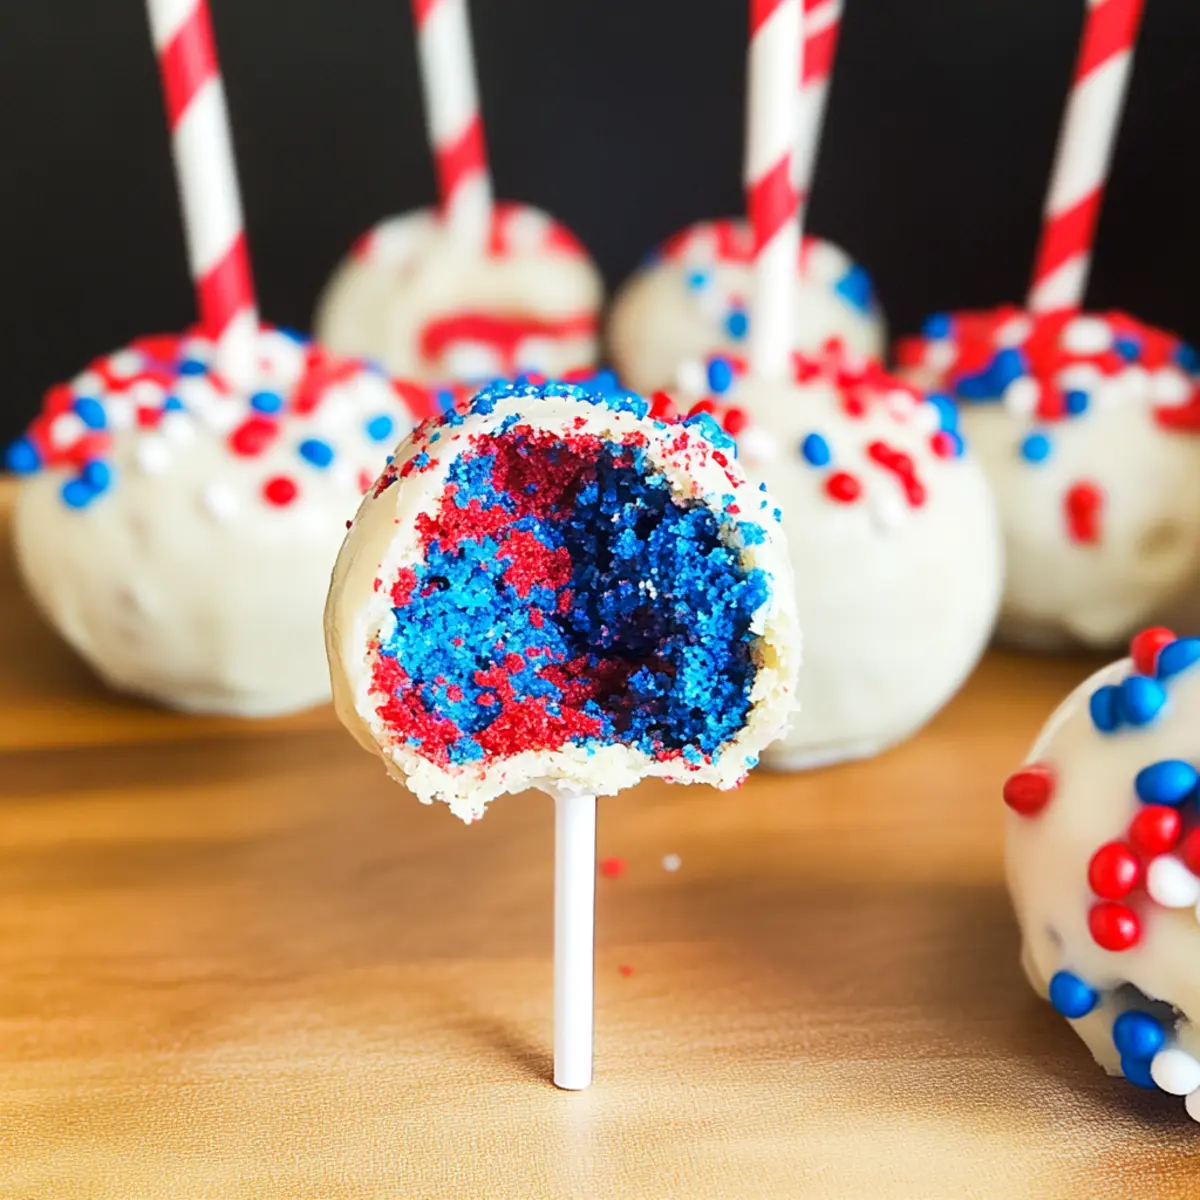
Red, White & Blue Cake Pops Recipe FAQs
What type of cake mix should I use for the Red, White & Blue Cake Pops?
I recommend using a white cake mix as it provides a light and fluffy base for these pops. If you prefer a richer taste, feel free to swap it with a chocolate cake mix! Just remember that you’ll still need the Greek yogurt and other ingredients for moisture and binding.
How do I store leftover cake pops?
Absolutely! Store your Red, White & Blue Cake Pops in a sealed container in the refrigerator for up to 1 week. This helps keep them moist and fresh, so you can enjoy them again after your celebration!
Can I freeze Red, White & Blue Cake Pops?
Yes! For longer storage, individually wrap your cake pops in plastic wrap, then place them in an airtight container. They can last up to 3 months in the freezer. When you’re ready to enjoy, transfer them to the fridge for a few hours to thaw—just avoid using the microwave, which can alter their texture.
What if my cake balls crumble when forming?
If your cake balls are crumbling, it might be because the mixture is too dry. Try adding a bit more Greek yogurt or water to the mixture until it holds together nicely. Alternatively, ensure the cake had sufficient chilling time before rolling. A chilled mixture typically holds its shape better!
Are these cake pops suitable for those with egg allergies?
Yes, these Red, White & Blue Cake Pops are entirely egg-free, making them perfect for individuals with egg allergies. The Greek yogurt serves as an excellent substitute, providing moisture without the need for eggs. Just be sure to check the cake mix for any hidden allergens!
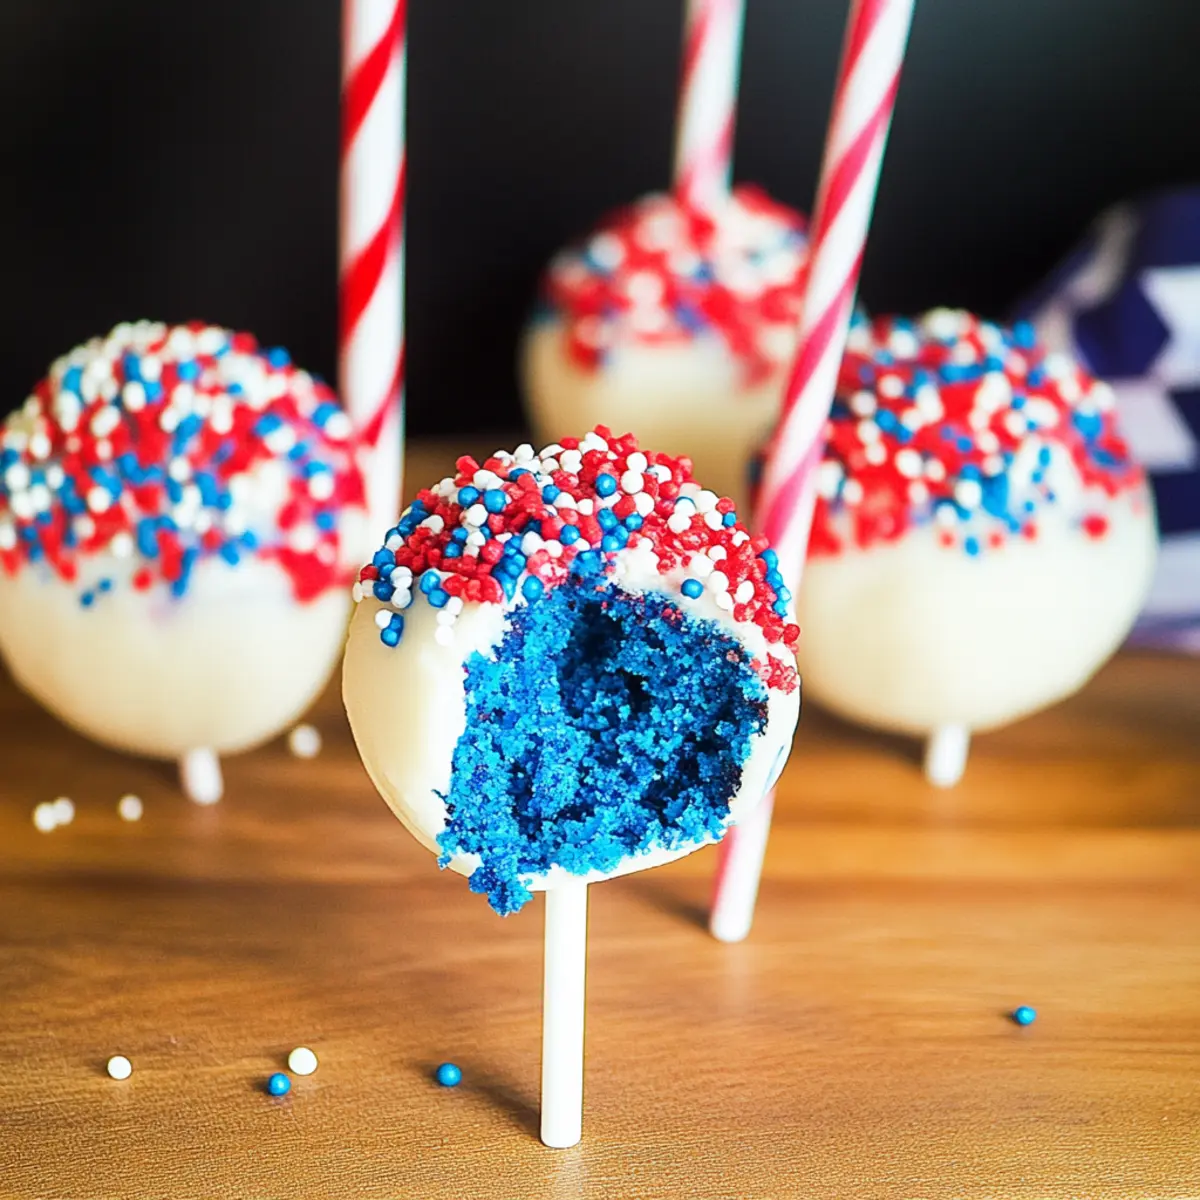
Red, White & Blue Cake Pops That Steal the Show
Ingredients
Equipment
Method
- Preheat your oven to 350°F (175°C). In a bowl, mix cake mix, yogurt, and cold water until smooth. Divide and color batter with food gel red and blue, then leave one plain.
- Pour colored batter into greased dishes and bake for 12-15 minutes until a toothpick comes out clean. Cool completely on a wire rack.
- Crumble cooled cakes into a bowl and roll 1-2 tablespoons into balls with a straw in the center. Chill on a lined baking sheet for 1 hour.
- Melt candy melts and shortening in the microwave until smooth. Keep warm.
- Dip each cake ball into melted coating, allowing excess to drip off. Sprinkle on red, white, and blue sprinkles before coating sets.
- Place dipped cake pops back on a lined sheet and chill for 30 minutes until the coating hardens.
Leave a Reply