
The scent of something sizzling on the stove is enough to elicit excitement in any home chef, and my Easy and Delicious Blackened Corn is no exception! This vibrant side dish marries the smokiness of charred corn with a delightful blend of spices that can transform your meal in mere minutes. With both fresh and frozen corn at your fingertips, this recipe is not only quick and easy, but it also serves as a deliciously customizable accompaniment to any dish. Whether you’re cooking for a cozy family dinner or a last-minute gathering with friends, this vegetarian delight fits the bill perfectly. Ready to elevate your table with a burst of flavor and color? Let’s dive into the magic of blackened corn!
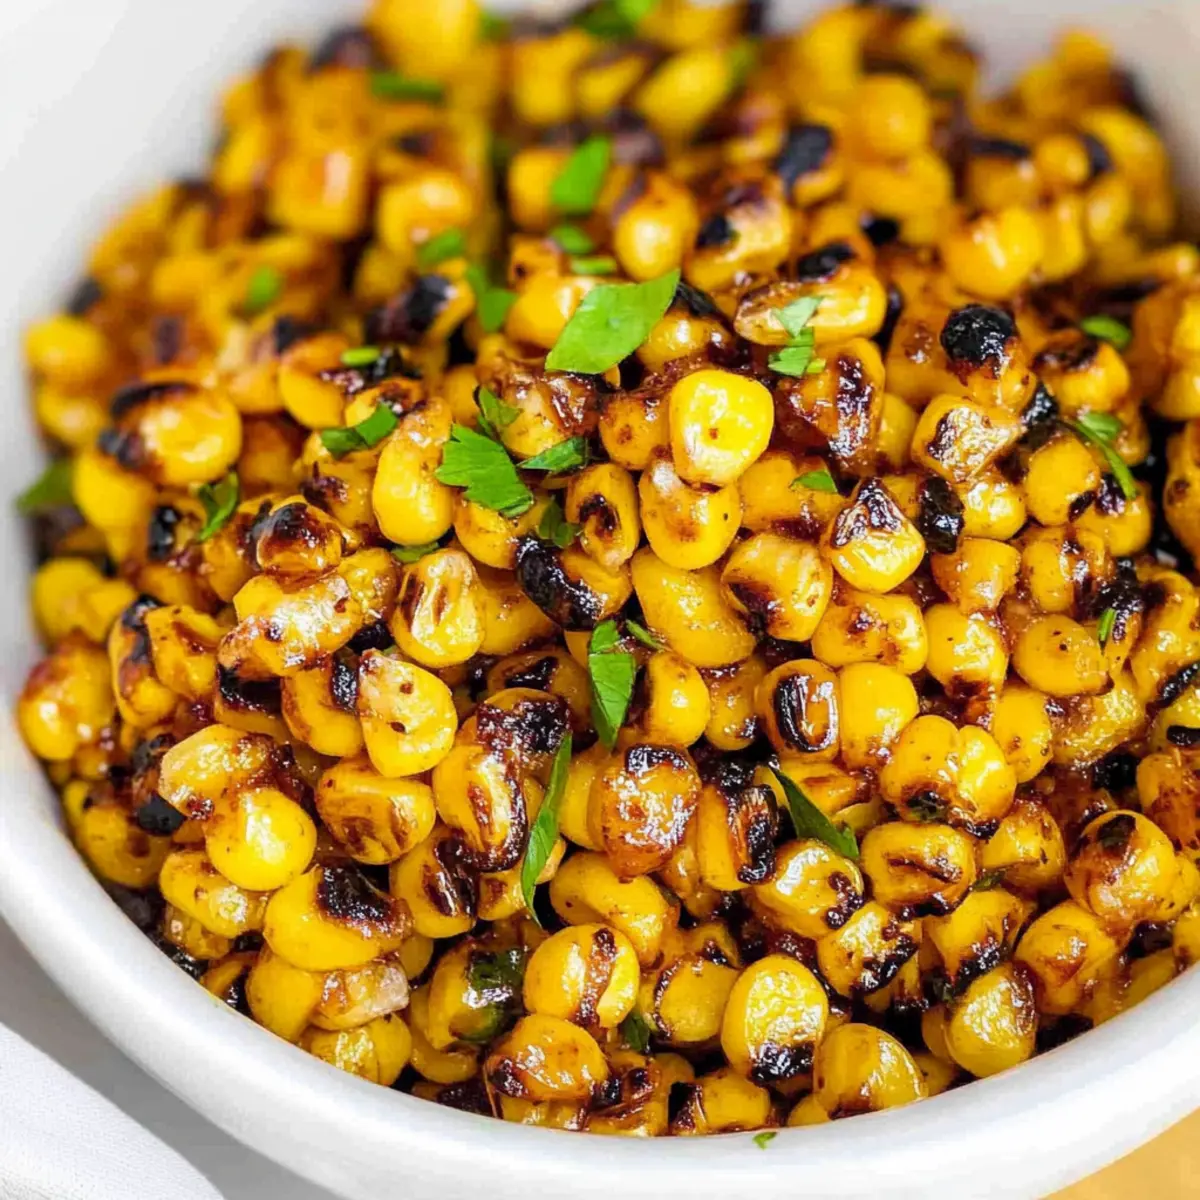
Why is Blackened Corn a Must-Try?
Flavor Explosion: The blend of spices and sweet charred corn creates an unforgettable taste experience.
Quick Preparation: Perfect for busy weeknights, this dish comes together in under 15 minutes!
Customizable Delight: Add your favorite ingredients like fresh herbs or spices for a personal touch.
Versatile Side: Pairs beautifully with anything from grilled meats to a refreshing salad, making it a crowd-pleaser!
Balanced Texture: Enjoy the tender yet slightly crunchy kernels that offer a satisfying bite with each mouthful.
For a unique twist, try it as a topping on your next dish, or pair it with a creamy cucumber salad to round out the flavors!
Blackened Corn Ingredients
• Prepare to savor the magic of Blackened Corn with these simple ingredients!
For the Corn
- Corn – Use fresh, frozen, or canned corn for a quick and easy preparation.
For the Seasoning
- Salt – Enhances flavor; adjust according to your taste preference.
- Black Pepper – Freshly ground adds necessary heat for a savory kick.
- Smoked Paprika – Provides a delightful smokiness; regular paprika can substitute in a pinch.
- Onion Powder – Adds a mild onion flavor; fresh onions can also be used if preferred.
- Garlic Powder – Contributes rich umami notes; fresh garlic can be used but in smaller amounts due to potency.
For Cooking
- Olive Oil – Richness for frying; vegetable oil can also be swapped in.
- Butter – Enhances flavor; use plant-based butter for a dairy-free option.
Step‑by‑Step Instructions for Blackened Corn
Step 1: Prepare the Seasoning
In a small bowl, mix together salt, black pepper, smoked paprika, onion powder, and garlic powder until well-combined. This blackening seasoning will infuse the corn with incredible flavor. Mixing them thoroughly ensures that every kernel of your blackened corn is evenly coated, so take a moment to give it a good stir.
Step 2: Dry the Corn
If using fresh or frozen corn, pat the kernels dry with a paper towel to remove any excess moisture. This step is crucial for achieving that beautiful char in your blackened corn. Less moisture allows the corn to caramelize effectively in the skillet, creating those delicious crispy bits that everyone loves.
Step 3: Heat the Skillet
Place a cast iron skillet over medium-high heat, then add olive oil and butter, allowing them to melt and combine. This will create a rich, sizzling base for your corn. Keep an eye on the mixture and let it heat until it shimmers but does not smoke, which typically takes about 2-3 minutes.
Step 4: Add the Corn
Carefully add the pat-dried corn to the hot skillet, and sprinkle with the prepared seasoning blend. Stir gently to ensure all the kernels are coated with the spices. The initial sound of the corn sizzling means you’re on the right track, and the aroma will start filling your kitchen beautifully!
Step 5: Char the Corn
Spread the corn evenly in the skillet and gently press it down with a spatula. Let it cook undisturbed for 2-3 minutes to allow a nice char to form. The kernels should start to turn a golden brown and develop dark charred spots, giving your blackened corn that signature smoky flavor.
Step 6: Stir and Continue Cooking
After the initial charring, stir the corn to ensure even cooking and press down again. Cook for an additional 3-4 minutes, watching for a deeper golden color and more charred bits. The corn should be tender yet slightly crunchy at this point, showcasing a beautiful contrast in texture.
Step 7: Garnish and Serve
Once the corn is cooked to your liking, remove it from heat and garnish with fresh herbs if desired. Serve your vibrant and flavorful blackened corn immediately while it’s hot, allowing everyone to enjoy the smoky, savory bursts of flavor that make this dish a standout!
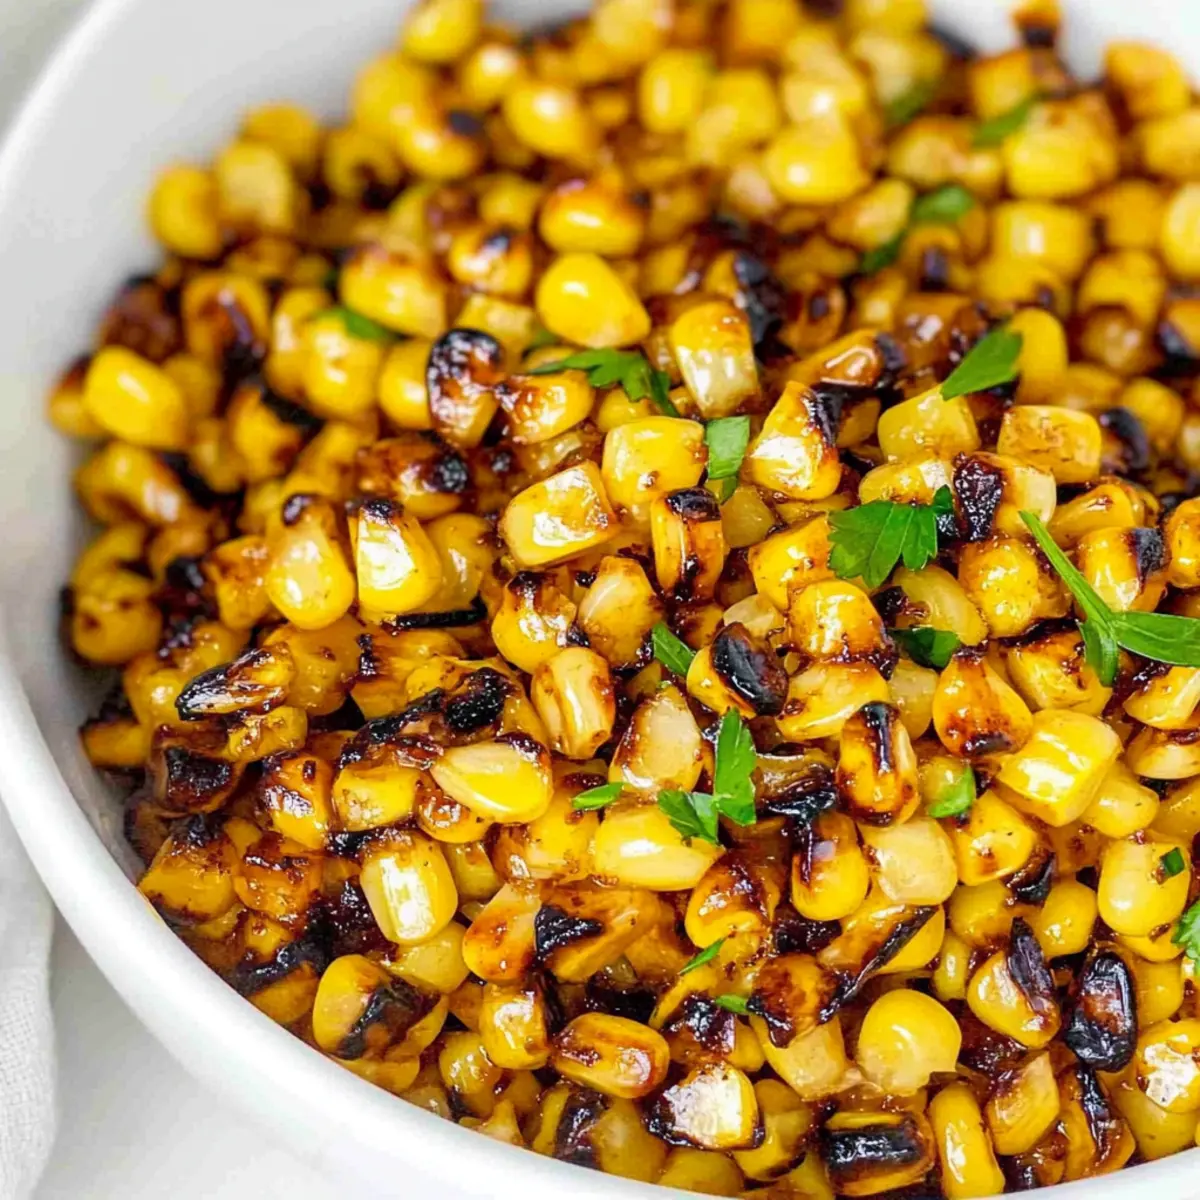
What to Serve with Easy and Delicious Blackened Corn
The art of balancing flavors on your table is just as important as creating a standout dish like blackened corn.
-
Grilled Chicken: Juicy, grilled chicken shines when paired with blackened corn, bringing smoky flavors that harmonize beautifully. The crisp corn provides a delightful contrast to tender, savory meat.
-
Fresh Garden Salad: A light salad dressed in a zesty vinaigrette can brighten up your meal. The freshness of crisp veggies complements the smoky sweetness of the blackened corn perfectly.
-
Cilantro Lime Rice: This fragrant rice brings a refreshing citrus note that pairs exceptionally well with the rich tones of the blackened corn, creating a well-rounded plate.
-
Roasted Veggies: Caramelized vegetables like bell peppers and zucchini add both color and flavor. Their earthy sweetness balances the seasoning of the corn and enhances the overall meal.
-
Avocado Toast: The creamy texture of avocado on toasted bread helps to mellow out the bold flavors of blackened corn, making for an indulgent yet simple dish.
-
Chilled White Wine: A crisp Sauvignon Blanc or a lightly oaked Chardonnay offers a refreshing contrast to the richness of the dish, enhancing your dining experience.
-
Chocolate Mousse: Indulge your sweet tooth with a rich, airy chocolate mousse. The smooth chocolate pairs delightfully with the savory notes of blackened corn, making for a satisfying finale.
-
Cornbread Muffins: Warm, buttery cornbread adds a delightful sweetness that complements the smoky corn, making your meal feel homey and comforting.
-
Spicy Grilled Shrimp: The heat from grilled shrimp beautifully contrasts with the sweet charred corn, creating a burst of flavor that tantalizes your taste buds.
-
Creamy Coleslaw: A tangy coleslaw brings a crunch and a pop of acidity that contrasts perfectly with the deep flavors of the blackened corn, adding balance to your meal.
How to Store and Freeze Blackened Corn
Fridge: Store leftovers in an airtight container in the refrigerator for up to 3 days. This helps maintain freshness while keeping the flavors intact.
Freezer: If you want to save blackened corn for later, freeze it in a flat, airtight freezer bag for up to 3 months. This makes it easy to defrost and use in future meals.
Reheating: For the best texture, reheat in a skillet over medium heat to retain that delicious charred quality. Stir occasionally until warmed through, about 5-7 minutes.
Avoid Moisture: Ensure the corn is cool before sealing in containers or bags. Moisture can lead to freezer burn, affecting the delightful taste of your blackened corn!
Expert Tips for Perfect Blackened Corn
- Choose Your Corn: Fresh or frozen corn yields the best flavor and texture. If using canned corn, rinse thoroughly but expect less char.
- Seasoning Evenly: Make sure to coat all kernels with the blackening seasoning. An uneven application can lead to bland bites amidst the delicious blackened corn.
- Pat Dry: Always dry your corn before cooking to prevent steaming. This allows for the perfect sear and crispy layers.
- Avoid Frequent Stirring: Allow the corn to sit undisturbed in the skillet to develop those lovely charred spots. Stirring too much can prevent that delightful crust.
- Adjust Spice Levels: Don’t hesitate to customize the seasoning! For a kick, add cayenne pepper or even cumin to suit your palate.
Make Ahead Options
These Easy and Delicious Blackened Corn are perfect for meal prep enthusiasts! You can prepare the seasoning mix up to 24 hours in advance and store it in an airtight container at room temperature. Additionally, you can dry the corn kernels and keep them in the refrigerator for up to 3 days. This step helps ensure that your blackened corn achieves that perfect char without excess moisture. When you’re ready to enjoy it, simply heat the skillet with olive oil and butter, add the prepared corn and seasoning, and follow the cooking instructions. You’ll have a flavorful side dish ready in no time, allowing you to savor every moment at the dinner table!
Blackened Corn Variations & Substitutions
Feel free to explore these delightful twists on the classic blackened corn recipe for a truly customizable experience.
-
Dairy-Free: Substitute butter with plant-based butter or coconut oil for a creamy, vegan-friendly alternative.
-
Spicy Kick: Add a pinch of cayenne pepper or chopped jalapeños to the seasoning blend for an extra thrill on your taste buds.
-
Smoky Flavor Boost: Mix in some liquid smoke with the olive oil to intensify that smoky essence, taking your blackened corn to a whole new level!
-
Cheesy Variation: Sprinkle cotija cheese on top while serving for a savory, creamy finish. It pairs deliciously with the smoky tones!
-
Herbaceous Touch: Fresh herbs like cilantro or chives can elevate the dish—mix them directly in or sprinkle on top right before serving.
-
Colorful Veggie Add-ins: Toss in chopped bell peppers or diced red onions with the corn for added sweetness, flavor, and color. It’s a great way to enjoy extra nutrients!
-
Tex-Mex Twist: For a Mexican street corn vibe, finish with a squeeze of lime juice and a dollop of sour cream; it brings a wonderful creaminess to the dish.
-
Canned Corn Variation: Can’t access fresh or frozen? Canned corn works too! Just be sure to drain and rinse to get rid of excess sodium, then pat dry for the best char.
These variations can make your blackened corn the star of any meal! Want to keep the Italian vibes going? Try pairing it with a refreshing Corn Cucumber Salad for a vibrant plate! Or get inspired to create a flavorful main dish with our Blackened Cod Minutes. Enjoy experimenting!
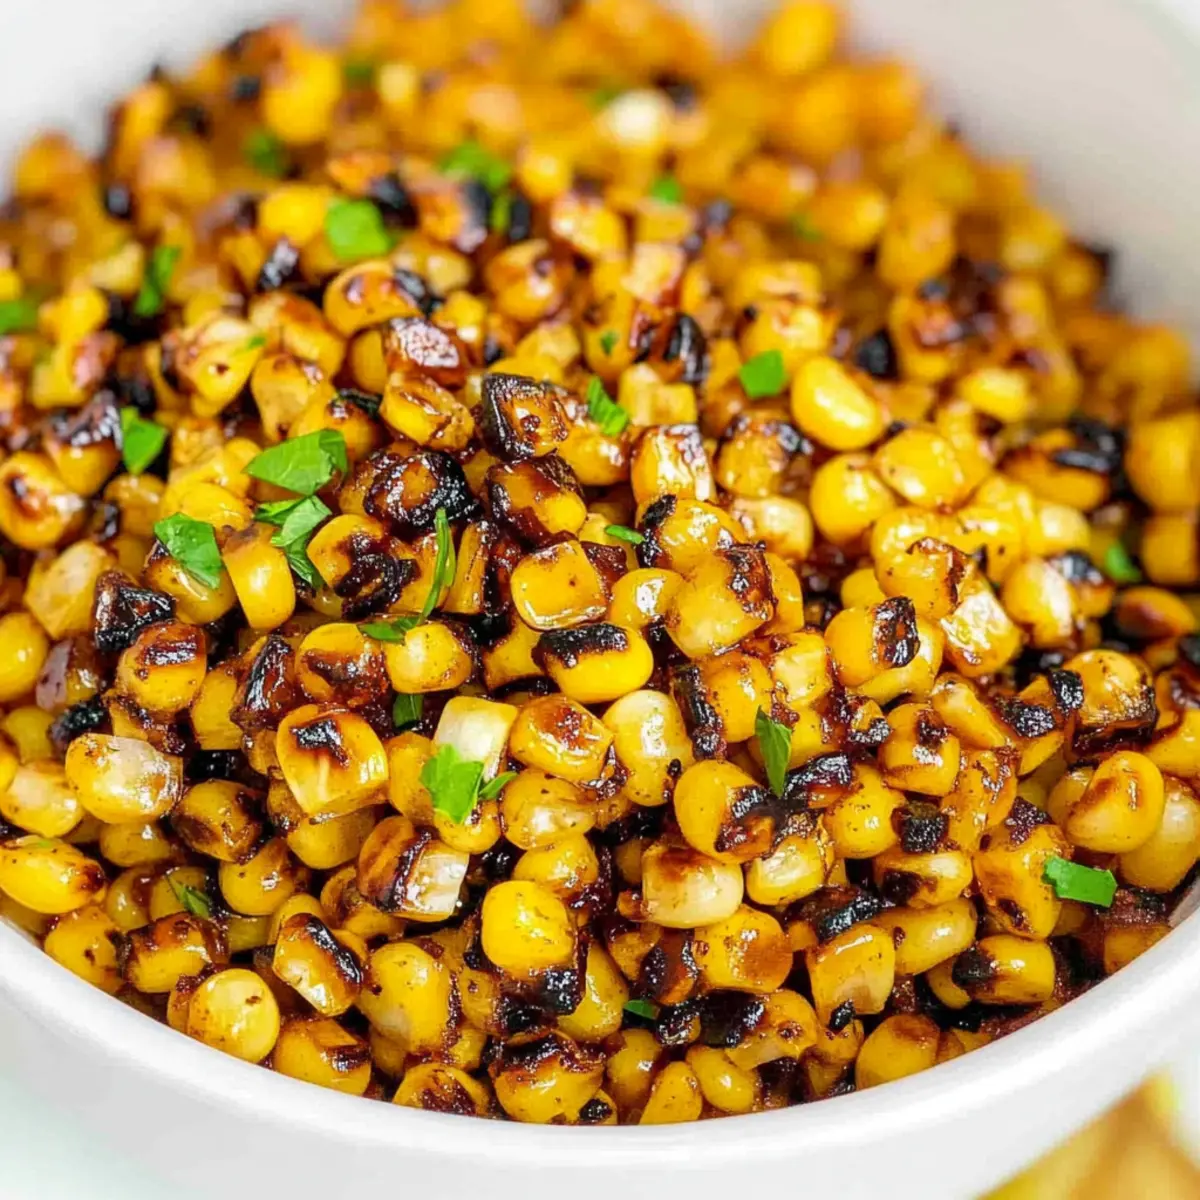
Blackened Corn Recipe FAQs
What type of corn should I use for blackened corn?
Absolutely! Fresh or frozen sweet corn works best for blackened corn. If using canned corn, be sure to rinse it thoroughly to remove excess sodium. Fresh corn has a better flavor and texture, providing the delightful char that makes this dish shine!
How should I store leftover blackened corn?
Very easy! Place leftover blackened corn in an airtight container and store it in your refrigerator for up to 3 days. Make sure to let it cool down to room temperature before sealing. Just reheat it in a skillet to regain that lovely charred texture!
Can I freeze blackened corn, and if so, how?
Yes, you can! To freeze blackened corn, let it cool completely, and then transfer it to a freezer-safe container. Make sure to label it with the date, and it will keep well for up to 3 months. When you’re ready to enjoy it, simply thaw in the refrigerator overnight and reheat in a skillet!
What should I do if my corn isn’t charring properly?
If you find that your corn isn’t achieving that beautiful char, make sure you’re not stirring it too frequently. It’s crucial to let the kernels sit undisturbed in the skillet for a few minutes to allow the char to form. Additionally, ensure your skillet is hot enough before adding the corn—look for the oil to shimmer!
Is this recipe suitable for people with dietary restrictions?
Absolutely! The blackened corn is vegetarian and can be made gluten-free easily. If you have dairy allergies, consider using plant-based butter or skipping the butter entirely for a lighter dish. Always feel free to adjust the seasoning to accommodate any specific allergies or dislikes!
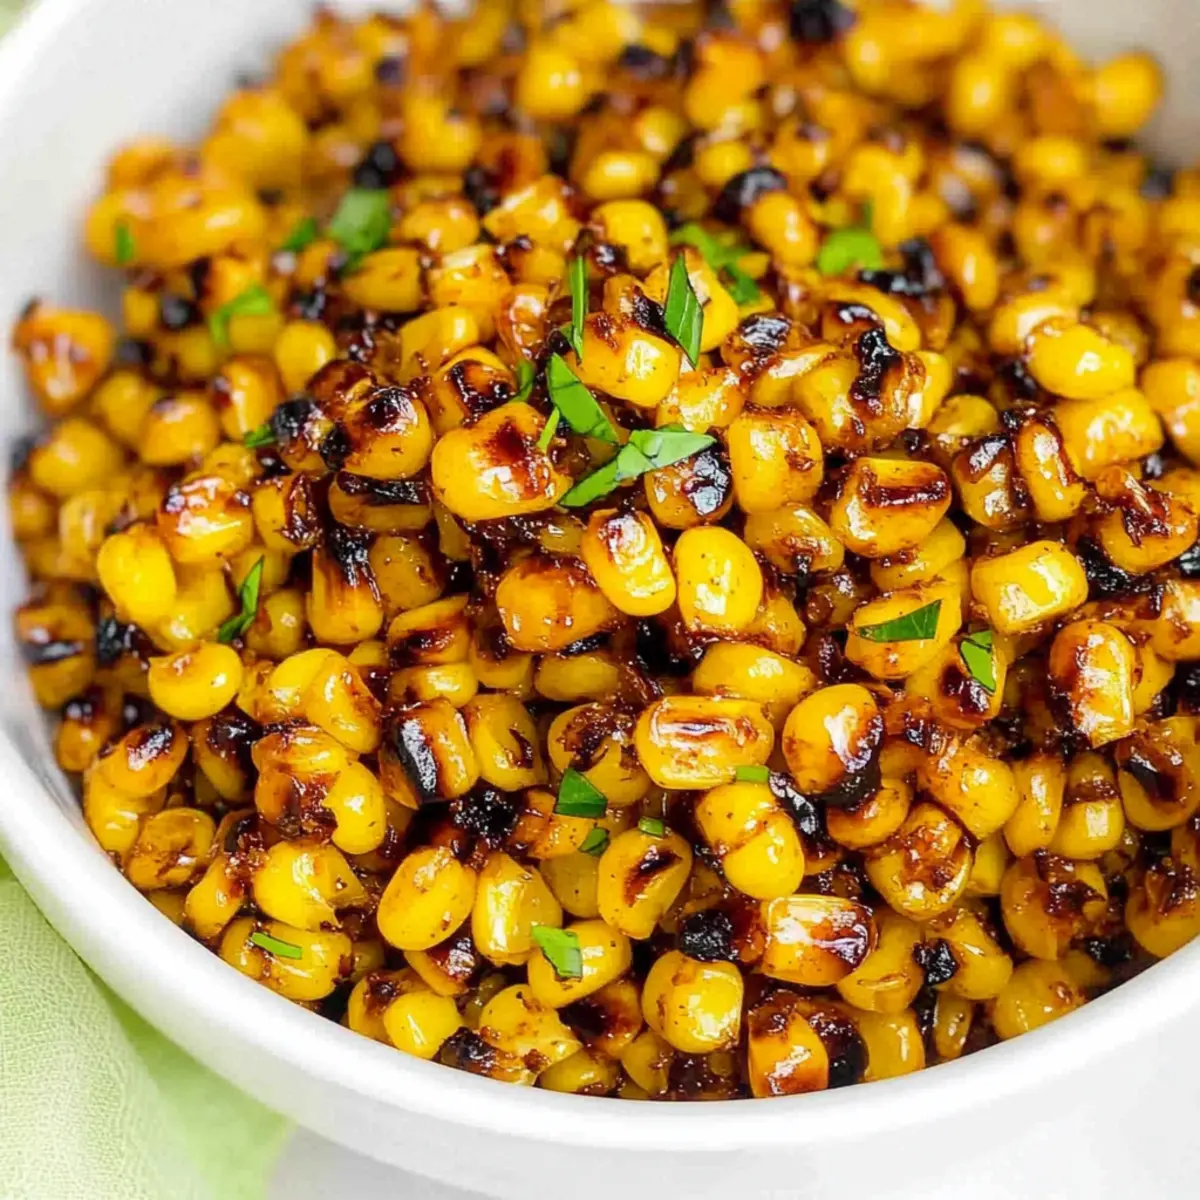
Simple Blackened Corn That's Smoky, Sweet, and Satisfying
Ingredients
Equipment
Method
- In a small bowl, mix together salt, black pepper, smoked paprika, onion powder, and garlic powder until well-combined.
- If using fresh or frozen corn, pat the kernels dry with a paper towel to remove excess moisture.
- Place a cast iron skillet over medium-high heat, then add olive oil and butter, allowing them to melt and combine.
- Carefully add the pat-dried corn to the hot skillet and sprinkle with the prepared seasoning blend.
- Spread the corn evenly in the skillet and gently press it down with a spatula. Cook undisturbed for 2-3 minutes.
- After the initial charring, stir the corn to ensure even cooking and press down again. Cook for an additional 3-4 minutes.
- Once cooked to your liking, remove from heat and garnish with fresh herbs if desired. Serve hot.
Leave a Reply